 ">
">
10 Tips for Better Hammock Camping
In order to enjoy all hammock camping experiences it is necessary meet three goals. These three goals are stay dry, stay warm, and stay comfortable. The tips below will help make camping easier for tree dwellers. A few options from American gear manufacturers that are happy to outfit hammockers.
1. Bring the Basics
Don’t forget the essentials. These include: a hammock, hammock suspension, tarp with stakes, bug net (if not integrated in hammock), and top and bottom insulation. After all…. forgetting a hammock would mean sleeping on the ground and who wants to do that? You can take the guesswork out of it with this complete system.
2. Leave Homemade Gear at Home for Now
Leave the shower curtain in the bathroom. While making gear is an option for veterans of the tree hanging game it definitely doesn’t make hammock camping easer. Waking up with a shower curtain tarp collapsed on your face instead of spending a little cash on a well-built tarp can add difficulty and frustration to the camping experience.
Manufacturers with decades of experience are waiting to meet all hammocking needs. A few companies to check out include Dutchwear, Hammockgear, Warbonnet, Zpacks, and Enlightened Equipment.
3. Bring the Tarp Stakes
Chasing a whipping tarp corner in the middle of the night in the wind, with rain pelting your face is an experience to avoid. Some suggest using sticks or rocks and don’t carry stakes at all, but hunting items in the dark after a fall day of hiking is not easy. For aggressive wind, put stakes all the way into the ground and place rocks on top. Even 5.5lb-base-weight-hiker Lint carries stakes (4:20).
Invest in a good set of tarp stakes.
4. Tarp Selection
Hennessy Hex Tarp and a local in Shenandoah National Park
Leave the Asym tarp (napkin) at home. The majority of water is kept divorced from precious down by a trap with adequate coverage. Hex or winter tarps provide the most coverage and are easier to center over hammocks during setup. This margin in setup avoids multiple adjustments. Also consider bringing a section of material to place under the tarp to keep gear clean and dry. One thru-hiker favorite budget option is a sheet of Tyvek.
Tarp options: Hex,Winter, Cuben Fiber
5. Water Break / Drip Line
A water break—or drip line—is a piece of line added to all lines running under the hammock tarp to provide a path for water to the ground. They are not included on some hammocks, and instructions lack detail on the need for them. Sometimes suspension hardware, like a Dutch Biner, provides some water break, but always add a drip line for the cheap insurance it provides. Videos that further investigate the how and why of drip lines are linked below. This <$1 item protects sleeping gear from getting wet. A cotton shoelace works great, but other options are below. I wrapped a small piece of line around the suspension line and tied a taut line hitch. This seemed to stay tight on the line better than other methods.
Always make sure drip lines are tight before going to bed.
Videos: Shug, Derek Hanson 1a, 1b
Material for lines: Hammock Gear, Dutchware, Warbonnet

Drip lines
6. Hammock Ridgeline & Organizer

HG Organizer (left), DIY Organizer (right)
Setting the sag on a hammock can be challenging and lead to an uncomfortable nights sleep. A hammock ridgeline is an easy way to provide more consistency in sag when setting up a hammock. Ridgelines can be installed on most hammocks in less than 15 minutes. Cottage manufactures usually include ridgelines, but some major hammock brands do not.

ENO with very little sag due to lack of ridgeline and overtightening
Ridgeline organizers are pockets that hang from a ridgeline where items like a headlamp, phone, or snacks (not in bear country) can be stored for easy in-hammock access. A few options for ridgelines found here, plus organizers from Hammock Gear and Dutchwear.
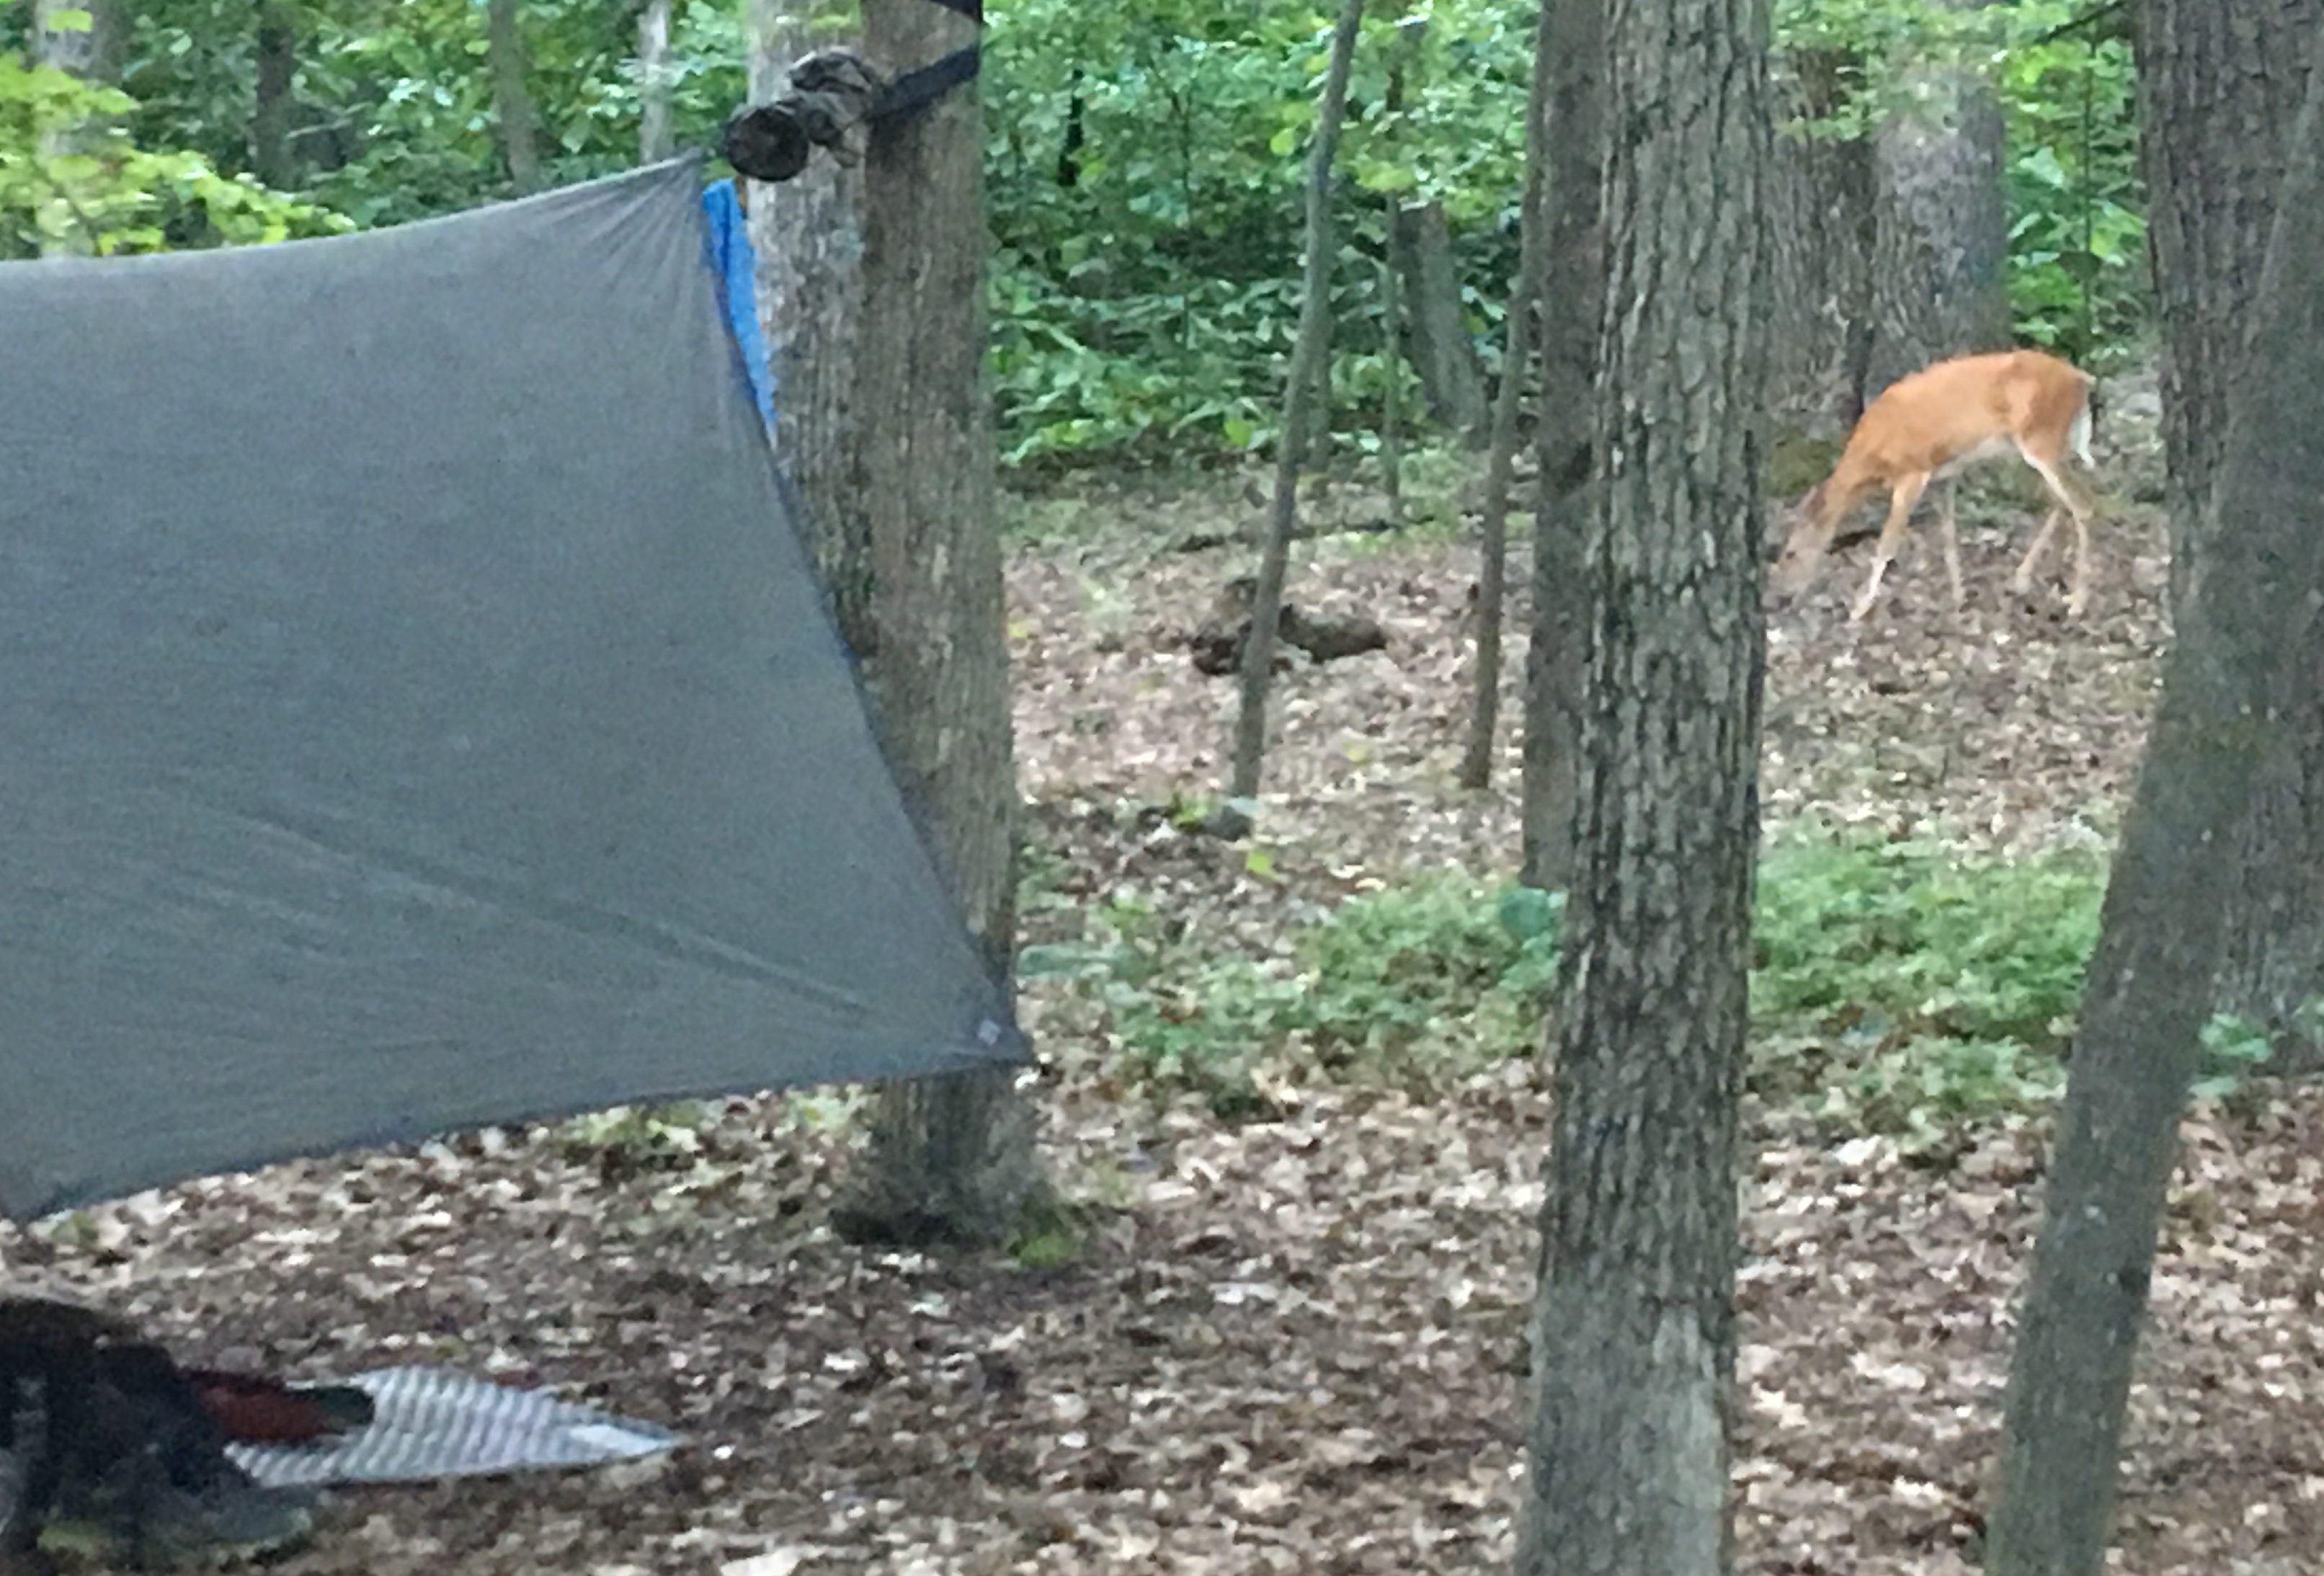
7. Hammock Setup Location

Sometimes locations come with front porches
All the things you heard about how hammocks can be set up in the worst places are absolutely true… but should be avoided if possible. Ground sleepers may get grumpy when they see a hammocker over a prime spot, but its first come first serve in the woods. Flat spots help with any late night bathroom breaks. Sleepily exiting a hammock on a decline and falling into your tarp does not make hammock camping more fun.
Don’t hang over somewhere you don’t want to fall on. While rare, material failures happen. If possible, try to find an area with some natural cover to keep wind and rain off your setup.
Do not set up on or near dead trees with suspect looking limbs. No one wants to be a human shish kebab.
8. Tarp Setup for Windy Nights


One way to guarantee a cold night is by setting up tarp ends parallel to the wind (above). The issue was compounded by pulling the side tie outs to give the wind more area to blow through. This issue is very easy to spot because the wind will blow up the tarp like a bouncy castle. The usual triangle shape of your tarp can approach half-circle status if the wind picks up enough. If it’s windy, grab some leaves and drop them to get an idea of which way the wind is blowing. Then set the long side of the tarp into the wind with the sides fairly low to keep wind out.
9. Hammock Angle

An often overlooked aspect of hanging a hammock is the angle of the hammock suspension to the ground. In the hammock community, the magic angle is 30 degrees. This may bring back geometry nightmares but Derek Hanson figured that this angle can be approximated with ones hand (mine was 28 degrees). Derek wrote one of the best hammock reference manuals on the market, The Ultimate Hang, which is the place to start with all hammock questions.
Checking the Angle (pictured above)
- Find left tree
- Make a “gun” with your left hand
- Point the gun at the hammock and move your hand near your hammock suspension.
- With gun parallel to the ground the hammock suspension should touch the thumb and the top corner of the pointer finger
- If this isn’t the case, make suspension adjustments as needed
- Repeat for right tree
10. Insulation

HG underquilt on Hummingbird hammock
A common issue with hammockers is the lack of adequate insulation under them, which leads to a cold night and the promise to never hammock again. Ground-sleeper top insulation (sleeping bag) can be recycled. However, when getting into a hammock in a sleeping bag, the bottom compresses rendering it useless in keeping the underside warm from the cold air. A flat sleeping bag in conjunction with any wind under your tarp leads to both conductive and convective heat loss. The result of all these losses is cold butt syndrome (CBS) and an chilly nights sleep. The simplest (not comfy) way to avoid this is by using a sleeping pad in the hammock.
A better bottom insulation choice is an underquilt (down bag strung under hammock). Underquilts are more expensive and can weigh more than foam pads, but are worth every penny in the comfort they provide.
Pads: Gossamer Gear, Zlite
Underquilts: Hammock Gear, Enlightened Equipment
Now put the tent back in the closet and go find some trees!

Hanging out in Hot Springs, NC with hammockfourms.net
Comment below with more tips to add or questions!
Featured graphic courtesy Katie Bumatay

This website contains affiliate links, which means The Trek may receive a percentage of any product or service you purchase using the links in the articles or advertisements. The buyer pays the same price as they would otherwise, and your purchase helps to support The Trek's ongoing goal to serve you quality backpacking advice and information. Thanks for your support!
To learn more, please visit the About This Site page.

Comments 23
Awesome article. I am a happy hanger and will never voluntarily go back to the ground. Thanks for the finger gun angle tip.
EarthTone
Excellent, the hammock angle tip camp from Derek Hanson over at the Ultimate Hang. Be sure to check out his website for tips for everyone from new hammockers to veterans.
Excellent article. This is the hammock my wife likes. Very lightweight, easy to set up.
http://www.exped.com/usa/en/blog/backpacker-magazine-reviews-ergo-hammock-combi-and-scout-hammock-combi
Thanks for reading. Good to hear your wife found a setup she enjoys. Thats a big hurdle for most new to hammock camping.
This comprehensive and concise hammocking article is useful for noobs, the more experienced, or readers just curious about the experience.
Very well done.
Thanks for reading! I tried to cover the spectrum with a little guidance on which topics to hit.
Good information. I learned the insulation aspect of hammock camping my first time out. It’s hard to sleep with a cold but. I know you don’t like home made items, but my budget couldn’t afford a $200 under quilt. I took a black poncho liner I found in a hunting store and had it sewn in half lengthwise. The seamstress also added a couple of 1″ channels along each side and I used shock cord and cord locks from the camping store to fashion the hanging system. Works great. I’ve tested it down to 30 degrees coupled with a 30 degree sleeping bag and sleeping in my base layer. Stayed toasty all night. I bought a compression sack and can stuff my entire sleeping system, hammock, under quilt and tarp into one smallish bag that weighs about four pounds.
Excellent work! I am in fact a fan of DIY if you see above the DIY organizer and blue double ended stuff sack I made. I continue to make stuff and think folks benefit from learning what goes in to making the gear.
Most folks that go the homemade route when they are new don’t have a grasp of what exactly they need and it usually leads to a cold and or wet nights sleep and them not wanting to hammock again which is absolutely what I want to avoid when giving advice. If the homemade gear works well then by all means use it often. I am happy to hear you were able to use what you could find to make a bottom wind break for your hammock and that it kept you toasty warm.
If you ever are in the market for a budget under quilt the guys at http://www.hammockgear.com have a economy line that I have heard great things about. They also have great customer service. I have a few of their under quilts and top quilts and can say they are top notch.
There are also a ton of threads on https://www.hammockforums.net/forum/forum.php that discuss quilts made from costco down blankets ~$40 that you may want to check out if you want some more insulation for colder temps. Thanks for your comments.
Great stuff and thank you. Never stop learning. Enjoy the hike… Swagman
Thank you for reading. Trying to learn something new everyday.
Awesome article, Chris!
Thank you so much for the tips. Now my husband and I are thrilled to try hammock camping for the first time. I just wanna ask if you can recommend some locations that can be perfect for our first hammock camping experience.
Emily,
State and National parks are a great place to start in your area. Make sure to sign up for hammock forums too as it’s free and they do organized hammock camping trips based on regions in the US and around the world.
Happy Hanging!
Oh, great! Thank you so much for these tips Chris. 🙂
Excellent article Chris, a lot of information for this hammock newbie.
Tom, Thanks for reading! Hope some of these tips help get you from newbie to hammock pro!
I use an Exped 7 down mattress in my Warbonet Blackbird hammock Works great in weather down in the teens. Gives you an option incase you need to go to ground or sleep in a shelter. Con- it’s expensive and you have to hand pump with built in pump.
You can definitely use a pad in your hammock. Personally I find them pretty cumbersome to deal with getting in and out and love an under-quilt for the coverage it provides. A pad is definitely preferred if there is a chance you need to go to ground. I normally use a pad as the frame of my pack and can use it if the area has no trees. I am not a fan of sleeping in shelters regardless of the weather I’d rather be in my hammock to stay away from all the critters that call shelters home.
Hi Chris, just stumbled across this while killing time on the web. I have been hammock camping since 2007, happy to see here a simple ‘top 10′ kind of approach for new comers.
I would make 2 additional suggestions for the new comers, and modify one of yours.
New Suggestions
a) bring a moderate sized piece of polyurethane (3’x 4’, say) to lay on the ground beneath the hammock. Minimally you can put your shoes on it, have a dry place to step on while entering/exiting the hammock with your shoes off, you can lay your pack on it as well to keep it off muddy or snowy ground.
b) for the new comers I would recommend one of the suspension systems where loops are sewn in all along the tree strap and you clip the hammock onto it. Almost all commercially sold hammocks can be easily accommodated to this system. Much as I take advantage myself of weight saving using cord systems of various kinds, these are fool proof and the straps so obvious you are very unlikely to leave them on the tree. I’ve seen new comers struggle with whoopee slings. Jest saying….
Modified suggestion
c) side of tarp into the wind is necessary if your tarp doesn’t have doors, or you haven’t learned about Grizz beaks (). But a good wind will be pushing the windward side into your hammock all night, and if you’re in a bridge hammock you don’t want the spreader bar ends rubbing up against the tarp side. IF you can close off one end of the hammock, when possible I point that end into the wind.
An aside. As much has Derek has done for hammocking, the finger pistol approach to estimating 30 degrees predates his appearance on the hammocking scene. Popped up on Hammock Forums in the early early days. To his credit he reports it, and I doubt he has or would claim it as original. It is handy (pun intended). Last note on that though, not that it really matters, the reasons given for 30 degrees (making the force on one side of the suspension equal to your body weight) call for 30 degrees under load. The hang angle is different not under load. However, the precise degree does not matter so much as just not having it be way too shallow. For anyone with time to waste and a penchant for learning, Professor Hammock (c’est moi) posts a youtube video explaining it. https://youtu.be/d00WDHPbfyo or search on youtube: Professor Hammock hang angle.
Professor Hammock!
Thanks for reading and providing comments.
a.) I always bring a piece of poly cro to lay on the ground and or wrap my pack in while hiking so that is definitely a good tip. I did this after seeing Shug do it and it works great for stepping on and keeping any blowing rain from my shoe.
b.) Can’t say I am a fan of suspension tree straps with loops sewn in for new comers. I have steered many a thru hiker away from atlas straps since they are just overkill for long distance backpacking. These days they are making some lighter alternatives so those may be a good alternative to whoopies. If someone struggles with whoopies I’d probably tell them to go with the Beetle buckles from Dutchware. I rarely leave my tree straps on a tree but if I was worried about that I’d go with brighter color tree strap. I’ve used the hummingbird tree strap combo pictured above along with their button link in the end channel of my hammock for many miles and have been very satisfied.
c.) just a bit of full disclosure when I put this piece together I had zero bridge hammock experience but now that I have some I agree you wouldn’t want to have the tarp smacking the spreader bar tips all night and having the tarp end set up into the wind. I have heard of Grizz beaks but never used them personally. Looking at your video(https://www.youtube.com/watch?time_continue=292&v=LMTd9z5ReEs) it seems like they would do a good job closing one end of the hammock off since they get pretty low to the ground. The tarp I normally use is only 8’6″ wide so getting it close to the ground without having to crawl to where the hammock is was a bit of a challenge sometimes for me.
I included the hang angle as a bit of a where to start for folks new to hammocking. While the angle is going to be different not under load its pretty tough to measure the angle while you are in the hammock. I wanted to inform folks that this tip came from Derek’s book not necessarily say he was the originator. If you are aware of the person who originated this rule of thumb please let me know at clguynn at gmail dot com and I will gladly include a reference to their article, site or book to give them credit as well.
Happy Hanging!
Hey Chris, nice article. What are your thoughts on hammocks with an integrated underquilt? I don’t see that many on the market. I realize you would lose the ability to change out the uq for different temps and would not be able to vent the quilt, but eliminating the fiddle factor of setting one up and never having to chase away any cold spots seems to be a great advantage to having the uq already built in. Nighttime temps where I camp are almost always between 30 and 45 degrees F, so an uq with a 20-30 degree rating (I sleep cold) would appear to work for me. Any experience/recommendations regarding this set up? Thanks.
Adam, Thanks for reading!.
I haven’t had the opportunity to try a hammock with an integrated underquilt but it seems like a good idea if it helps you save weight. I sleep very hot almost like a radiator so losing the ability to take the quilt completely off my hammock would be a deal breaker for me. I have exclusively used hammock gear underquilts for over 4000 miles of thru hikery. I cant recommend these guys for products and service after the sale enough. The full length is fairly easy to adjust. The 3/4 length was a bear to adjust initially for me but I carry it for weight savings. My 3/4 20F is 950 down so it weighs less than the 40F. The integrated quilt may be more comfy because you don’t have the shock cord holding the quilt up since the hammock performs that function. Personally I would go with the 20F quilt for more versatility for lower temp camping conditions. I have a 20F and 40F(stand at home) and they meet all my 3 season needs. You can always trim down your inside sleep clothes if it gets too warm. I also recommend the 20F since you noted you are a cold sleeper.
Happy Hanging!