 ">
">
Three Fun (and Easy) DIY Gear Projects to Save You Money
Let’s talk about MYOG. It’s not just the sound I make when a shelter mouse runs across my sleeping bag in the dead of night. MYOG stands for Make Your Own Gear, and it’s a great way to save cash while padding out your gear closet. It’s not nearly as complex as it sounds, either. Sure, there are MYOG enthusiasts out there sewing their own backpacks and designing custom tents. But the hobby is still accessible for those who lack the tools and/or skills to tackle these big-ticket designs. Read on to learn about three simple, useful MYOG projects that can be completed with basic supplies and a minimal time commitment.
1. No-Sew Tyvek Rain Kilt

It’s nice to keep the rain off your legs, but rain pants can become sweaty and uncomfortable very quickly. Rain kilts are a far more breathable option, and they tend to weigh less, too. You can make your own on the cheap with durable Tyvek HomeWrap and Velcro.
Materials
Tyvek HomeWrap
Adhesive Velcro
Sharpie
Cloth measuring tape
Scissors
Build It
Your rain kilt will be narrow at the top where it wraps around your hips and wide at the bottom to give your legs plenty of room to swing. It should fall just below your knees, protecting the majority of your leg without being too bulky.
To make it, all you need to do is cut a big trapezoid out of your Tyvek, wrap it around your waist, and attach Velcro to hold it together. Use your cloth measuring tape to determine the dimensions of your trapezoid.

The length of the top of your trapezoid (the waistline) will be the circumference of your hips plus six inches.
Multiply that number by 1.5 to find the length of the bottom of your trapezoid (the hemline of your kilt).
The distance from the top to the bottom of your kilt will be the distance from your hips to just below your knees.
Using the above measurements, trace your trapezoid onto the Tyvek and cut it out.
Wrap the kilt around you and attach a few inches of Velcro at the top where the material overlaps. You may also want to add some Velcro along the side of the kilt to keep it from flapping around while you walk.

Tip: If you’ve had any prior experience with Tyvek, you know that it’s noisy. Pre-crinkling can do wonders to reduce the noise. Once you’ve completed the kilt, crush it into a tight ball and then smooth it out again. The more you crinkle it now, the less incessant rattling and crackling you’ll have to endure on the trail, so don’t hold back.

2. Reflectix Cooking Cozies

There’s nothing worse than slaving over a hot backpacking stove only to find that your dinner has turned ice cold by the time it’s finished rehydrating. Whether you cook in your pot or a Mountain House/freezer bag, you can keep your food and drinks warmer by insulating them with Reflectix cozies. As an added bonus, they’ll also keep you from burning your hands on the hot container.
Materials
Reflectix
Duct tape
Sharpie
Measuring tape
Scissors
Build It
First, trace the bottom of your pot onto the Reflectix and cut it out. Do this again so that you have two circles cut out—one for the bottom and one for the lid.
Next, measure the height and circumference of your pot. Be generous when measuring the circumference, because Reflectix is somewhat bulky and won’t wrap around your pot as easily as a cloth measuring tape does. Add a couple of inches to the circumference measurement to be safe.
Trace a rectangle with these dimensions onto your Reflectix and cut it out.

Place the pot on top of one of your Reflectix circles and wrap your Reflectix rectangle around the sides. Duct tape the ends of the rectangle together to form a cylinder.
Attach the cylinder to the bottom with more duct tape.
Finally, use your scissors to punch a hole through the center of your remaining Reflectix circle where the lid handle will poke through.

How to Make a Freezer Bag Cozy
This will allow you to eat hot food rehydrated in a freezer bag. Cut out a piece of Reflectix a few inches taller and approximately three times wider than your freezer bag.

Fold the Reflectix over itself on the long end and duct tape the ends together.
Use duct tape to seal the bottom of the cozy, creating a pocket.
Punch the bottom in so that it forms a flat surface, then reinforce with more duct tape. This will allow your cozy to stand up on its own.
Attach strips of adhesive Velcro along the top of your cozy so that you can seal it for maximum insulation.

3. DIY Tyvek Tent Footprint
Adapted from Gizmodo.
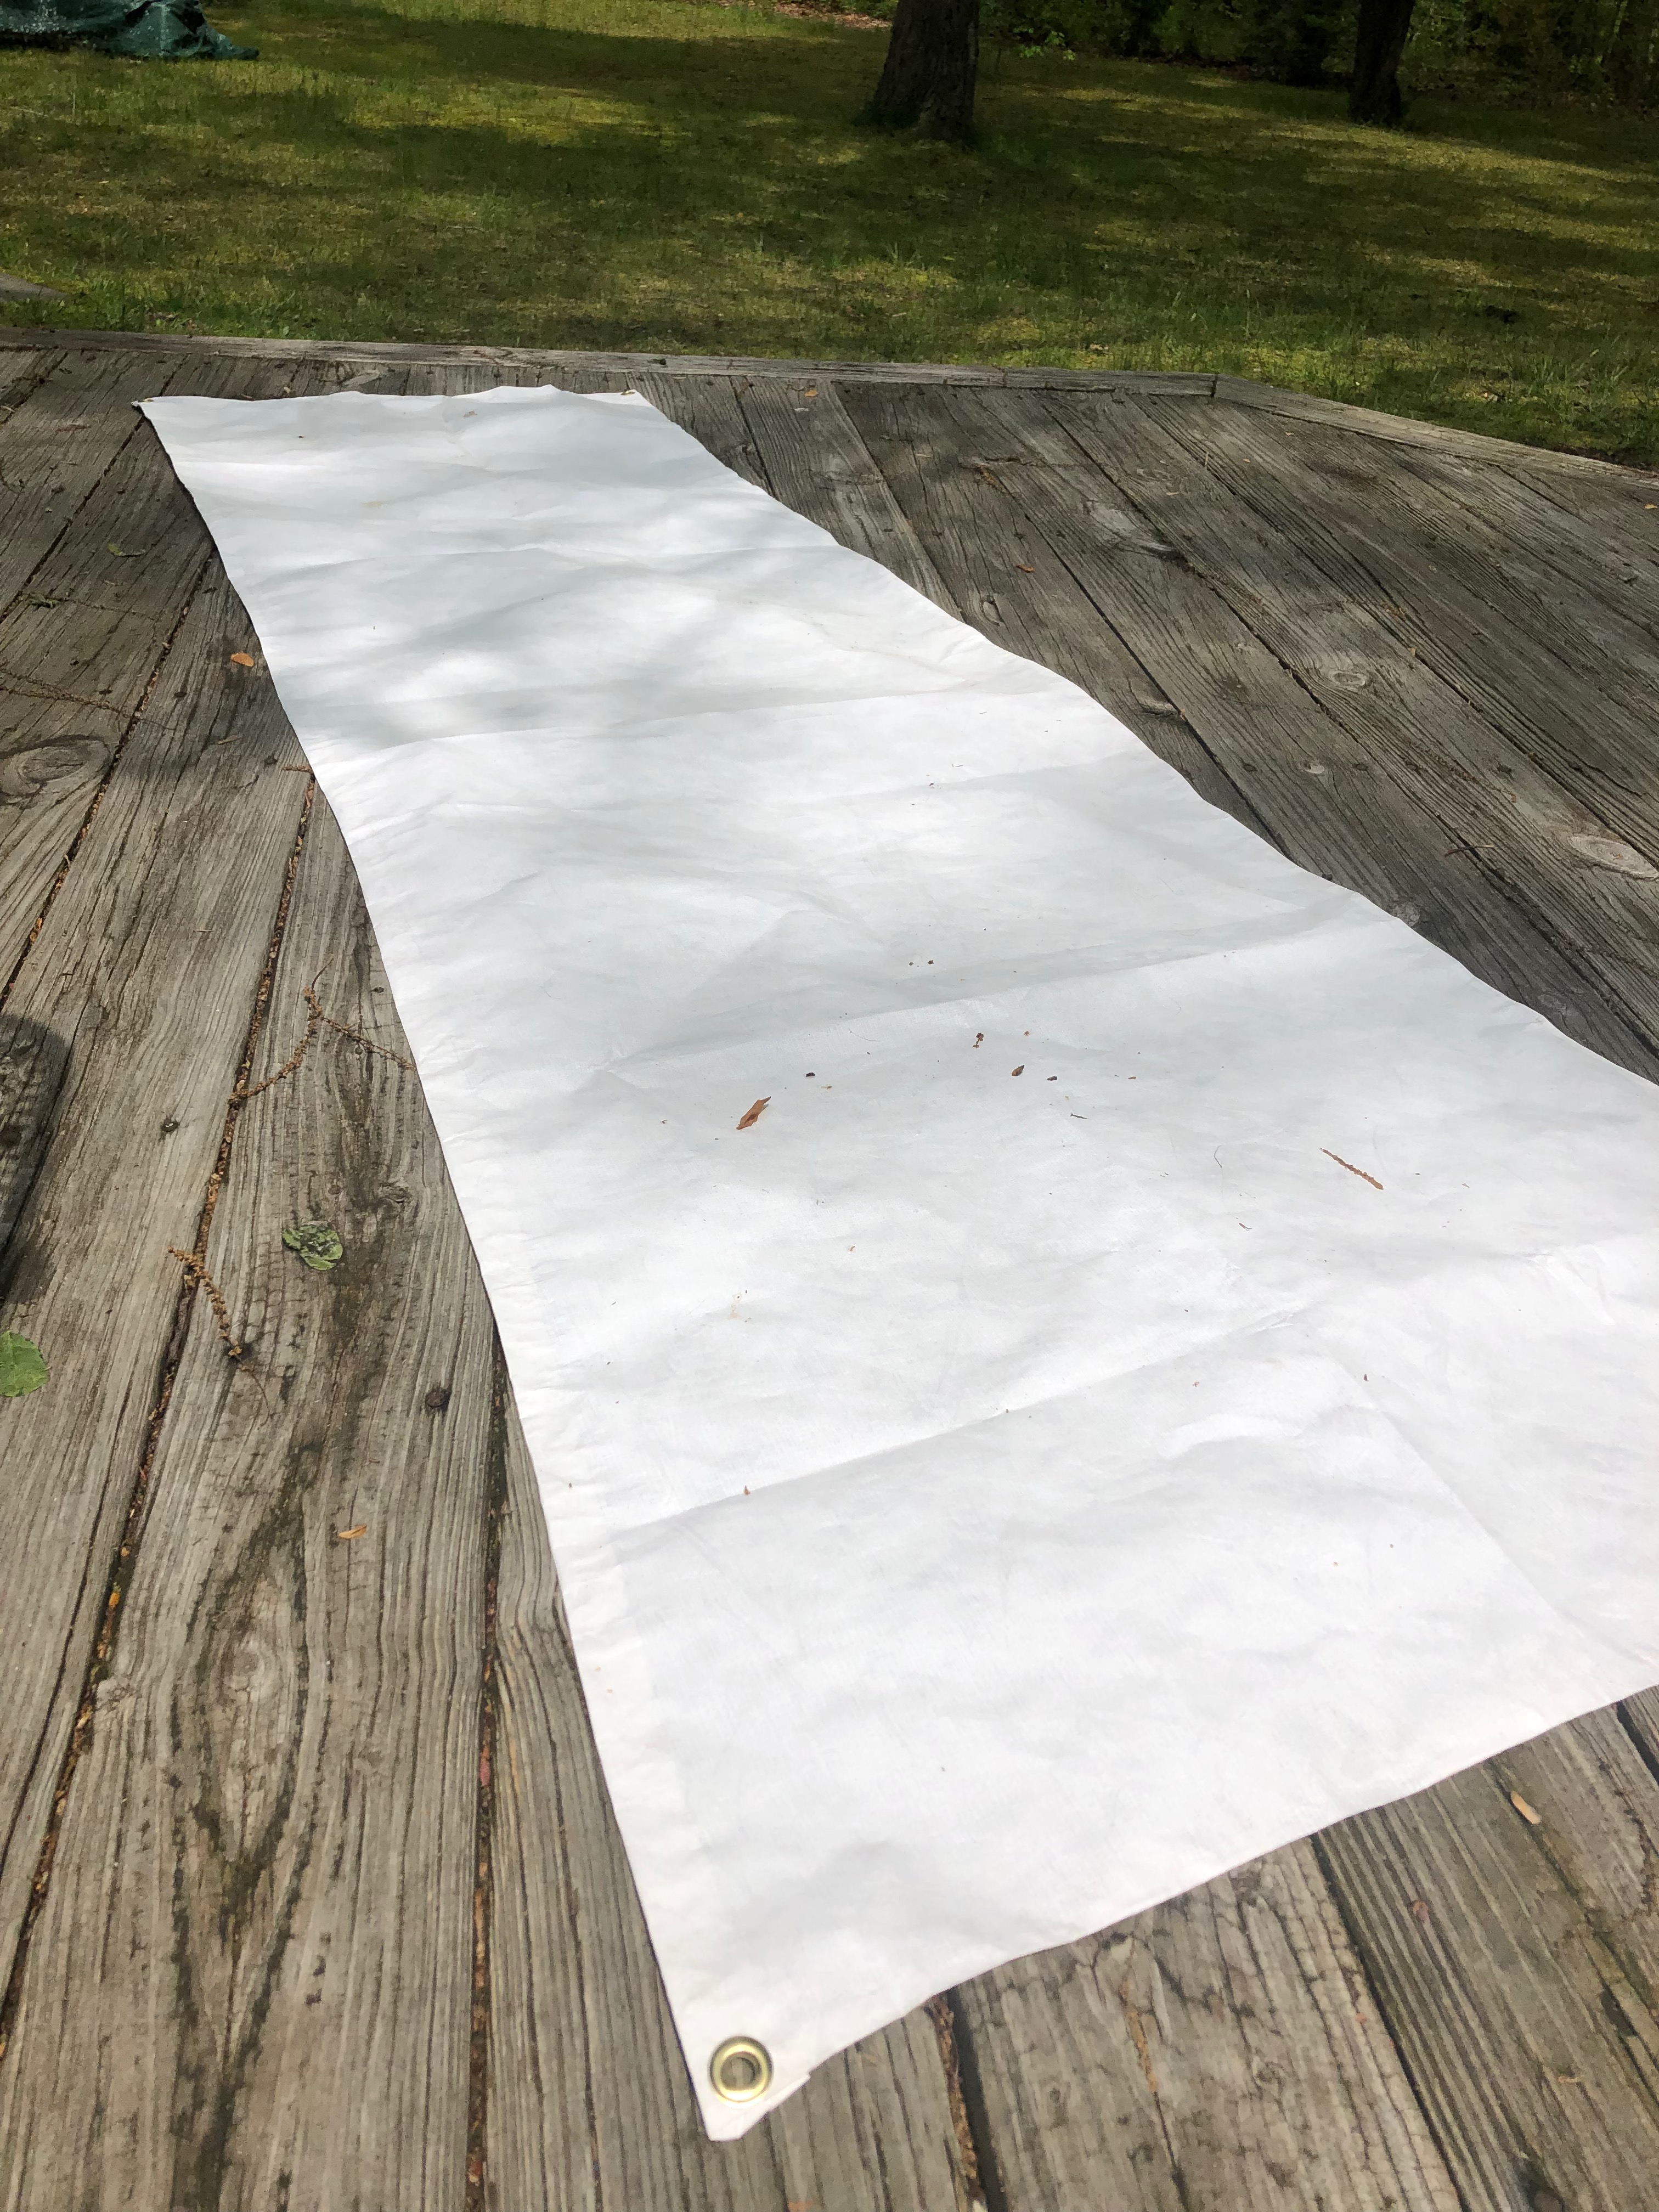
Your tent is probably one of the most expensive pieces of gear in your pack. Therefore, it makes sense to protect it from damage by using a footprint. That said, it’s a bit galling to have to shell out for a ground cloth after already having spent so much on the tent itself. Enter the Tyvek footprint—a durable alternative that’s easy to make at home for significantly less money.
Materials
Tyvek HomeWrap
3/8” grommet kit
Hammer
E6000 Glue or similar
Sharpie
Scissors
Build It
Set up your tent and place it on top of the Tyvek. If the tent is wider than the Tyvek, you’ll need to glue two pieces together to make this work.
Use your sharpie to carefully trace along the edges of the tent, and then cut out your footprint.

Fold in about one inch of Tyvek along each edge and glue it down. This will reinforce the edges of the footprint and also ensure that it’s just slightly smaller than the tent itself. (Footprints that are the same size or larger than the tent itself are undesirable because they can funnel and then trap water beneath the tent.)
Pay attention to the specific instructions on your glue of choice. For instance, if you use E6000, it’s important that you do the gluing in a well-ventilated area and allow 24 hours for the glue to cure.
Once your glue is set, add grommets by following the instructions on your kit. The placement of the grommets will depend on the shape of your tent. At a minimum, you’ll want one wherever a tent pole will touch the footprint, as well as at the four corners (if different). Add more grommets as needed.

Making your own equipment is fun, easy, and economical. It also gives you a greater sense of ownership of your backcountry experience. We hope these ideas will help you get in touch with your inner Pinterest this spring. What other MYOG projects have you tried? Let us know in the comments below.

This website contains affiliate links, which means The Trek may receive a percentage of any product or service you purchase using the links in the articles or advertisements. The buyer pays the same price as they would otherwise, and your purchase helps to support The Trek's ongoing goal to serve you quality backpacking advice and information. Thanks for your support!
To learn more, please visit the About This Site page.

Comments 2
I liked them all but was blown away by the rain kilt. #1 on my DIY list.
Thank YOU!