How to Thru-Hike the Wonderland Trail
In my last post- My Wonderland Trail Gear List– I unveiled my intentions to thru-hike the Wonderland Trail. I’m happy to report that we (I hiked with a pair of friends) accomplished just that.
In the days since finishing, I’ve received many questions (mostly about permits, more on that below) about the trail. This post is my best attempt to never again answer any questions (74% kidding). This unconventional guide includes some of the Wonderland Trail basics (i.e. what you can find elsewhere on the Internet) as well as the more subjective, nitty gritty advice I’d offer to friends (i.e. what I wasn’t able to easily find elsewhere online).
If you’re pressed for time or don’t particularly care about the details, fast forward to the photos section at the end of this post. They are glorious.
Overall
The Wonderland Trail is aptly named. I loved this trek, as did the two other guys in my group- one of which doesn’t even particularly like hiking (a fact we learned on day two- go figure). One hundred miles is a great distance, especially if you’re savvy enough to get your pack weight to a manageable number. The terrain is challenging, yet rewarding. The views are spectacular. The diversity of ecosystems keeps the trail feeling fresh. I do touch on a couple of minor gripes below (namely this year’s permitting system), but overall, the Wonderland Trail needs to be added to your bucket list immediately.
Permits
The biggest obstacle to hiking the Wonderland Trail this year (I’m writing this in 2016 in case you hopped in the DeLorean) is the permitting system- which I previously described as “a bit of a dumpster fire”. Now that we have first hand experience with the process, I’d like to upgrade this stance to “an orgy of boiling garbage”. It’s a disaster. Granted, we hiked during the busiest part of the season (mid-August), so if you’re reading this and hoping to trek in 2016, you’ll likely encounter fewer headaches (although I’d venture to guess that Labor Day weekend will be comparable).
In previous years, 70% of the Wonderland Trail’s permits can be reserved in advance. Because Mt. Rainier National Park’s computer system crashed during a storm earlier in the year (according to a ranger I spoke with), permits are issued only the day of or before hitting the trail. This creates all kinds of troubling questions:
- Will you be able to get a permit? Best case scenario: probably. Those who are willing and able to get to a ranger station by 5-6am (or earlier) have reported good success in finding some combination of campsites to hike the full trail. One of the dudes in our group was in line by 4:30am; the next person in line got there at 6:45am (lol). The best way to increase your odds are to (1) be one of the first in line and (2) have a good understanding of the campsites so you can make decisions on the fly as to whether a certain itinerary would work for your schedule (advice from Chris, the guy who secured our permits).
- Will the permit schedule fit your itinerary? Just because you can string together eight campsites in eight consecutive days doesn’t mean it’s a good schedule for your needs. If you’re in poor shape and need 13 days to complete the trail, an 18-mile day (probably) won’t work for you. Similarly, if you’re trying to complete the trail in 5 days, advancing 6-miles will create issues. If you’re willing to flex a day or two in either direction of your ideal hike length, this will increase your odds of landing a good itinerary.
- Should you mail food caches, and if so, where? If I were to do this again, I’d mail caches to each of the three ranger stations and just pickup whichever cache was closest to our starting point. We sent two hoping we could start from the third ranger station. It didn’t work out that way, which added four hours of drive and resulted in us not getting onto the trail until 7:30pm (with a 7-mile hike ahead of us- hello night hiking). I go into more depth on this below.
- Will you miss the highlights of the trail? Maybe. Quite literally the only itinerary we could get put us on the Eastside Trail, which the ranger admitted was far less scenic than the east side of the Wonderland Trail. As fate would have it, we were able to hike the east side of the Wonderland Trail, but required a truly bizarre set of circumstances to make happen.
Permits in Not-2016
For those who plan to hike the Wonderland Trail in 2017 or later, you can- and should- reserve your permit in advance. In years past, applications are accepted starting on March 15th, with the lottery taking place on April 1st. Mt. Rainier National Park is partnering with the University of Washington (source) to create a new permitting software, so it’s likely that this will look at least somewhat different moving forward. I will update this section when the park announces their plans moving forward.
How many days to hike?
The NPS recommends between 10 – 14 days. We hiked it in 7.5, which was a nice duration for our group (three fairly fit 30-year old guys, one thru-hiker, two moderately experienced backpackers). Experienced backpackers can easily do it in less than that (example: Acorn did it in 5.5 days just a couple weeks prior to us). If you’re unsure, better to err on the side of too many days. The trail isn’t easy and the penalty for too many days is excess downtime in one of the most beautiful regions of the country, whereas too little time could result in injury and/or being too drained to fully enjoy the experience.
If you’re not in good shape and intend to hike this trail, train. One of the guys, who lives in Chicago, climbed stairs for several hours a week in the month leading up to this hike.
Pro-tip: If there’s a section you’re going to move through slowly, make it the east side. Try to score a campsite at both Summerland and Indian Bar for consecutive days (only 4.4 miles apart). This stretch is gorgeous, which deserves long breaks and side trips. If there’s one section to zip through, make it the south side, which is both easy and offers fewer vistas.
Food Caches
Definitely send food caches. If you don’t live near MRNP, mail them. If you do, you’ll probably want to drop them off (it will take at least a half-day, but mailing will likely cost you upwards of $50). Whenever you can avoid carrying more food than necessary, take it. Less weight equals less strain equals more joy.
Where and how many to send?
In a normal year, I’d advise to send to a cache to whatever two ranger station areas you’re not starting at. For example, if you’re starting at Longmire , send a food cache to White River and Mowich Lake. This is what we were hoping for (it didn’t work out that way)- below are a snapshot of my caches. More on what food I included a bit further down.
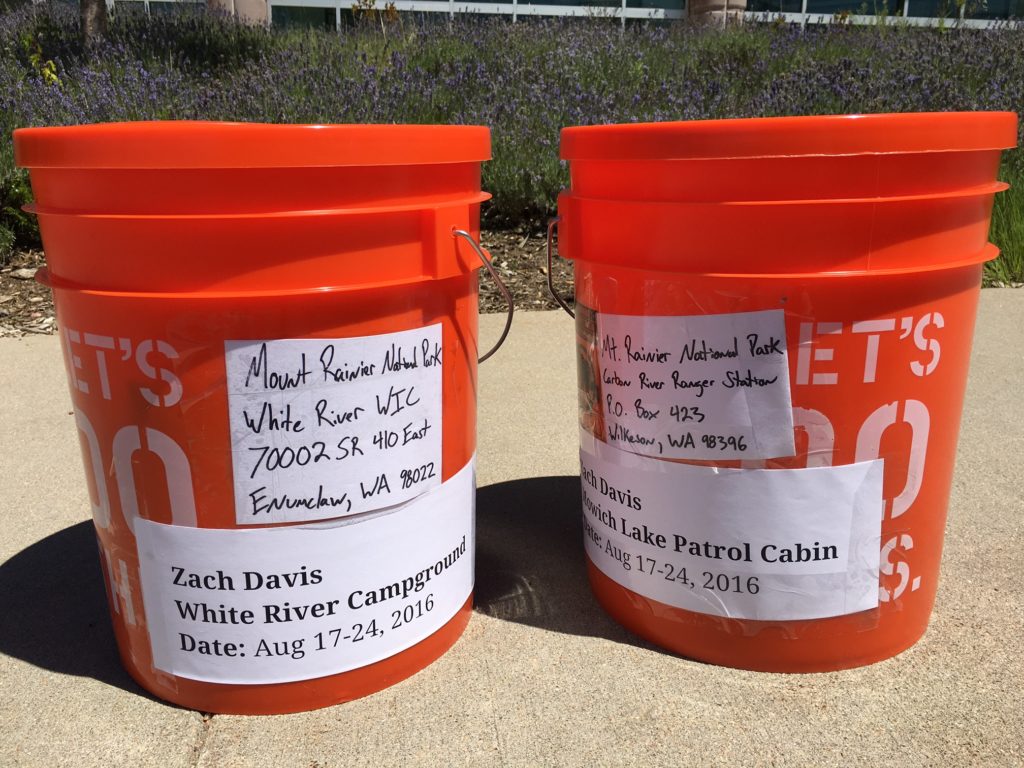
Note: the permit should also include the exact date of pickup and permit number, which we weren’t able to do prior to sending because of this year’s permitting system.
Note for 2016
As previously mentioned, if you’re hiking this year, I’d advise to send a cache to all three easily accessed areas of the park (there are technically four spots, but Sunrise and White River are so close to each other, you’ll want to only pick one).
When to send?
Caches should arrive at the ranger stations at least two weeks prior to your pickup.
Addresses
Longmire (UPS or FedEx only)
Mount Rainier National Park
1 NPS Warehouse
Longmire, WA 98397
(ATTN: Longmire WIC)
Sunrise or White River (USPS, UPS, or FedEx)
(Indicate whether you plan on picking it up at Sunrise or White River on container)
Mount Rainier National Park
White River WIC
70002 SR 410 East
Enumclaw, WA 98022
Mowich Lake
If sending via UPS or FedEx…
Mount Rainier National Park
Carbon River Ranger Station
35415 Fairfax Forest Reserve Road East
Carbonado, WA 98323
If sending via USPS…
Mount Rainier National Park
Carbon River Ranger Station
P.O. Box 423
Wilkeson, WA 98396
How much food to send?
Perhaps obvious, but this will depend on how many days/nights you have between resupplies. After obtaining your permit, count the number of days between Longmire > Mowich > White River. Aim for around 3,000 calories per day.
Pro-tip: You’ll have access to a hot meal and beer thrice throughout the trail- at Longmire, Sunrise, and Paradise. Getting to Paradise will require a short hitch, which we did. The food and drink is overpriced, but we were a captive audience (i.e. desperate for beer).
What food to send?
This is a topic worthy of its own post (and we have many of them), but in a nutshell, target food that’s nutrient dense, offers a good balance between fat, protein, and carbohydrates, won’t go bad while sitting in a bucket for a few weeks, and is something you enjoy.
Here’s the food for my two caches plus spreadsheet outlining total calories.


Not included in the spreadsheet, but was included in my caches to atone for my nutritional sins (i.e. Oreos and Poptarts) was 10 servings of a green superfood drink powder and a couple packets of algae energybits.
Here’s a great post outlining some healthy backpacking food options. Because we made a couple of impromptu food stops (at Sunrise and Paradise), and thus had extra food, I dumped a couple packages of instant mashed potatoes and knorr sides at the Ranger Station, and had some extra food left over in my pack at the end. A better problem vs. not having enough food.
Gear
We passed a duo that was carrying six (!!!) full fuel canisters. That’s nearly five pounds. One small fuel canister will boil over 42 cups of water. I’m assuming this couple didn’t need to boil 250 cups of water on their trip unless they were starting a mountain-top soup kitchen.
If you’re a regular reader of this site, odds are, you wouldn’t make such a mistake. You know the difference between a gear need, luxury, and downright excess. If you want the nitty gritty of what gear is appropriate for this trek, feel free to use my gear list as a starting point.
A couple of notes about my gear now that I’ve completed the trail:
- Overall, I was very happy with my gear selections. Last year, during a 330-mile stretch of the Colorado Trail, I ended up either swapping out or ditching a handful of items. This year, no such alterations were needed, everything was used several times, and the only thing I could’ve done without was the spare battery (since there next to no cell service), which I accidentally forgot in my suitcase anyway. Even my first aid kit got use (I was attacked by a hornet on the last day and glad to have Benadryl on hand).
- Keep in mind that this was during the warmest part of the year. I’d likely opt for a colder sleeping bag (not quilt) if hiking this trail in mid-September or later.
- The only piece of gear that I wasn’t thrilled about was the Hyperlite Mountain Gear Echo ii. Nothing against the tent, which is great, but the campsites are small, the shelter is HUGE (Trump voice), especially for one person, and we had two other tents to fit into the space. If I could do it again, I’d bring my Big Agnes FlyCreek 2.
- Originally, I was sad to see so many changes to the Altra Lone Peak 2.5’s (which I loved), but after 100 miles with the Lone Peak 3.0’s, I think I have a new favorite trail runner. Review forthcoming.
Additional Considerations / Advice / Misc.
- If hiking in a larger-ish group with several tents and you don’t secure the group campsite (there is one group campsite and several regular campsites per camp; group campsites are assigned at the ranger station), there is good reason to get to camp on the earlier side. Not all campsites are created equally: some offer more flat ground and space, some offer better views, some have better access to water, and some are painfully close to the toilet. Enjoying views and splashing in lakes should be the focus of your day, but perhaps this information will provide some motivation to wake up earlier.
- As a tangent on the above point…in an alternate universe, Mt. Rainier National Park will allow stealth, backcountry camping, and it will be glorious. Although I understand why, only being able to sleep at designated campsites is objectively a bummer.
- I used Guthook’s Wonderland Trail Guide (part of his PCT app) and loved it (as I have and do for other long trails). The other two in our group carried the Wonderland Trail maps, and we found ourselves using the app more much more often. The app has shortcomings, namely that there’s no elevation profile for the alternate trails (e.g. Spray Park), but overall, this provided better guidance for the ongoing question of “when the hell does this climb/descent end?”. The app makes for a great supplement, not a replacement. (UPDATE: I’ve been informed that by drawing custom routes within Guthook’s app, you can get an elevation profile for the non-standard sections. Thanks for the tip, Wired)!
- On the subject of maps, there are two options for the Wonderland Trail: the Green Trails Map and the National Geographic Map. Neither is perfect, although we found the Green Trails Map to be superior. One gentleman we passed went as far as to say that the NatGeo map “should be ashamed of itself,” which we found quite funny and referenced no fewer than 300 times throughout the remainder of the trip.
- Our original permit had us camping / hiking the Eastside Trail. After a series of bizarre events, we managed to stay on the Wonderland Trail instead. This was good news considering the east side was hands down our favorite stretch (although we really didn’t get to see the west side due to the fog) and we had heard from a couple of people (including the ranger), that the Eastside Trail is inferior, relatively. Do what you can to stay on the Wonderland Trail through this stretch.
- As mentioned in the photo section below, one of our campsites, Snow Lake, was 1.5 miles off the trail. Because our previous night’s stay was also off the trail, all downhill, to a craptastic campsite (that’s right, I’m talking about you Olallie Creek), we were less than thrilled to seemingly do the same thing all over again. Thankfully, we were wrong. Snow Lake is beautiful and well worth the extra hike. Photo proof below.
- The only place I had service on the entire trail was the campsite at Summerland. I have AT&T. The other two, who had Verizon, had a bit more service, but not much.
Photos
Okay enough with that boring word stuff. Here’s some visual majesty.

Because dropping off the last of our caches added another four driving hours, we didn’t hit the trail until 7:30pm. With nearly 7-miles to camp, our first experience of the Wonderland Trail was largely under the near-full moon.
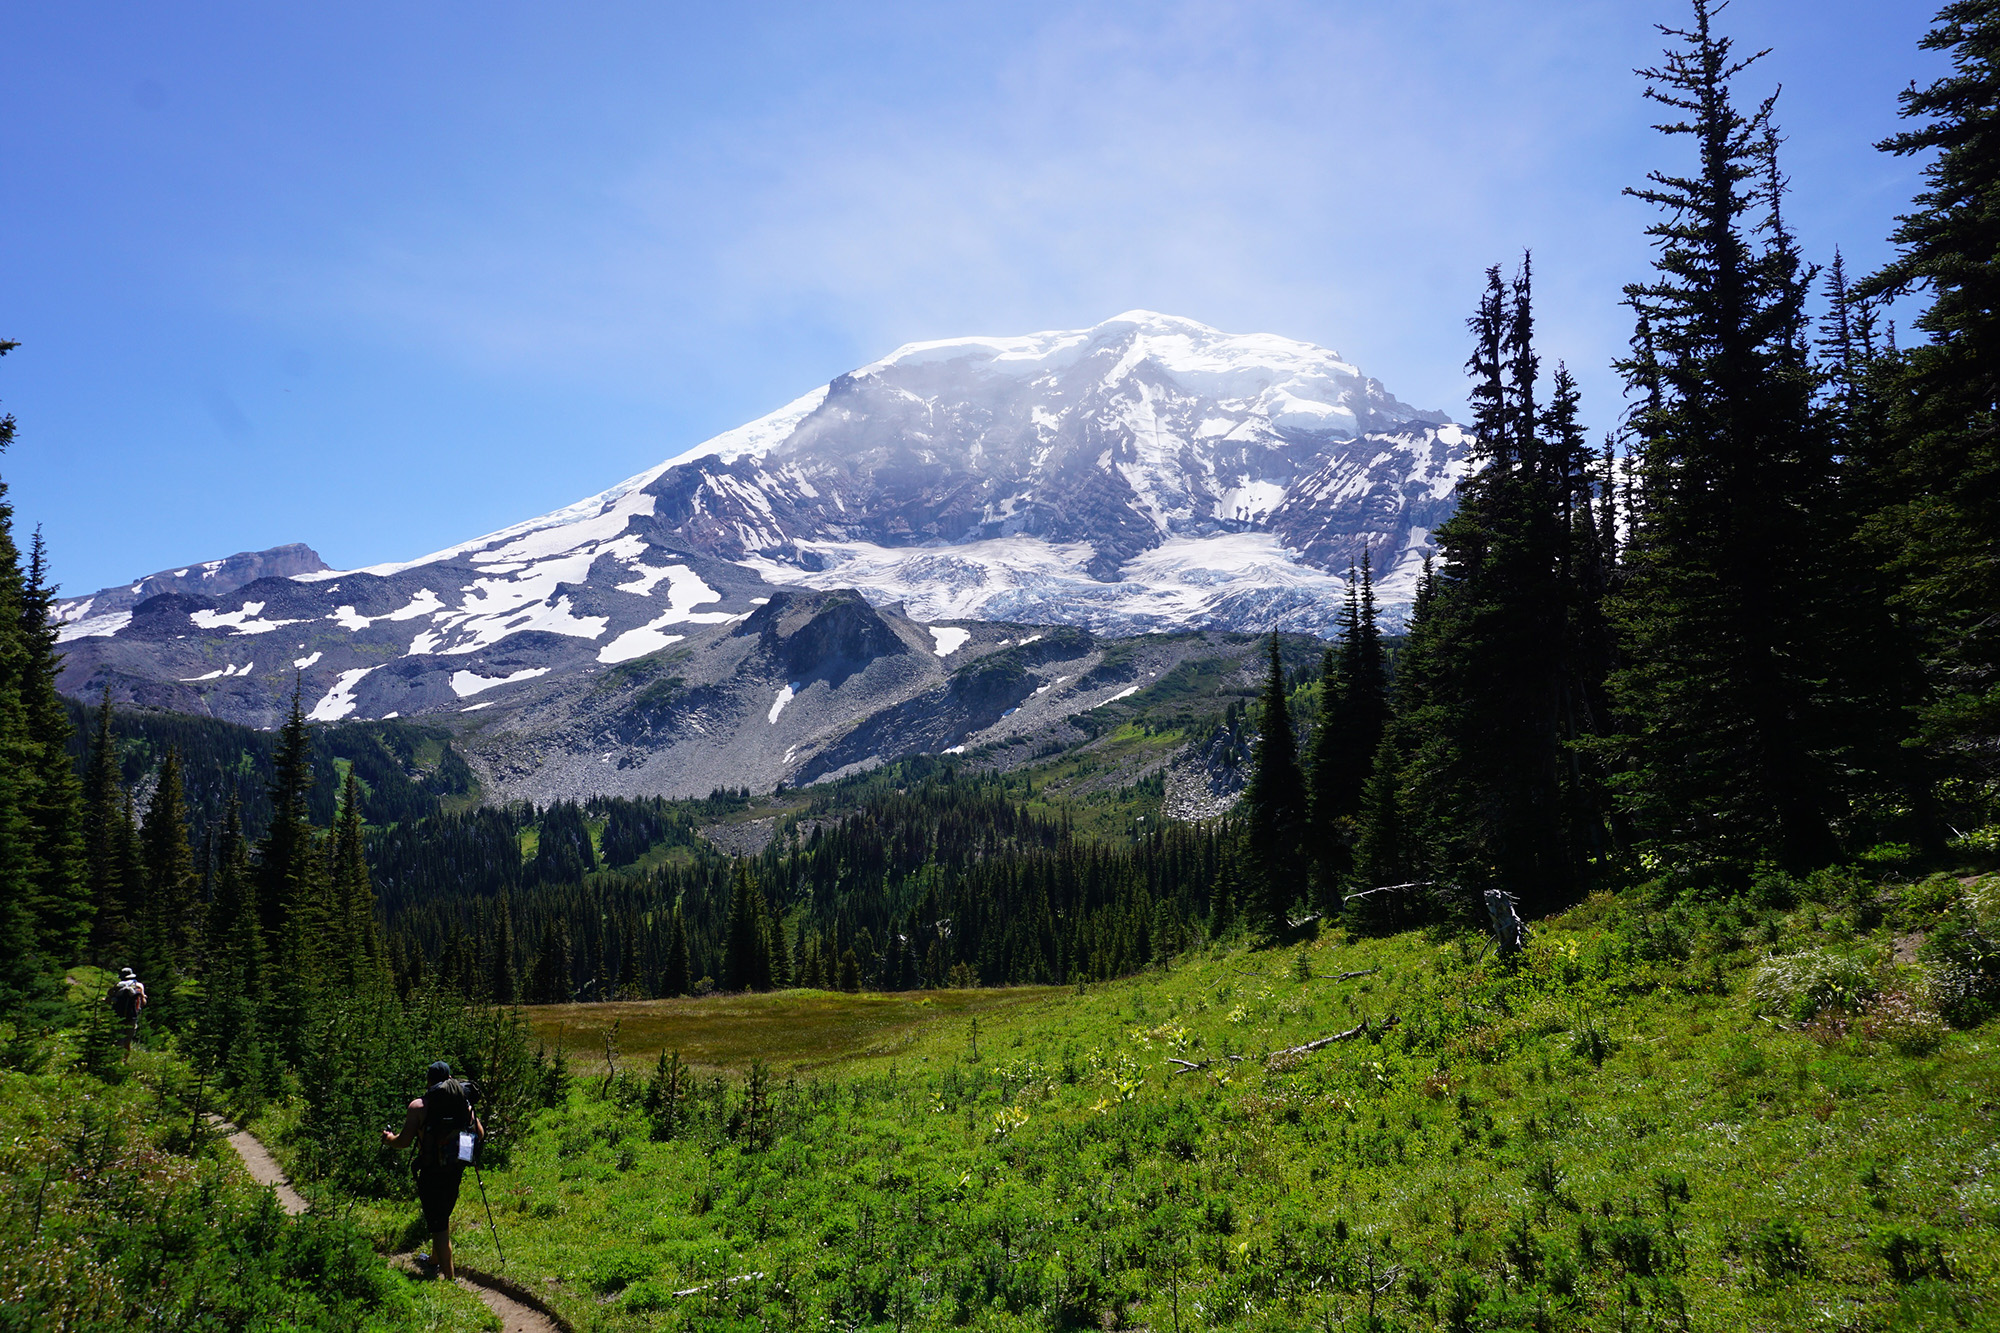
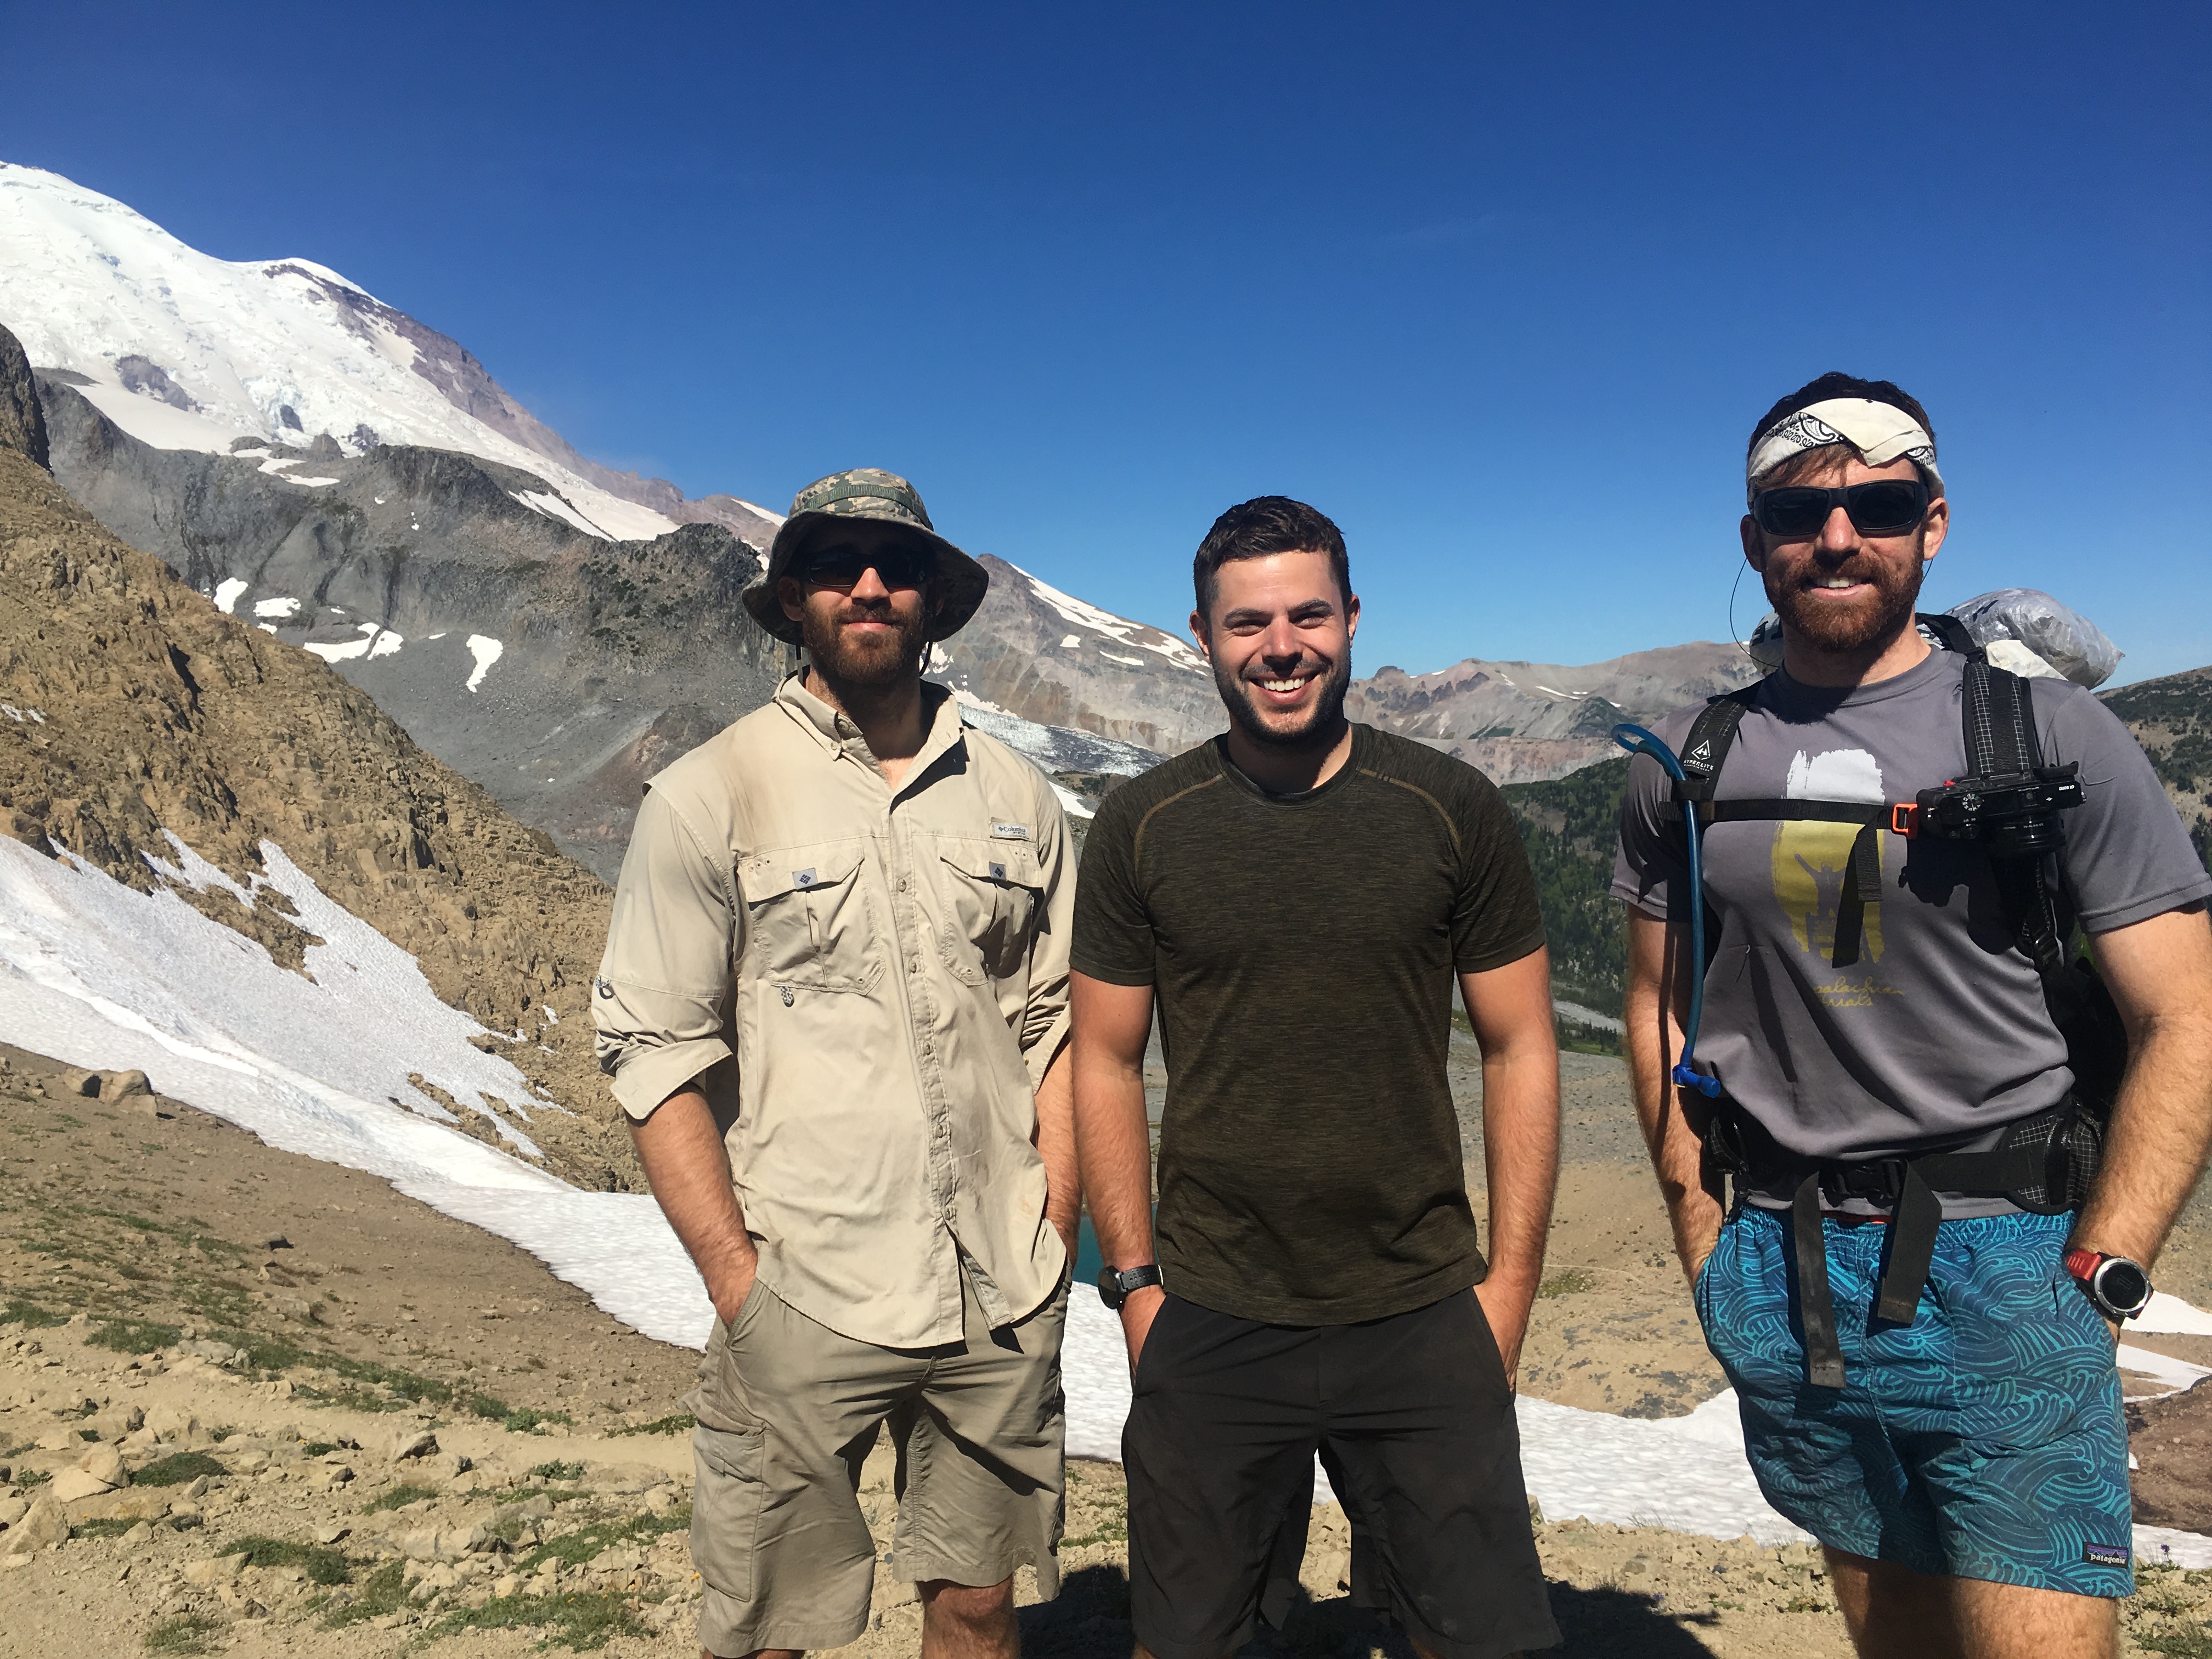
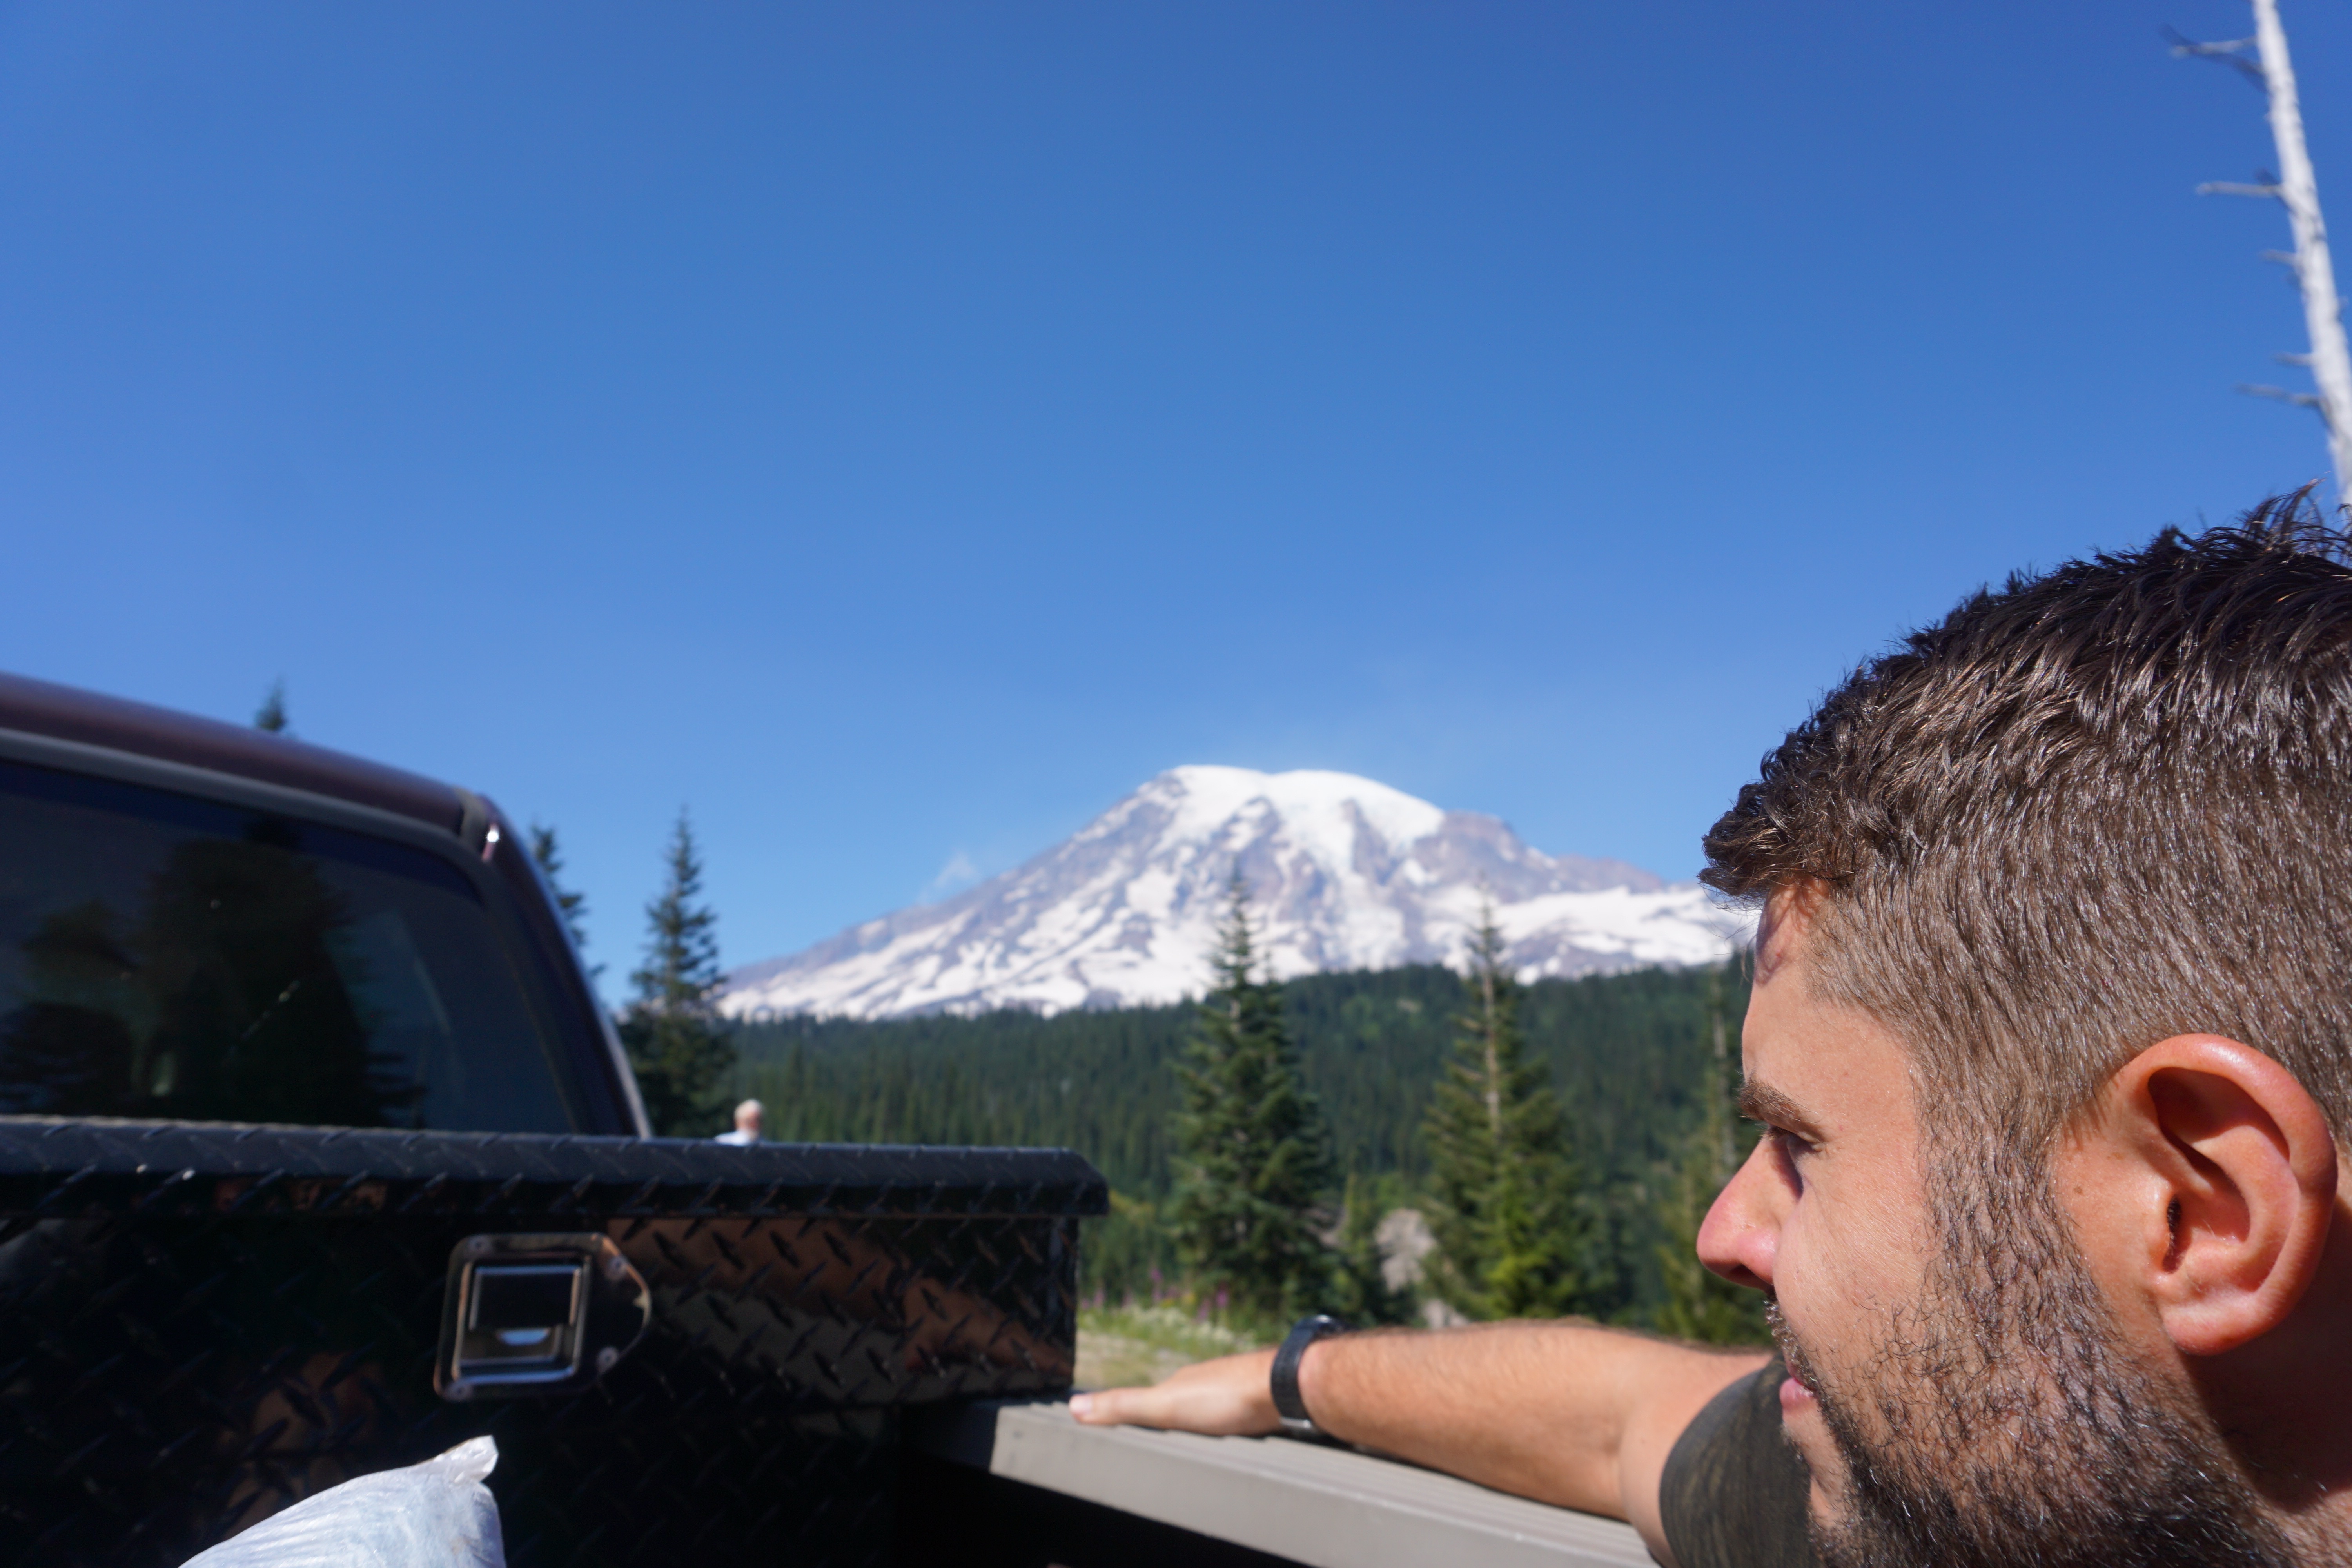
Mt. Rainier, the main event. On this day, the mountain was crowned with a persistent mystic glow, which was appropriate, considering we spent a couple hours chilling in Mystic Lake (just a mile past the location of this photo).
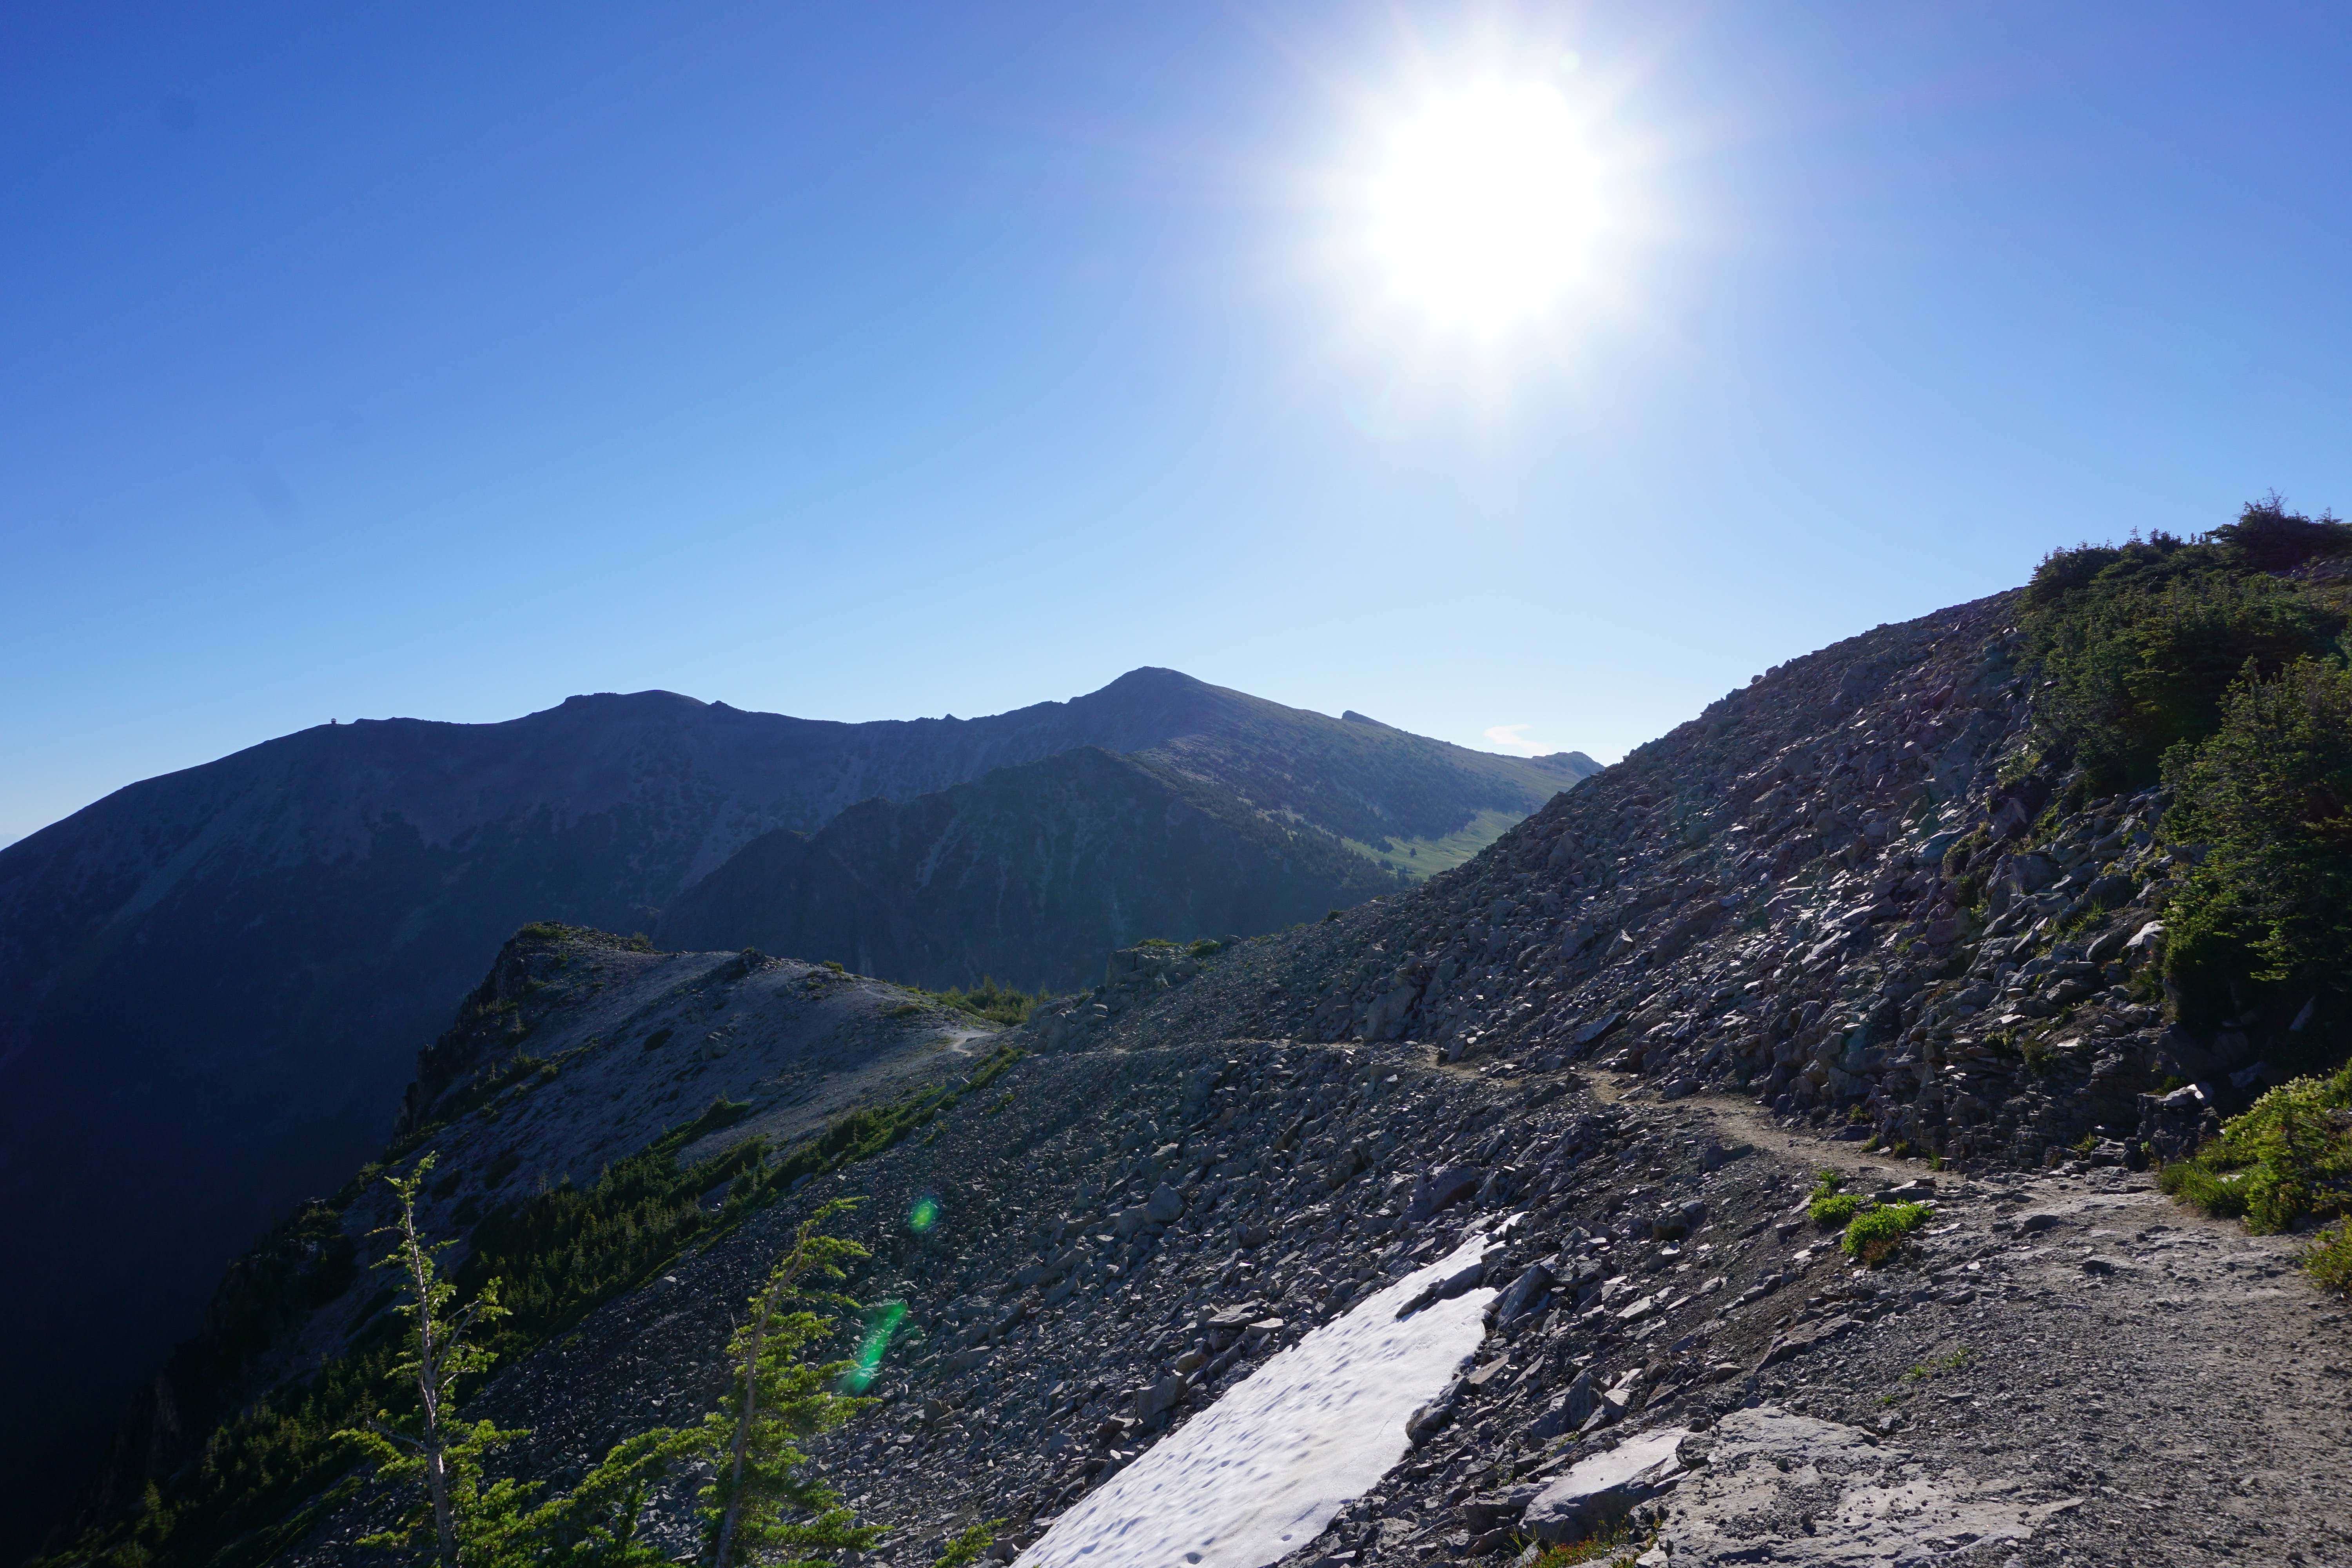
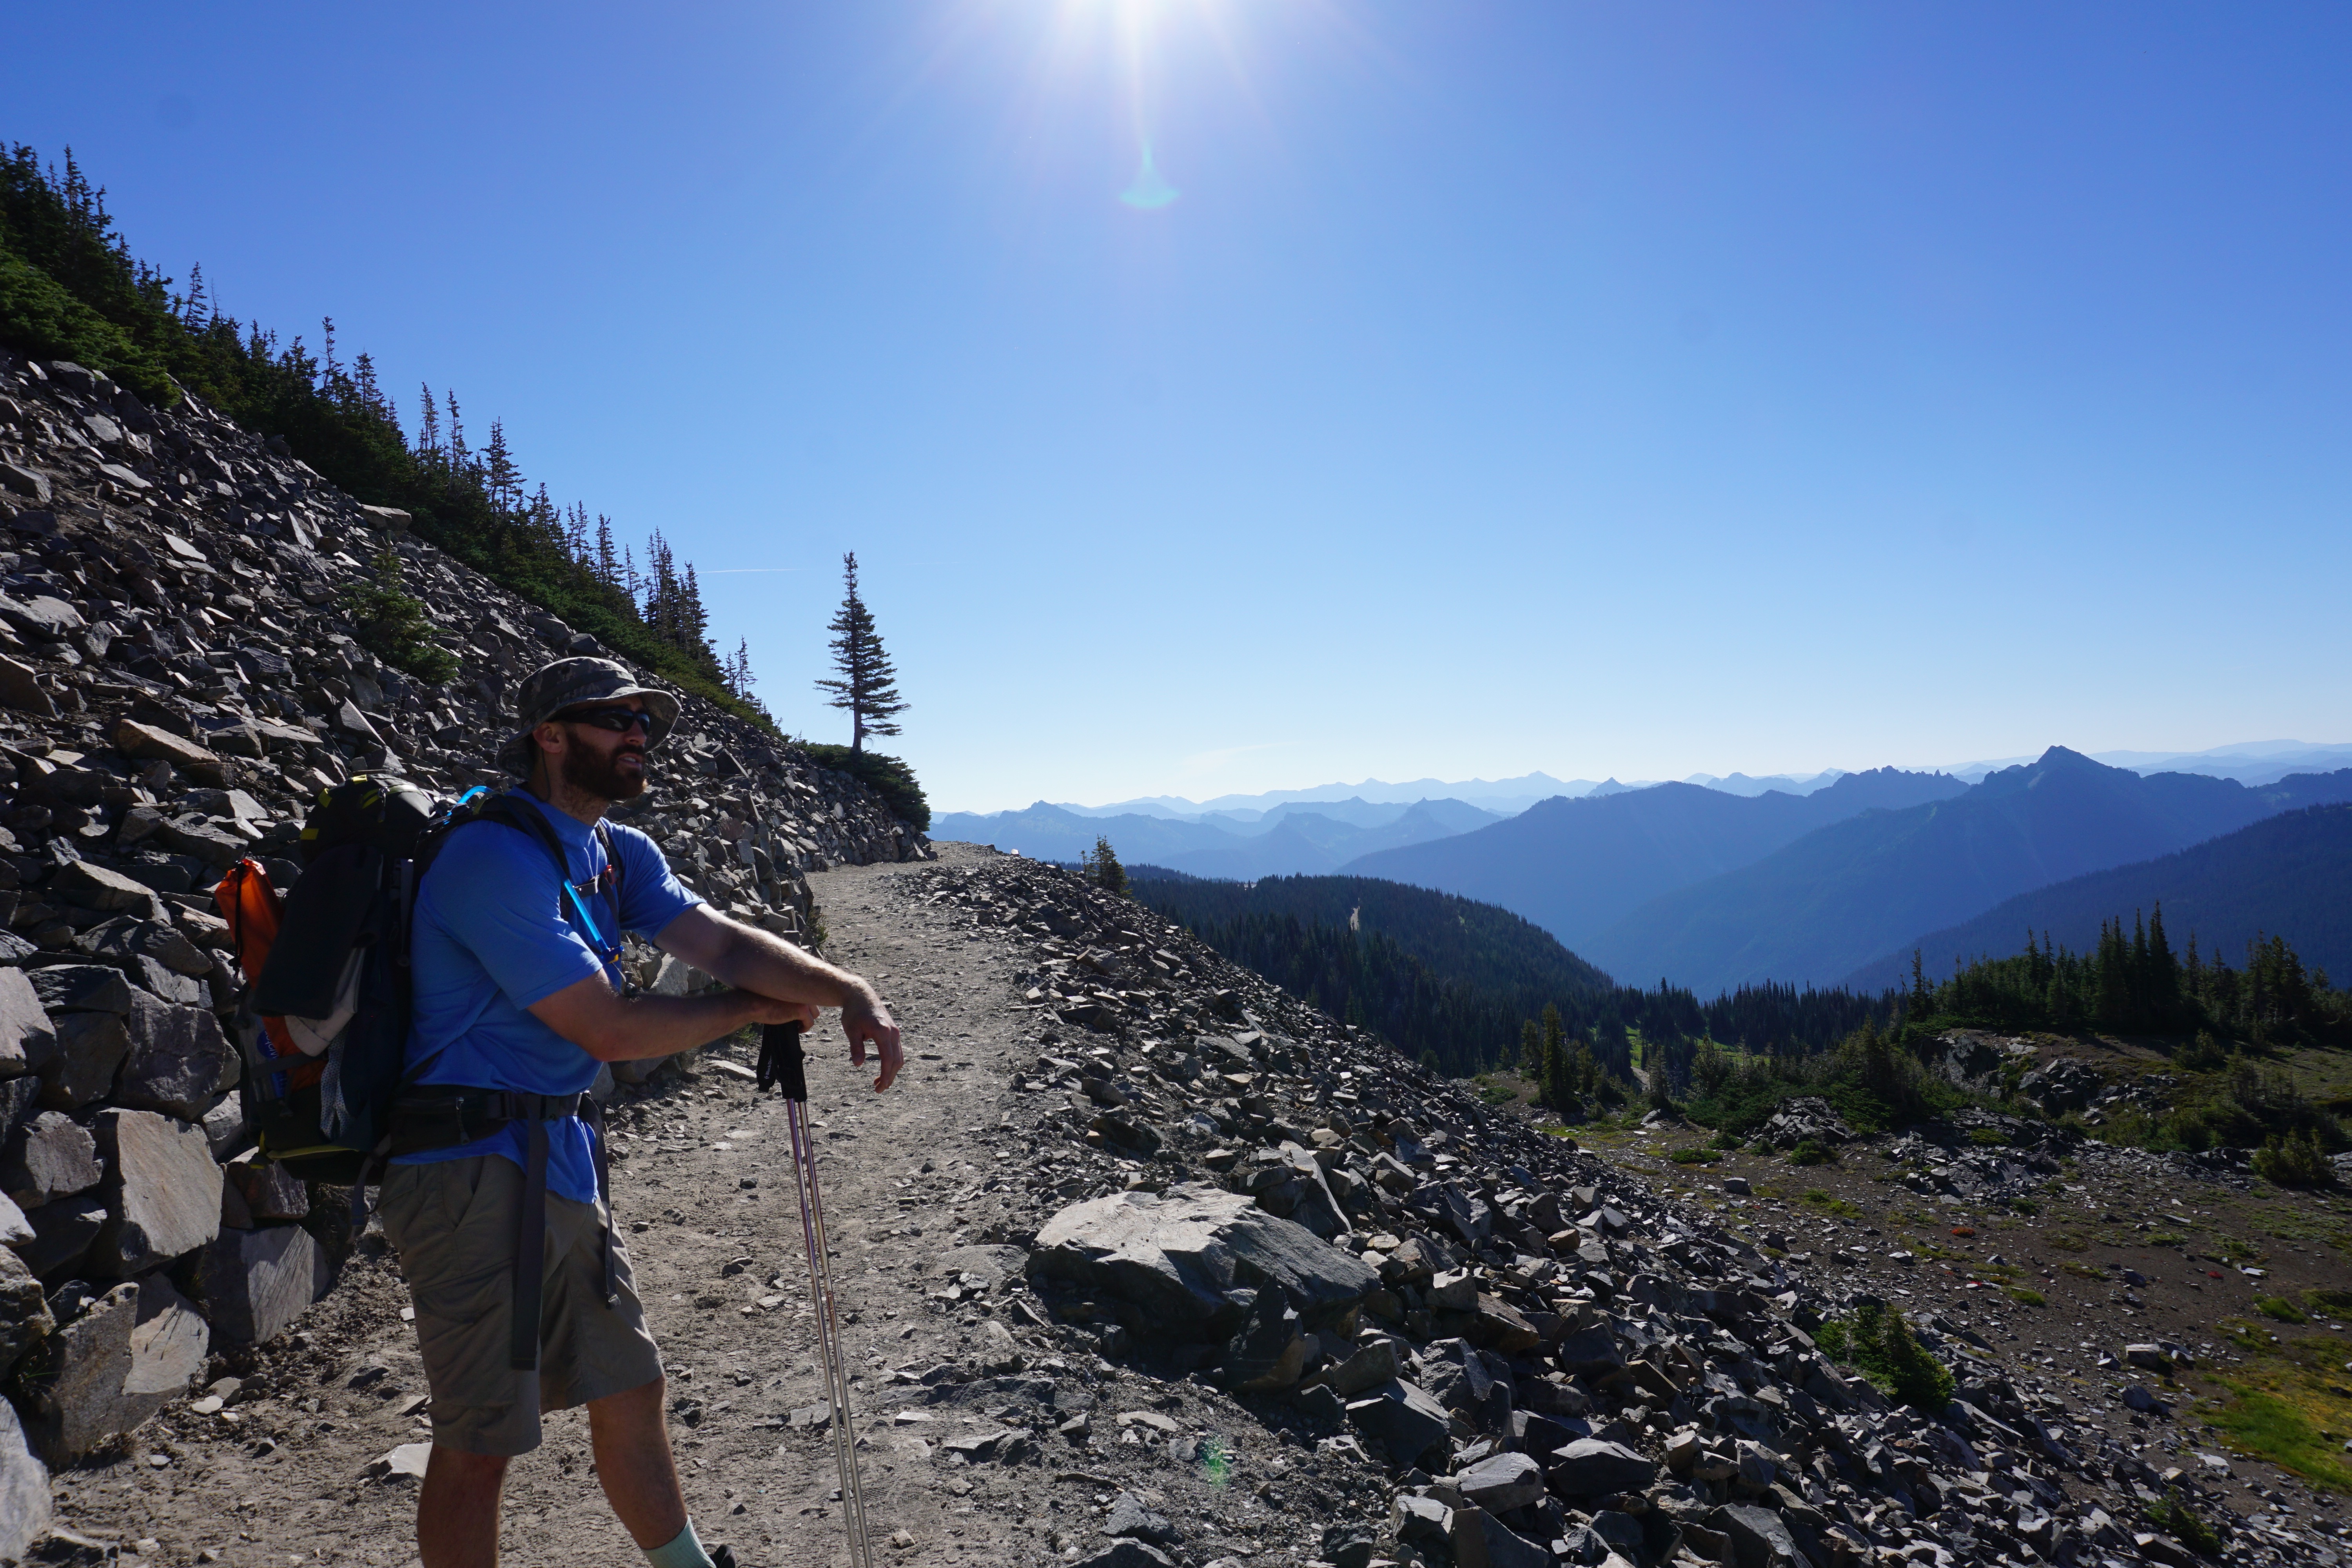
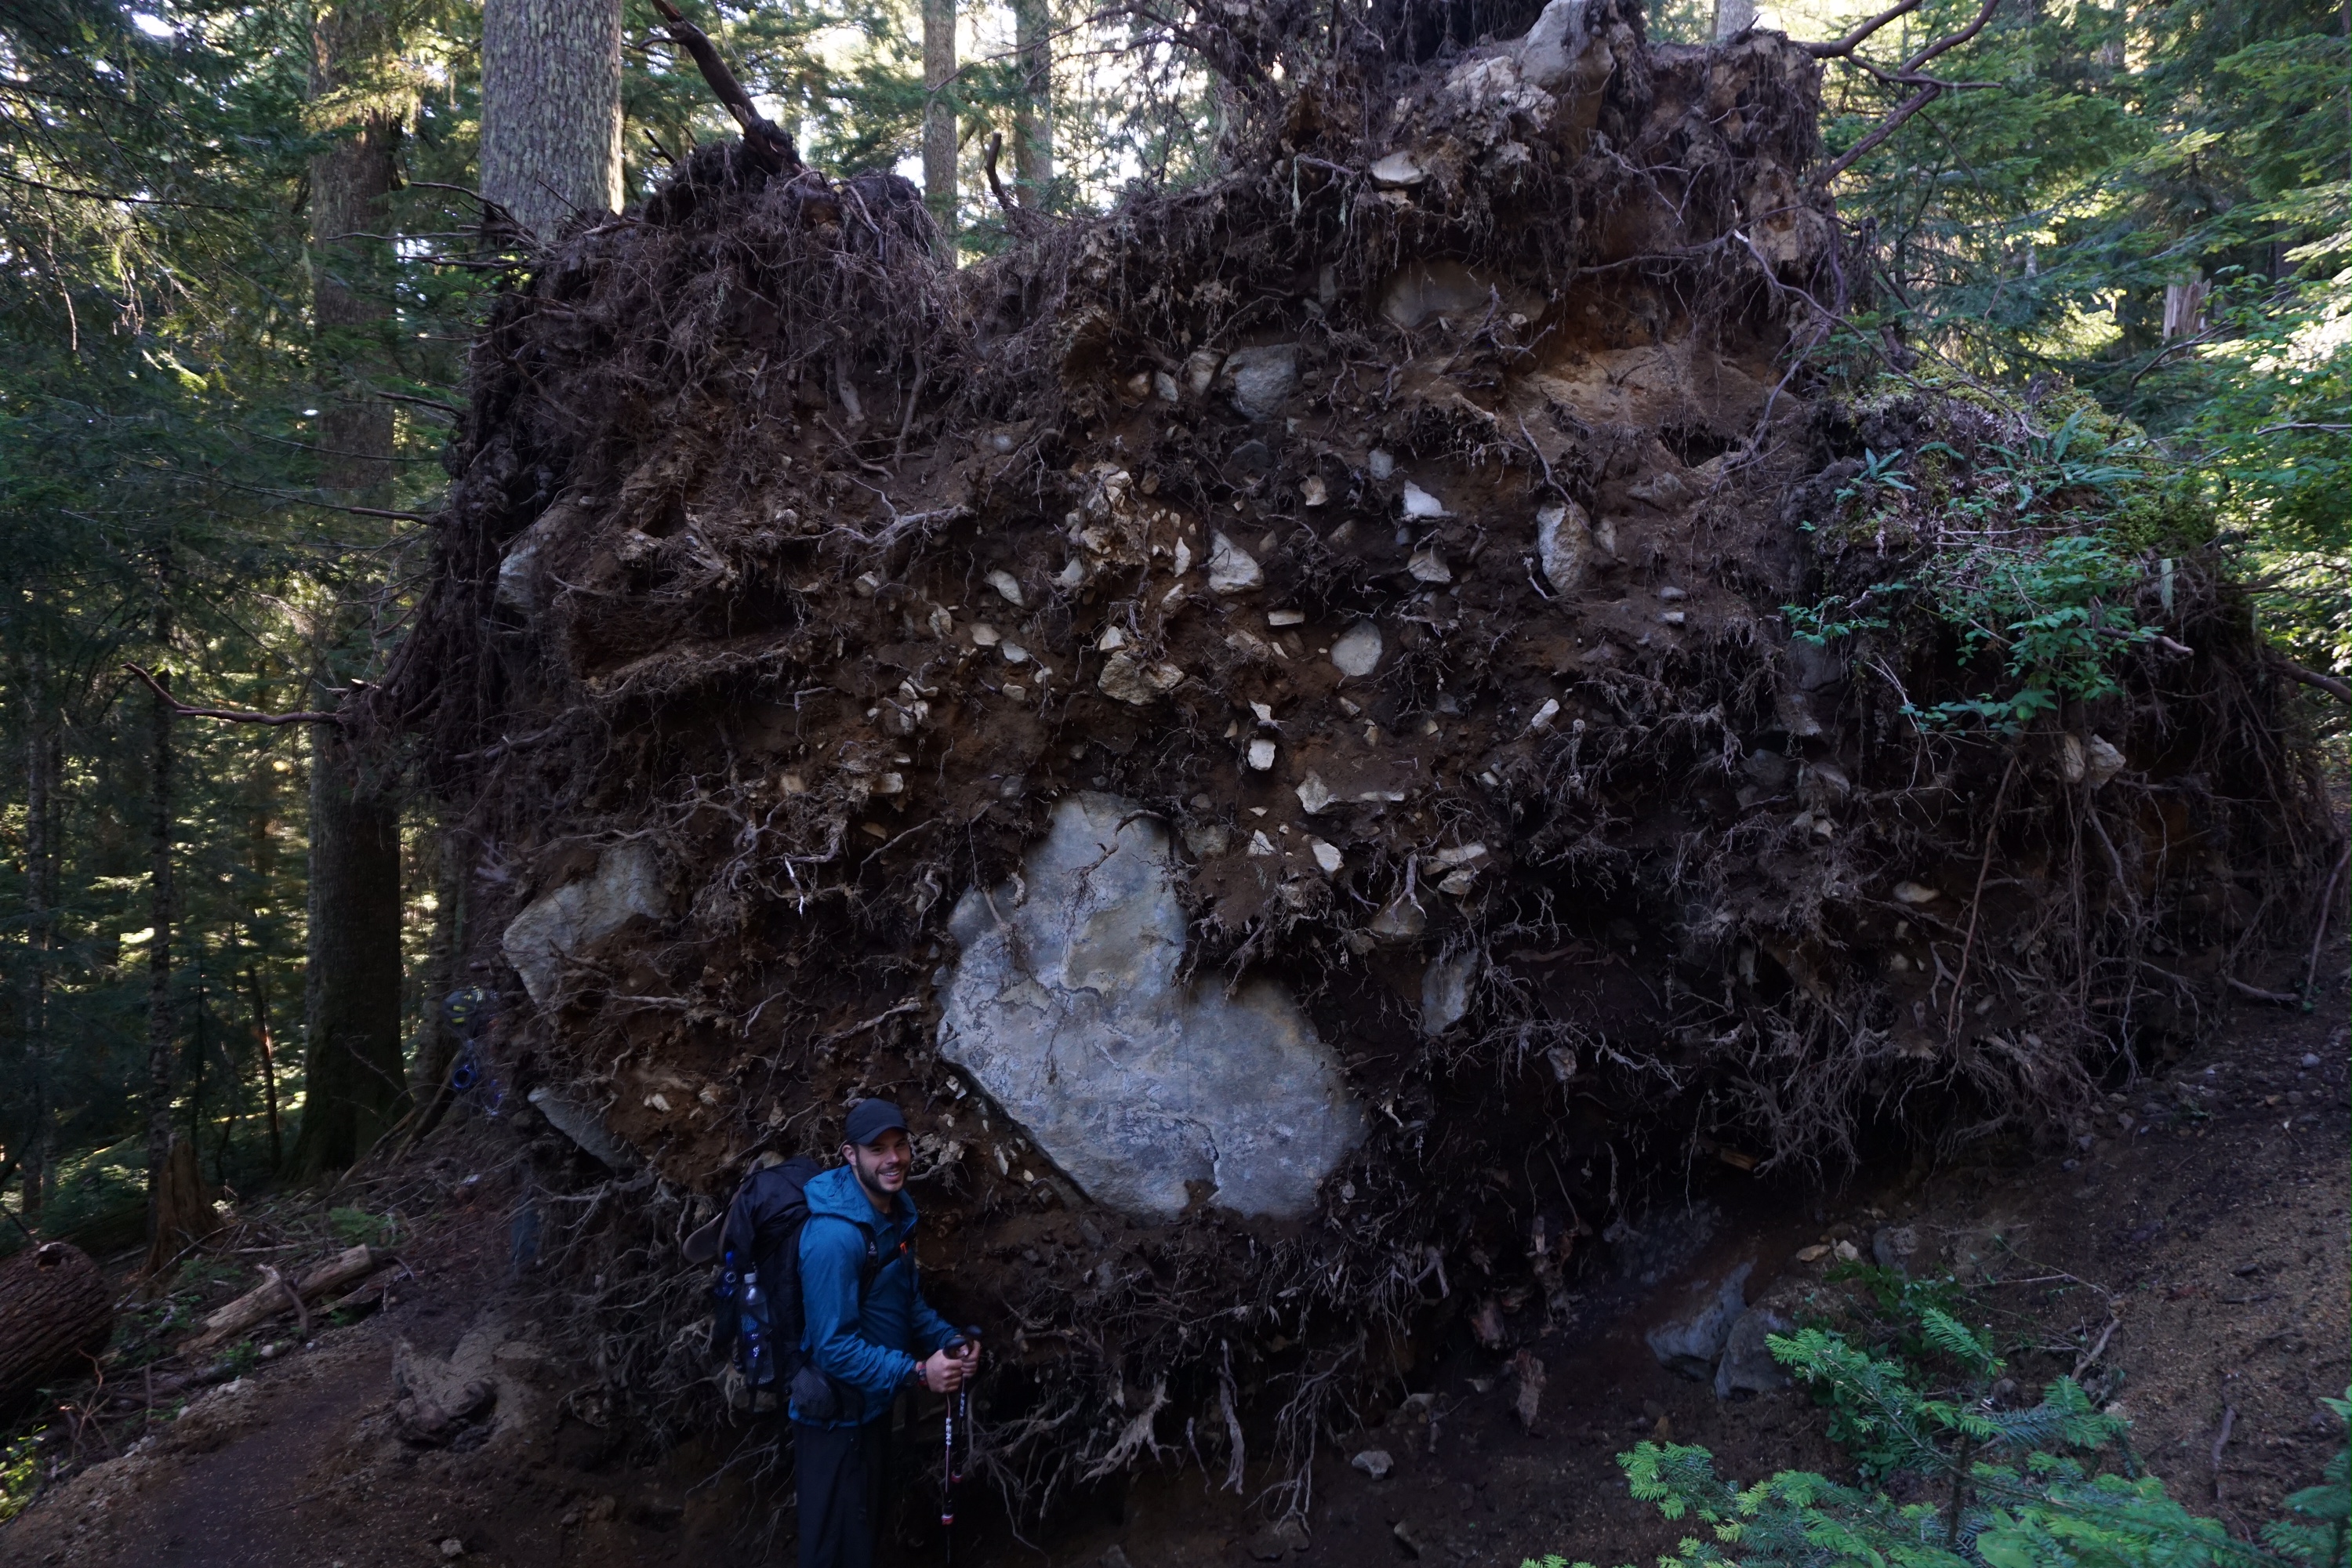
Beau (trail name “Beau Job”), pictured here, early on in the trip confessed that he doesn’t particularly like hiking. He was in it for the workout and promise of a great trail name, which he got. You’re welcome.

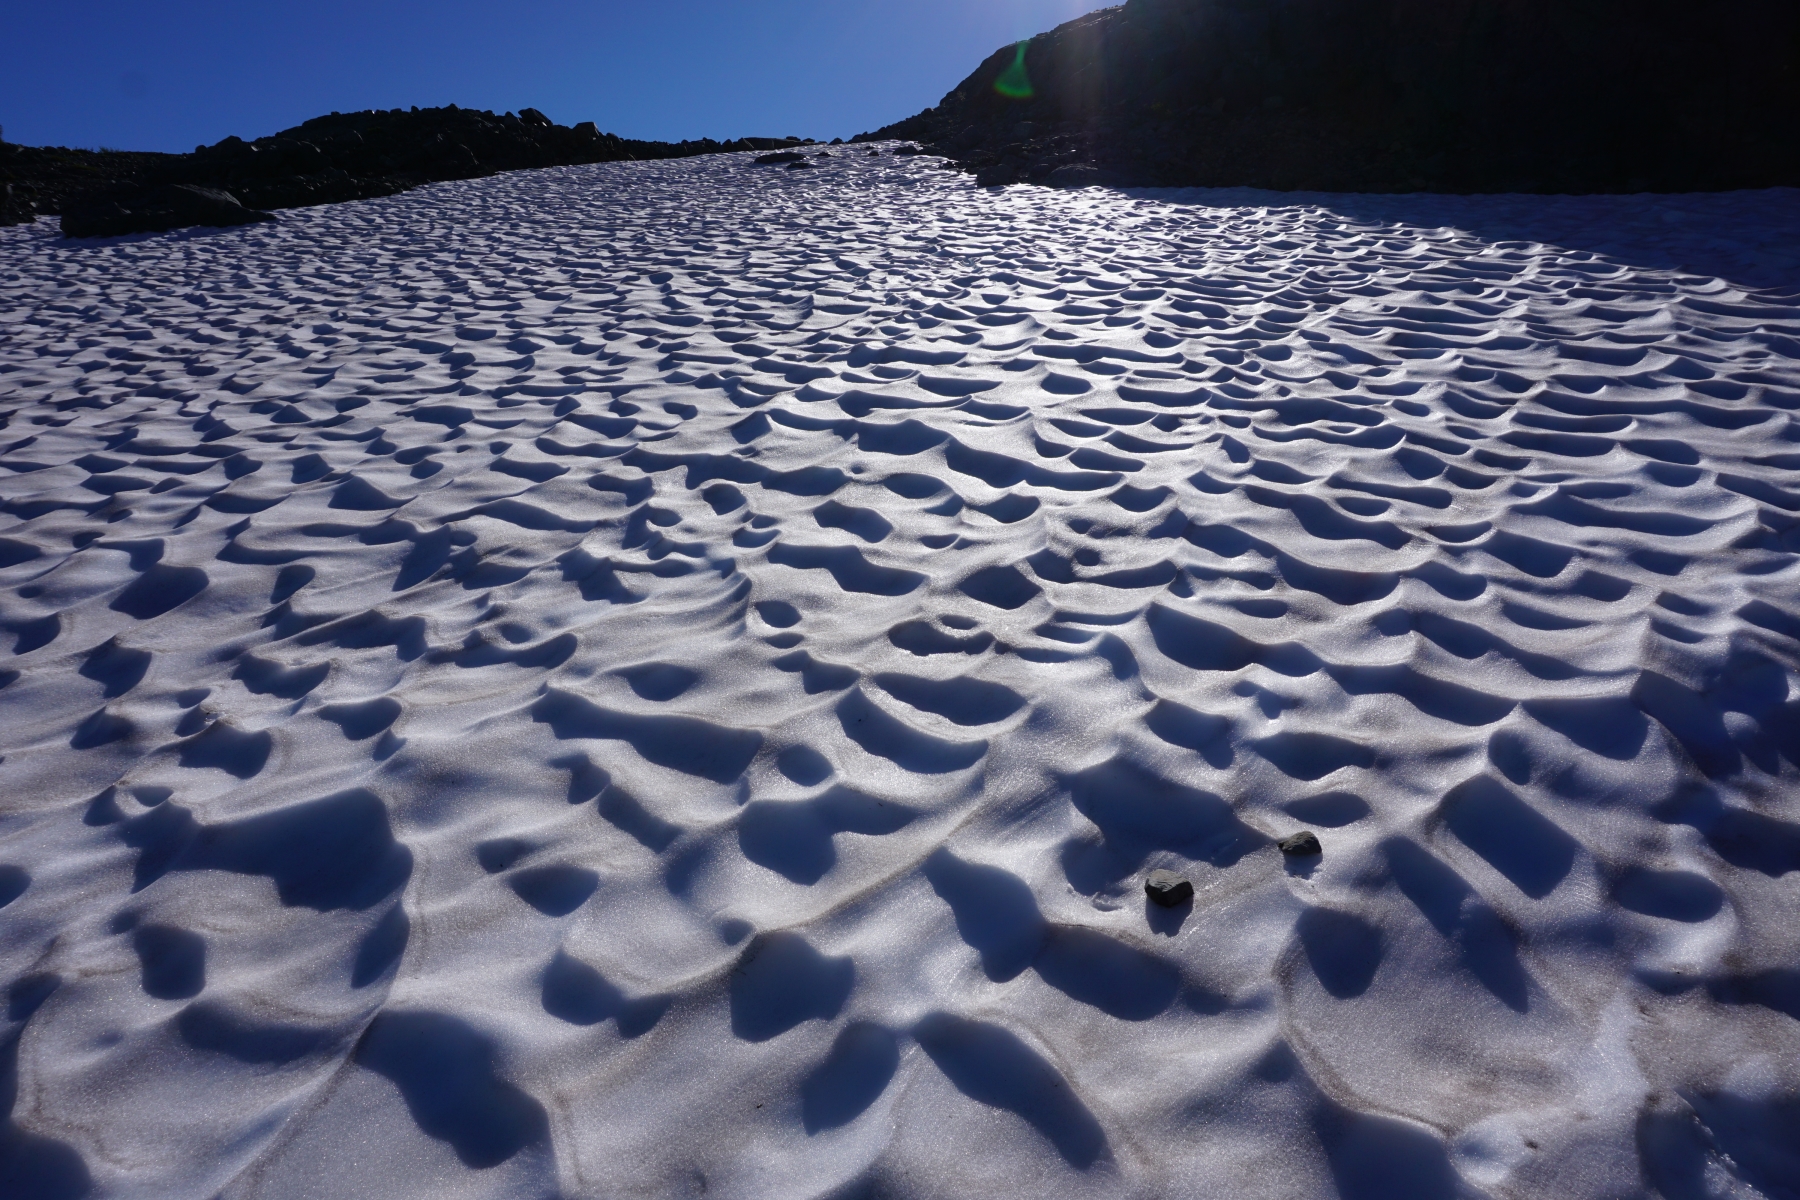

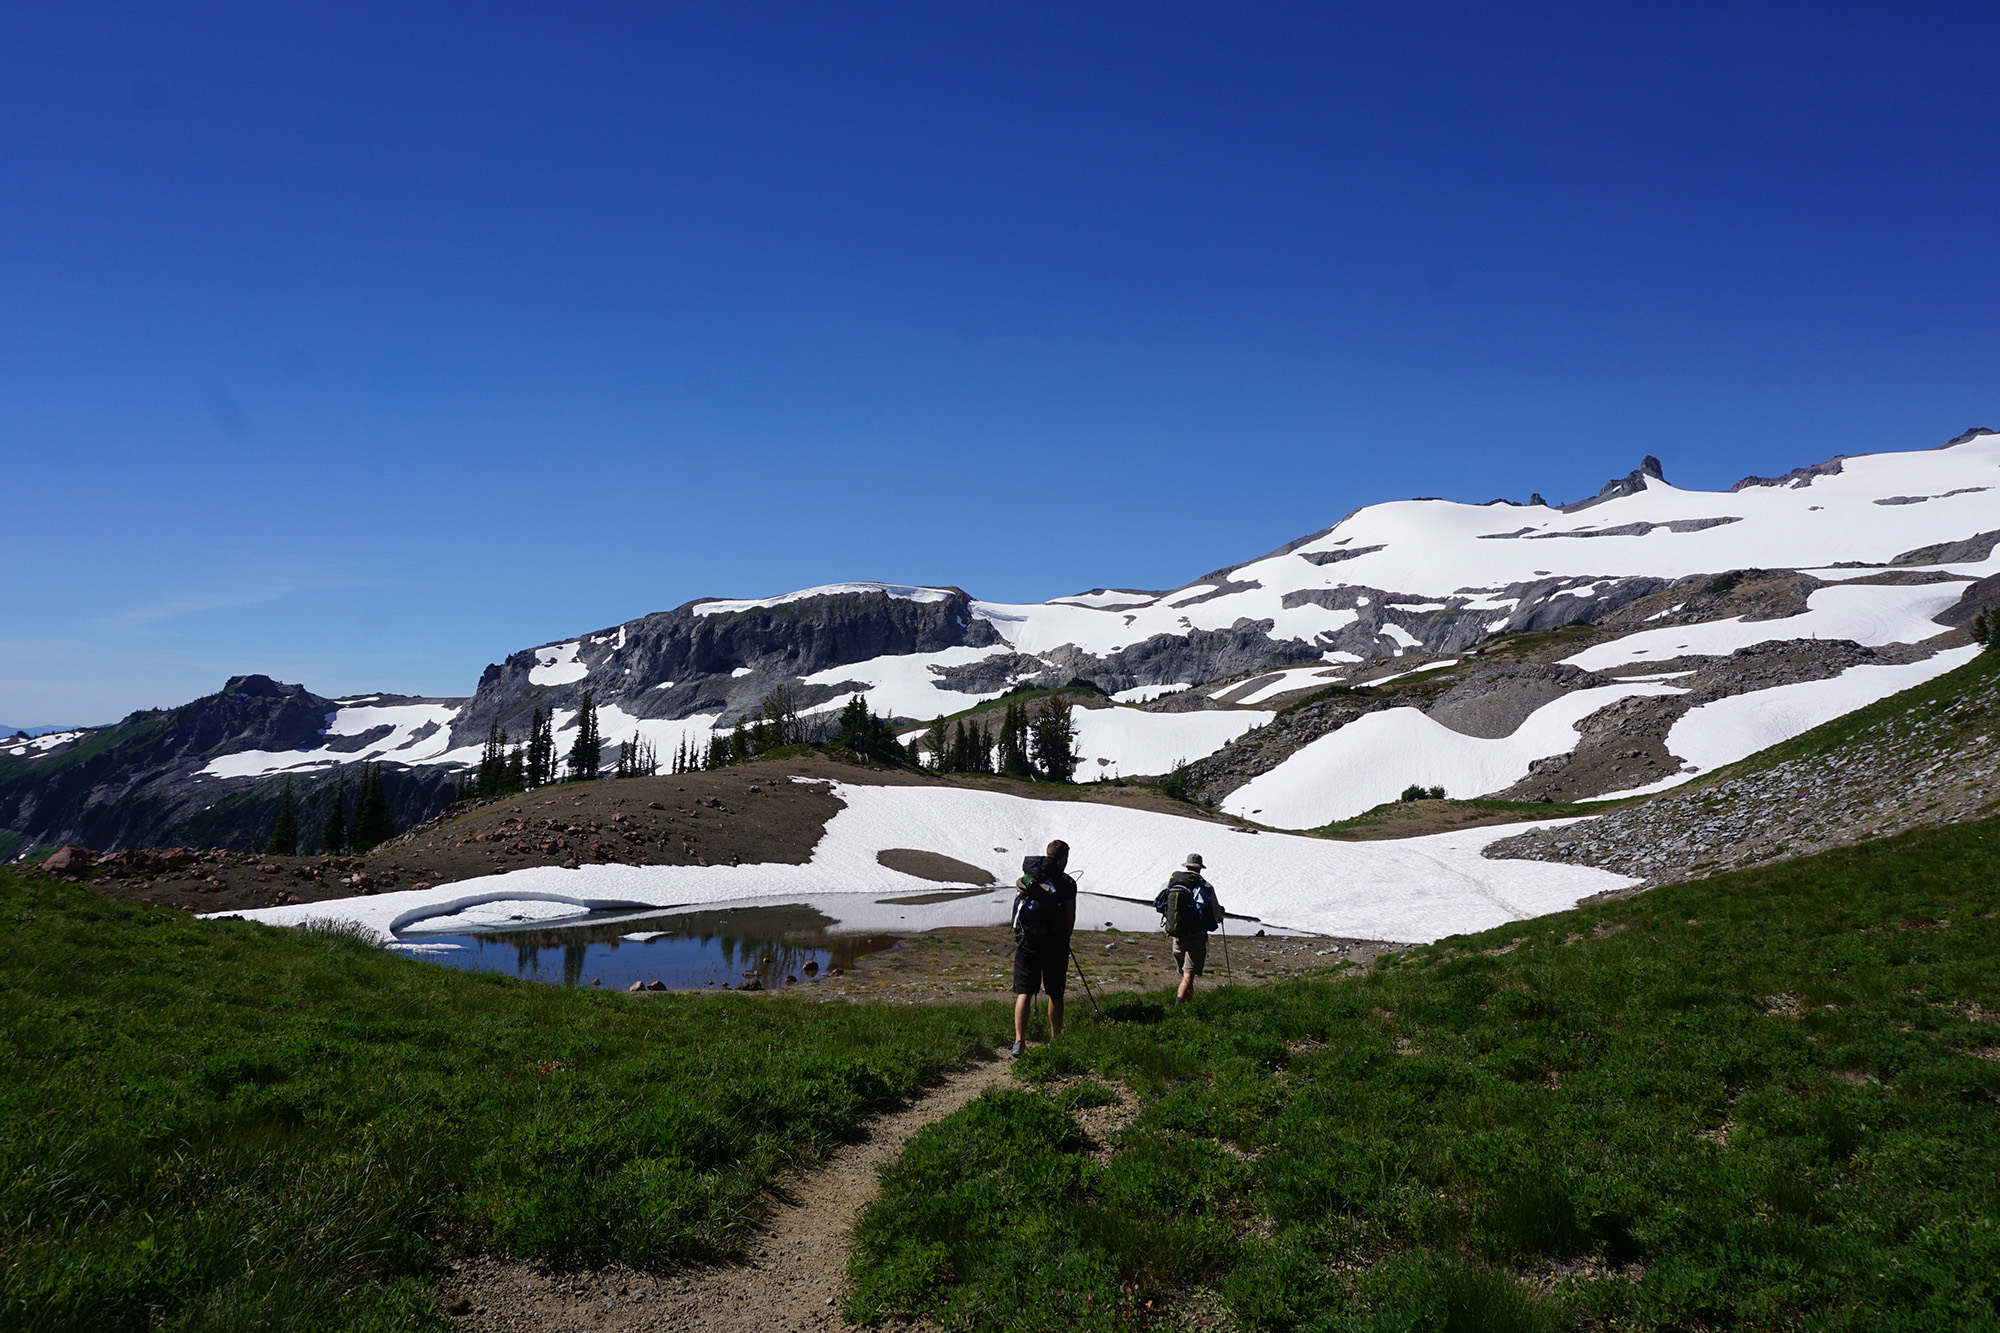
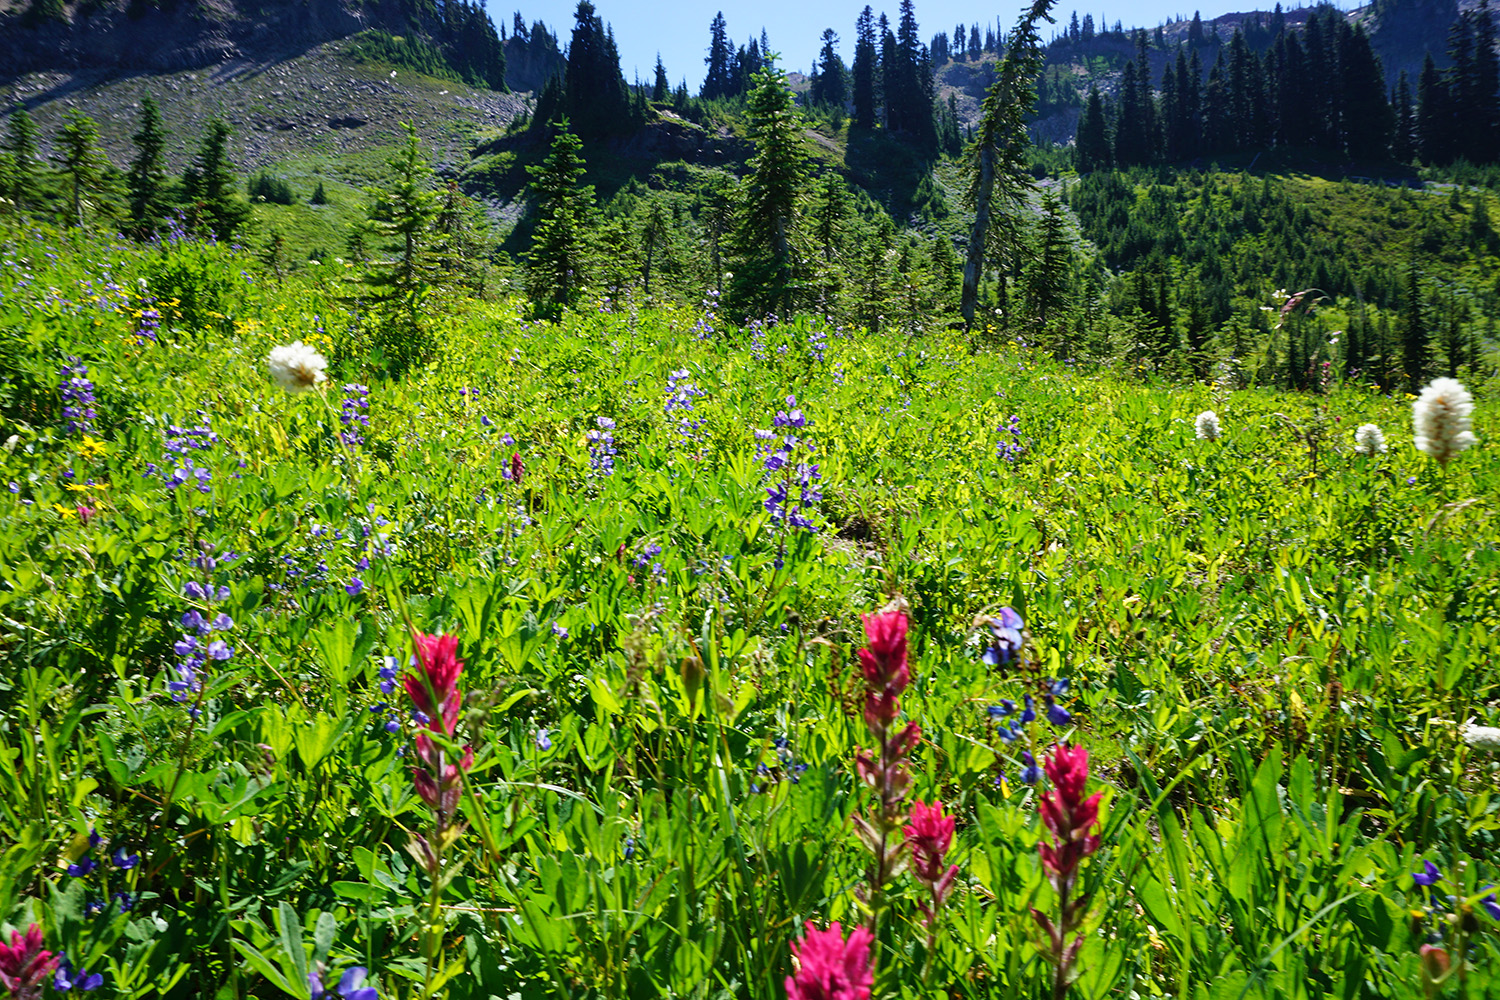
After much debate, we came to a consensus as to why many of the lakes in this area are so green: “Minerals”.


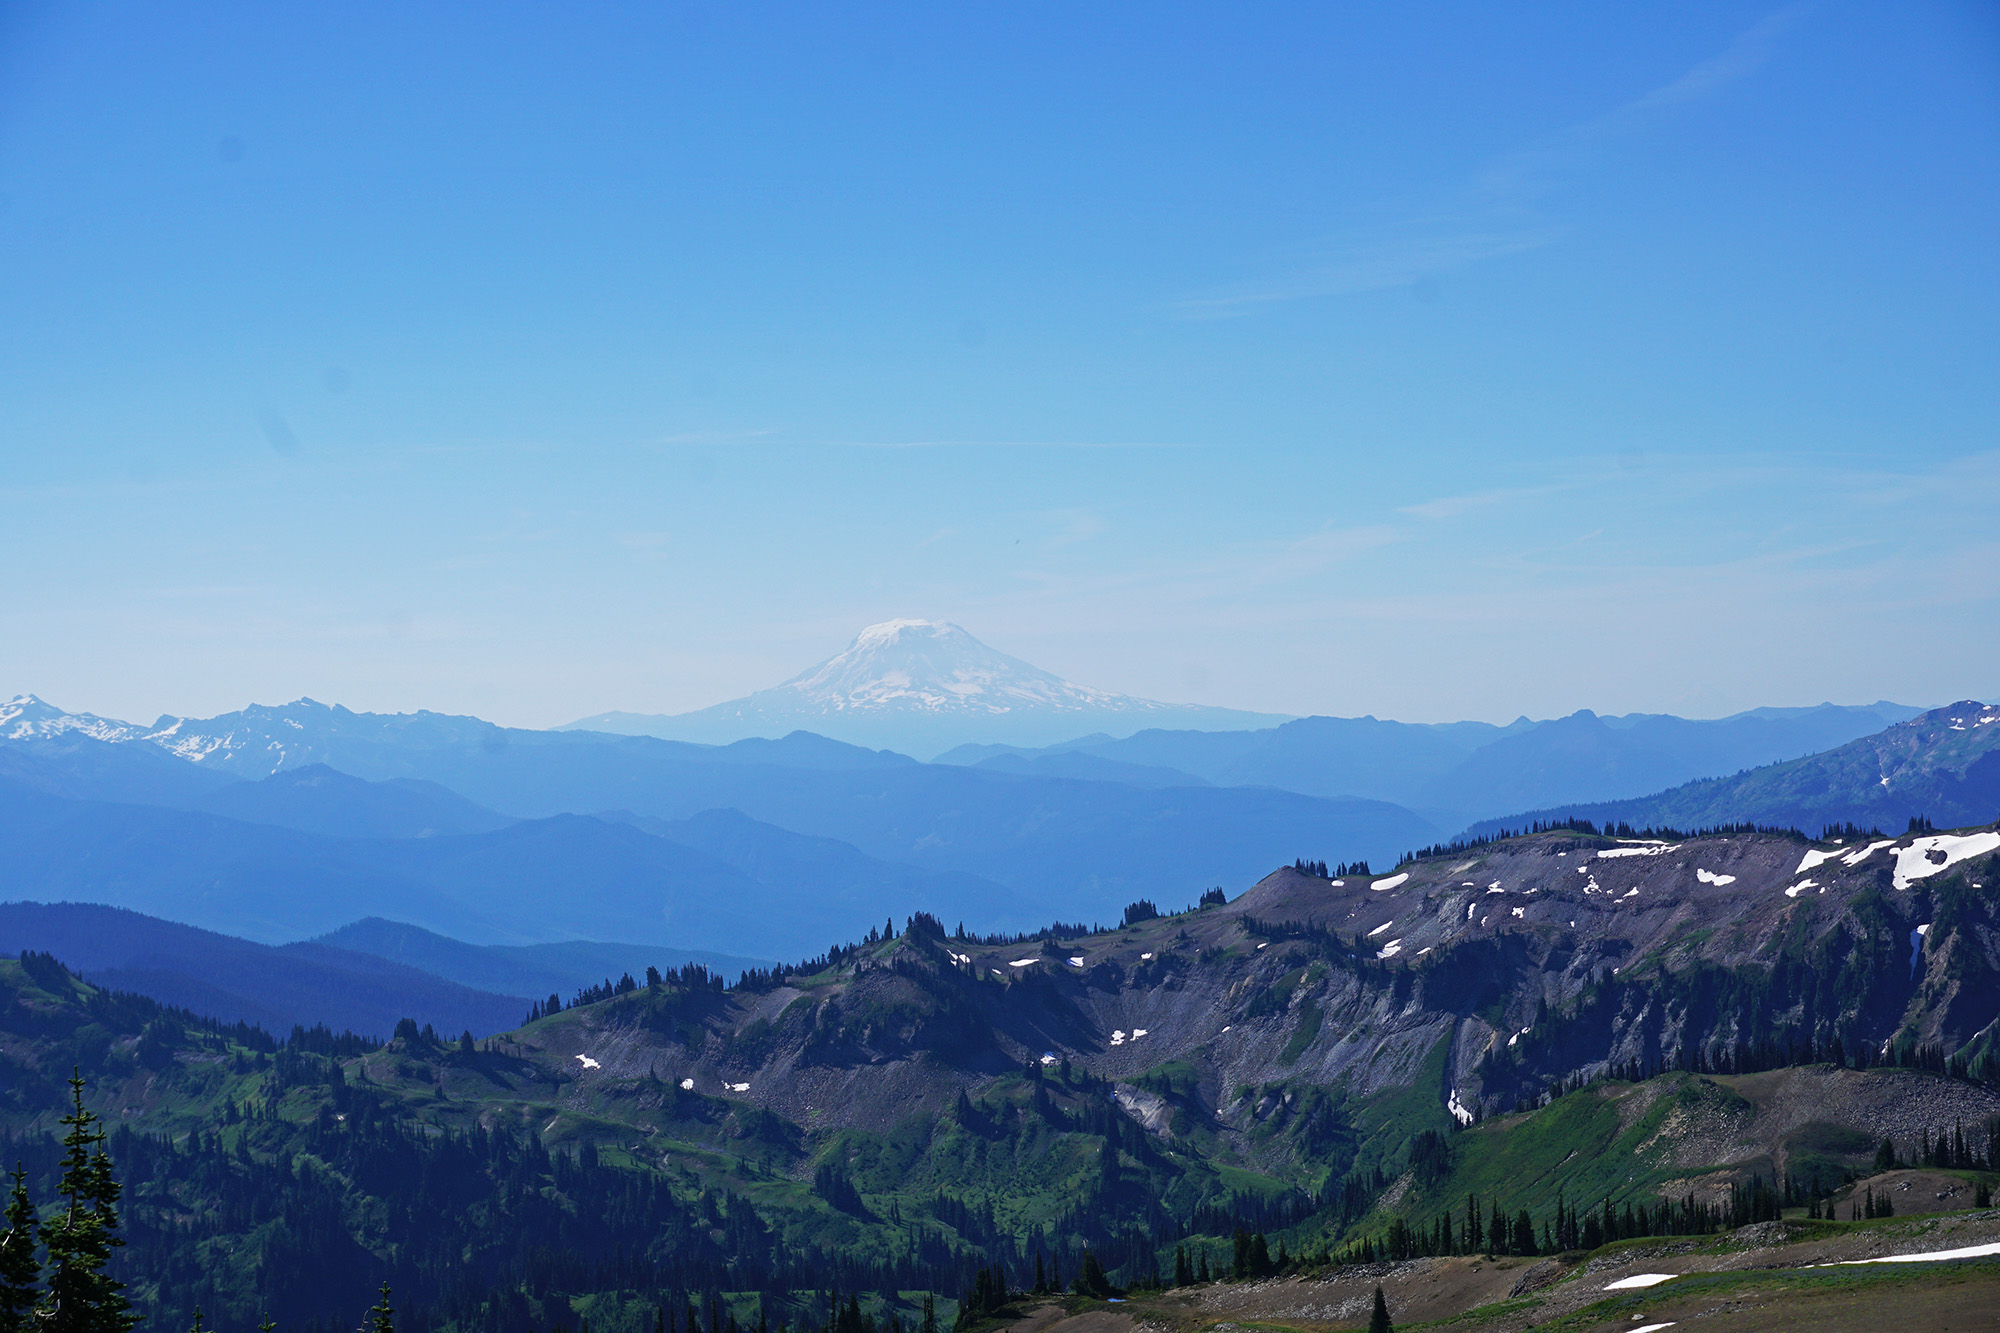
Mt. Adams off in the distance. To the left side of the picture is Goat Rocks Wilderness (a highlight of the PCT).


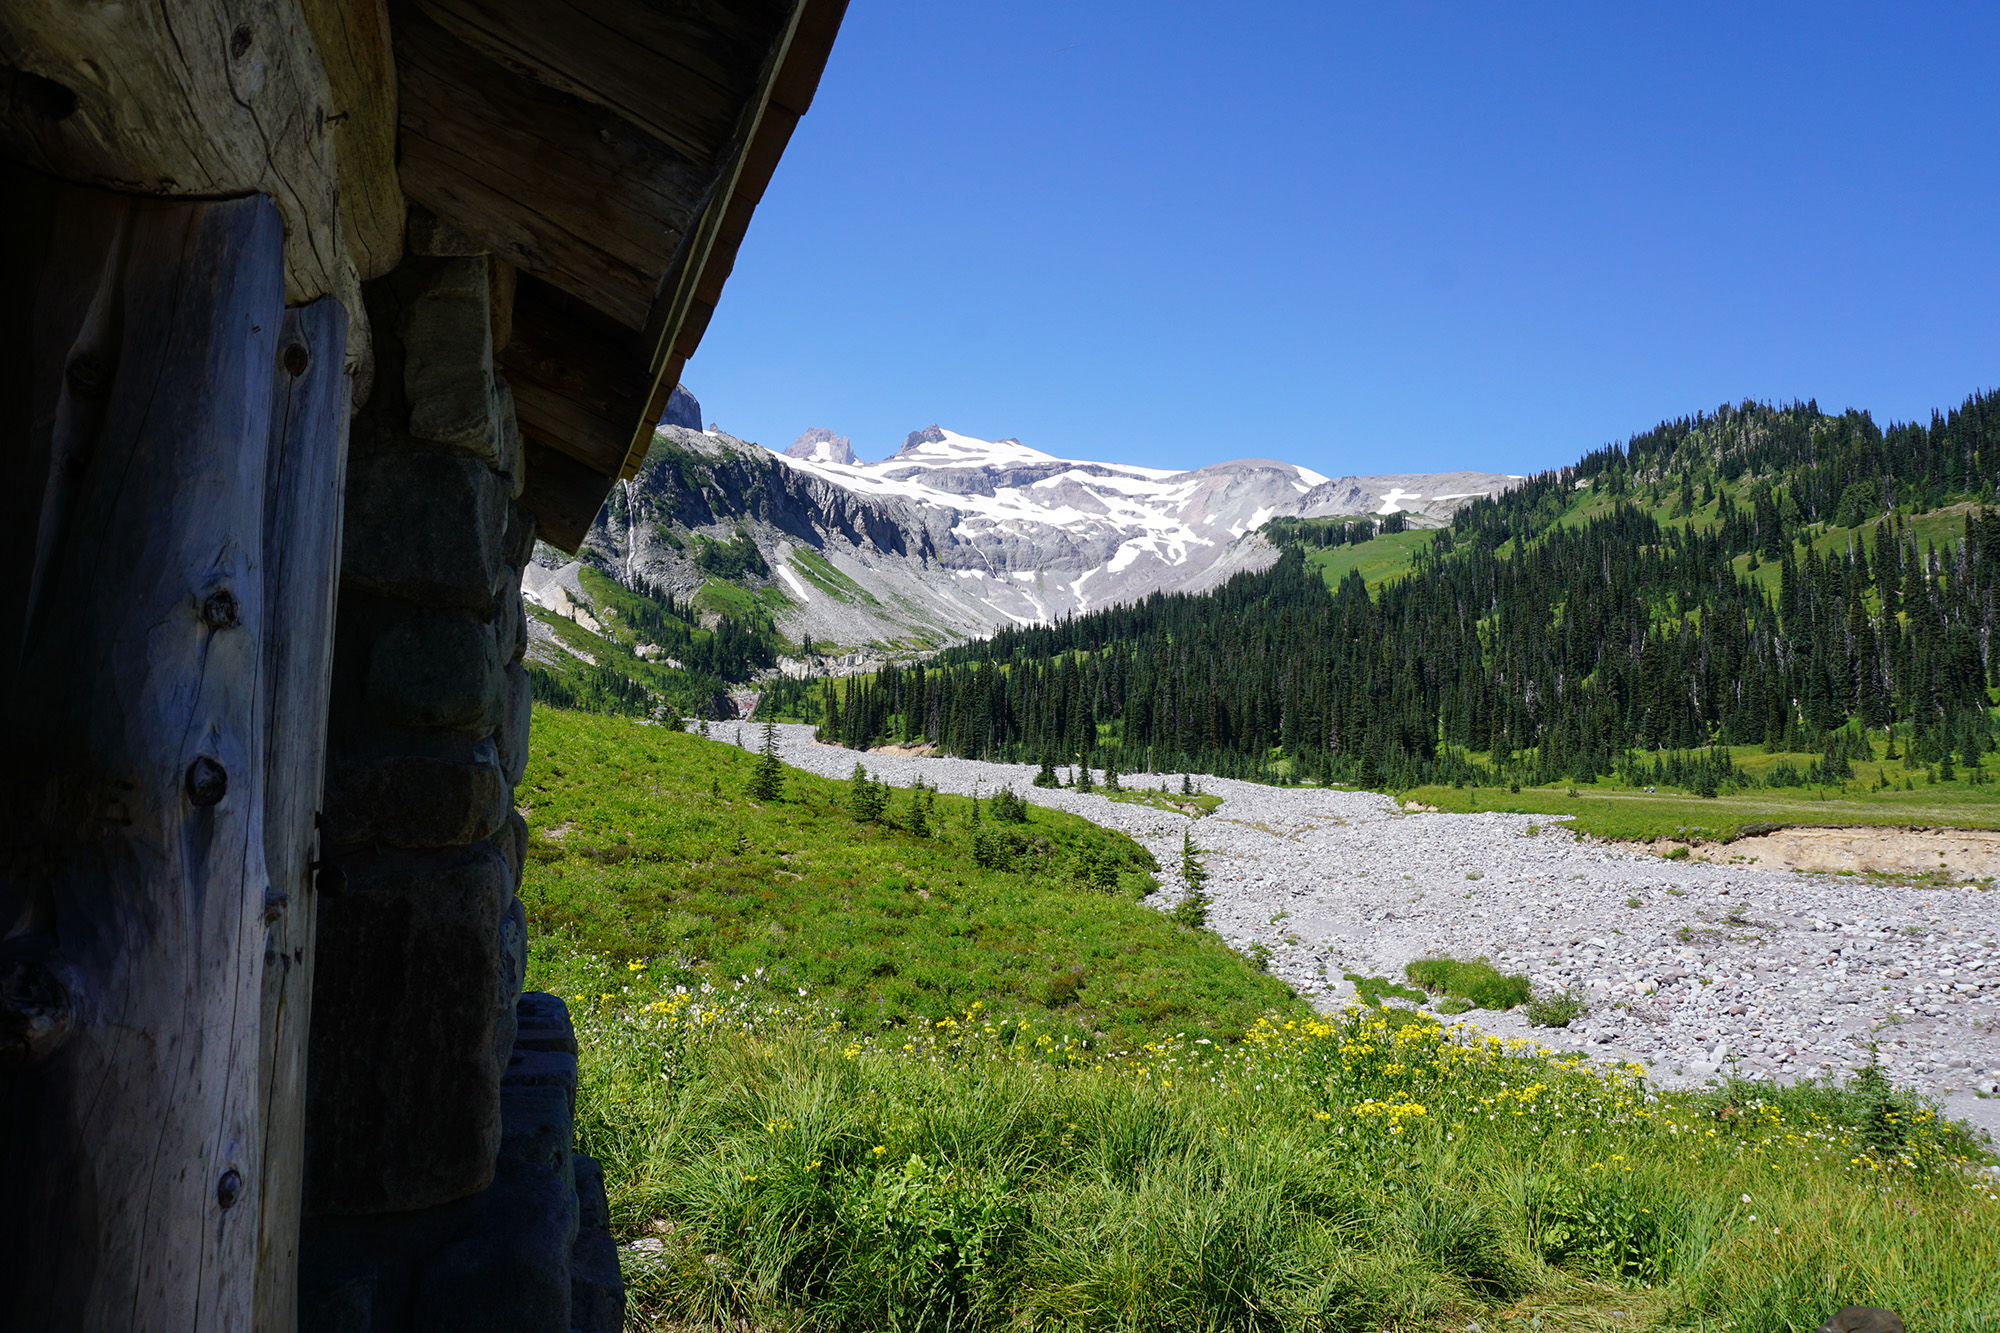
Indian Bar shelter. We hiked this stretch during the hottest day on record in northwest Washington. The cool, stone shelter provided a nice two-hour refuge from the surprisingly hot conditions.

Originally we were bummed to learn that our campsite was 1.5 miles off the Wonderland Trail, but when we arrived to Snow Lake, disappointment was the opposite of what were were feeling. This was our most beautiful campsite of the entire trip.

Chris, aka “Brick”, was the instigator of this trek and many others, including a couple of attempts (one failed, one successful) at hiking Mt. Whitney.
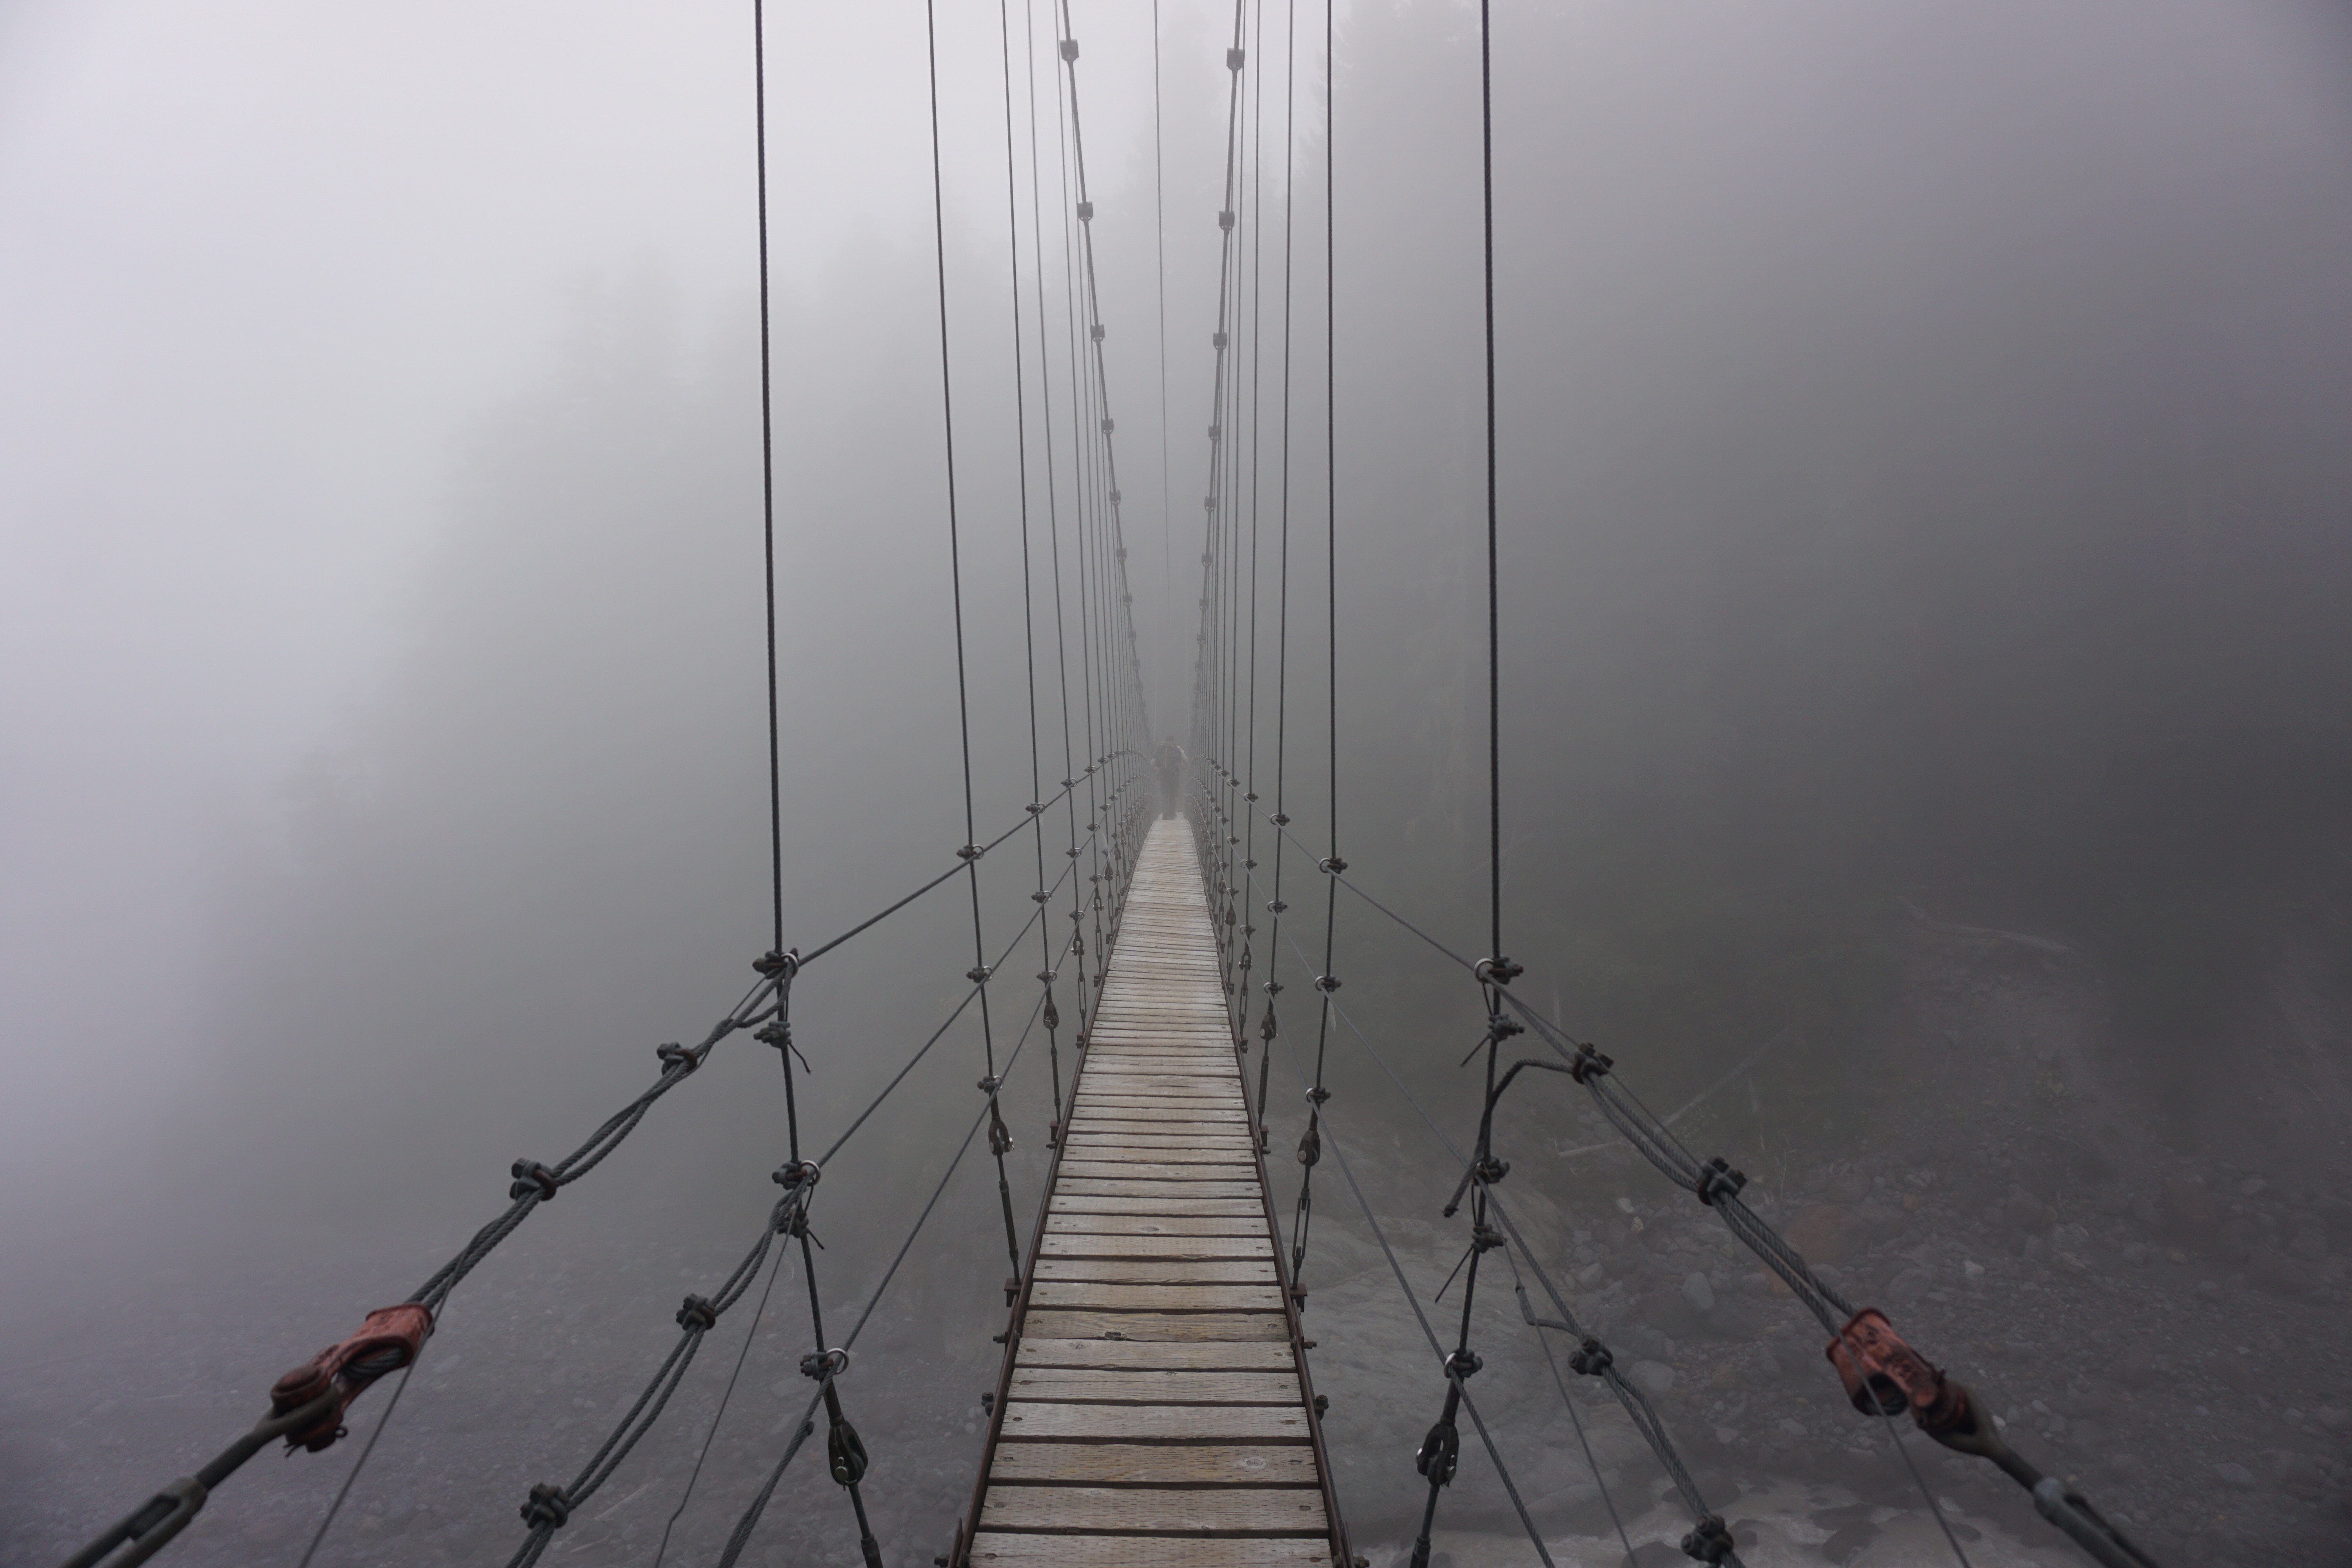
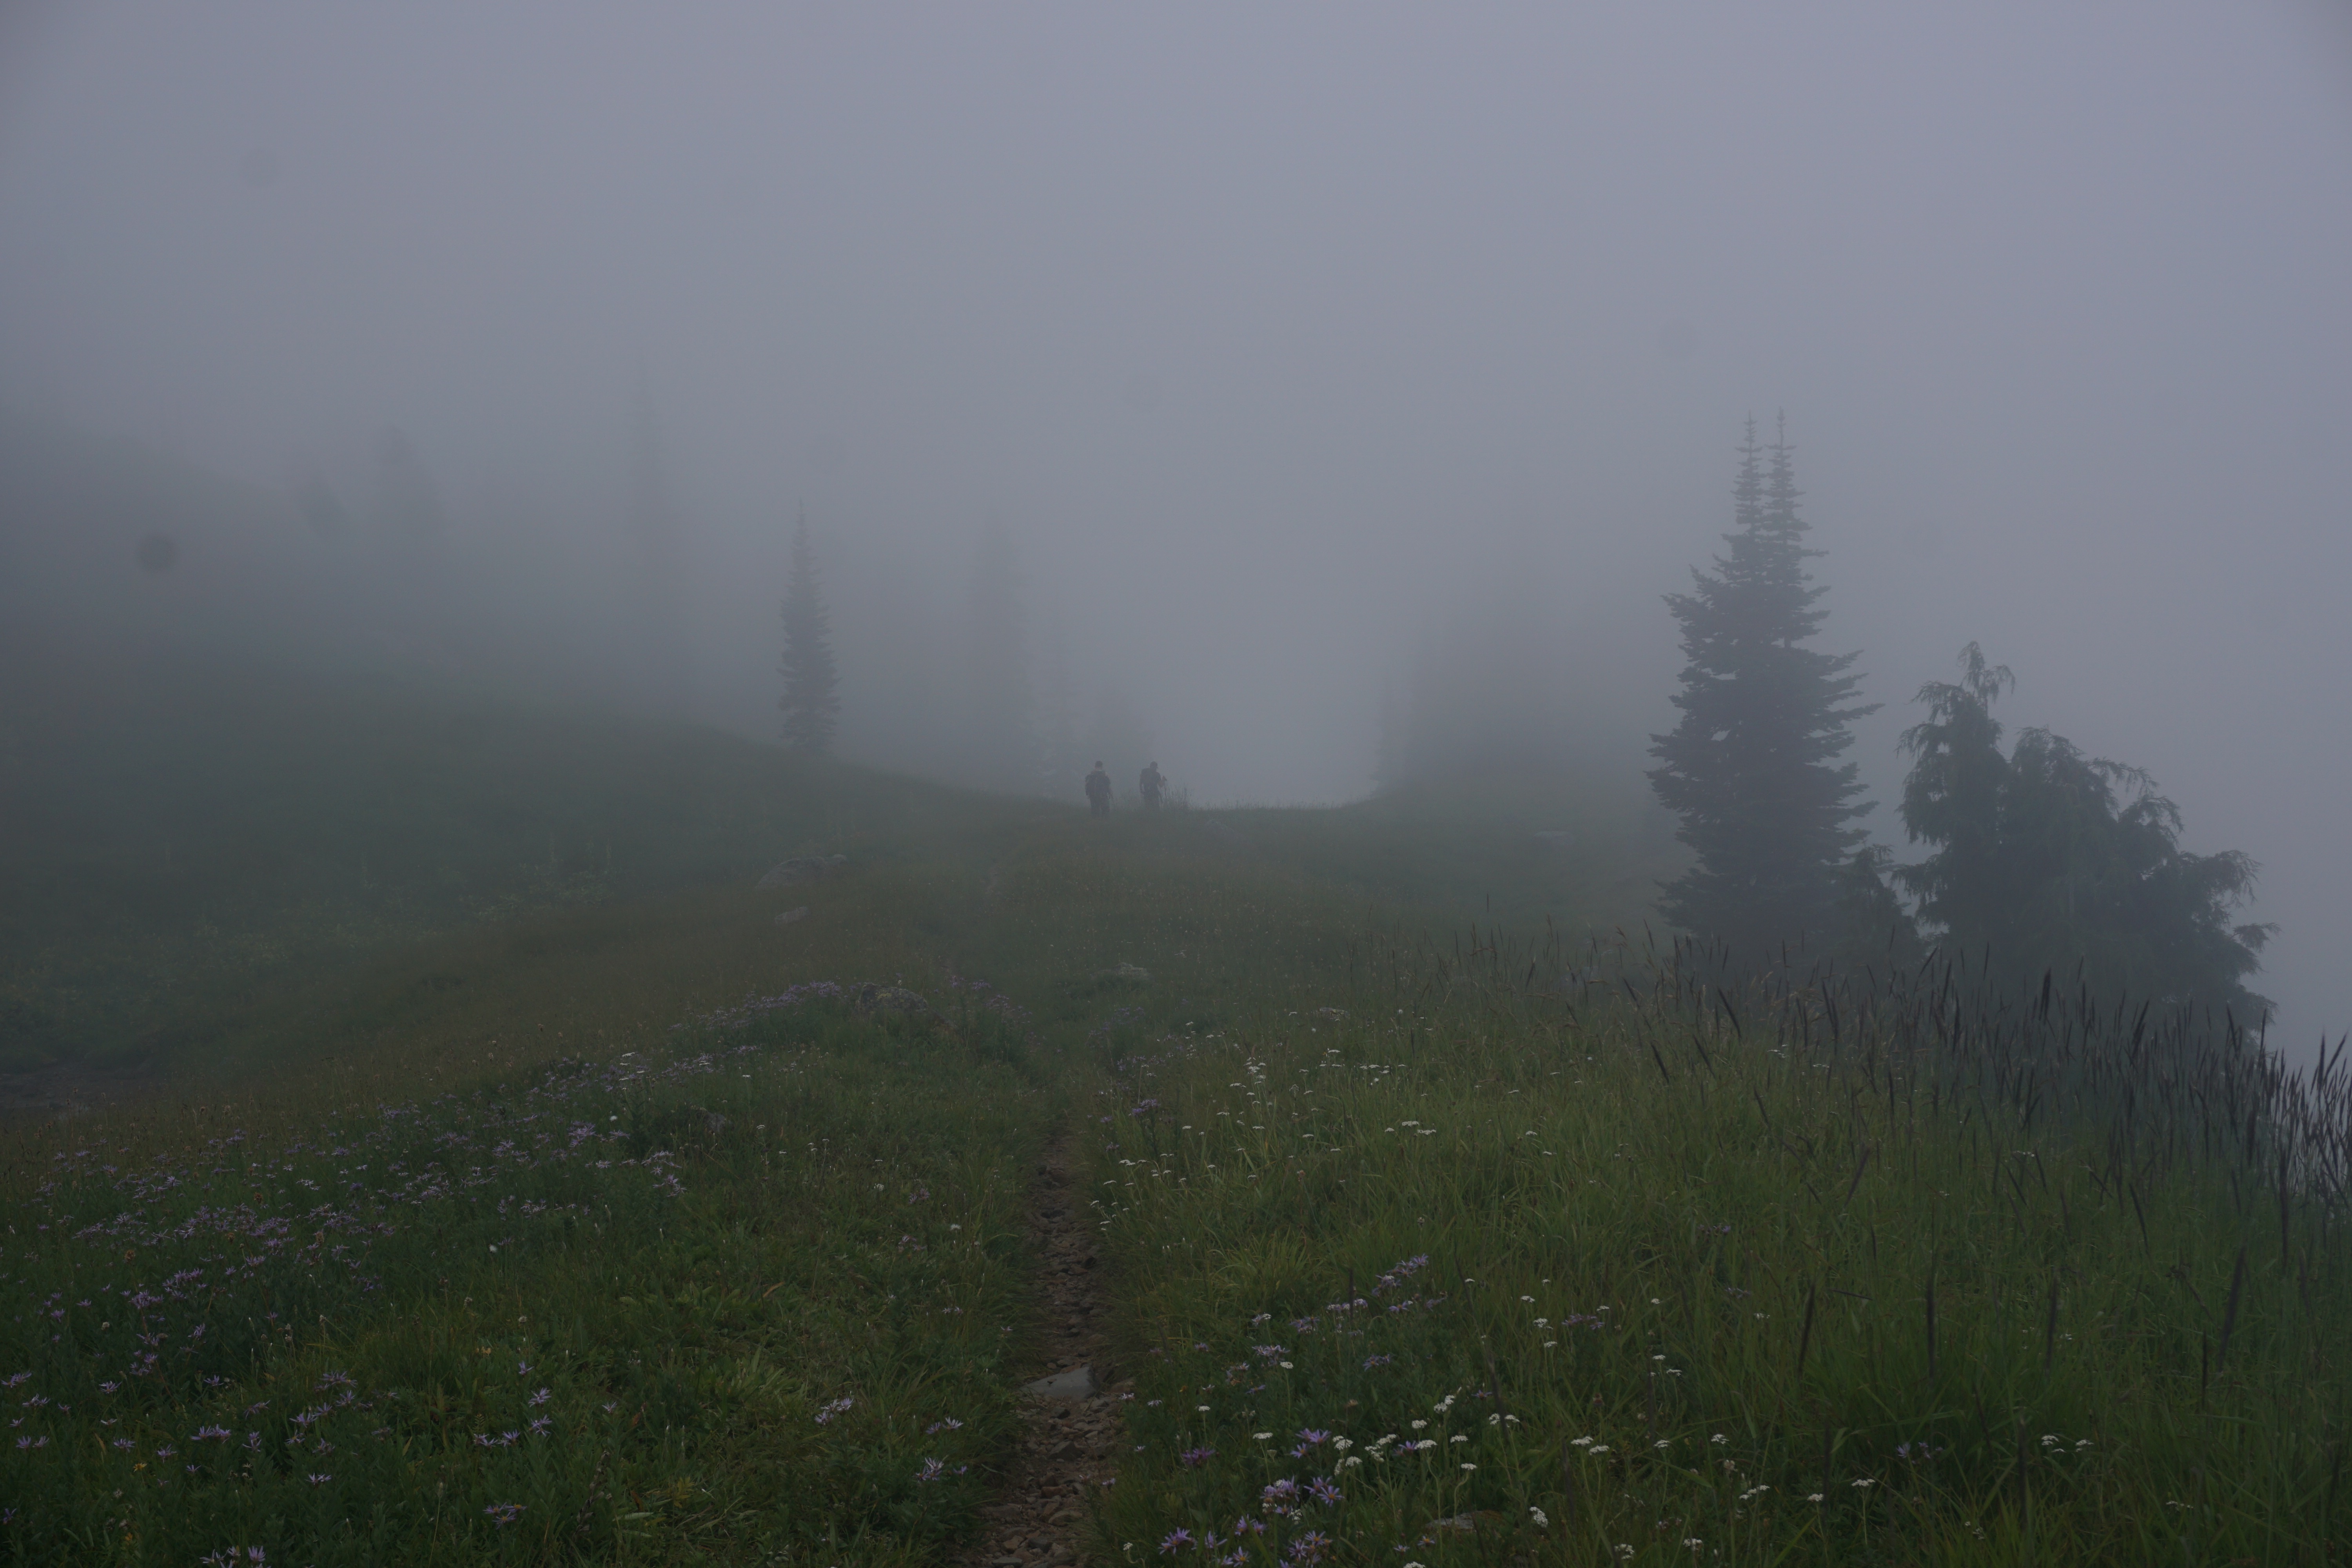
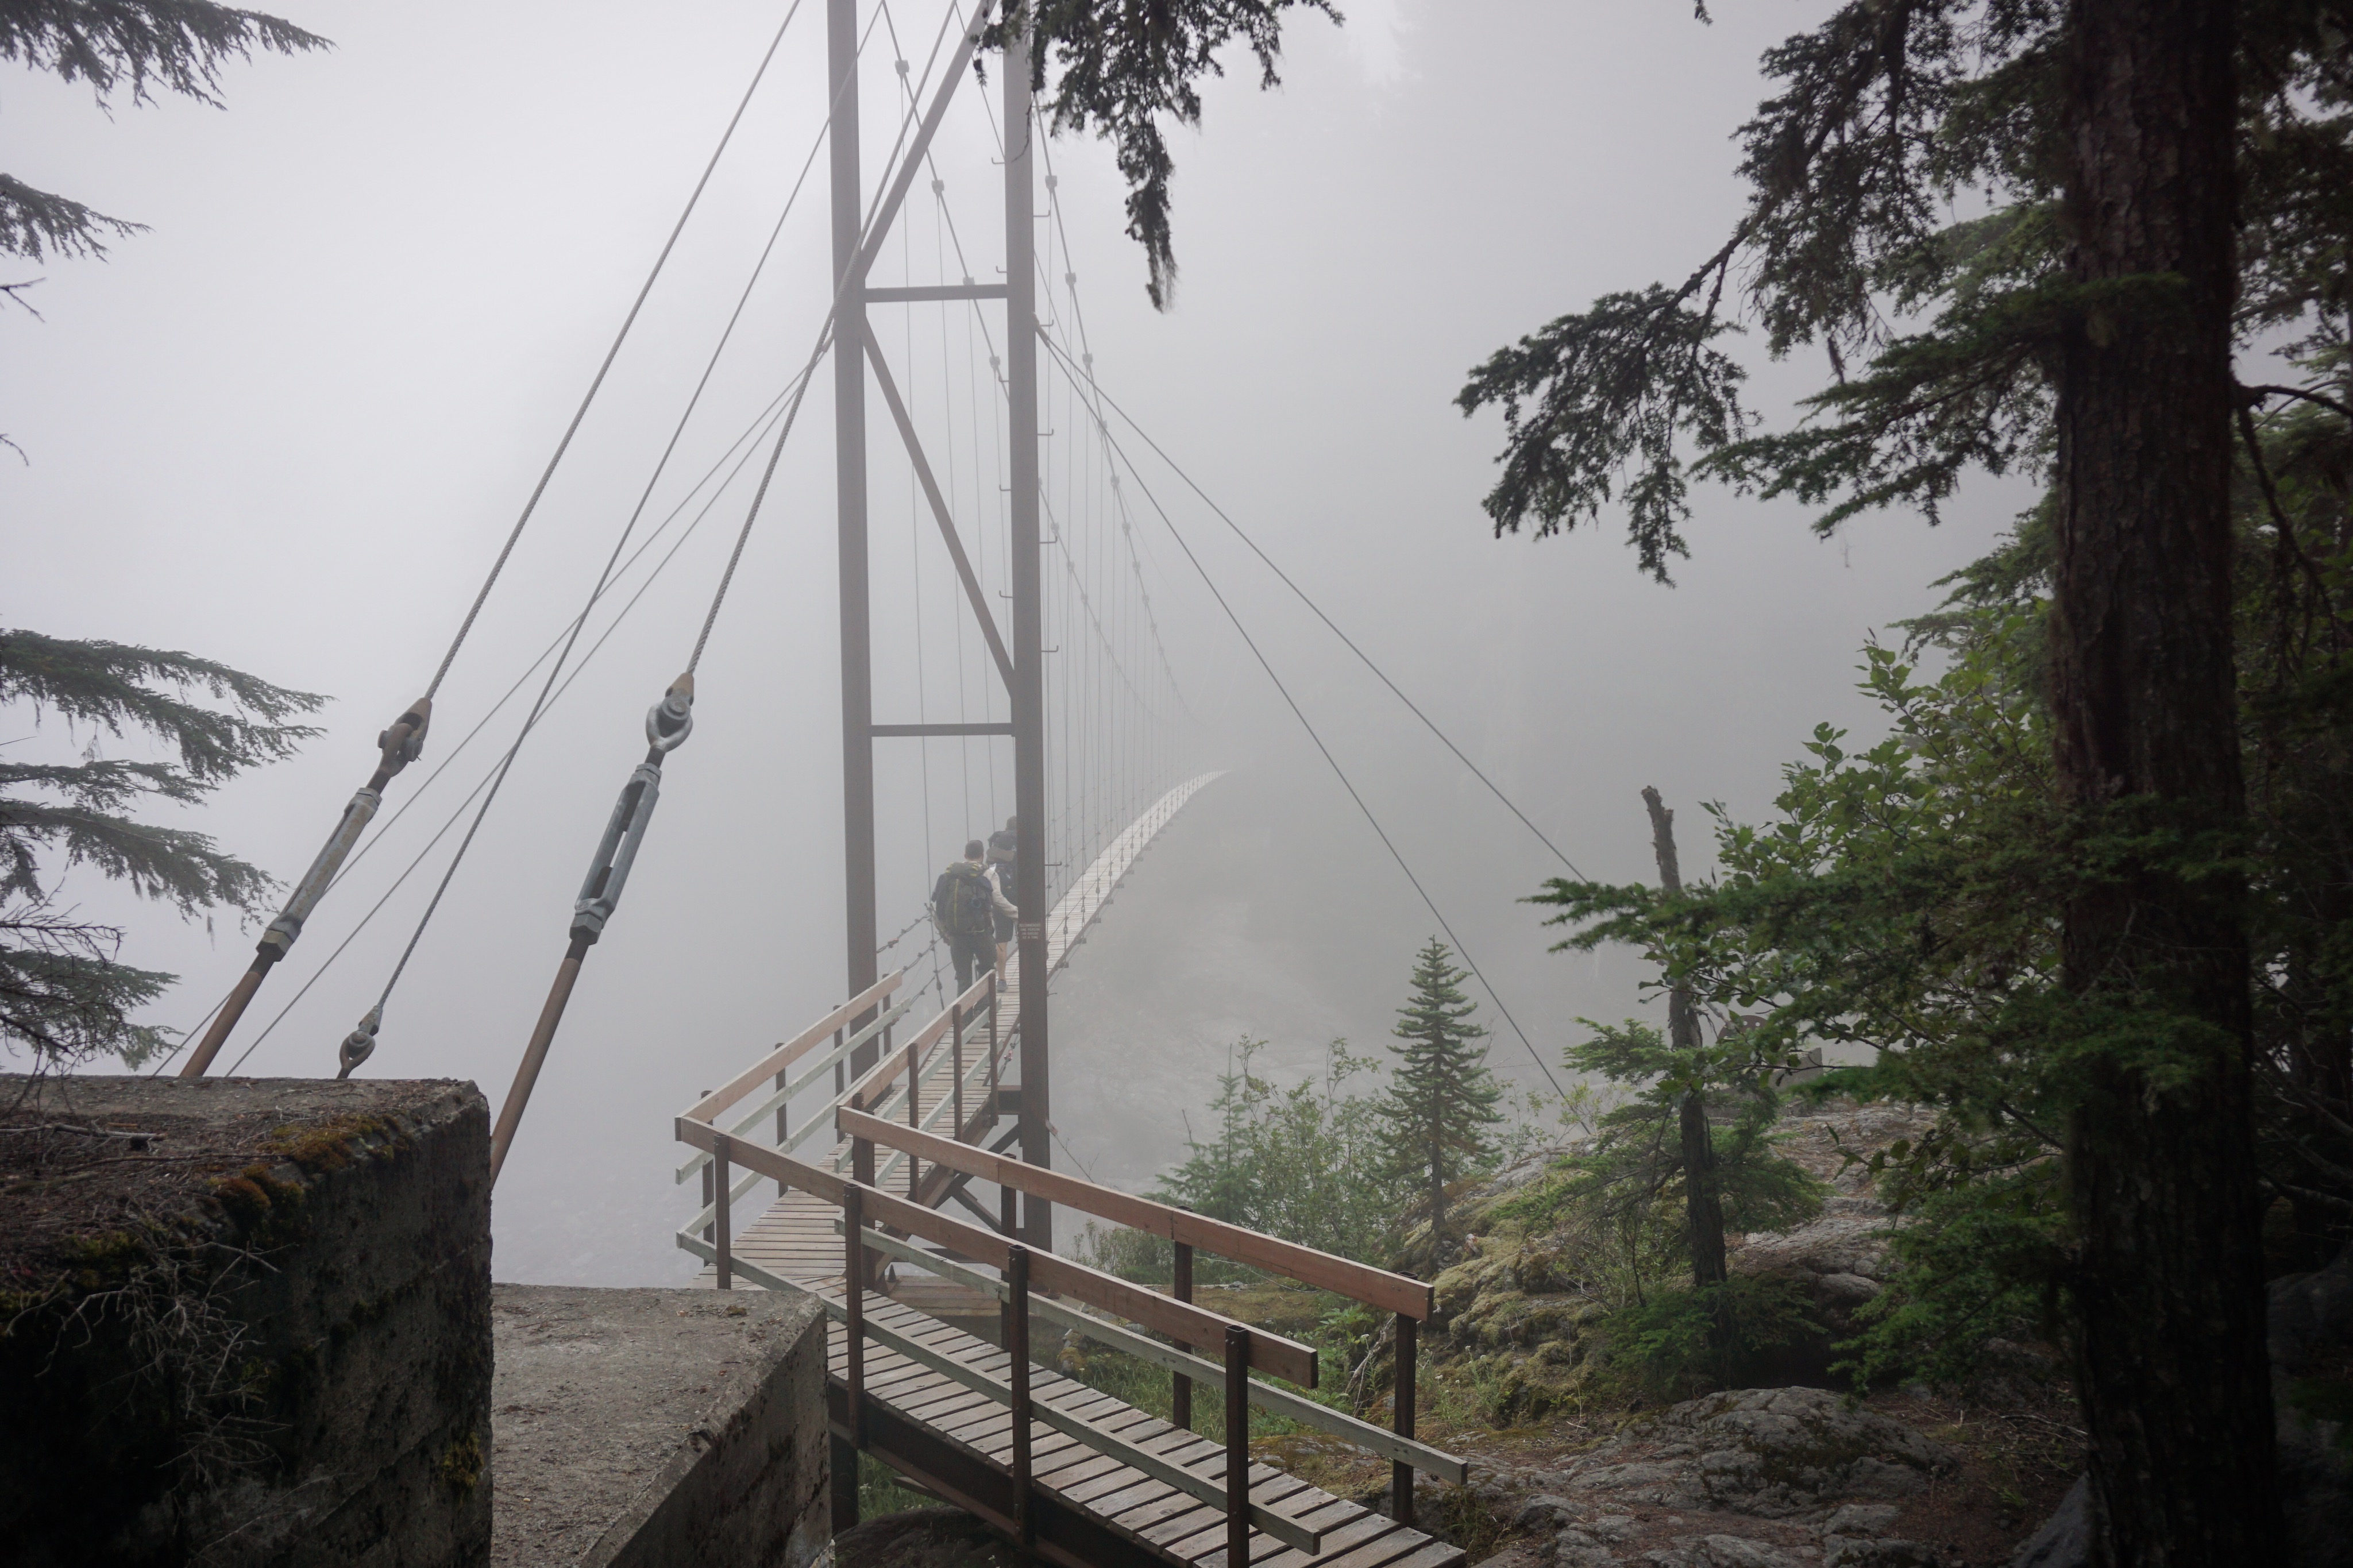
Center frame, my hiking partners, off in the not too far distance. The entire day looked like this, more or less, which was unfortunate considering the west side of the trail is supposed to be beautiful. All the more reason to do it again.

Cloud layer. It looks like the top half of this picture has been erased, with some trees added in the foreground.

Beau, hunting salmon berries, which, as I learned on this trip, is a thing.
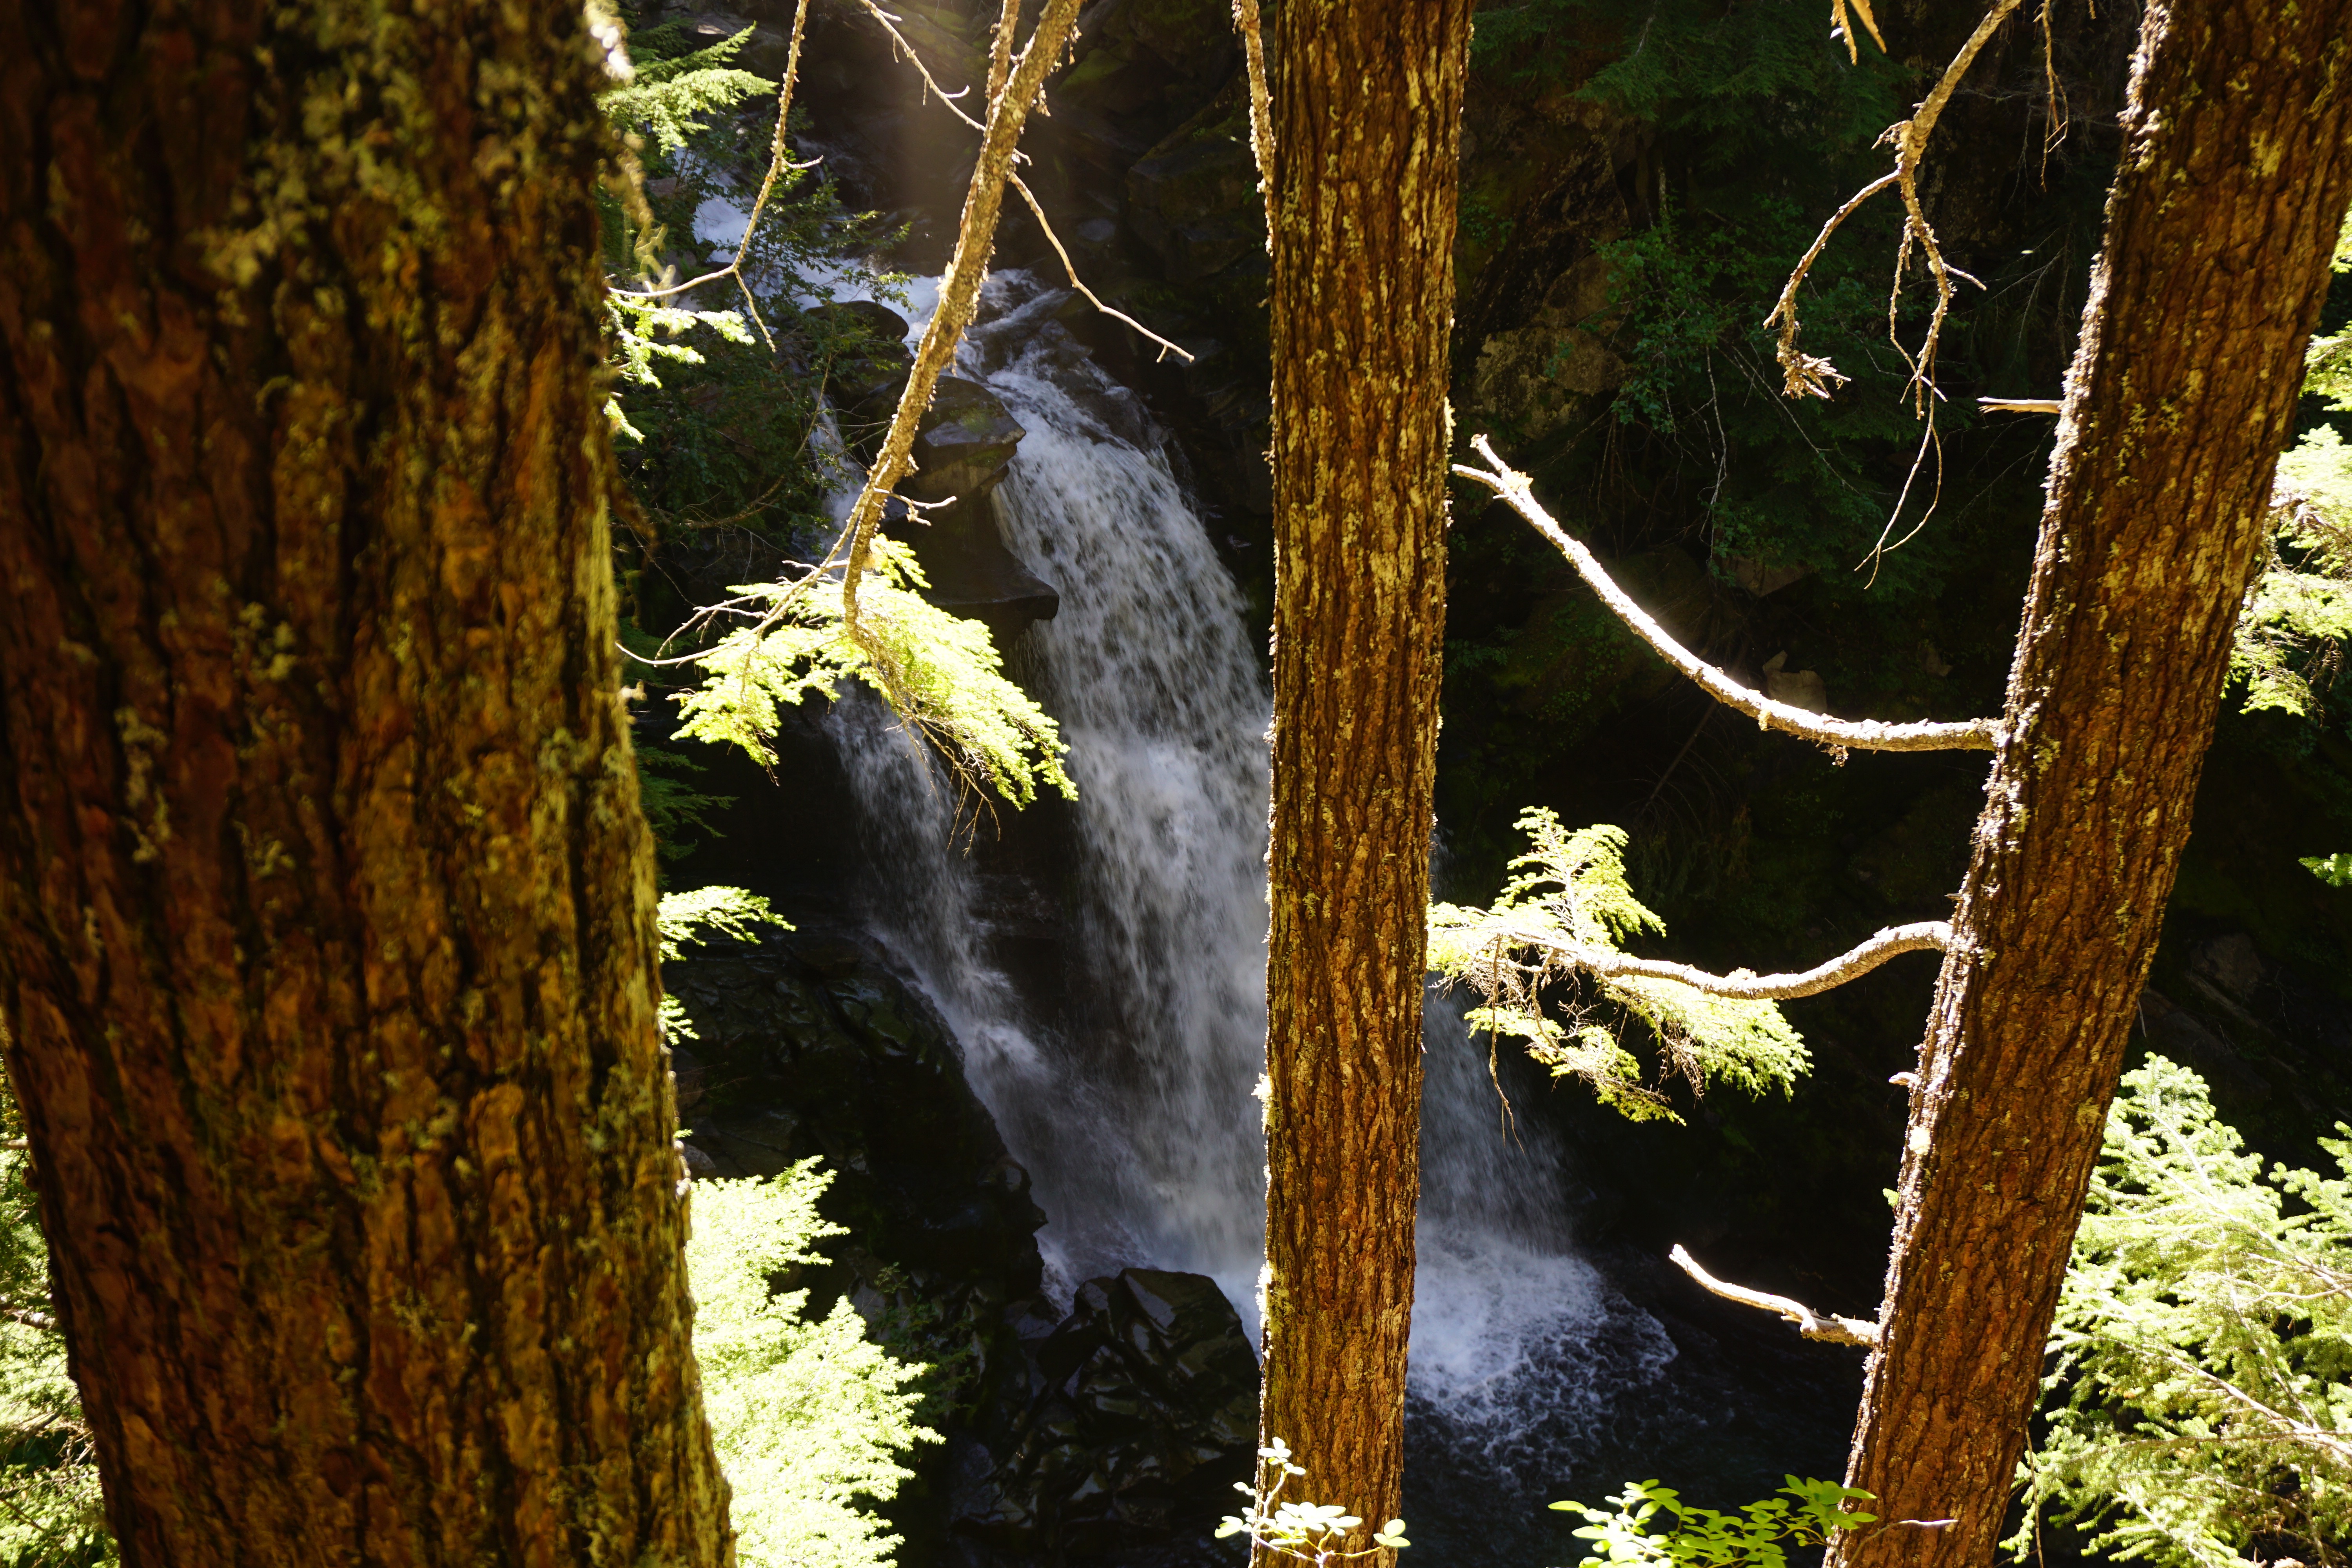


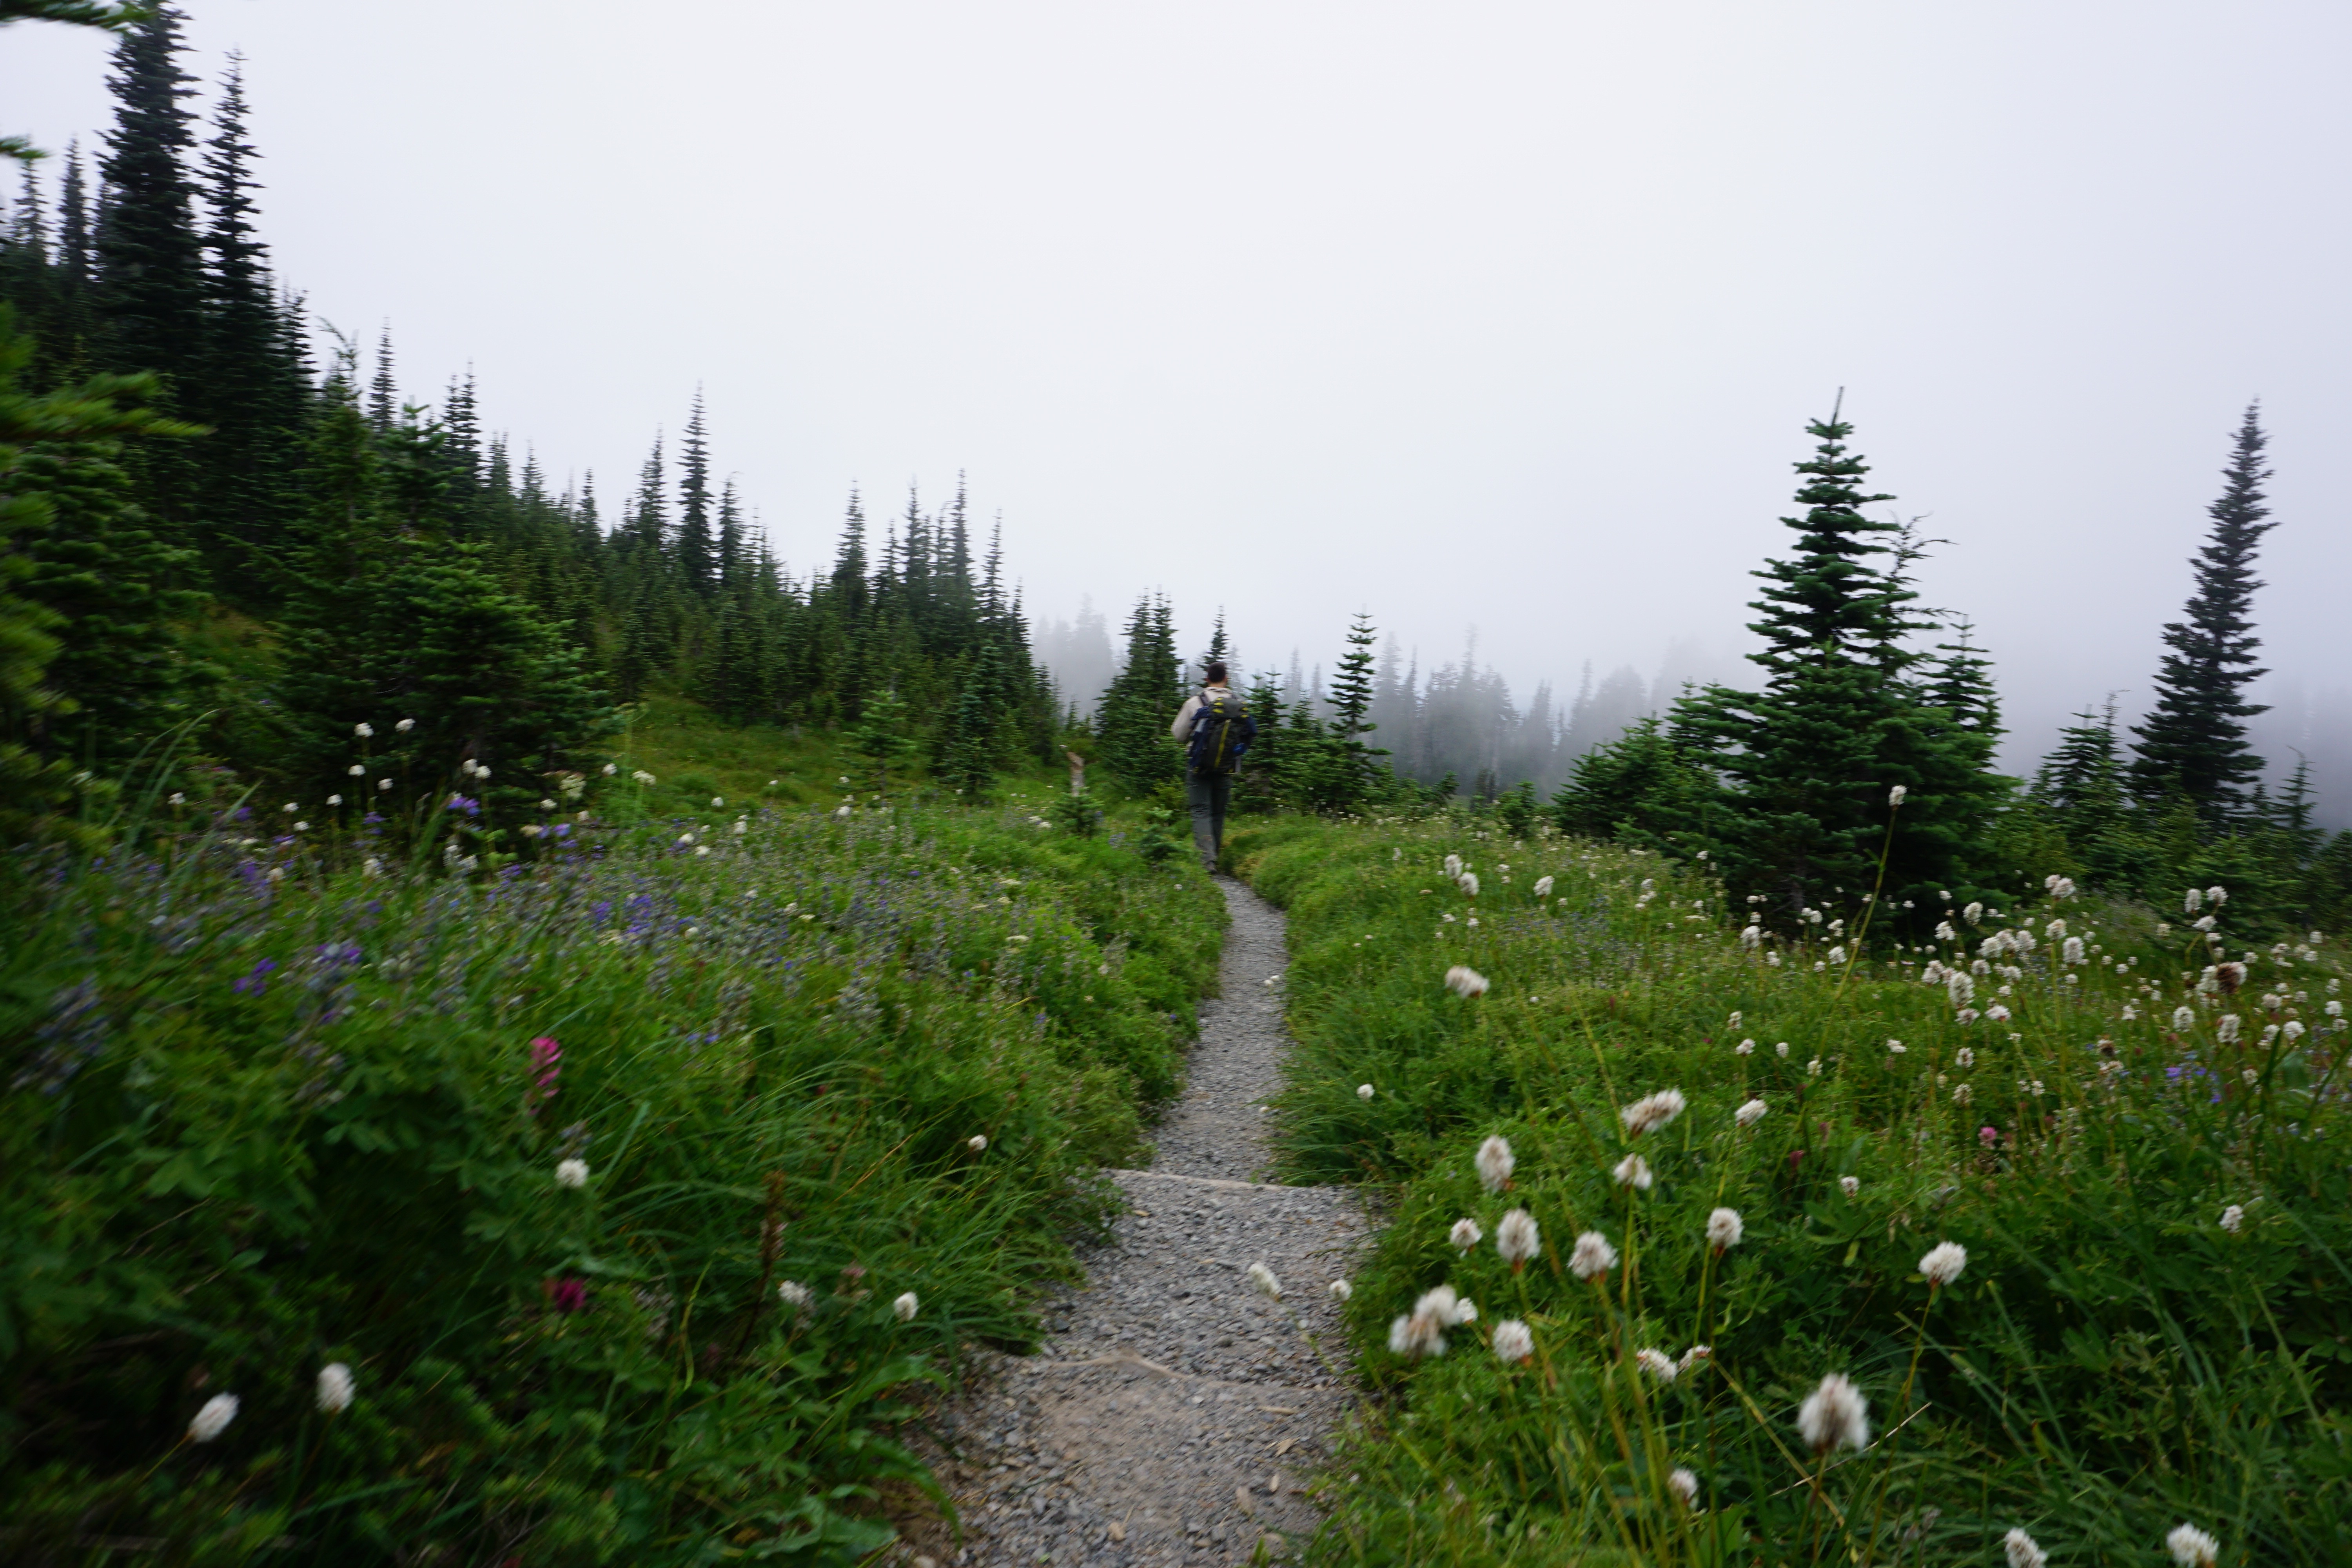

Further Reading
This website contains affiliate links, which means The Trek may receive a percentage of any product or service you purchase using the links in the articles or advertisements. The buyer pays the same price as they would otherwise, and your purchase helps to support The Trek's ongoing goal to serve you quality backpacking advice and information. Thanks for your support!
To learn more, please visit the About This Site page.










Comments 10
I love that you were able to make Wonderland happen!! Thanks for the permit deets – I may try my luck at a few nights out there with your tips in mind. Thanks Zach!
So pretty!! Glad it all worked out… it looks like you guys had great weather!
Ditto on being flexible about sites not officially on the Wonderland, e.g. Glacier Basin. I was willing to do all of the Northern Loop alternate and got a walk-up permit at 4:00 pm in early August. Ditto on getting in shape, a bum knee took me out 3/4 of the way around. If I were doing it new (as opposed to going back to finish up the west side) I’d start in Box Canyon in order to make use of three food caches (Longmire, White River/Sunrise, Mowich Lake).
Also, best to avoid starting (or camping) at Mowich Lake. And if you do, learn how to change a spare tire in advance.
Slalien is a Leopard Slug. They’re the pod-racers of the slug world with a top speed of six inches per minute.
I’ll probably remember that mental morsel for a long time.
Thanks for all the helpful info, Zach! Starting to prep for my wonderland hike in august and your blog has come in handy. Appreciate you taking the time to write it all down for us.
Stunning photos! This hike is at the top of my “want to hike ” list. If only Washington wasn’t so far from Florida (and cost prohibitive)
Zach, thanks for this info! I will be applying for a permit for August 2020; fingers crossed! Hope I can avoid Olallie Creek.