
 ">


Andrew Skurka on the Best $1 Backpacking Meal Ever
The below is a transcription. Minor edits have been made for clarity and readability, while preserving the original message and intent. This video is part of a new series on The Trek’s Youtube. Check out the full video and subscribe to our YouTube channel.
If you’re interested in joining a guided wilderness expedition lead by Andrew Skurka, go to andrewskurka.com/guided-trips to learn more.
It’s the inspiration for a vanity license plate, bumper stickers, and T-shirts. It’s the subject of many memes by r/ultralightjerk.
You probably already know what I’m talking about.
That’s right. Today we’re going to be talking about Andrew Skurka’s world-famous beans and rice. We’re going to make it live today.
This is the backcountry dinner that will transform your experiences outdoors. It’ll just become a staple of your backpacking trips.
It tastes great. It’s really easy to make. It’s inexpensive. And you can get most of the ingredients locally.
Hi, I’m Andrew Skurka. I’m a former professional thru-hiker. I was the first person to do the Sea-to-Sea Route, the Great Western Loop, and the Alaska-Yukon Expedition. Nowadays, I run a guide service. We run trips in Utah, Alaska, the High Sierra, and Yellowstone.
I’m really glad to be back. This is a weekly video series that I do with The Trek. We drop a new video every Monday at noon.
This summer, I’ve been in the Brooks Range of Alaska and in Sequoia and Kings Canyon National Parks in California. I don’t know how many nights this summer. Oh boy.
Six, seven, eight, nine, ten times, eleven, twelve… Whatever it was, I’ve had delicious beans and rice.
I can’t wait to make this for you today. It’s my all-time favorite. It goes on every single trip.
Let’s get started, because I’m hungry.
The Five Ingredients You Need
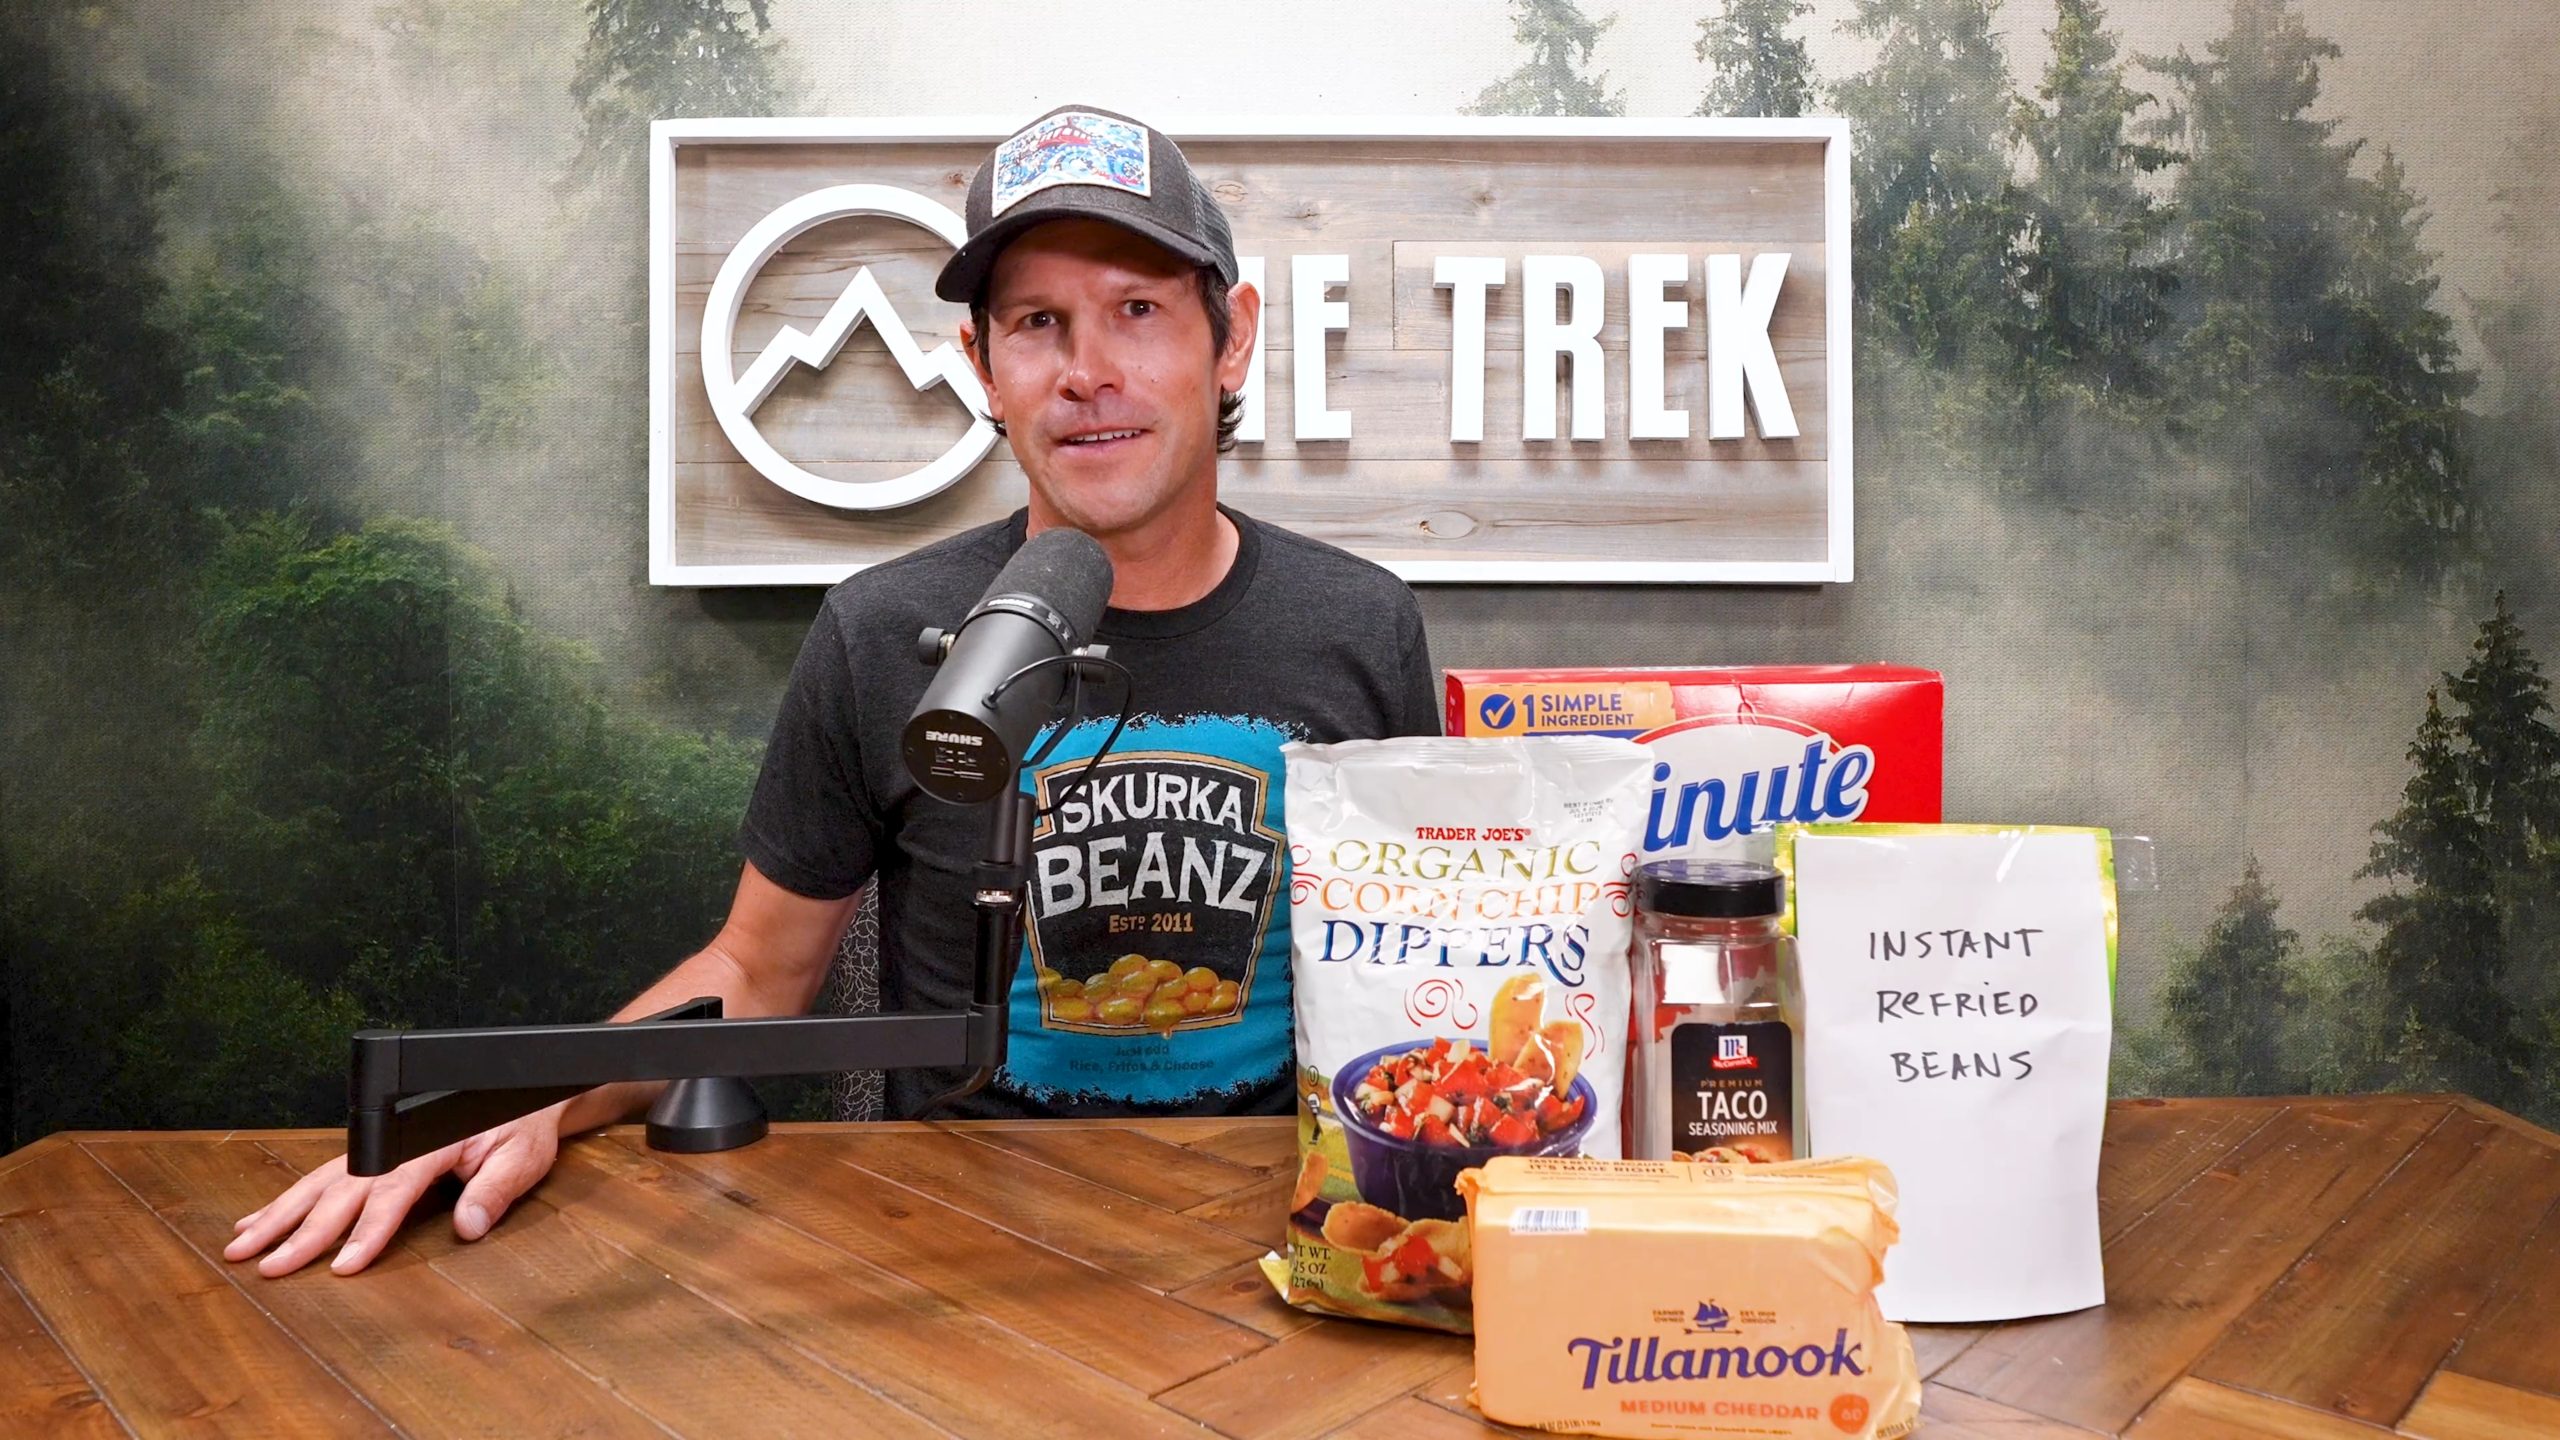
To make this meal, you’ll need five ingredients.
Instant Rice
Let’s start with instant rice.
You can get this at any grocery store.
Very easy to find.
Very inexpensive.
Instant Refried Beans
Your second ingredient is going to be instant refried beans.
These are a little bit harder to find.
You might find them at a local grocery store, but more likely you might have to get them online.
They make a couple of different varieties.
You can go with vegetarian fat-free refried beans, or you can go with full-fat pork-fat refried beans for a few more calories per ounce.
Fritos
You’re going to need Fritos, or the Trader Joe’s dupe.
Personally, I’ve migrated a little bit more toward the Trader Joe’s version because bags of Fritos have gotten outrageously expensive.
I think the last time I was at Safeway, I saw them for $6 a bag.
I was like, man, that’s like $11 a pound for Fritos.
It seems a little exorbitant.
But that might also just be Safeway.
Taco Seasoning
You’ll need some taco seasoning.
For this meal, you actually don’t need any other seasonings.
I think it has enough salt with the taco seasoning and with the Fritos.
You might want to add some red pepper flakes if you like your meals a little spicy.
Cheddar Cheese
The last thing you need is cheddar cheese.
Just get some medium cheddar so you get a good melt on it.
I do prefer the Tillamook brand, mostly because it’s wrapped a lot better than your standard Kroger block of cheese.
That gives it a little bit of extra resiliency in the field.
How to Prepare Beans and Rice at Home
Let’s start by talking about the preparation you’ll need to do at home to have beans and rice in the field.
If you’re making one serving, get a Ziploc bag.
Into that bag, put:
- 2 ounces of instant refried beans
- 1.5 ounces of instant rice
Then seal the bag.
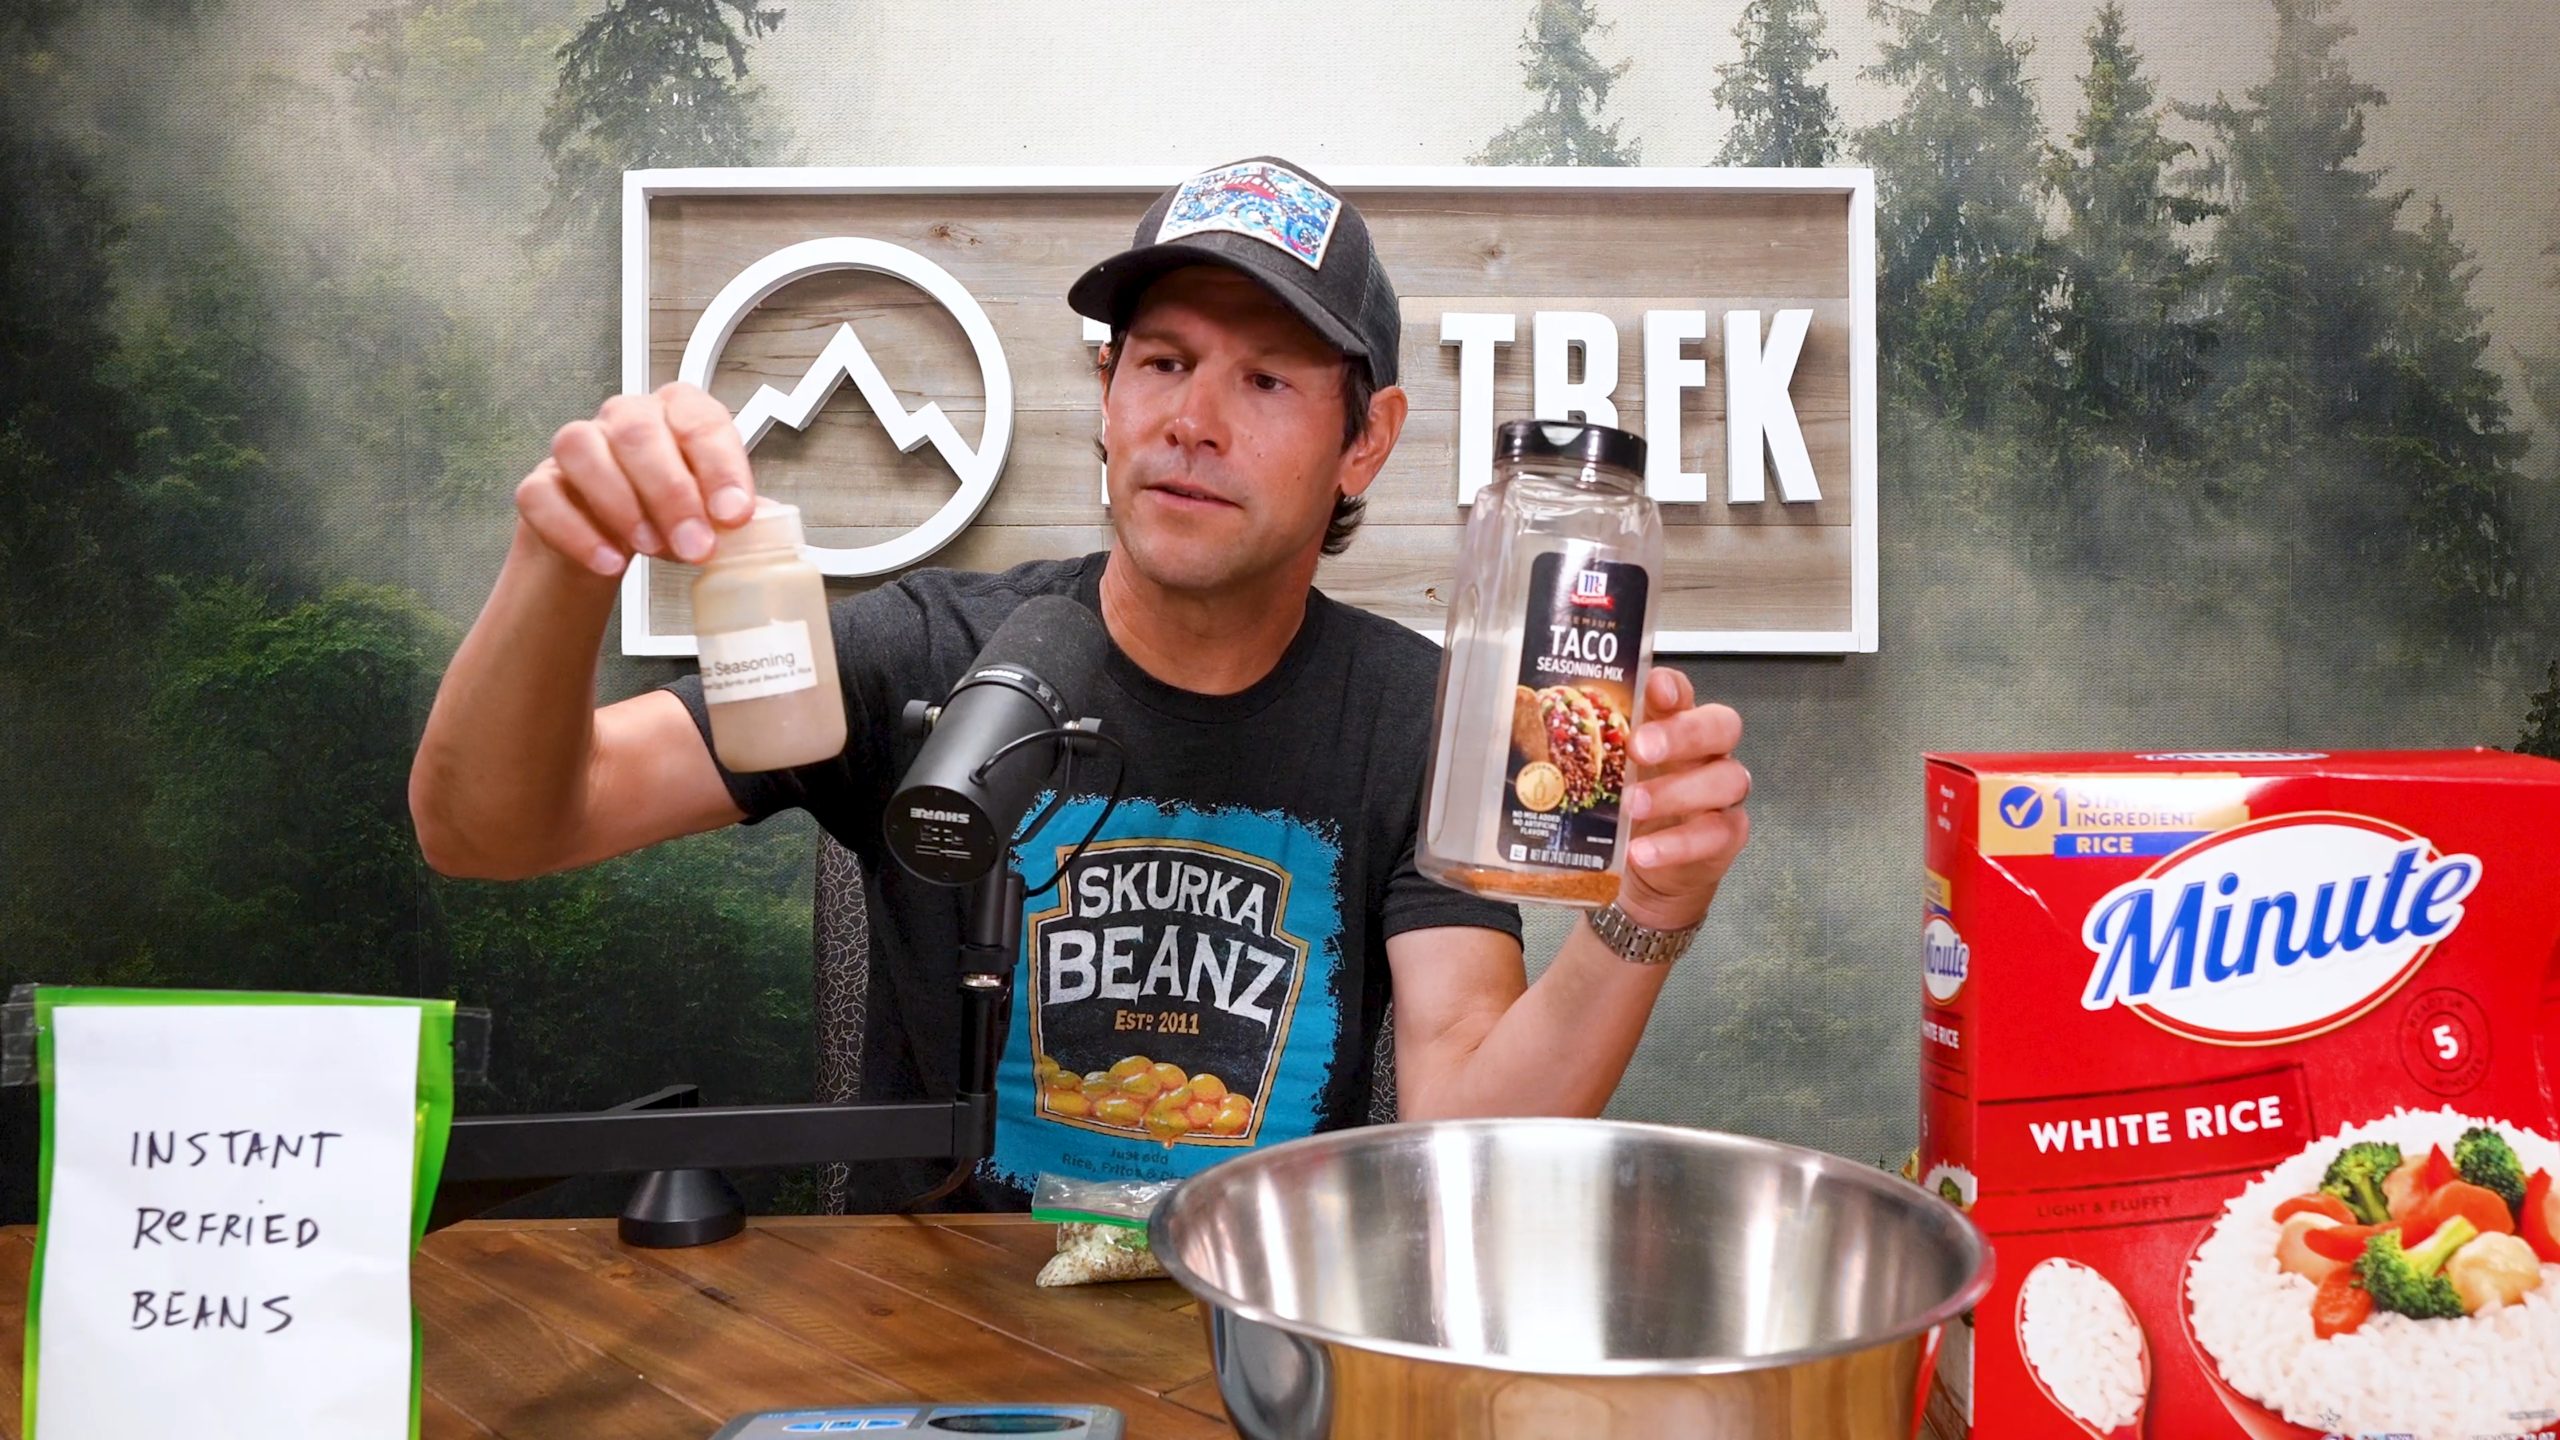
We are not putting the taco seasoning into this bag. My recommendation is to carry the seasoning separately in one of these smell-resistant HDPE bottles.
This one is a four-ounce bottle. This would be enough for about 10 people.
You could easily use a two-ounce bottle for one person or a small group.
The reason I like to carry the seasoning separately is because if you pre-spice the bag, your food bag, your backpack, your sleeping bag, your shelter—everything—is going to smell like taco seasoning.
You need to control the dispersion of the taco odor. Or fragrance. Whatever you might call it.
Why I Don’t Do Freezer-Bag Cooking
Jess just asked me why I use a standard Ziploc bag instead of something like a Mylar bag that you can cook in.
I prefer to do what most humans do, which is eat out of a real pot instead of a plastic bag.
So we’re just going to make this right in my pot.
I don’t need to do the freezer-bag cooking thing.
Portioning the Fritos and Cheese
At home, you’re also going to need to bag some Fritos.
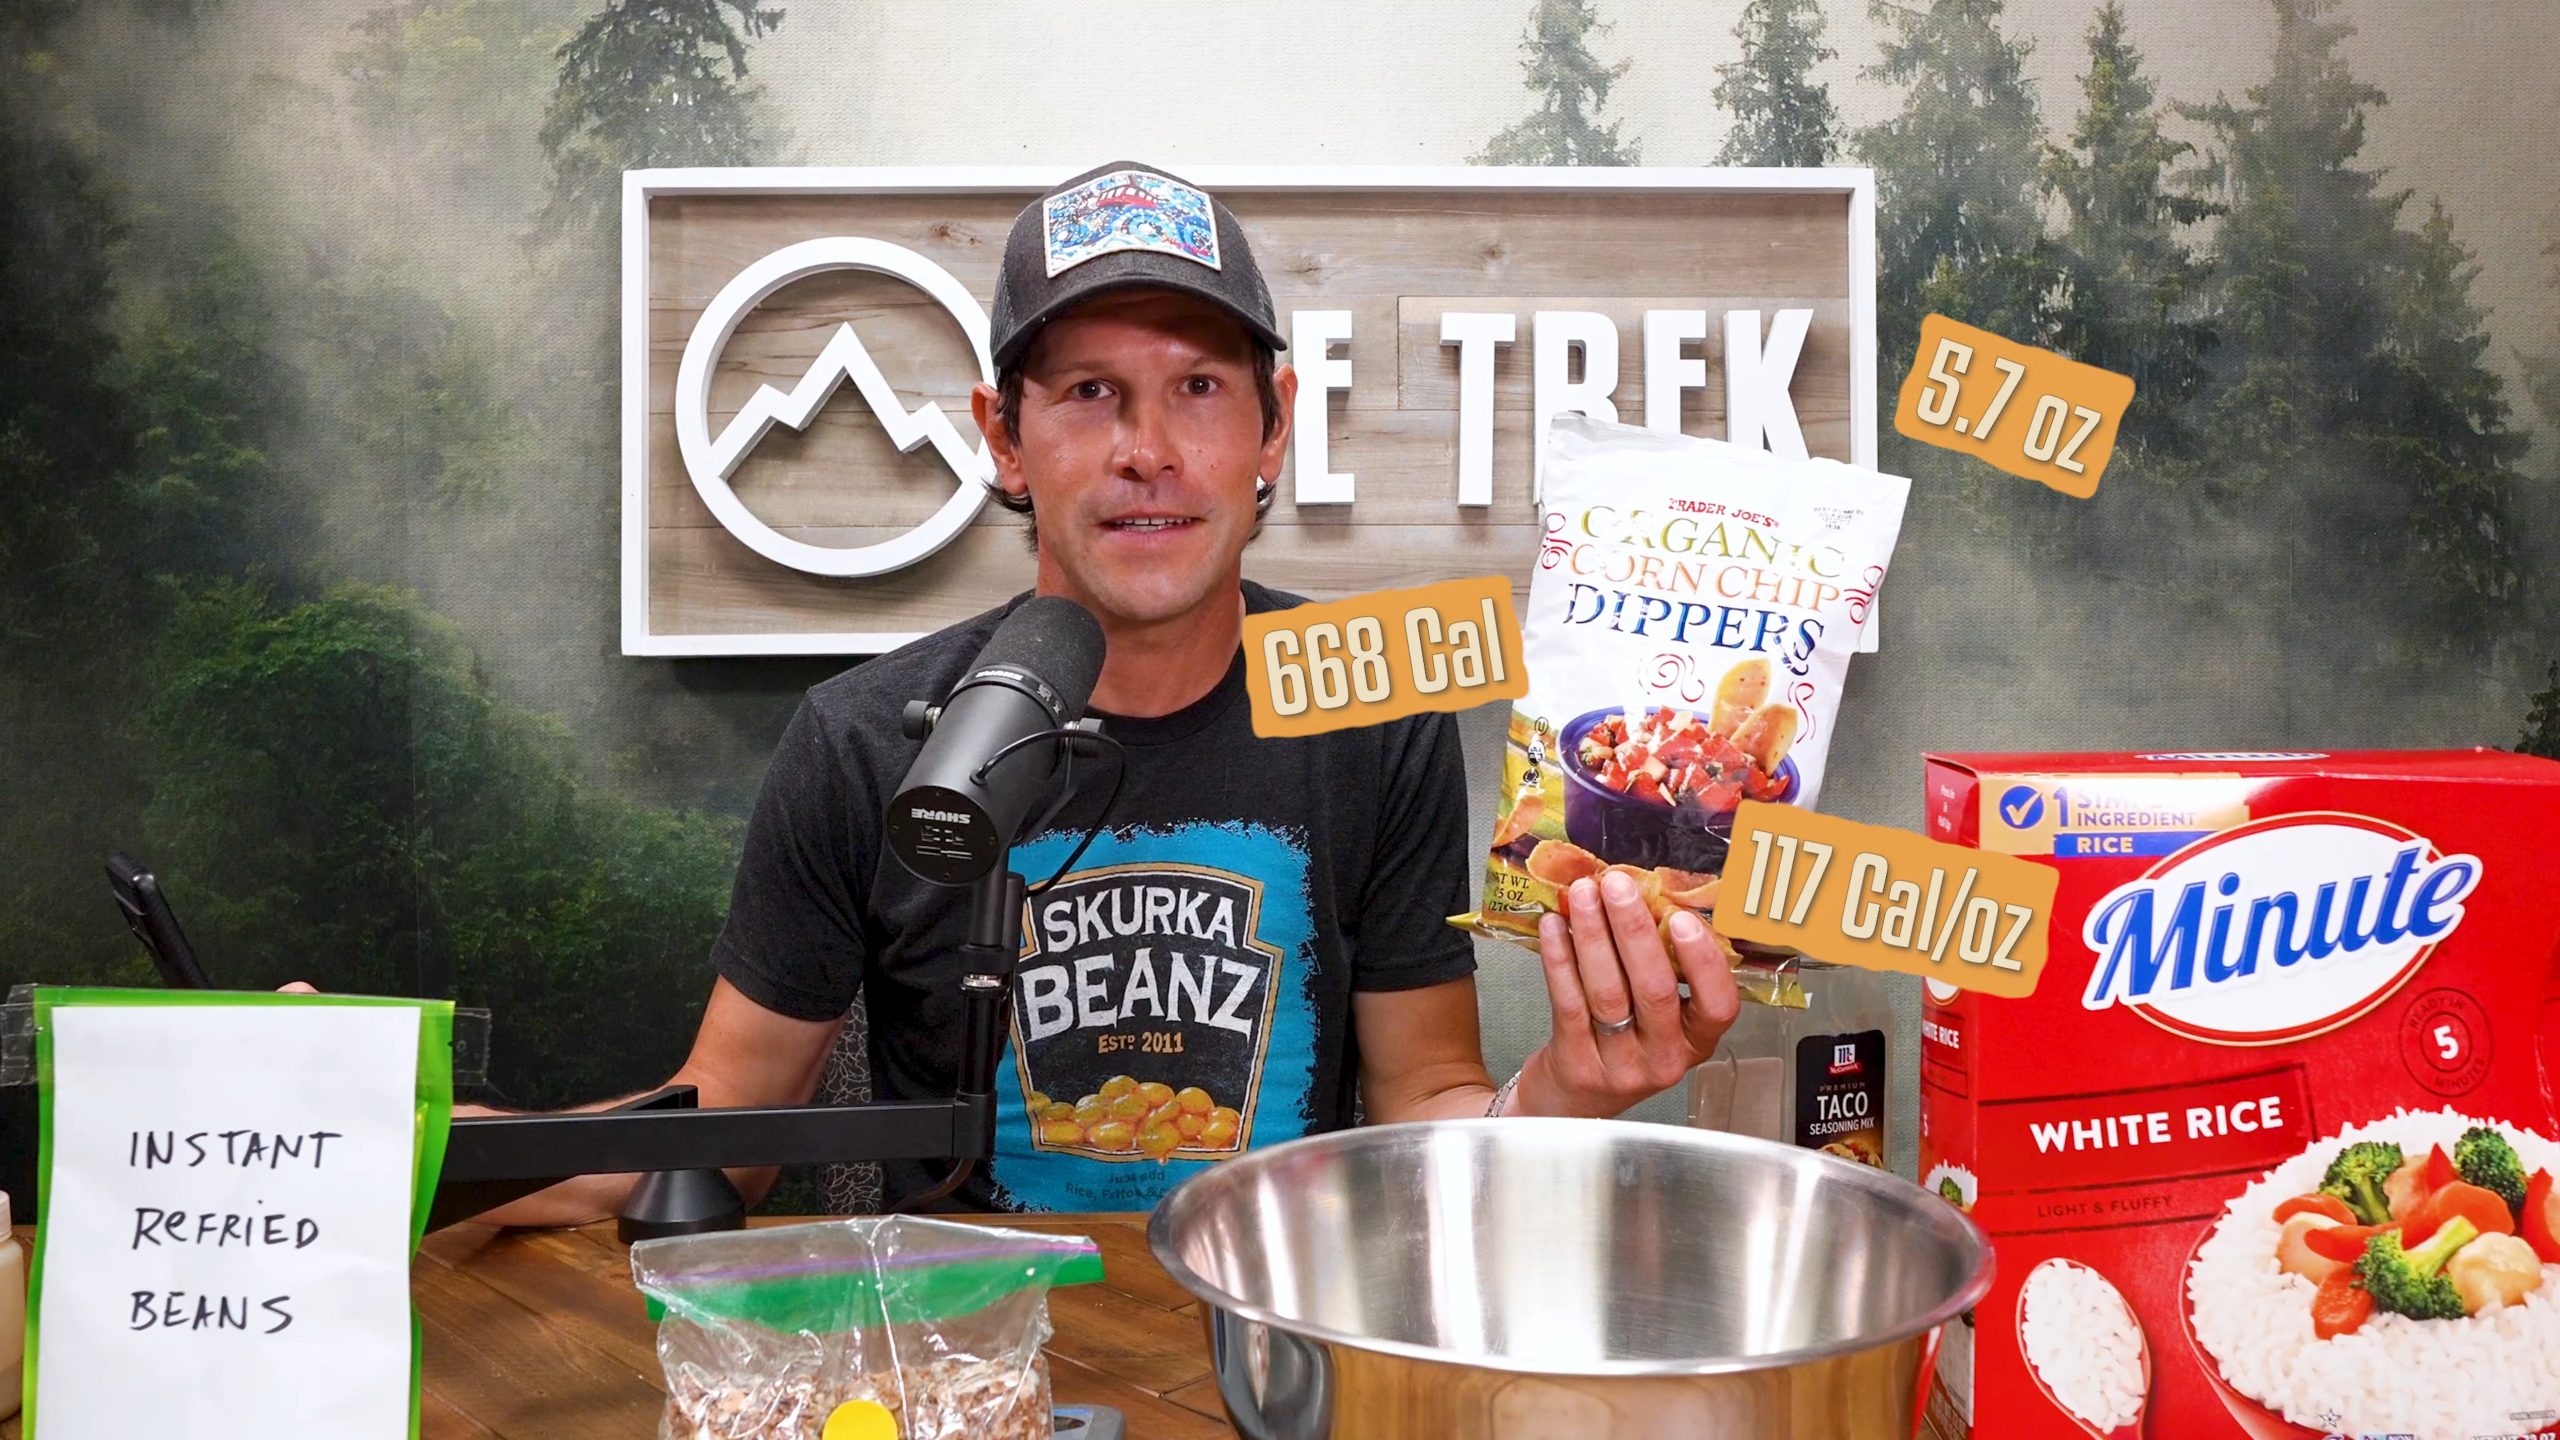
For a standard ration, it’s one ounce of Fritos… And let me talk about this standard ration for a second.
The whole meal is 5.7 ounces and has about 668 calories, plus or minus, for a caloric density of about 117 calories per ounce.
If you’re a hungry thru-hiker, you can add some things to this.
If you’re on a lower-intensity itinerary, smaller-bodied, older, maybe you knock it down a little bit.
But this 5.7-ounce ration is very time-tested. We’re talking thousands of clients who have eaten this meal, and generally it works pretty well.
For the Fritos, you can put one ounce into a bag. Or you can bring out a whole bag and eat some as snacks during the day and save some for dinner.
For the cheese, you’re going to need one ounce. You can take out a larger block of cheese and reserve an ounce for dinner, or you can pre-portion one ounce into a little Ziploc bag.
Preparing Beans and Rice for a Group
If you’re doing a lot of servings—maybe for a thru-hike, a larger group, or a small group over a lot of days—the best thing to do at home is make a batch of 10.
That would be:
- 20 ounces of refried beans
- 15 ounces of instant rice
Mix it all together with a wooden spoon.
Then grab a measuring cup and start making 3.5-ounce bags.
The instant rice and instant beans are about the same size, so they mix together pretty well in a bowl.
That will save you some time.
How Much Water to Add
Best part. We’re moving on to cooking.
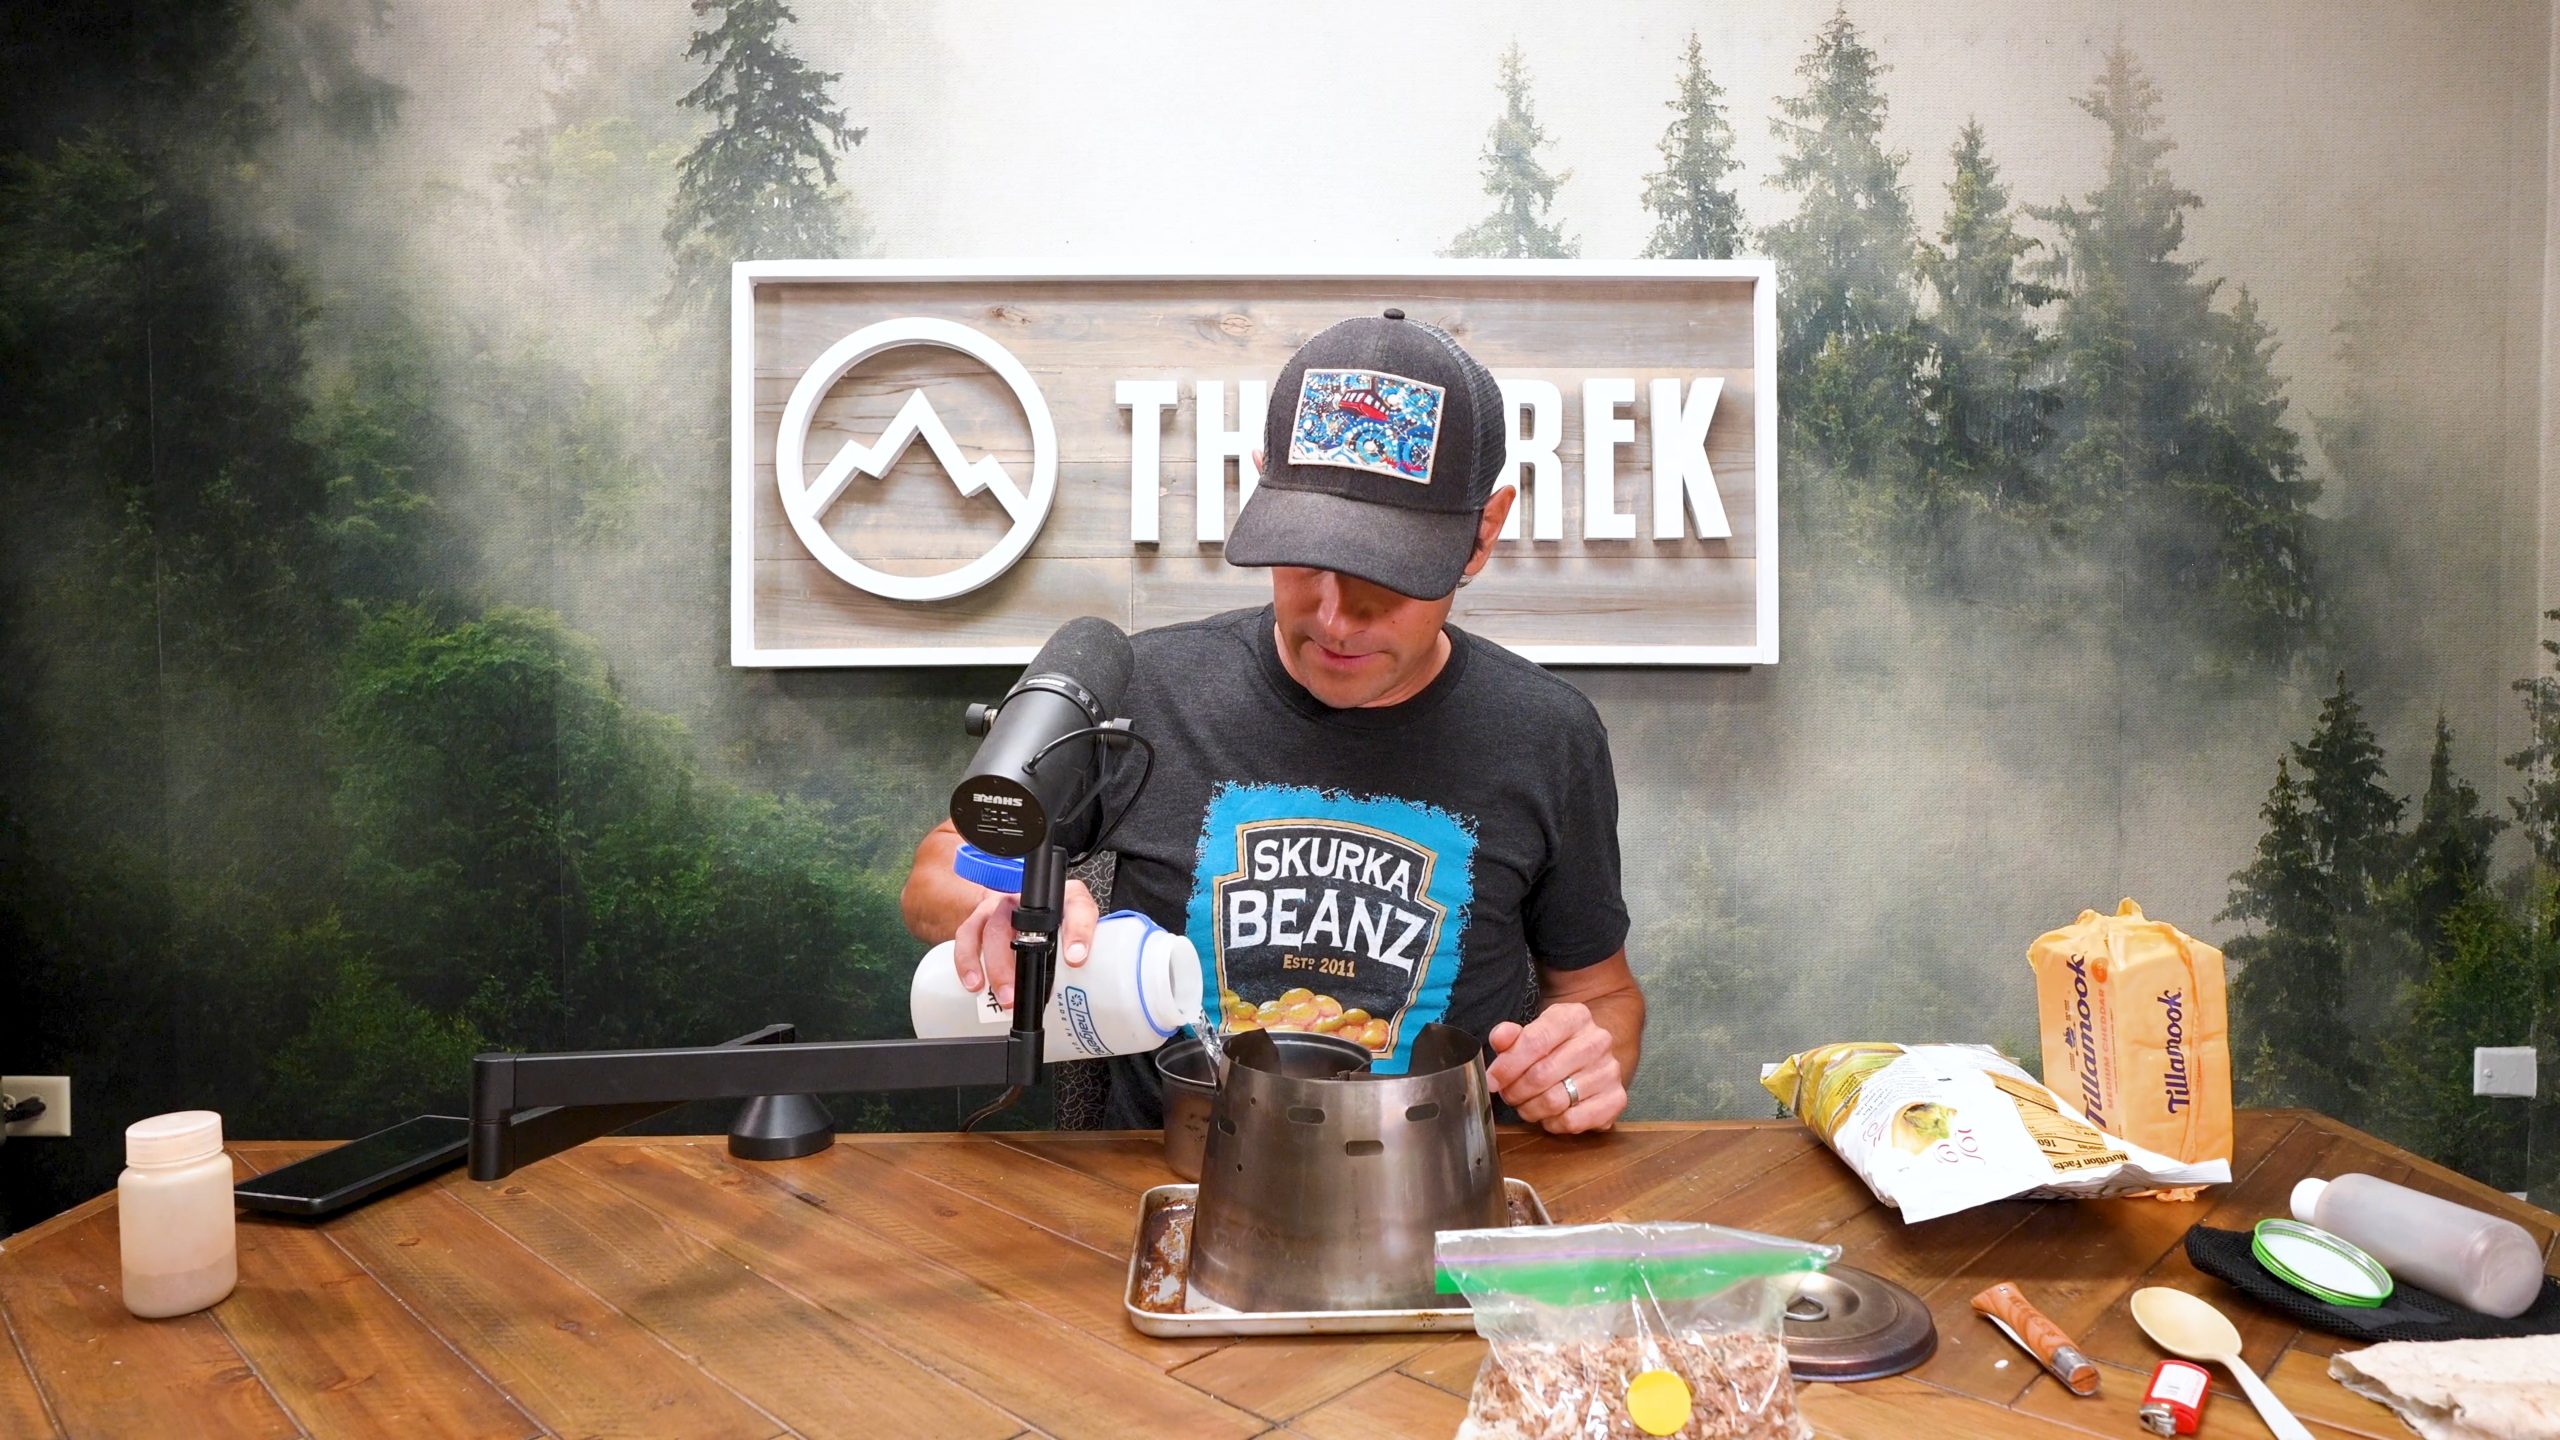
I’ve got my stove ready. At this point, it’s time to add some water.
The recipe calls for about 10 ounces of water. Your pot probably has engravings on the inside, but they may be in milliliters. That would be around 280 milliliters.
Personally, I prefer to make my beans and rice a little soupy. That has a number of benefits.
First, the meal seems bigger than it actually is.
It helps prevent scorching or burning on the bottom of the pot.
It warms me up a little better than a thicker meal.
It also rehydrates me.
So personally, I’ll usually do 12 or 14 ounces.
If it’s really cold and nasty out, maybe I’ll do 16.
Cooking With an Alcohol Stove
If you’re using an alcohol stove, something on the order of four-tenths of an ounce of fuel is probably okay. It depends a little on the starting temperature of the water.
And in best alcohol-stove practice, I always pour the fuel somewhere other than where I’m going to cook. Inevitably, you spill a little bit. If you spill directly beneath your stove, you could light the ground on fire. That could be a bad situation.
If you’re concerned about lighting the ground on fire, an easy thing to do is pre-soak the area. Just get some water and wet the area where you’re going to cook.
We’re heating up the water.
If you used exactly the minimum amount of water, you’re going to wait until you’re almost at a boil.
But if you added a little bit more water like I did, you can go ahead and add your beans and rice now.
Give it a little stir.
Then be patient.
Obviously, if you use an alcohol stove, you know you need to be a little more patient than if you’re using a canister stove.
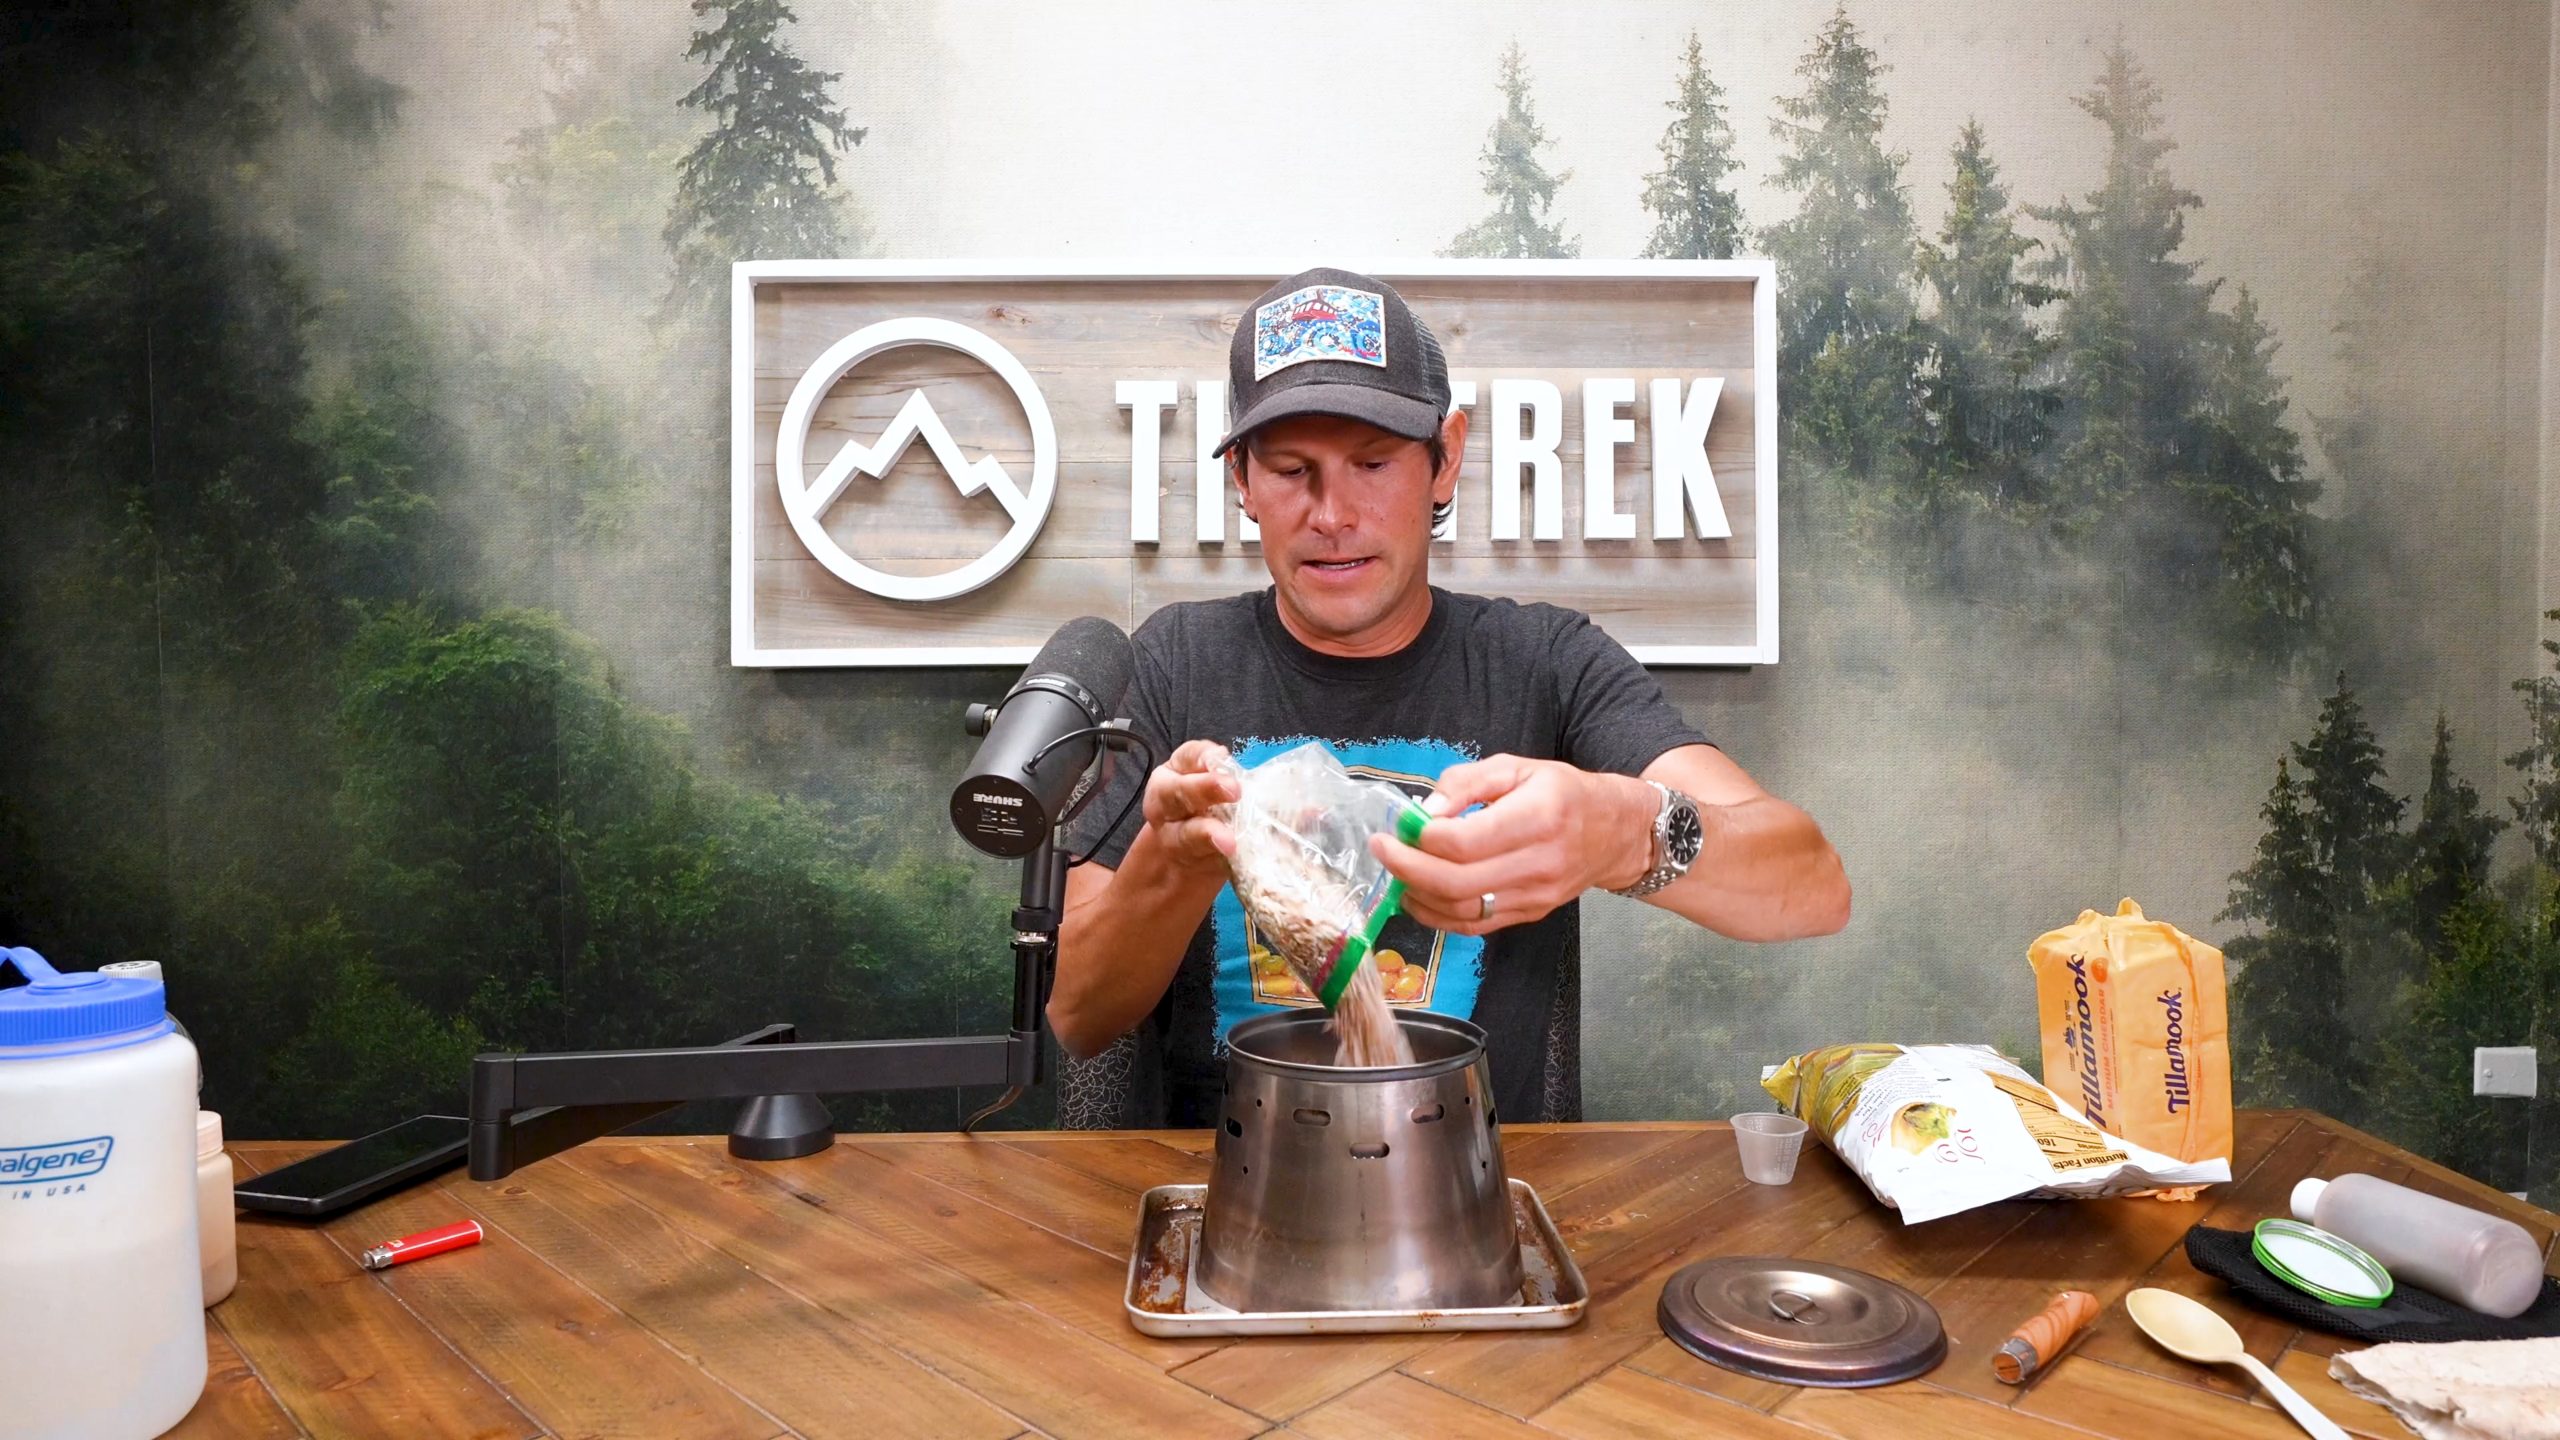
Why I Still Like Alcohol Stoves
While this is heating, I’ll talk about the advantages of my little alcohol stove.
One is that the fuel—with the exception of California—is more accessible.
You can walk into a convenience store or an Ace Hardware and find denatured alcohol or one of those yellow or red bottles of HEET. That’s the big one.
Second, it’s quiet.
It doesn’t make any noise. When we sit down for a group meal and someone busts out a PocketRocket and turns it on, conversation basically has to stop. I find them irritating for that reason.
On shorter trips, the alcohol stove is also a little lighter.
And the last thing is that you don’t have this awkward fuel issue you get with canister stoves.
You’re leaving for a trip and you’re like: “Does this have five boils left?” “No, I think it only has three.”
Then it goes into a tub with a dozen other canisters that all have not-quite-enough fuel left.
With an alcohol stove, you can take exactly the amount of fuel you need.
I usually keep my alcohol fuel in a water bottle or soda bottle designed for a pressurized beverage. It has a more secure cap. This is probably a 12-ounce bottle, and I’ve probably got about three ounces of fuel in it. That’s more than enough for three or four days. Pretty easy.
I’ve heard that if you peek at it, it boils faster…
The Story Behind Skurka Beans and Rice
The beans and rice recipe has been in our rotation forever.
I actually don’t remember its exact origin story.
I think my wife, Amanda, might have had something to do with it.
One of the things I think we do really well as a guided trip company is that we’re constantly iterating. We’re always listening for feedback. We’re always writing down little notes about something that could be done better. Recipes are one of those things.
Maybe the first time we sent it out on a trip, it was one ounce of rice and three ounces of beans and half an ounce of cheese.
You’d eat it and think: “Ah, it’s too bean-heavy.” “There’s not enough cheese.”
So we just played with the ratios until we got it right. It has been in this exact configuration for a long time. This is our longest-running meal.
If you know me, you know I have these numbers in a spreadsheet.
Since 2011, we’ve had more than 2,900 clients. I think probably every single one of them has had beans and rice.
That’s a lot of people who’ve eaten this meal over time
Add the Seasoning Generously
Okay. We’re boiling.
With the alcohol stove, I’m just going to let it burn itself out.
A little extra boil—60 seconds, maybe 90 seconds—helps the rice and beans fully reconstitute, absorb some of that volume, and get nice and soft.
While it’s simmering, I’m going to prepare my cheese and Fritos.
I’m also going to spice it.
When you spice your beans and rice, be generous.
The taco seasoning I’m using has yellow cornmeal and spices including chili pepper, cumin, oregano, sea salt, onion, garlic, smoked paprika, red and green bell pepper, cocoa powder, jalapeño pepper, and salt.
Be generous.
That should probably be enough.
And if you like a little heat like I do, add a few red pepper flakes.
Ways to Change the Recipe
There are some variations you can make.
You could add freeze-dried or dehydrated ground beef.
I actually thought that was a really good addition. That was a client idea.
You could use Cheez-Its instead of Fritos. I think that tastes pretty good.
Obviously, you can play around with the ratios.
If you’re a hungry thru-hiker, maybe you add more Fritos or more cheese.
Add the Cheese and Fritos
At this point, the alcohol has burned out.
It’s time for the cheese and Fritos.
On trips, I usually carry a little cutting board. As a trip leader, I end up cutting quite a bit of cheese and butter.
During the day, I also like making myself a little charcuterie lunch with salami, cheese, crackers, and maybe an avocado.
If this were a group trip, every person would get their own individual ration of beans and rice.
So suppose it’s a 10-person group. Every person gets a 3.5-ounce bag of beans and rice.
Then, once we’re in the field, I lay out 10 bowls. I cut the amount of cheese I need. For a 10-person group, that would be a 10-ounce block. Each bowl gets an individual ration of cheese and an individual ration of Fritos. Then every person gets a bowl.
The spice bottles are communal.
We just pass those around as people need them.
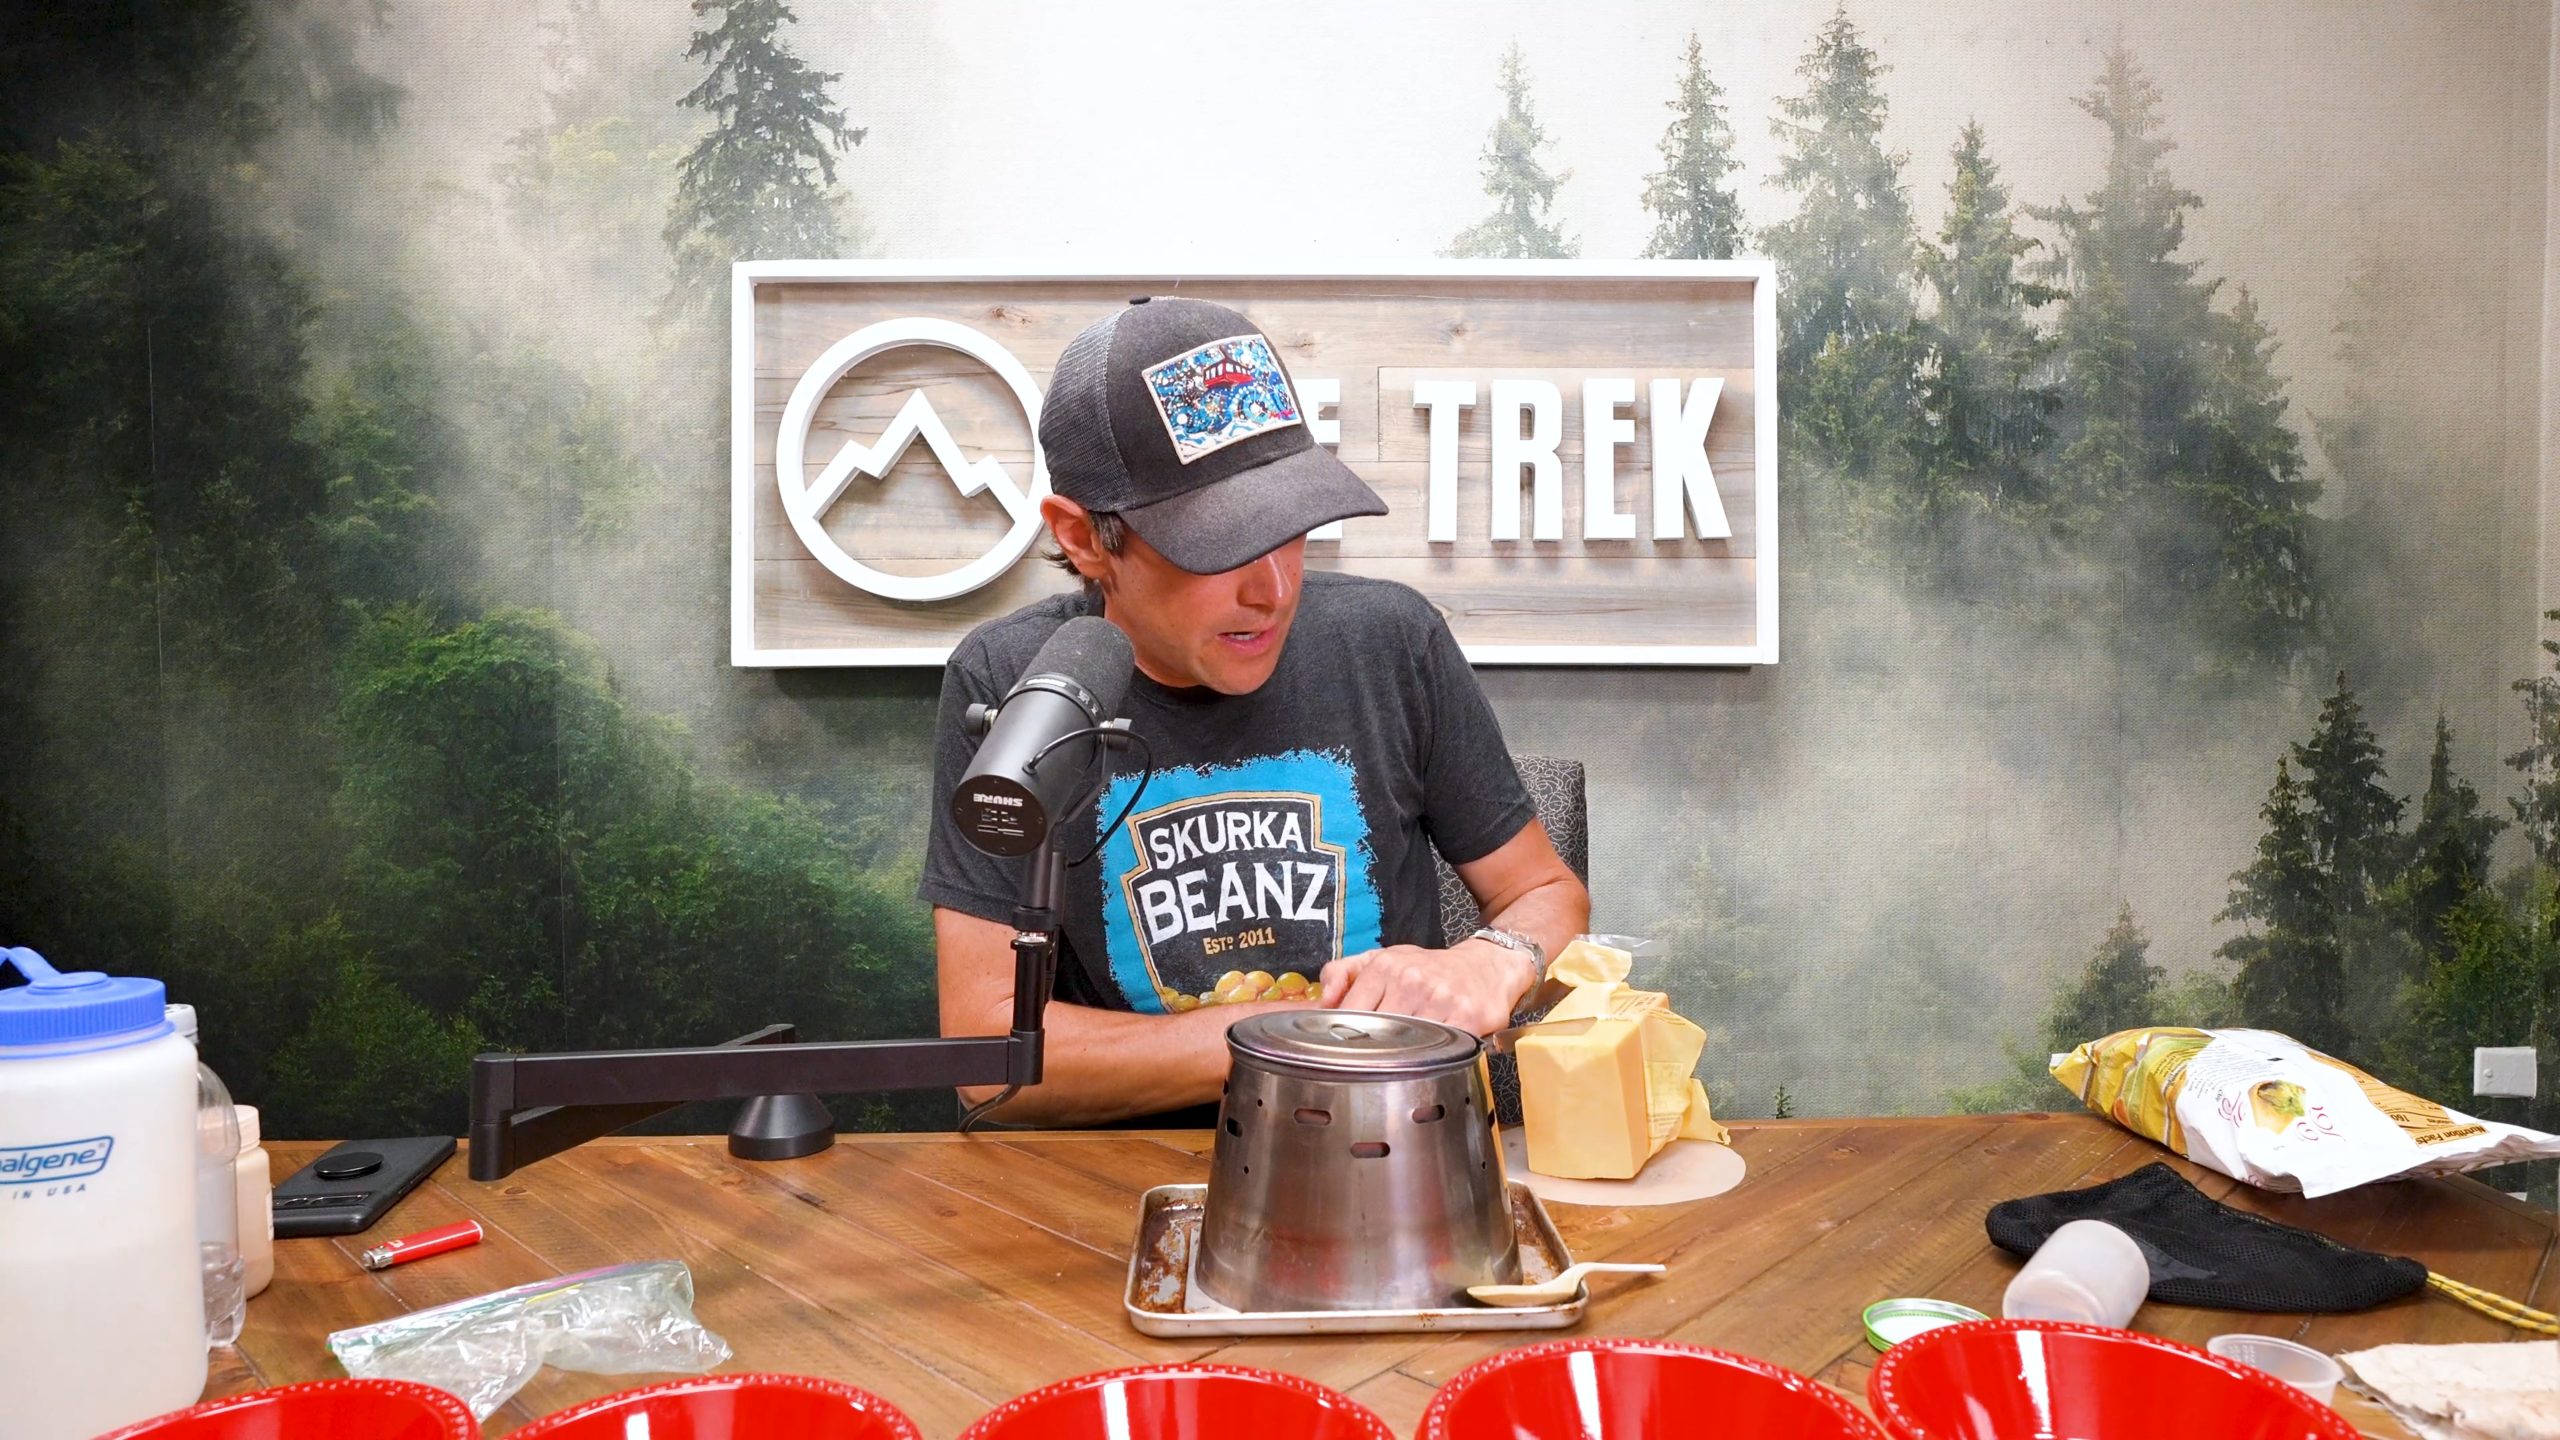
Why I Use a Plastic Spoon
At this point, I need to cheese my meal.
The best way to do this is to take the block of cheese and slice it up a little bit with the edge of your spoon.
You’ll notice I’m using a plastic spoon with a shortened handle. In my mind, this has the perfect spoon shape. It has a pretty big bowl. And it’s plastic. It doesn’t scratch my teeth. If the temperatures are cold, the spoon itself isn’t cold because plastic is more thermally neutral.
Yeah, I’m sure a lot of people out there would say: “Oh, you’re putting all those microplastics in your body.”
That might be the case. It’s not something that’s going to keep me up at night.
All right. Cheese is in there. Stir it up a little bit so that as I eat it, I can find these little nuggets of cheddar cheese.
Then add the Fritos. You can crush them if you want, or just put them in whole.
Usually I let it sit another 60 seconds or so and let everything soften a little bit.
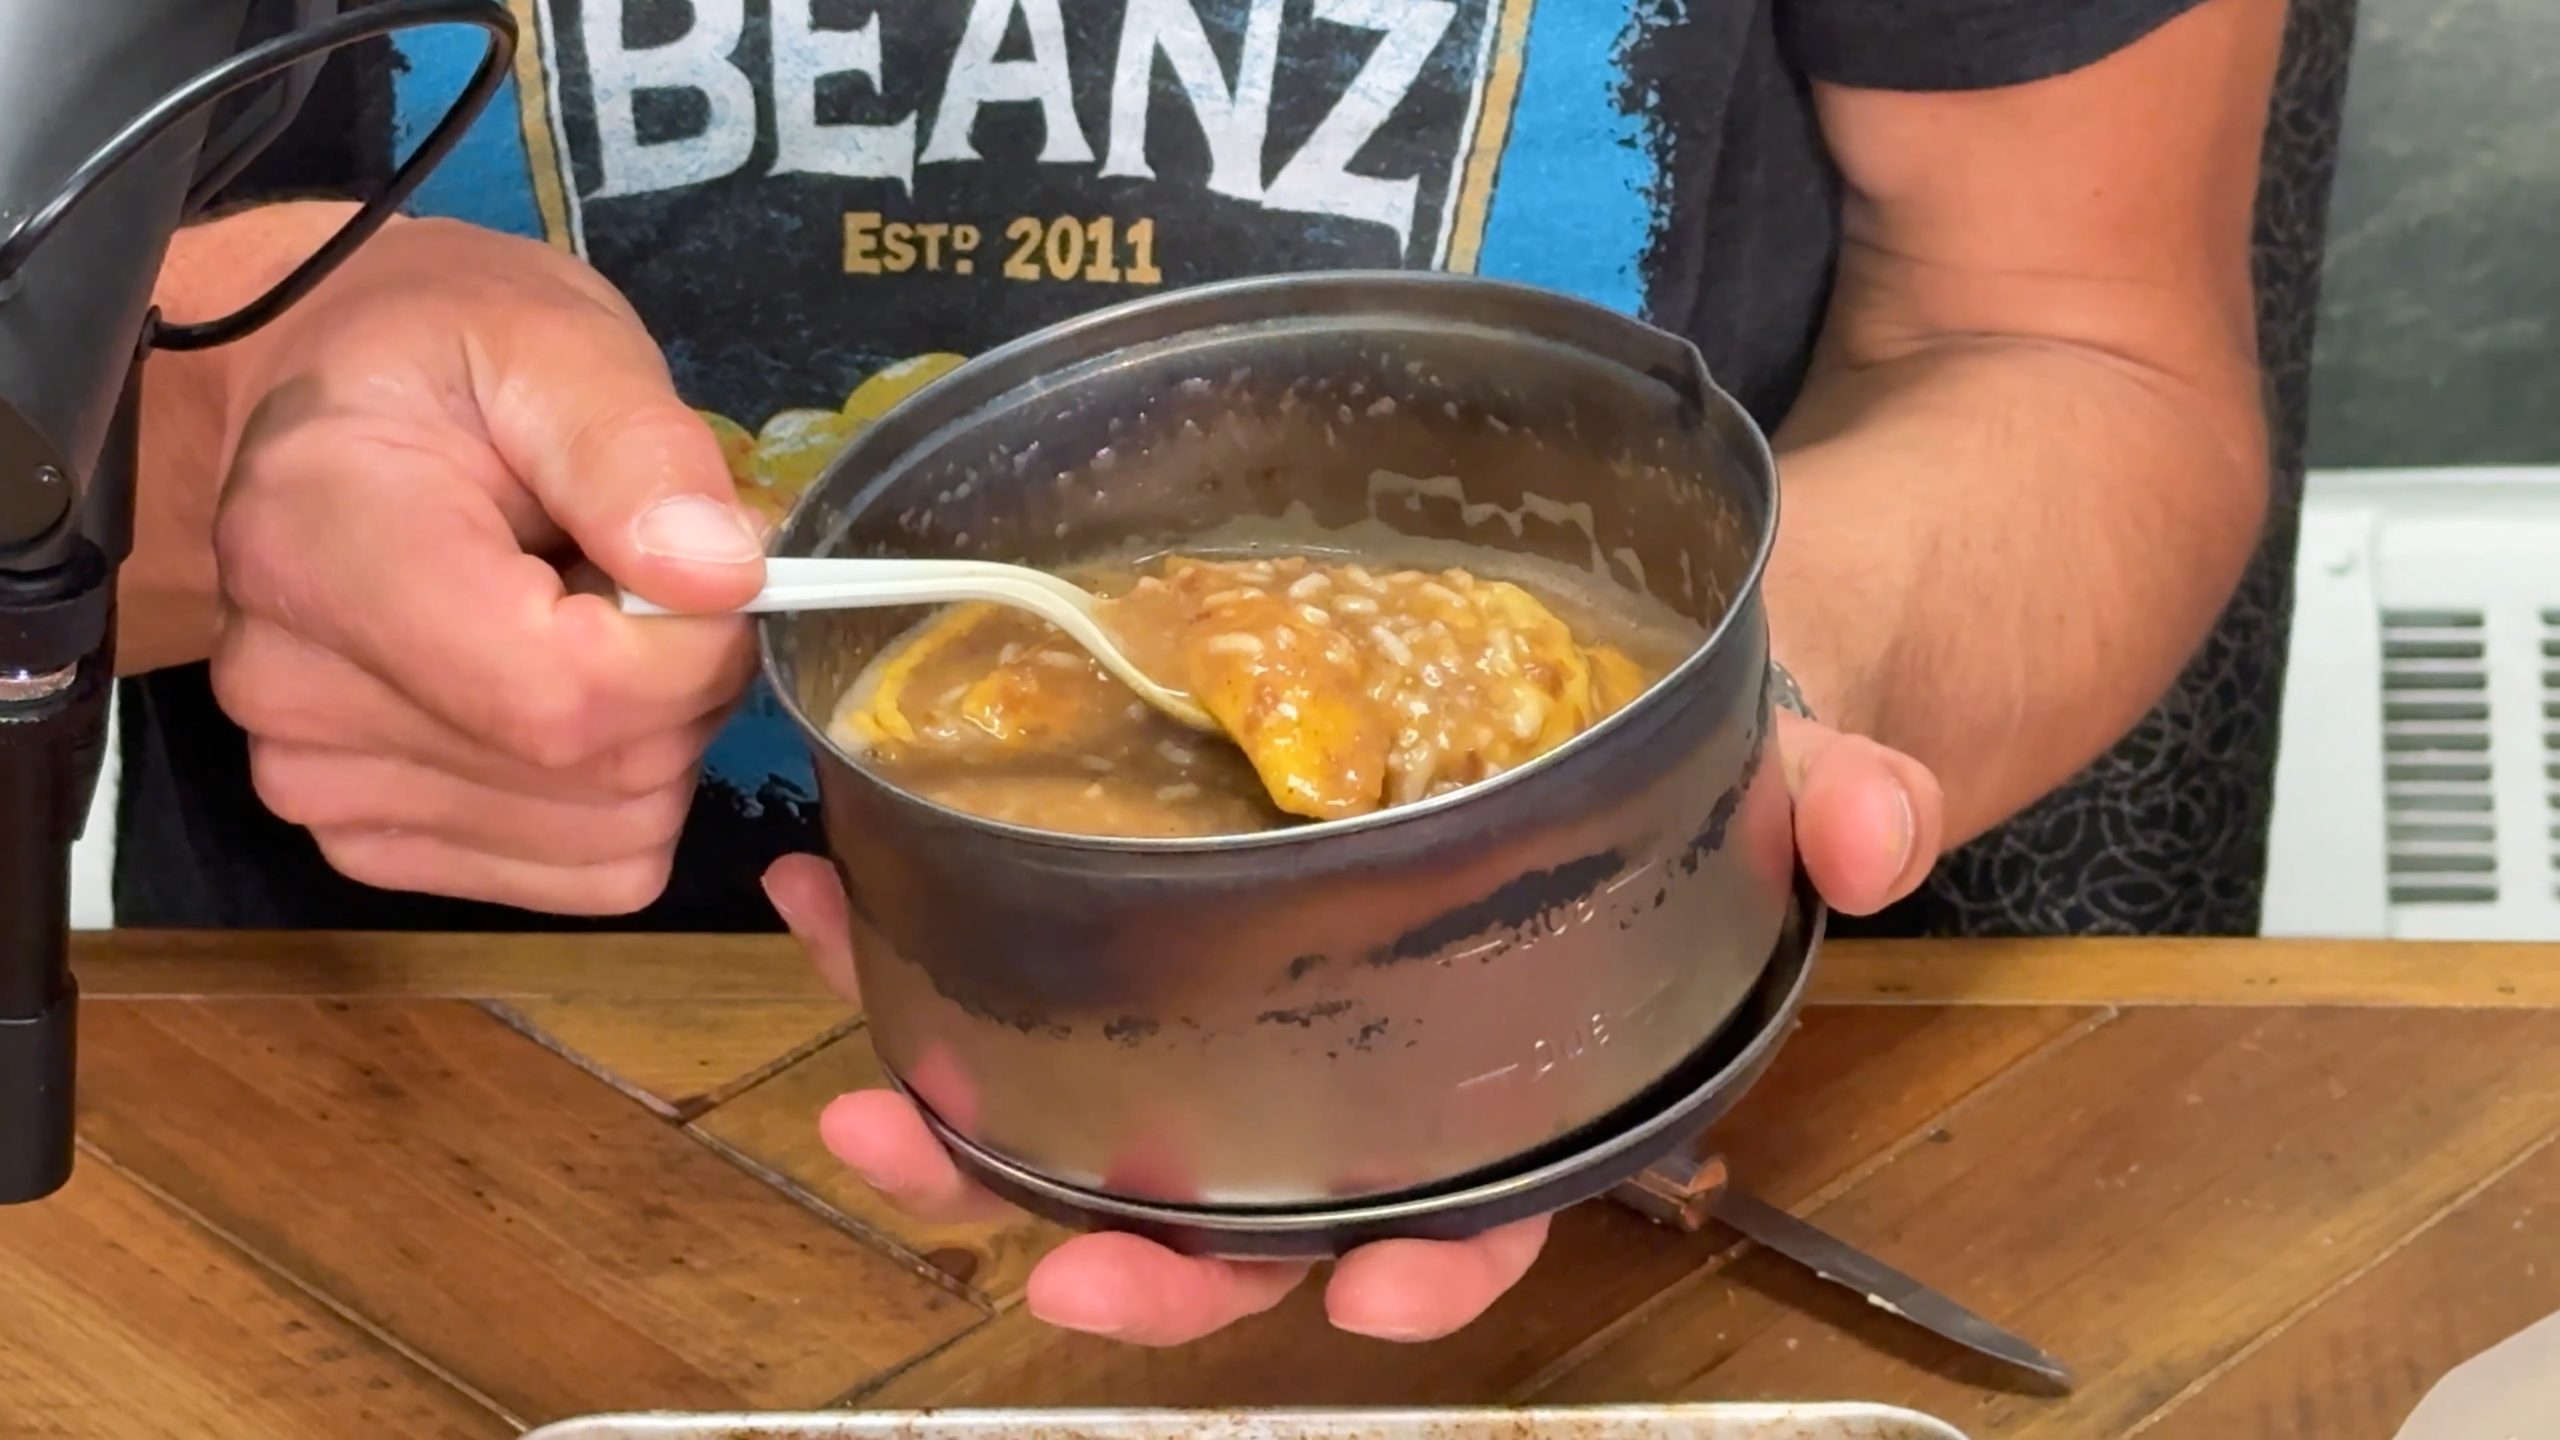
Bon Appétit
At this point: Bon appétit.
This is what it looks like. Most chefs would probably look at it and say: “Oh, you need something green in there.”
But here’s a Frito and some cheddar cheese.
This consistency is a little soupier than most people would probably consider perfect. But this is the way I like it. It will likely be hot.
I never get tired of it.
Never.
How to Clean the Pot
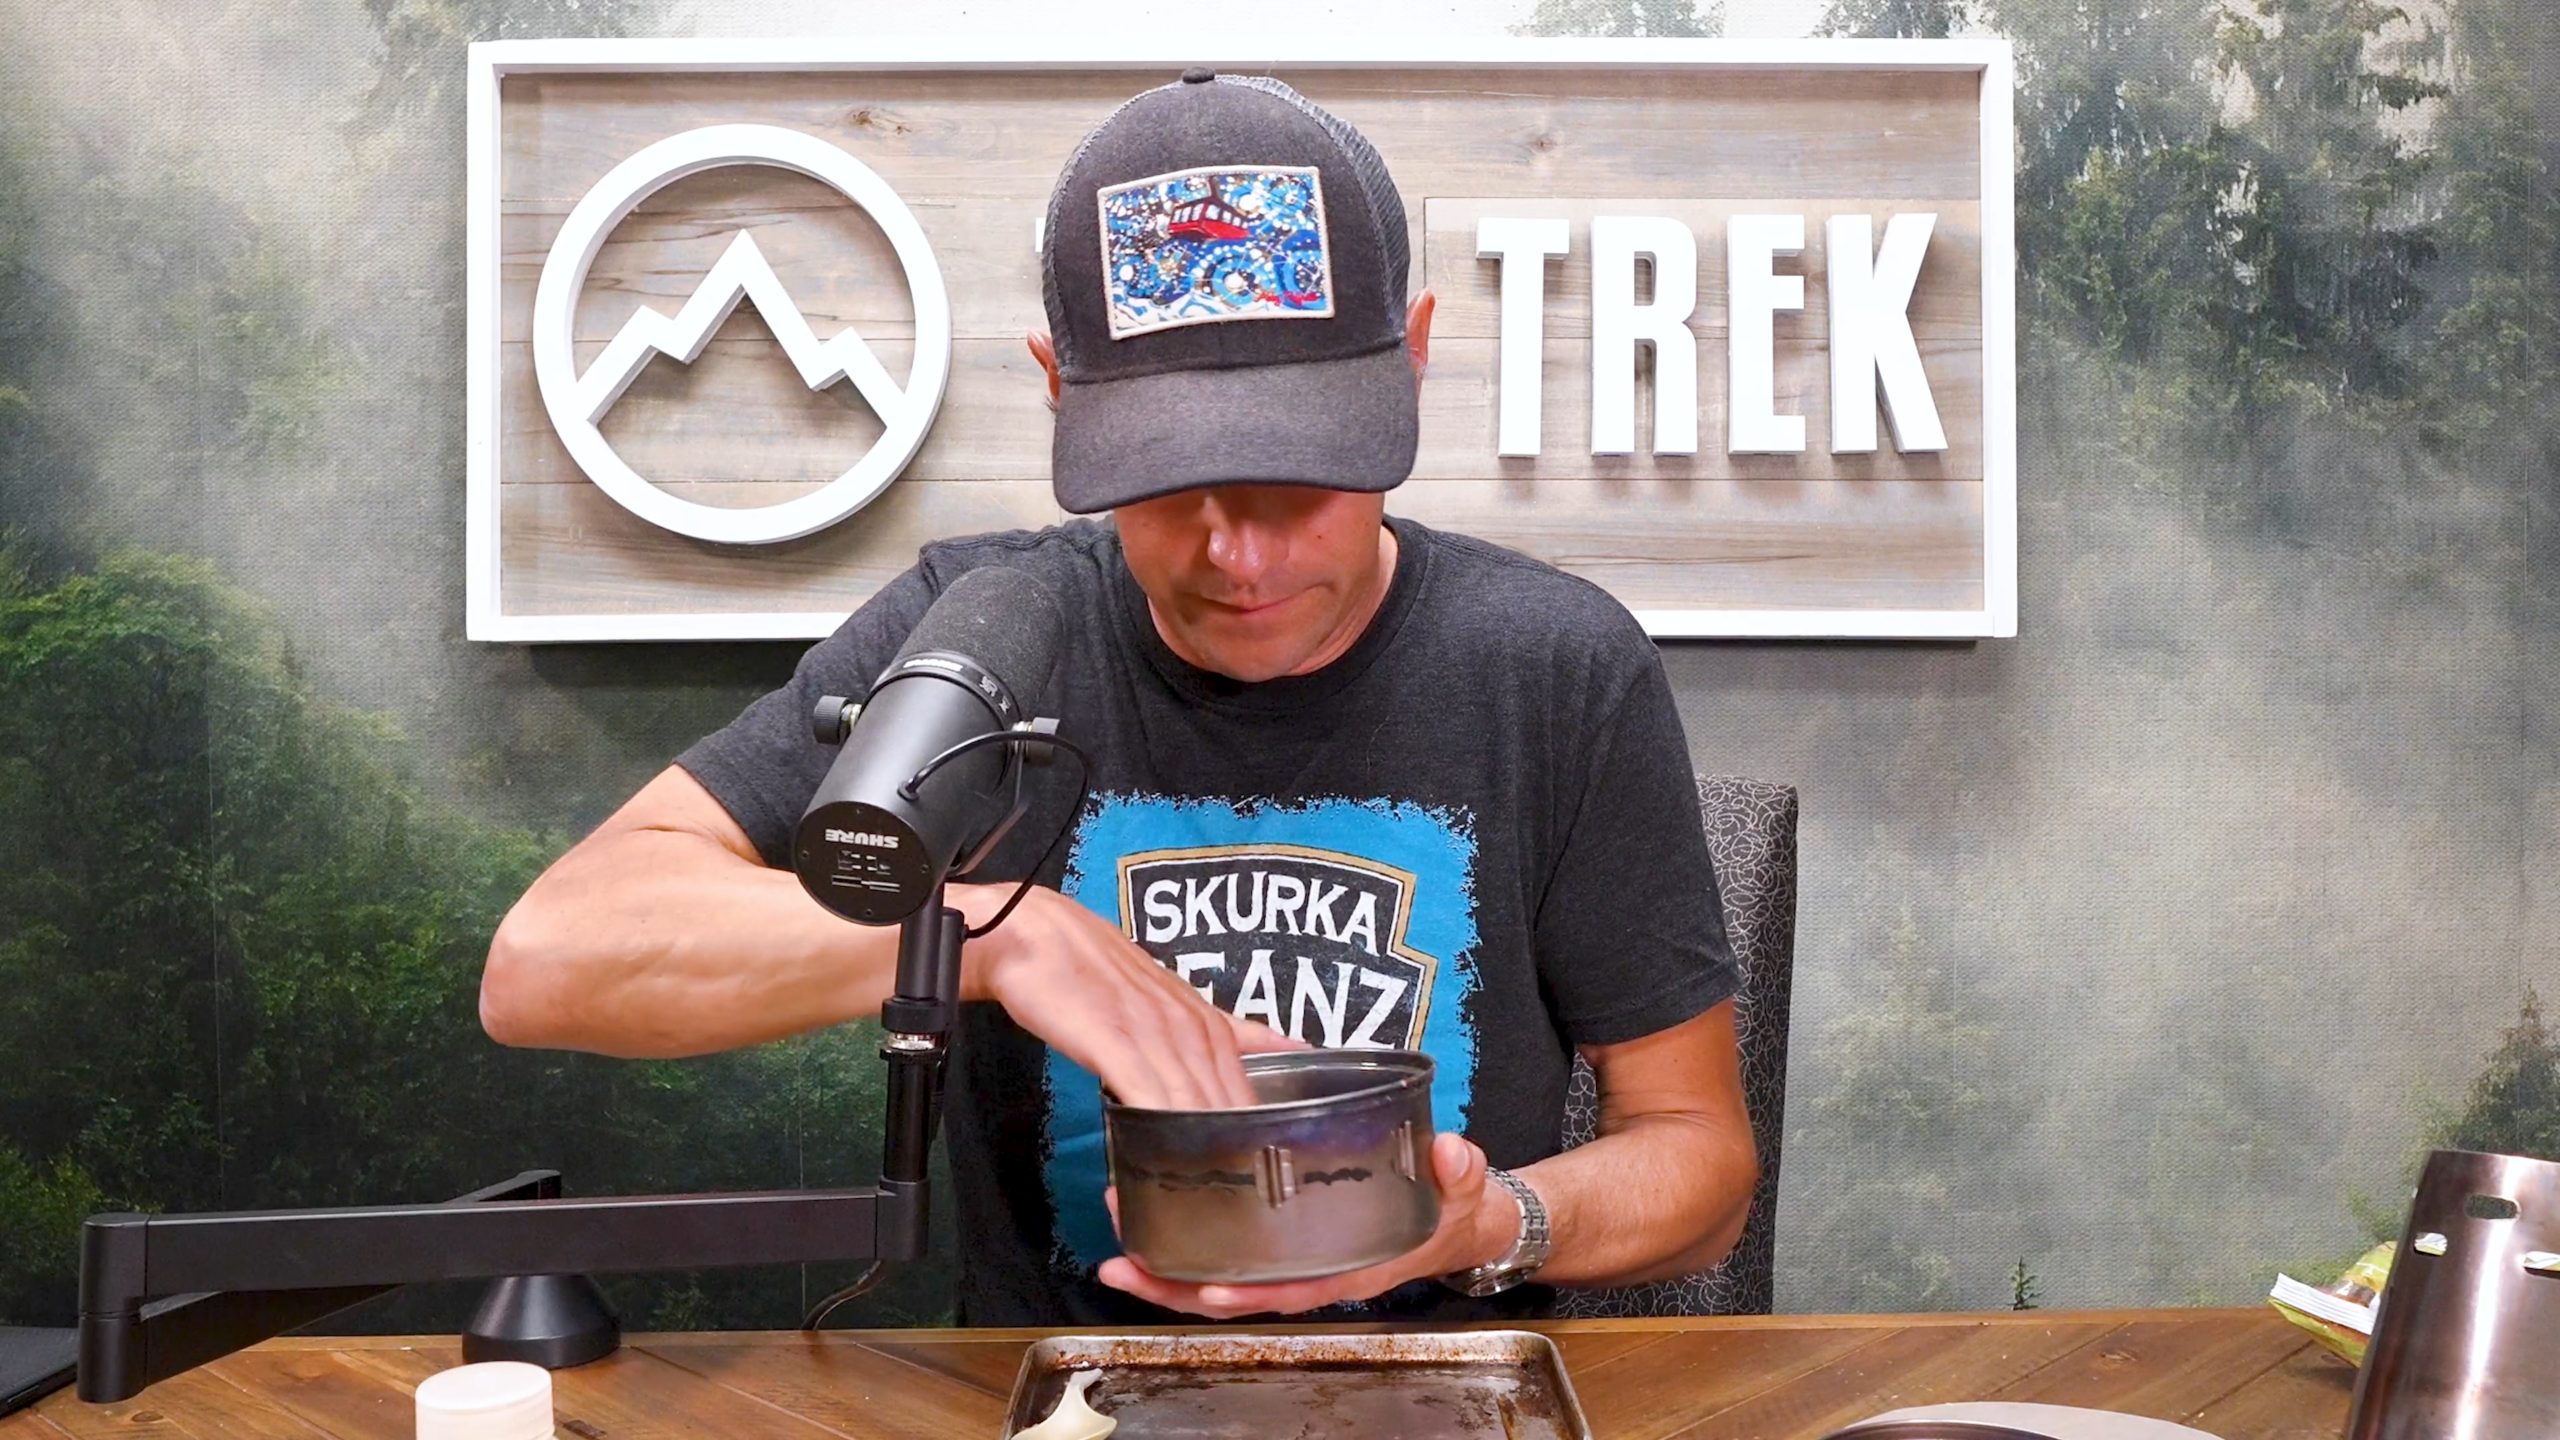
All right. Now we have a dirty pot. We need to talk about how to clean this.
Cleanup is very easy.
Take some water and use your fingers to clean the inside of the pot.
I do not bring soap. I do not bring a sponge. This works just fine.
That’s actually another reason I like to add more water than you absolutely need. Cleanup is easier.
At this point, you have gray water. Or, as it was once optimistically phrased, a very watery soup.
There are two things you can do with this.
One is disperse it. Take your pot and throw it in a big, wide arc.
The other option is that you could drink it. That probably grosses some people out too.
And then we’re done.
What If the Pot Is Really Dirty?
If you have a stickier mess—and that doesn’t necessarily apply to this meal, but it does to some other crowd favorites like cheesy potatoes with butter, bacon, and cheese—you might need to rinse the pot with some natural material.
Add some water.
Put in some pine needles, dirt, or sand.
Then use that material as a little sponge or abrasive.
You’ll probably need to do a second rinse.
Then you can get the pot perfectly clean and ready for breakfast the next morning.
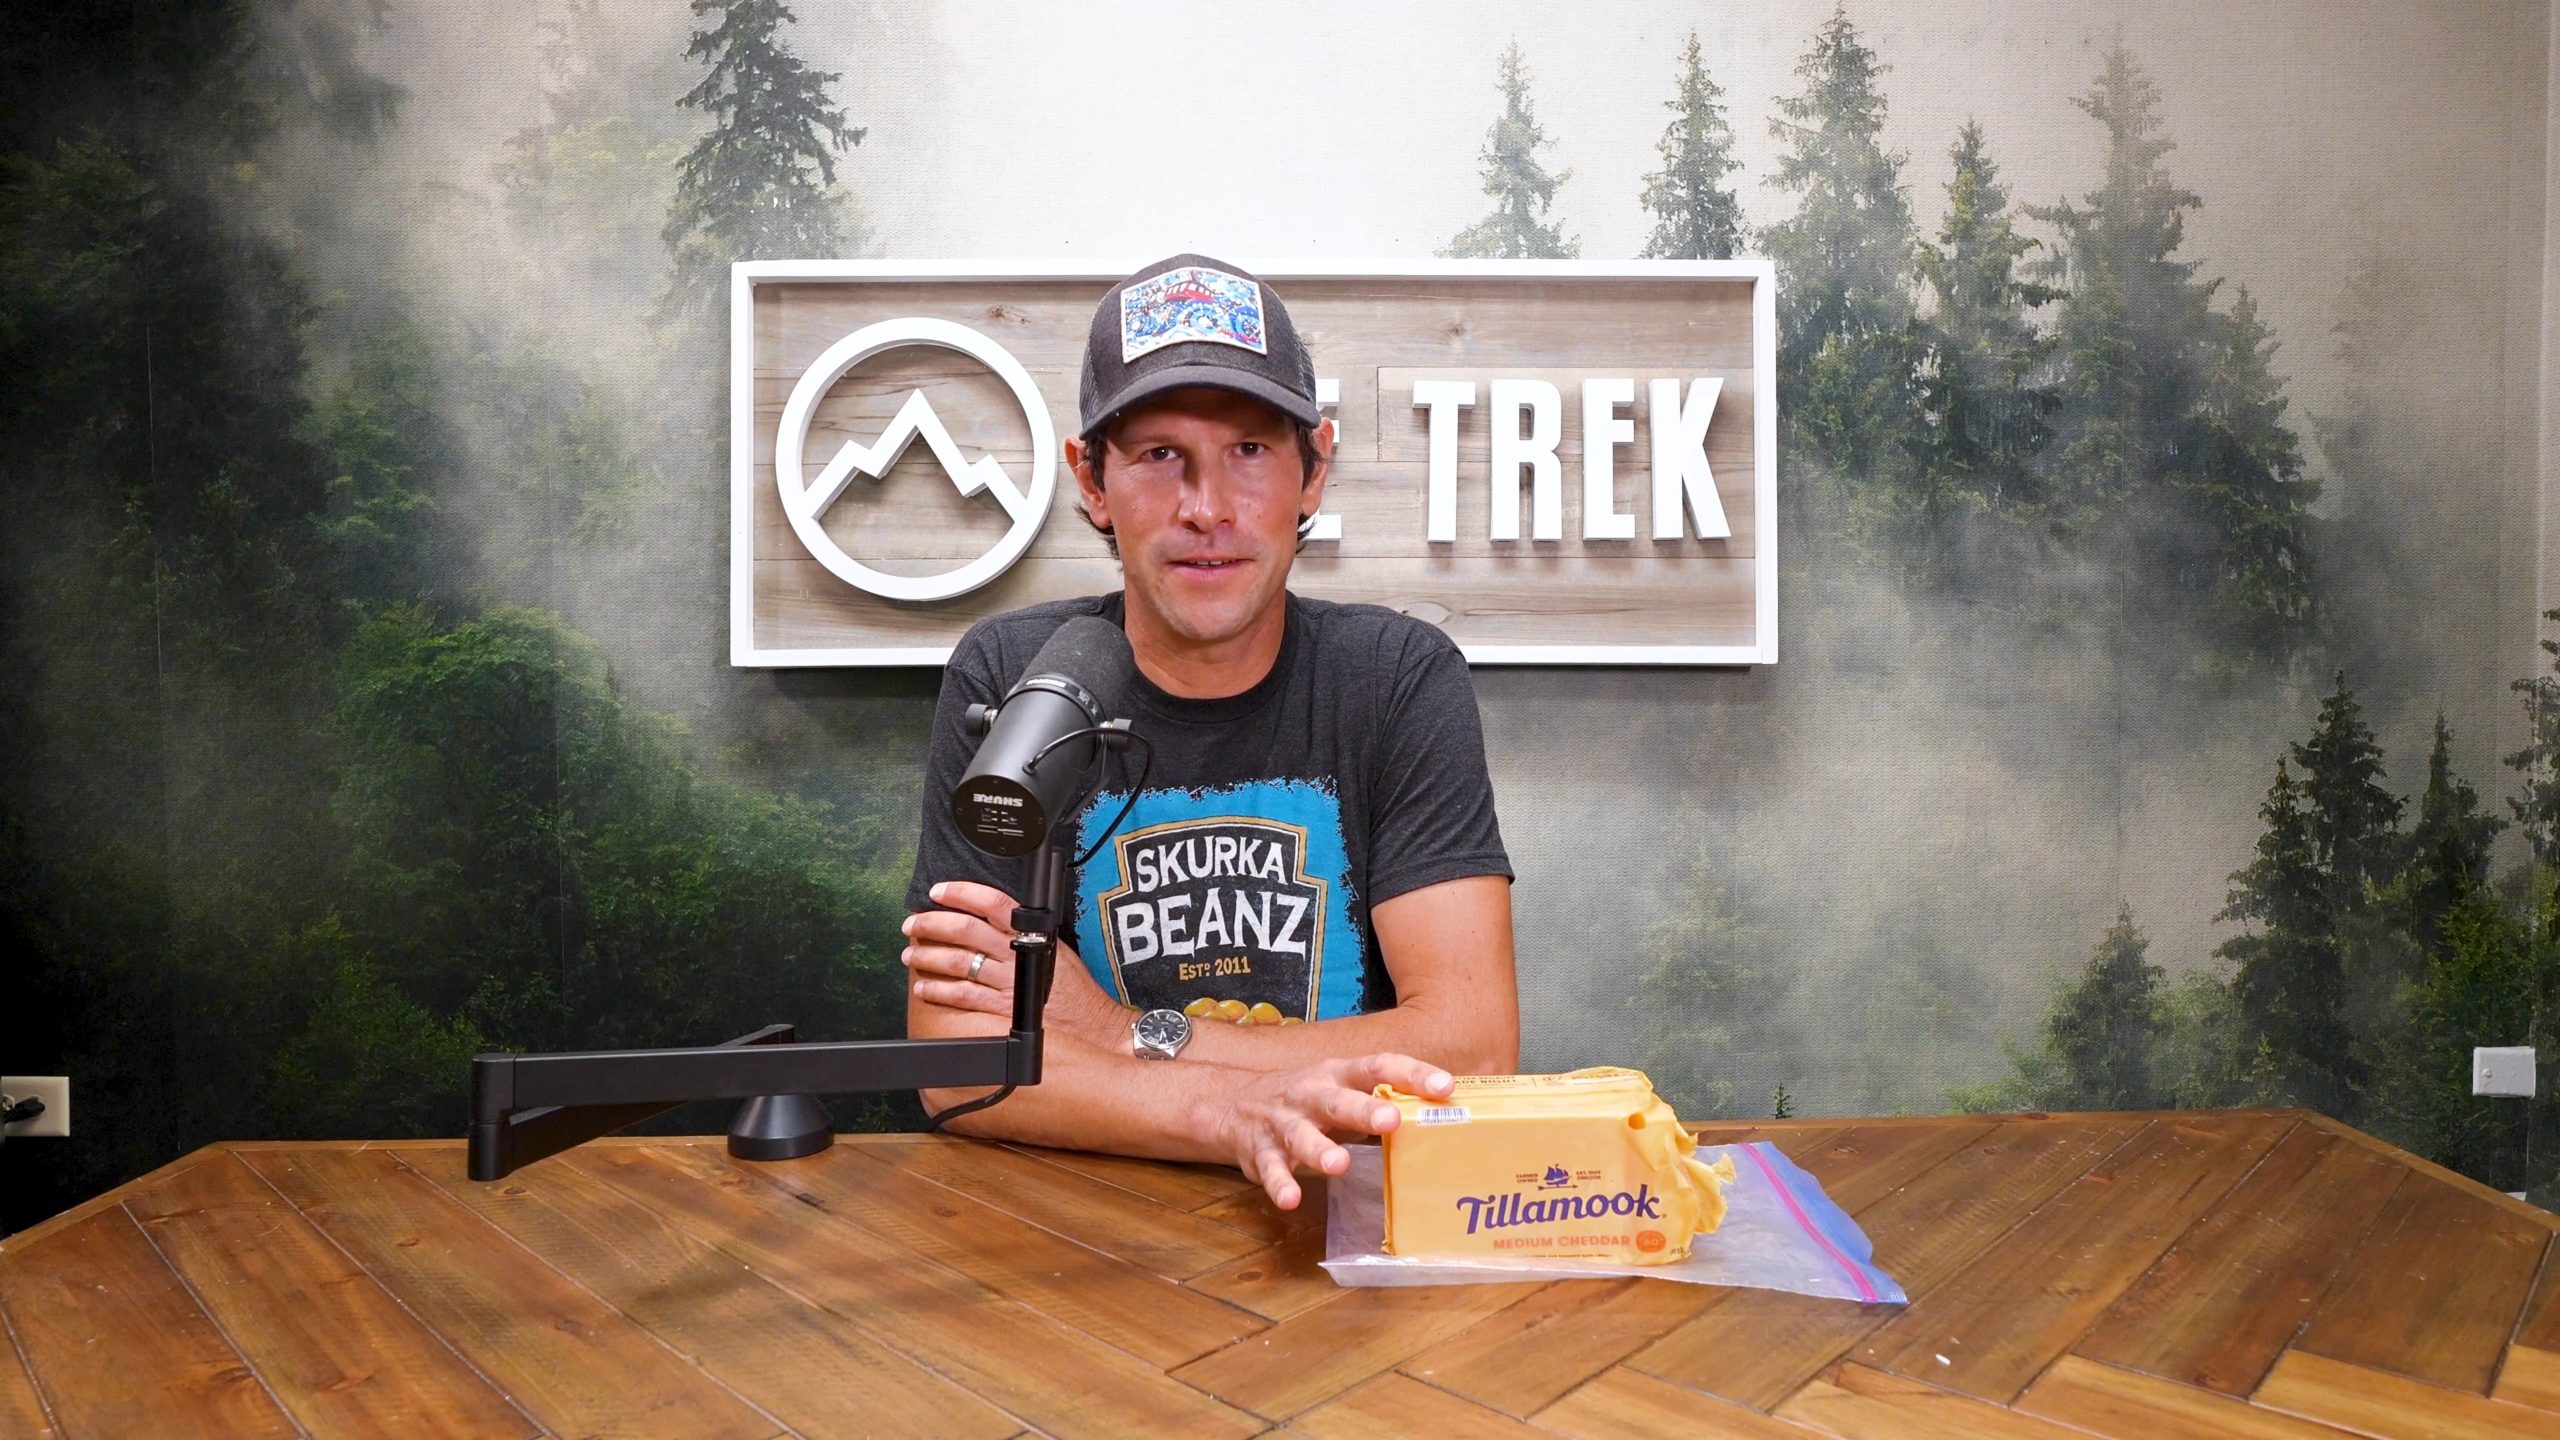
How I Store Cheese in the Backcountry
There was a question about how to store cheese in the backcountry.
What has worked really well for me is just taking the cheese and putting it in a Ziploc bag.
Try to minimize the air inside. That’s kind of the key thing.
At night, try to get it cold.
Typically, my cheese will be in a bear canister, a rodent hang, or whatever food-storage system I’m using. I try to get it cold overnight.
Then during the day, I bury it deep in my pack to keep it insulated. That way, it stays relatively cool most of the time.
We regularly carry blocks of cheese like this on seven- and 11-day trips. That includes some pretty hot trips in southern Utah and the High Sierra at the peak of summer. The cheese gets a little greasy toward the end of the trip. But I’ve never seen it get moldy. And we’ve never had an incident of a group getting food poisoning from it.
So that’s cheese.
The Beans and Rice Legacy
If you’re already a fan of the beans and rice recipe, thanks for watching.
If you’re new to beans and rice, I hope you’ve found some inspiration for your next backcountry trip.
In either case, please make sure to like this video and subscribe.
We’d also love to hear comments from people.
Tell us about your favorite trip with beans and rice. Tell us how you found the recipe. Tell us about a memorable trip or someone you shared it with. Maybe tell us about when you tried to feed it to your kids at home. Whatever it might be, give us a good story.
If you tell us a really good story, maybe The Trek will send one of the Trek-branded buffs your way.
We’ll see you next Monday at noon.
And if you would like authentic beans and rice and want to join us on a guided trip, we’ll be opening applications in December 2026 for our 2027 trips. The schedule will usually be released in the first or second week of November.
We’ll see you next week.

This website contains affiliate links, which means The Trek may receive a percentage of any product or service you purchase using the links in the articles or advertisements. The buyer pays the same price as they would otherwise, and your purchase helps to support The Trek's ongoing goal to serve you quality backpacking advice and information. Thanks for your support!
To learn more, please visit the About This Site page.

Comments 5
Respect the heck out of Skurka. However, I wouldn’t use sandwich ziplock bags over freezer bags. Zips are not intended for boiling water and will leach plastic contaminants. If you are aware, you know of the health and environmental threat plastics are to the world. Freezer bags or mylar bags are better. After adding boiling water, I seal and mix by kneading the bag and then put the bag back into my still warm pot to rehydrate. No cleanup, no “grey water” to disperse for the bears!
Not the Red HEET! Yellow is golden – none of that chemi funk.
Heck man, you made this complicated. I got lost somewhere between what you’re preparing first, I suppose at home, off the trail, and then what you’re doing out in the field. It just never seemed clear as to which was done when. And then during your description, there were all these side off-topic excursions. I just wanted to know how to make
the thing. But honestly, you made it tough. I could read it again, to possibly get to the gist of it, but I’m hesitant, cuz I’m not sure there even is a gist. I just wanted a good recipe on how to get this done, without all the other irrelevant stuff you threw in. I realize you’ve got beacoup experience, but you could have kept all that separate, in another article(s) perhaps, rather than have it adulterate what your ostensible purpose was, for this article, to impart to your readers.
Andrew,
Thx for the great video. You neglected to mention the after effects of the meal. I know that my ex when eating a meal like that was always relegated to the end of the hiking line. Because if she was in front breathing the noxious fumes became an almost deadly issue for those unfortunate enough to be in the rear.
Are there any preventive measures to be taken or should I just keep on keeping on.
Cheers!
I’m also a beans and rice hiker. But I don’t cook in my pot and use a canister stove due to the open fire issues.
I have been useing Santa Fe beans but they seem to have closed up their shop this summer. I also use Anthony’s cheddar cheese powder for my rice and beans and can mix all of my dry ingredients at home except the corn chips. I might get a small block of cheese but I’ll will be gone before it gets slimy. I also clean my food cup with water and drink it for hydration.
my