
 ">


Andrew Skurka on the Only 12 Backpacking Clothes You Really Need
The below is a transcription. Minor edits have been made for clarity and readability, while preserving the original message and intent. This video is part of a new series on The Trek’s Youtube. Check out the full video and subscribe to our YouTube channel.
If you’re interested in joining a guided wilderness expedition lead by Andrew Skurka, go to andrewskurka.com/guided-trips to learn more.
If you have ever struggled before a backpacking trip to assemble your clothing system, or if you have ever returned from a backpacking trip and realized that you didn’t use a lot of the clothing you took, or if you’ve ever walked into an outdoor retail store and just been overwhelmed by all the options for backpacking clothing, I’m going to try to simplify things.
I’m going to give you 12.5 articles of clothing that you can mix and match to create perfect systems for any set of three-season conditions.
If you had these 12 pieces, you could go hike the Appalachian Trail in Georgia in May. You could go up to the North Cascades in July. You could hike in Rocky Mountain National Park in September.
Wherever you want to go, in whatever three-season conditions you want, these 12 pieces of clothing will cover you.
Hi, I’m Andrew Skurka.
I’m a former thru-hiker. I was the first person to do the Sea-to-Sea Route, the Great Western Loop, and the Alaska-Yukon Expedition. I also pioneered or wrote guidebooks for four different high routes, like the Wind River High Route, the Kings Canyon High Basin Route, Yosemite High Route, and the Pfiffner Traverse.
For the last 15 or 16 years, the bulk of my time outdoors has been spent as a guide. I run about 50 or 60 trips per year with hundreds of clients, and we tend to operate in places like southern Utah, the High Sierra, Alaska, and Yellowstone.
This is part of a weekly video series I do with The Trek. We drop a new video every Monday at noon.
If you find value in the video today or some of our other videos, please like and subscribe. That helps us a lot and also makes us feel good about all the views that we get.
If you have a comment about today’s video, I’m sure there will be a lot of comments because I think this can be a pretty overwhelming topic. Just make sure to leave a comment below and we’ll try to answer that question.
Why Backpacking Clothing Gets So Complicated
I think backpacking clothing can be a particularly difficult topic for newer backpackers and even intermediate backpackers, especially if you’re going to a new location.
It’s very easy to go on a trip with the wrong clothes.
It’s also very easy to go on a trip where you have more clothes than you need.
What I’m trying to do with this system is give you the exact kit that you need.
It’ll reduce your expenses because you’re only buying a select number of things and you’re not constantly experimenting.
It’ll also allow you to go on a range of trips always feeling like you have what you need.
Let’s go ahead and start with item number one.
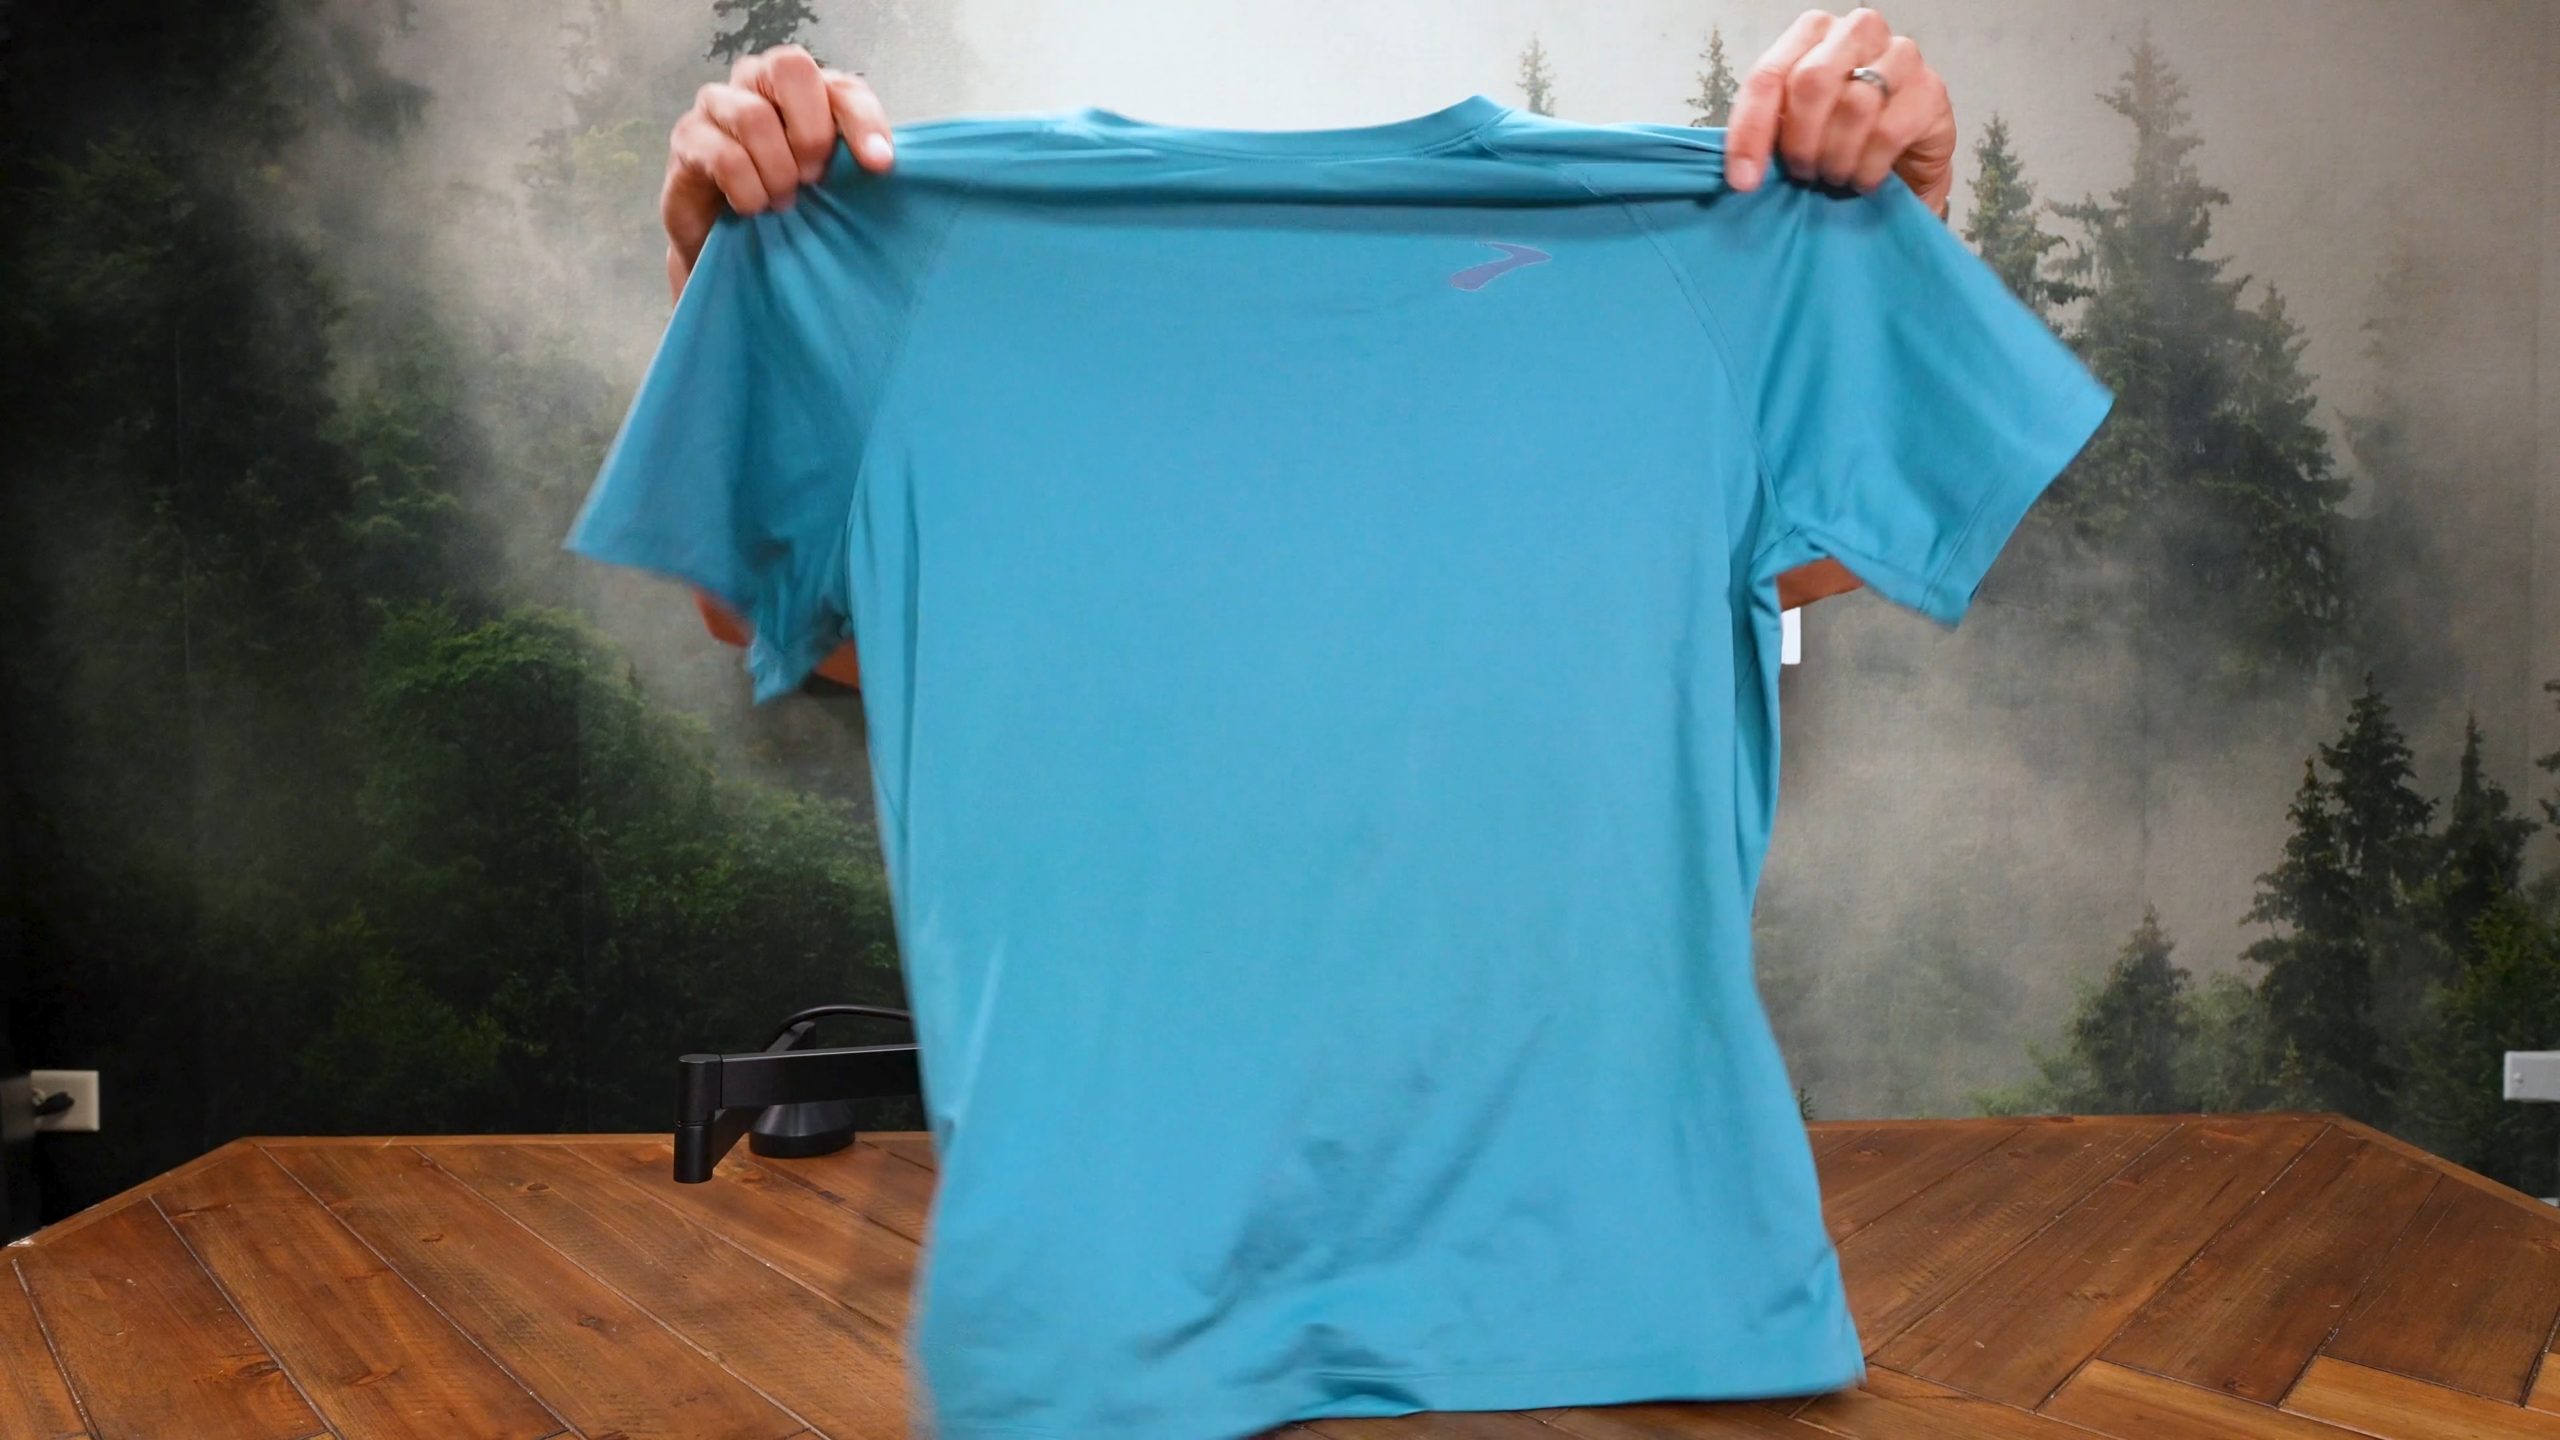
Item #1: Short-Sleeve Hiking Shirt
It is the very modest short-sleeve hiking shirt.
It can be made out of polyester or wool. Polyester is going to dry a little bit faster. Wool is going to smell less.
If you’re out for long enough, you’ll still stink, but maybe the wool is just a little bit more inherently antimicrobial. Even better if you can find a wool-polyester blend.
The thickness is going to depend on where you’re going backpacking. If you’re backpacking in a really hot place, try to keep it pretty thin. If you’re backpacking somewhere with milder temperatures, the fabric can be a little thicker.
Thicker fabrics tend to be a little more durable, but they’re obviously a little warmer too. They have a little more insulation to them.
You’re going to be wearing this short-sleeve backpacking shirt as your primary hiking shirt when sun is not an issue and neither are bugs or brush.
So: No bushwhacking. No mosquitoes. No black flies.
Think of the perfect application here as the Appalachians or the eastern woodlands, like up in the Great Lakes, when the bugs aren’t out.
Shirts like this are very easy to find. You don’t need to spend a lot of money on one.
Every manufacturer will tell you why theirs is better than another, but I’ve worn a lot of these, and I think what it really comes down to is partly the fabric.
I like knitted fabrics, like a waffle weave, a little more than something that’s just kind of silky.
The bigger thing, though, is the fit. Make sure it fits you nicely and fits your body type. If you have a narrower frame like me, maybe you want a little bit narrower fit. If you’re a little bit boxier, go with that.
Just make sure it fits you comfortably because this is something you’re going to be wearing all the time.
Consider Permethrin Treatment in Tick Country
One modification you could make—and I would recommend this for anyone hiking in areas with Lyme disease—is to send the shirt off to be permethrin-treated.
I don’t think you’re necessarily going to find a shirt that’s already permethrin-treated, but you can send your clothing to Insect Shield. I think it’s like eight or nine bucks. Now your shirt is more tick-resistant than just a standard shirt off the shelf.
You can also do DIY permethrin treatments. There are spray treatments available. I have not found that they work quite as well as the factory treatment, but that would be a perfectly reasonable solution if you don’t have time to send your stuff to Insect Shield, which will take a couple of weeks.
With this particular shirt, I’m not at all concerned about SPF because I’m going to be hiking in it where there’s almost zero burn risk. We’re talking thick forest canopy.
You usually wish you were getting more sun when you’re wearing this shirt.
Item #2: Long-Sleeve Hoodie
We’re basically now moving out West, or to colder areas, or to buggier areas.
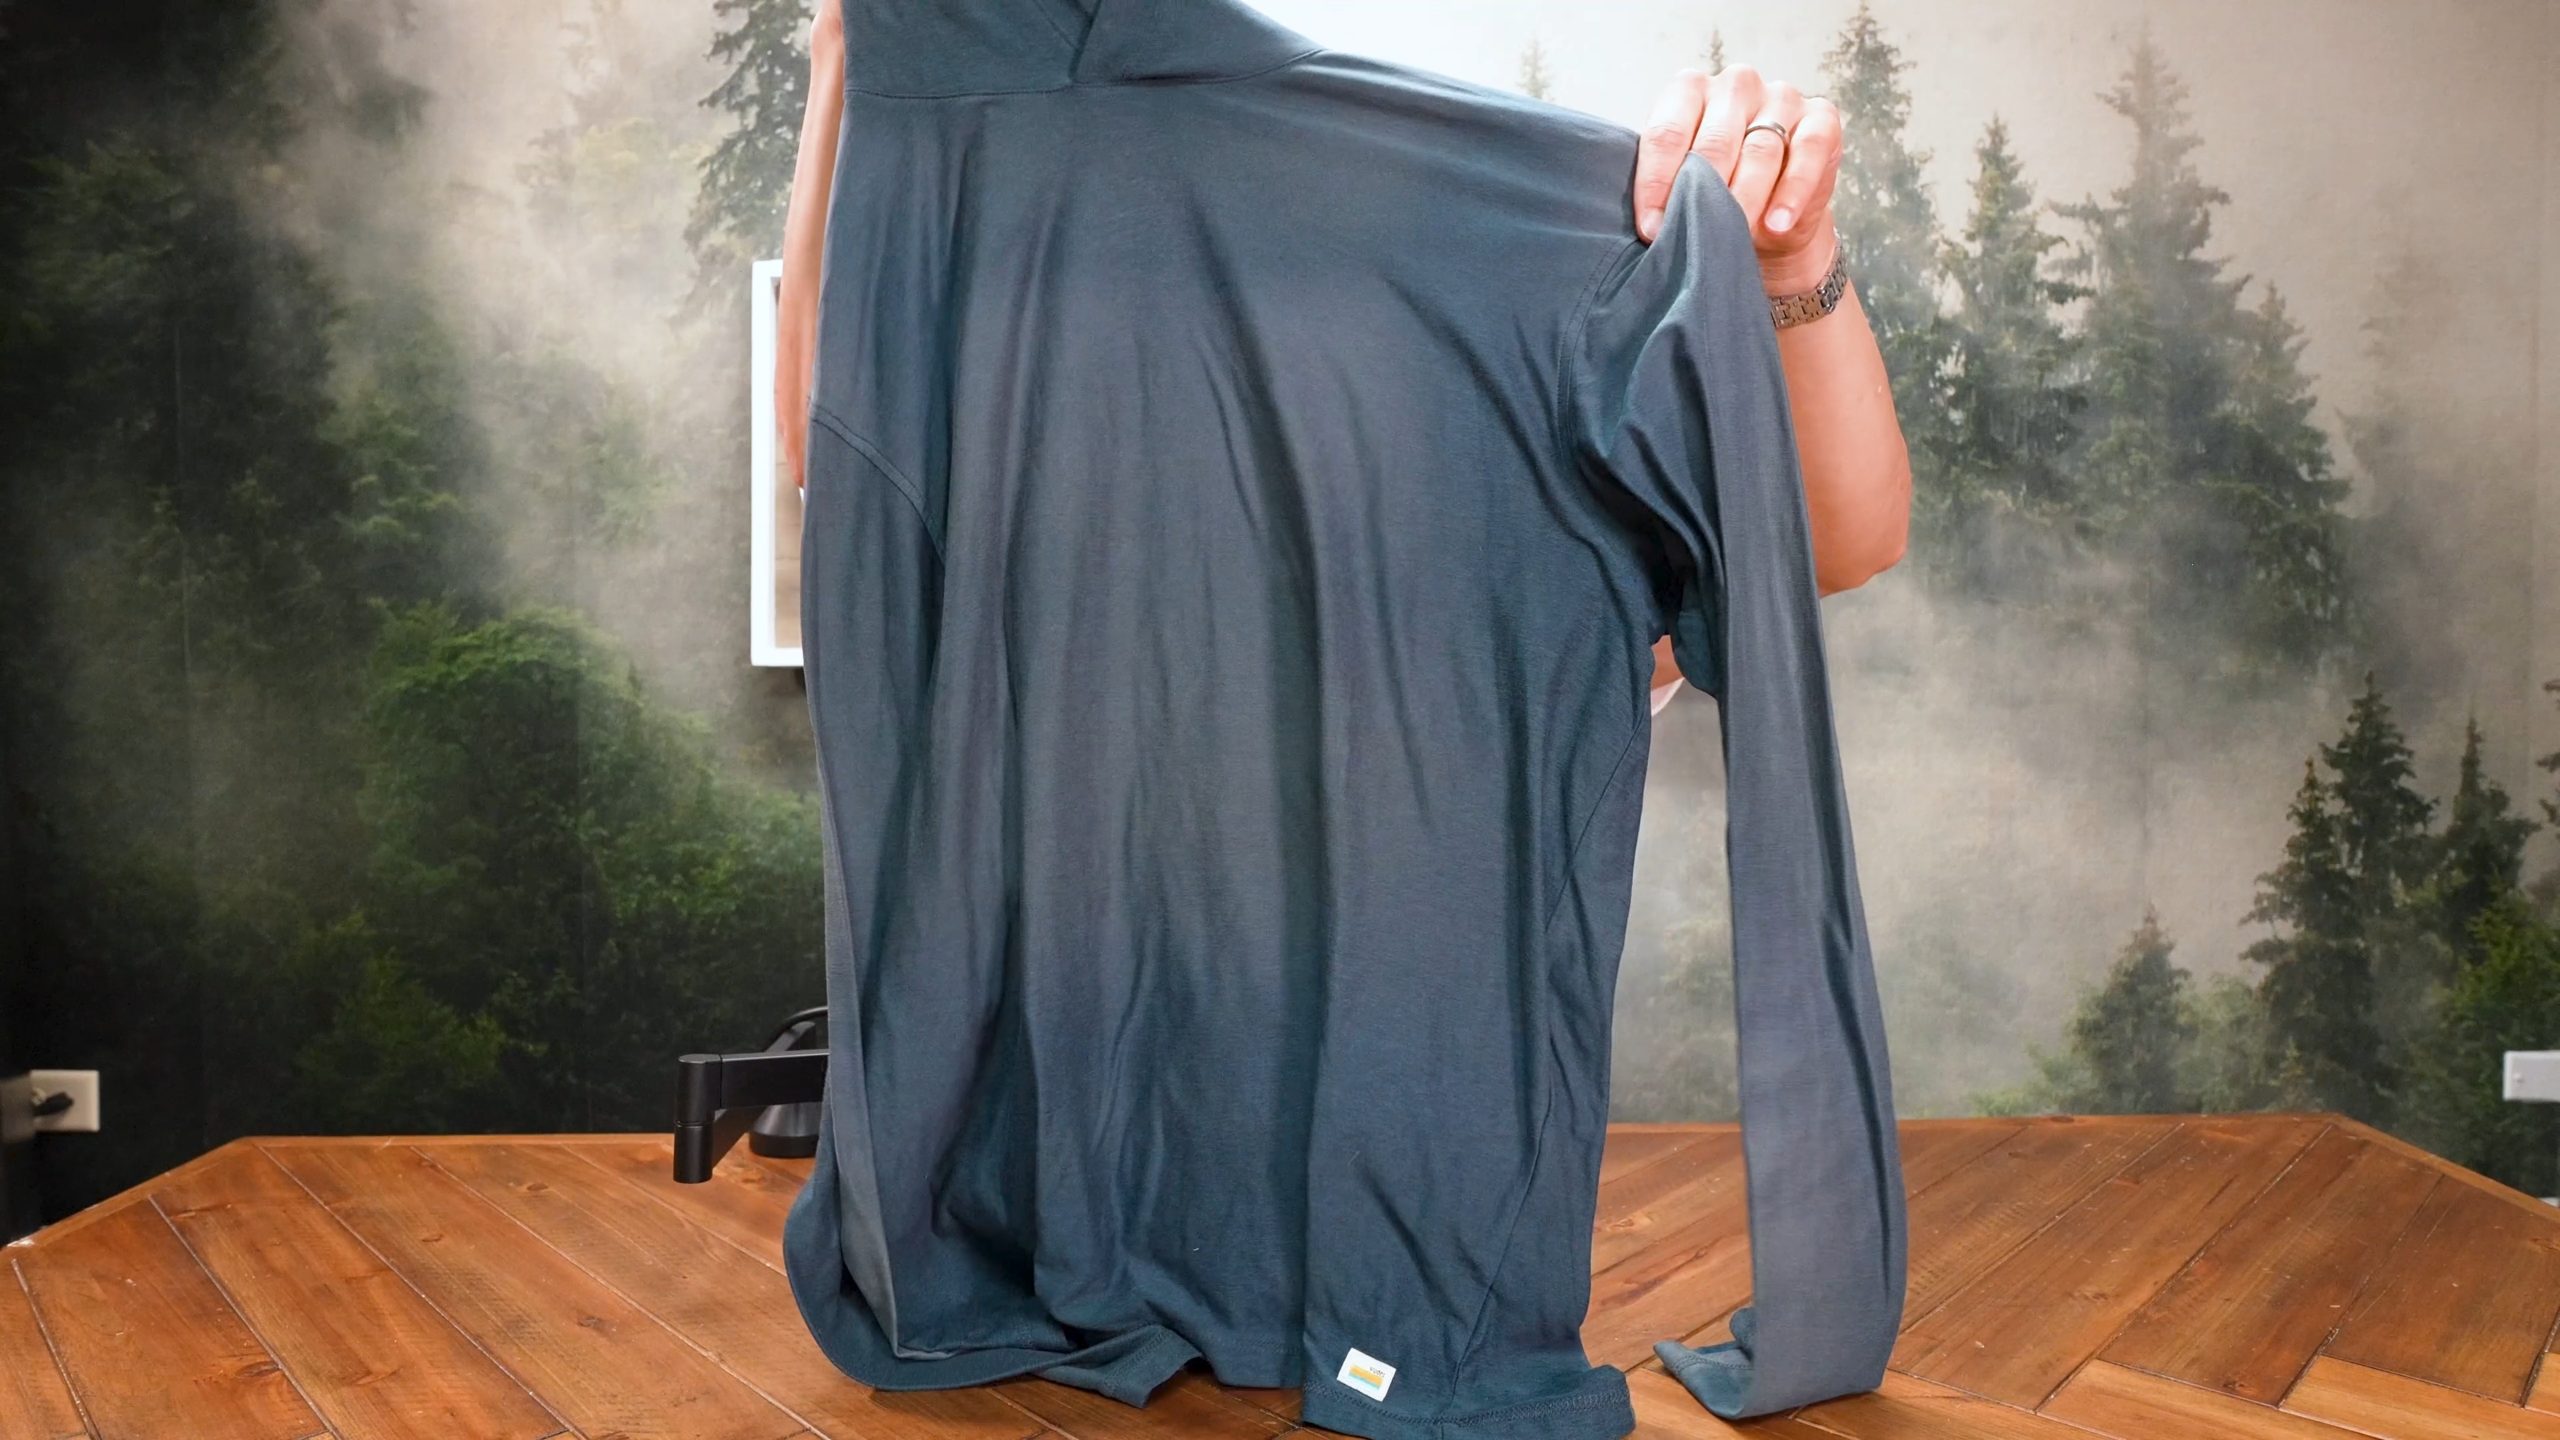
This is a long-sleeved hoodie. This particular one is from Vuori. I’ve been using it for a few seasons. You can actually see where my sternum strap is and where my hip belt is.
This one I sent off to Insect Shield.
This season, this is basically the only shirt I’ve worn. I wore it in southern Utah in the spring when there was lots of sun. I wore it in the Brooks Range of Alaska in June and July when there were bugs and some brush and sometimes a lot of sun. And I wore it in the High Sierra at the end of July and beginning of August when I just didn’t want to be applying so much sunscreen.
This is the second item.
You’re going to be wearing it in environments where you’re dealing with:
- Sun
- Bugs
- Brush
- Cooler temperatures where a long-sleeve shirt makes more sense than a short-sleeve shirt
Item #3: Underwear
Okay, item number three. You need some underwear. Obviously, for men and women, this is going to be a little bit different.
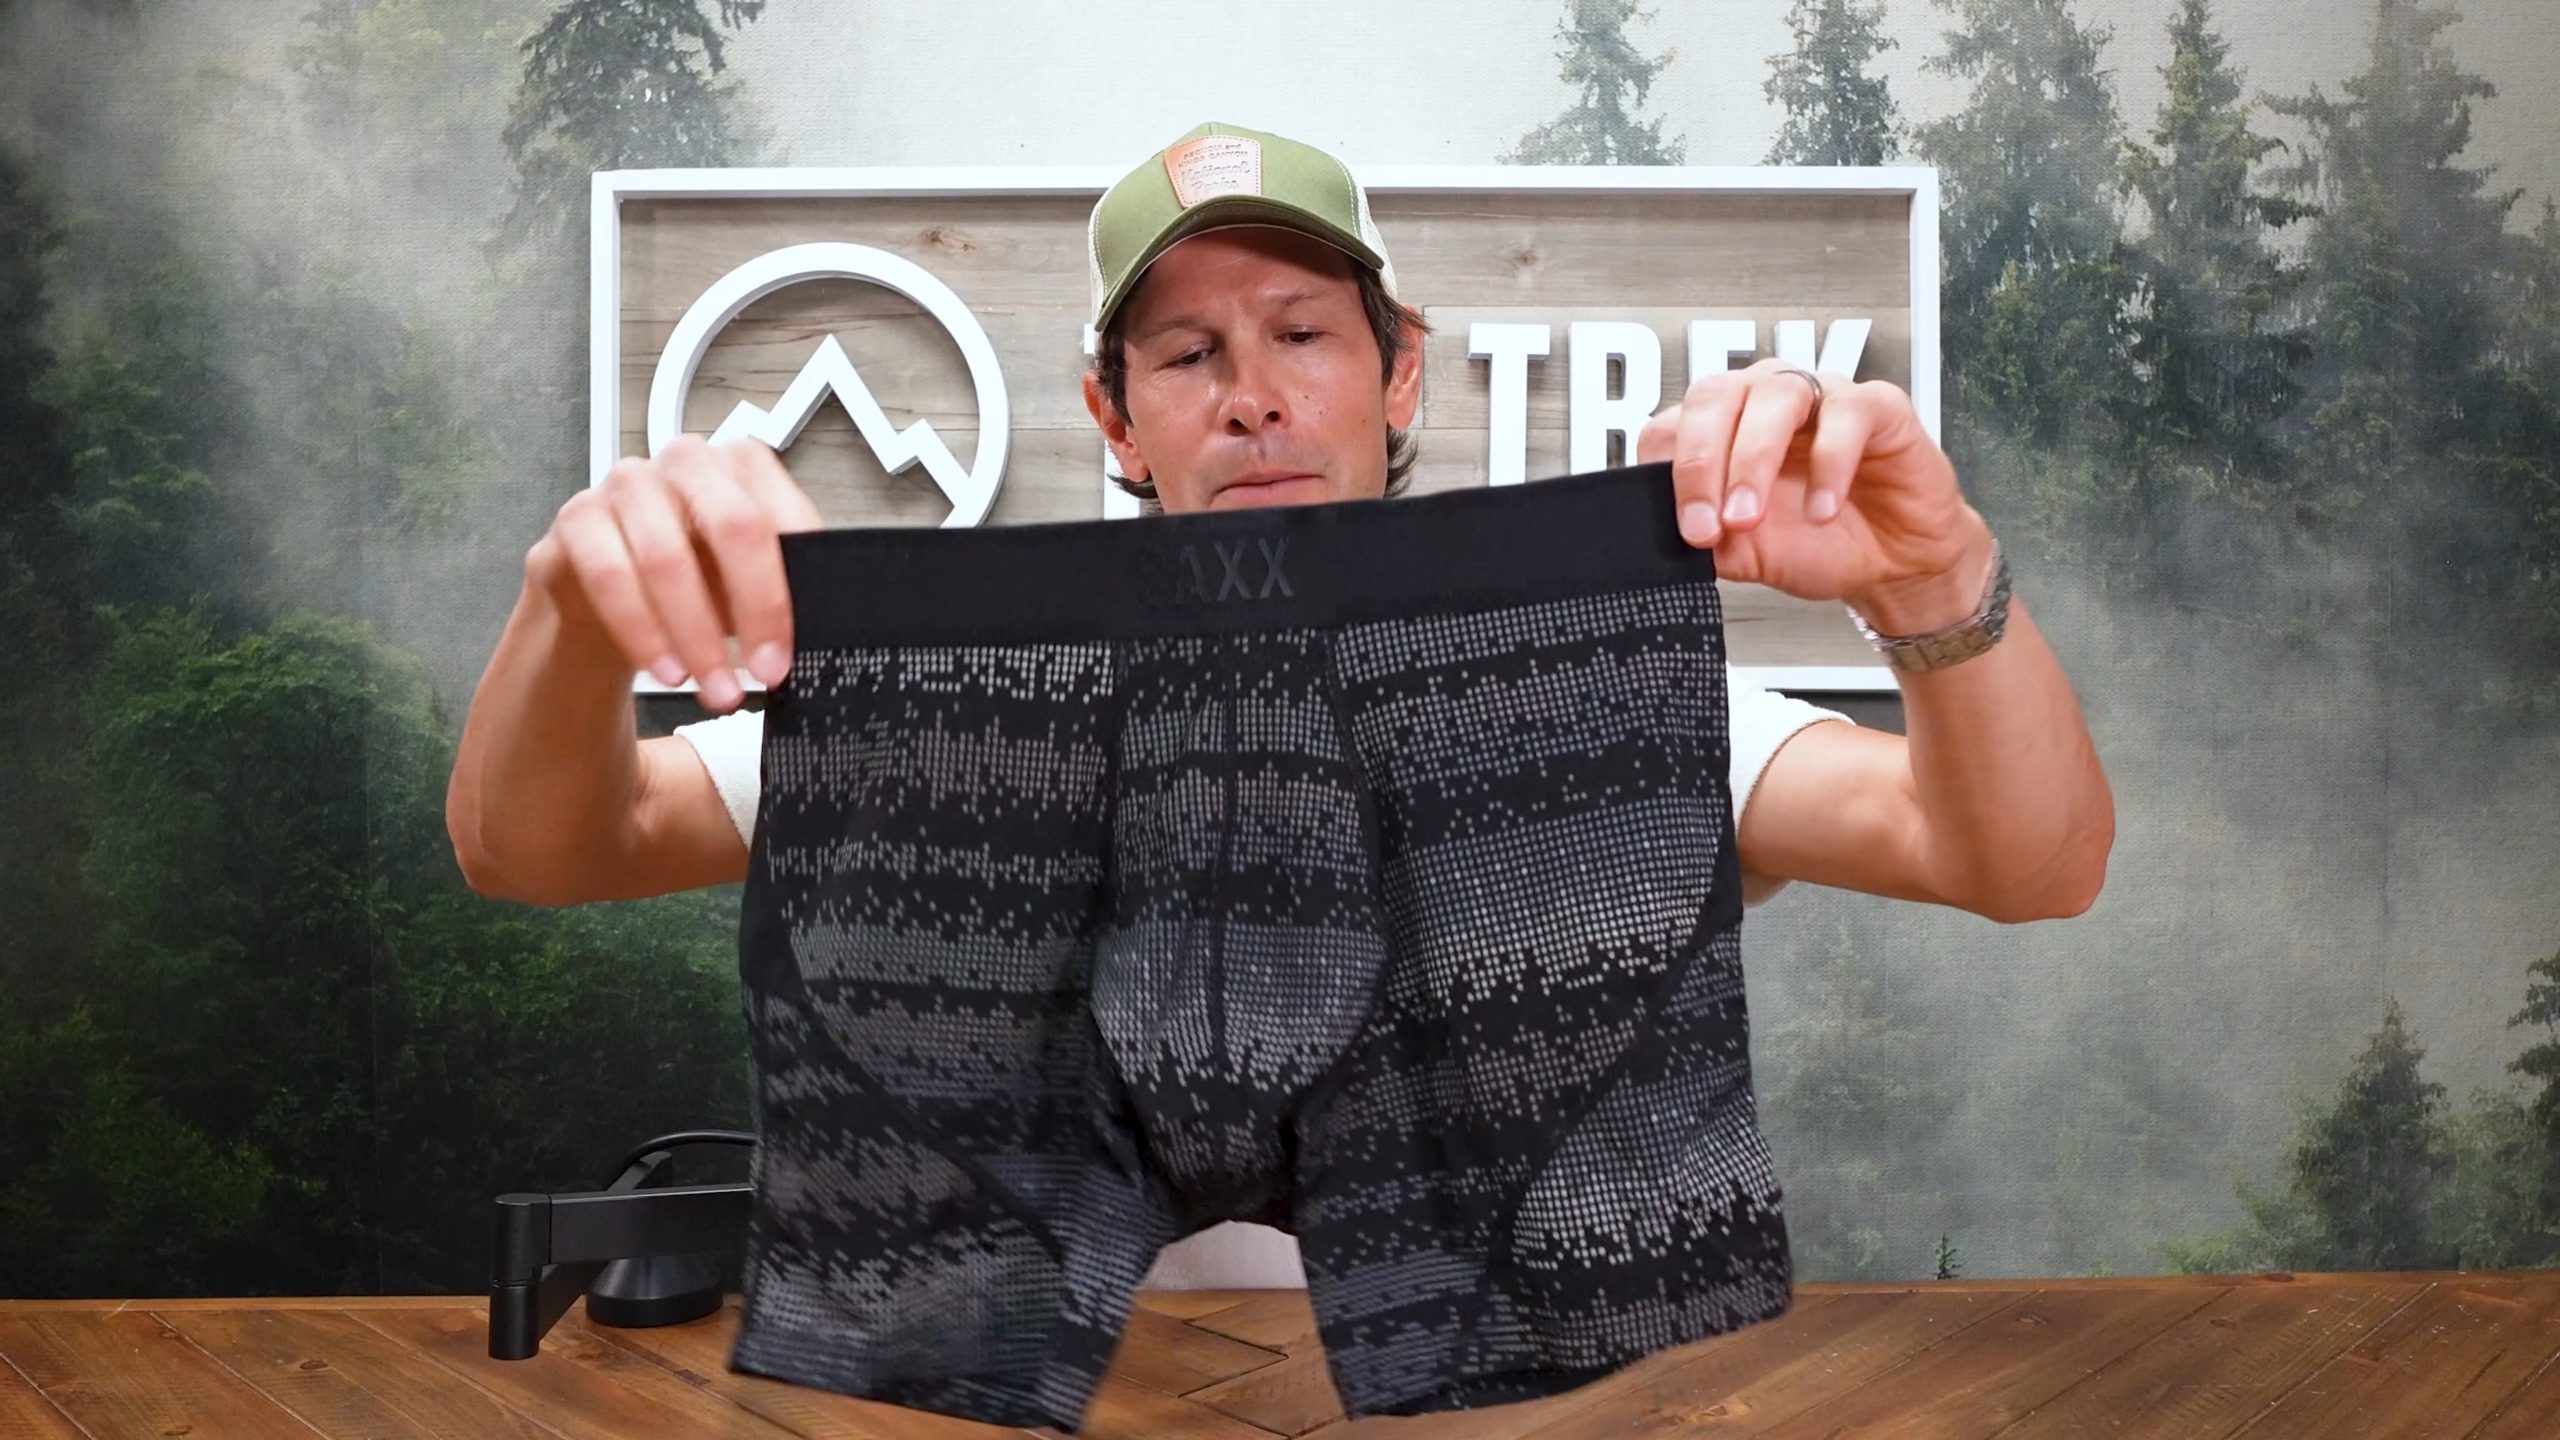
Keep it simple. Something made with a synthetic fiber like polyester, maybe a little nylon, maybe a little spandex for fit. I prefer boxer briefs. Other people might prefer briefs.
For men, the recommendation is just one pair. For women, typically we recommend two pairs of underwear.
You’re basically washing and drying them throughout the trip, and that way you’ll always have a cleaner pair to use.
For the men, don’t look at this as an excuse to never wash your underwear. For me, it depends a little bit on the environment, but probably by day three I’m starting to feel like I could really afford to wash my underwear. Certainly by day four or day five, I definitely need to get things washed.
Whenever I wash things, I don’t use soap. I just get them in the water and do some gentle agitation. I think that probably takes care of 70 or 80% of it, which is all that you need. Then I usually just wear-dry my clothing afterward.
Maybe if it’s really cold water, I’ll let it sit on a sunny boulder for a few minutes before putting it back on. But typically, it’s just faster and easier to wear-dry things.
Merino vs. Synthetic Underwear
If you go with merino wool, expect the underwear to absorb or retain more moisture. But again, there are some more antimicrobial properties there.
Personally, I’ve gravitated more toward pure polyester or nylon with a little bit of spandex. Spandex will be the thing that gives out on the underwear.
This is an old pair of SAXX Kinetic underwear, which I bought probably half a dozen pairs of years ago. I don’t even know if they make these anymore. You can see that the spandex is starting to lose its elasticity in the waistband.
For really old pairs, eventually they just won’t fit anymore. At that point, it’s time to throw them away and ask your mother-in-law for some new underwear for Christmas.
Item #4: Hiking Shorts
Let’s move on to item number four.
We’re still working with bottoms, and item number four is just going to be a pair of hiking shorts.
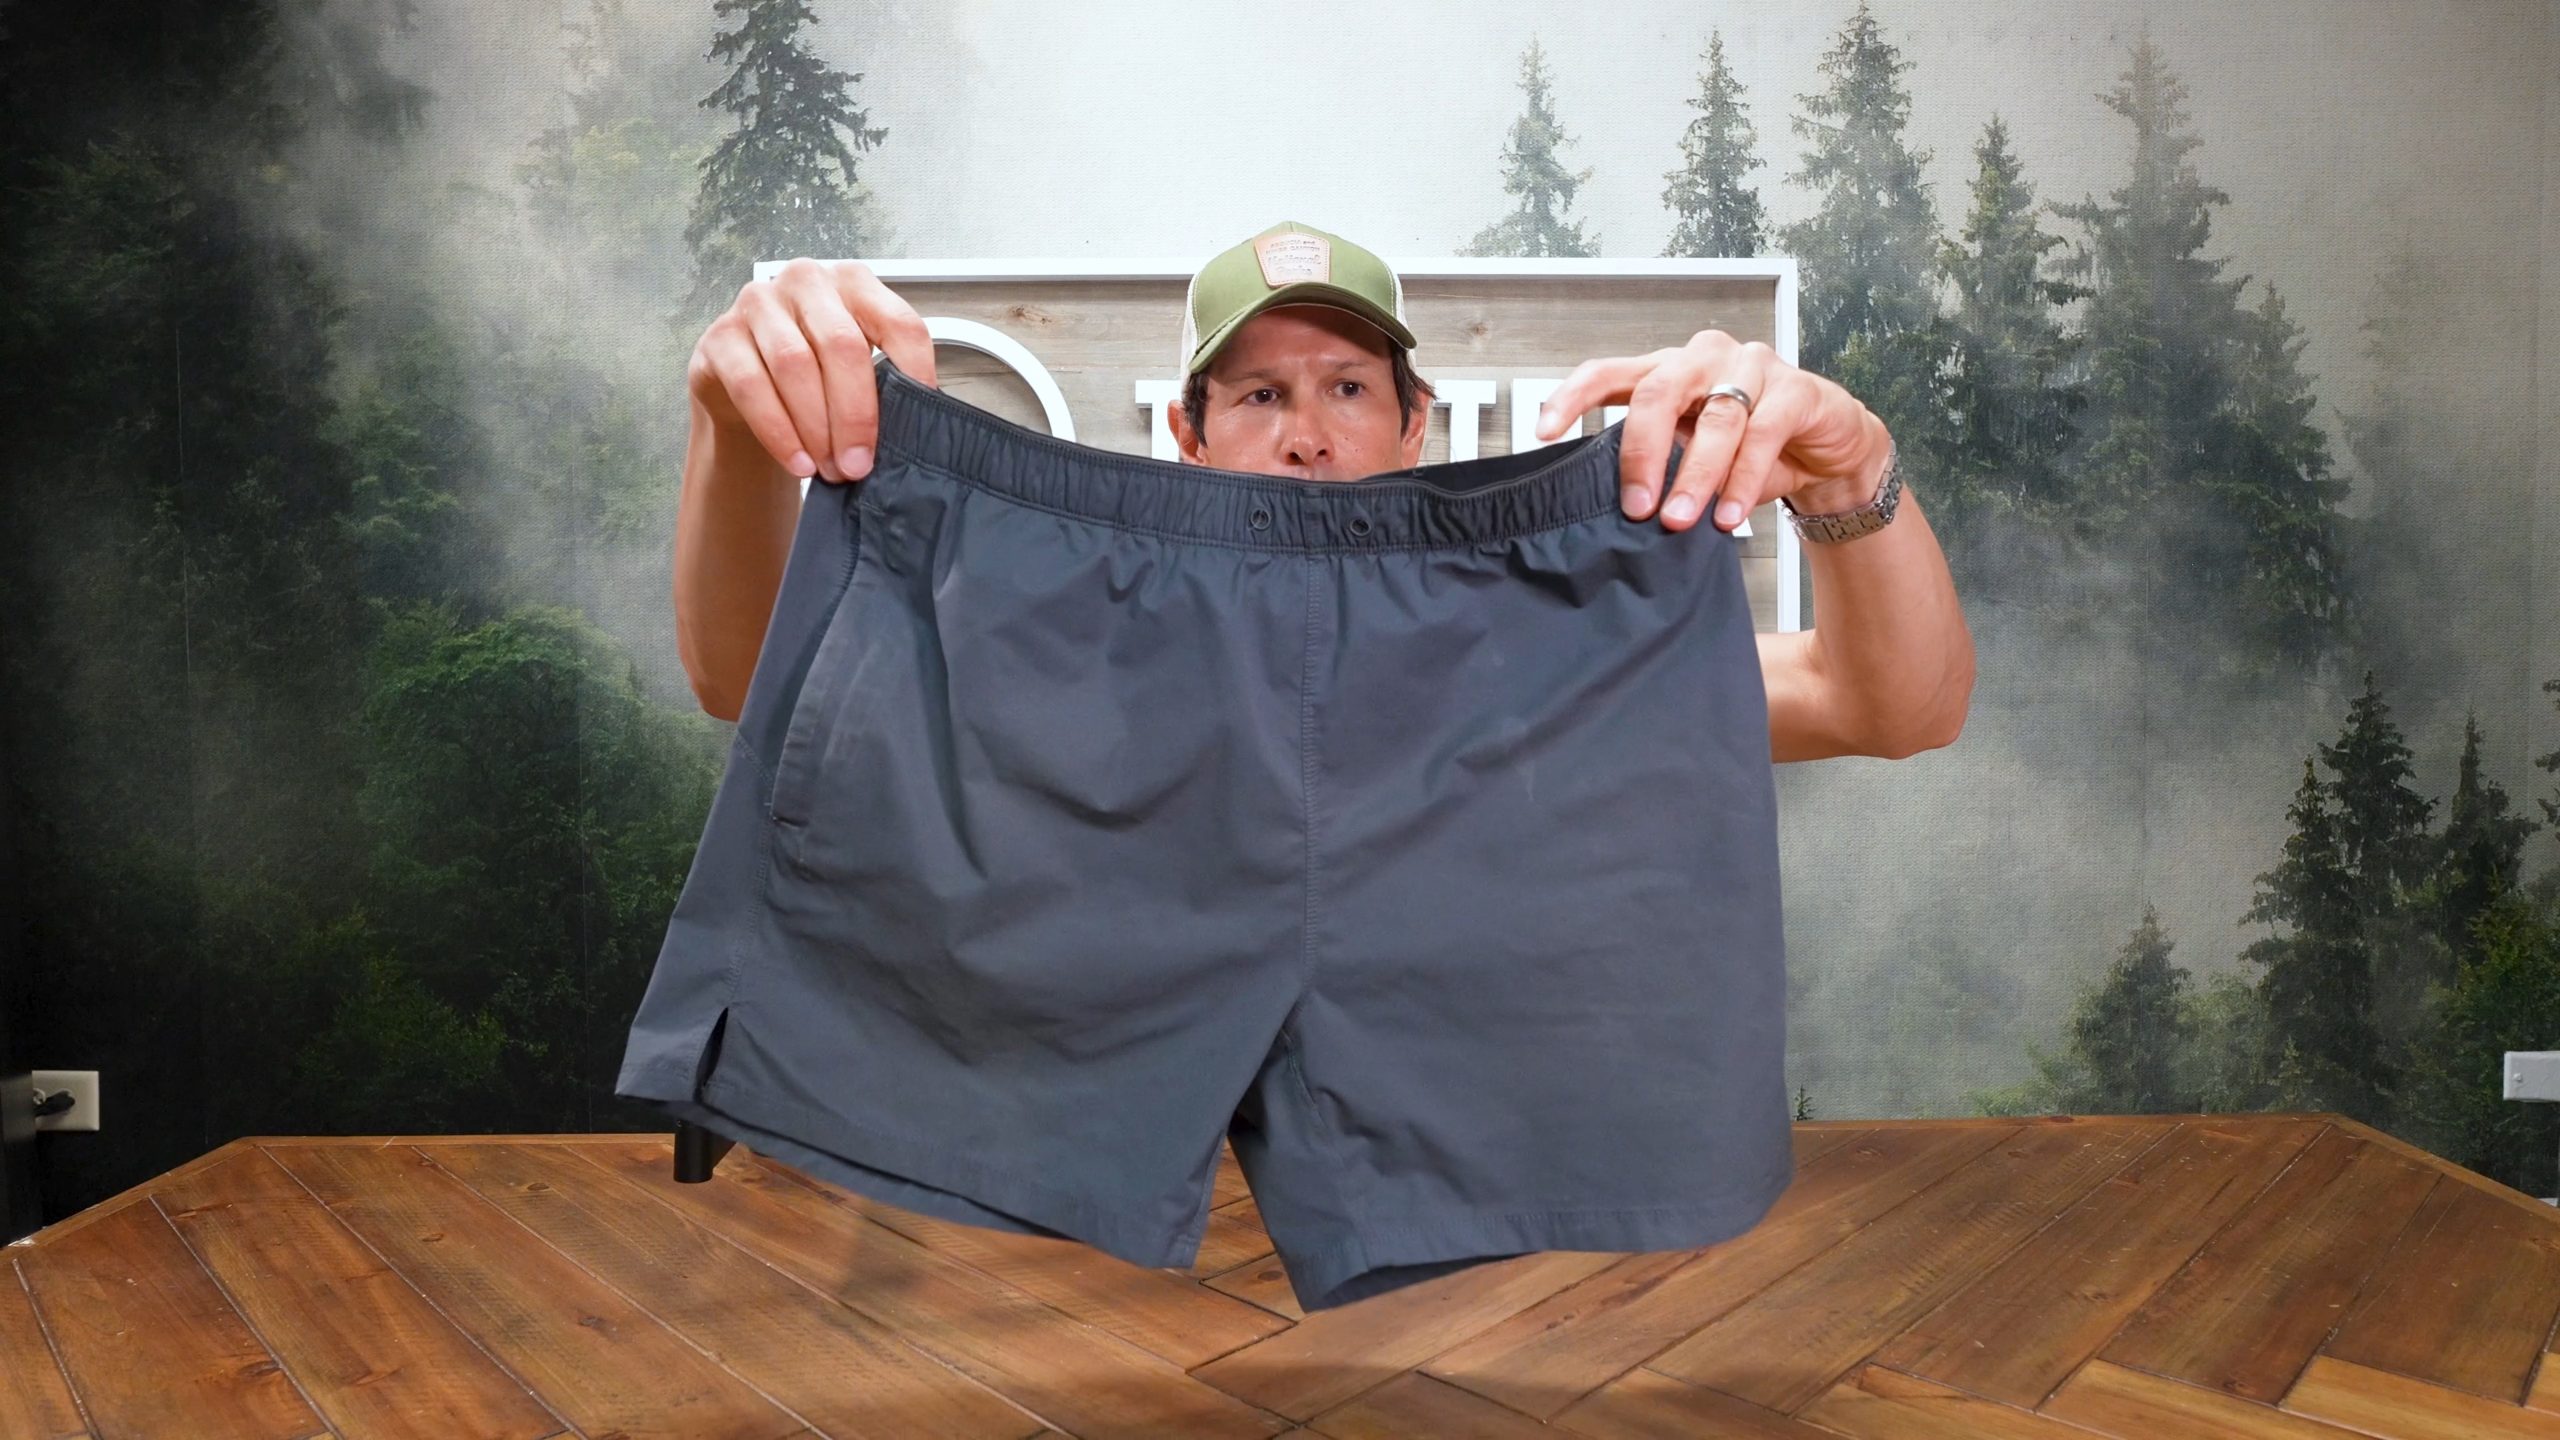
These can be running shorts, although if they have an integrated liner, that would negate the need for underwear. I personally prefer standalone underwear and standalone hiking shorts because I can wash and dry them separately. They’ll dry a little bit faster. It also gives me a little bit more modularity.
With hiking shorts, it’s the same thing as the hiking shirt. Find a pair that you like. Find something that fits you really well and feels good when you walk in it.
Shorts made out of trekking-pant-type material aren’t going to dry as quickly as shorts that are designed more for running, basketball, or something more athletic than hiking.
This pair is probably made out of lightweight nylon. They dry quickly. They fit me really well.
When I Wear Shorts
Typically, hiking shorts are going to go hand in hand with the short-sleeve shirt.
Not a lot of sun. No brush. No bugs. This is like an Appalachian outfit.
You could also hike in these out West when you’re below treeline and it’s past bug season.
For example, in the Sierra, starting sometime around mid- to late July, the bugs have usually toned down enough that you can start wearing shorts.
If you’re hiking the Colorado Trail, I would probably be wearing shorts most of the time. But I would still have the next item for times when the shorts leave me too exposed.
Item #5: Hiking Pants
Item number five is a pair of hiking pants.
Hiking pants are tough. Everyone has a favorite pair of jeans that fits perfectly, and it’s the same thing with hiking pants.
They need to fit you really well. But then you layer on top of that the need to find the right fabric.
I don’t want something really heavy because then it’s too hot. But I also don’t want something too light because it might not be durable enough.
So, good luck.
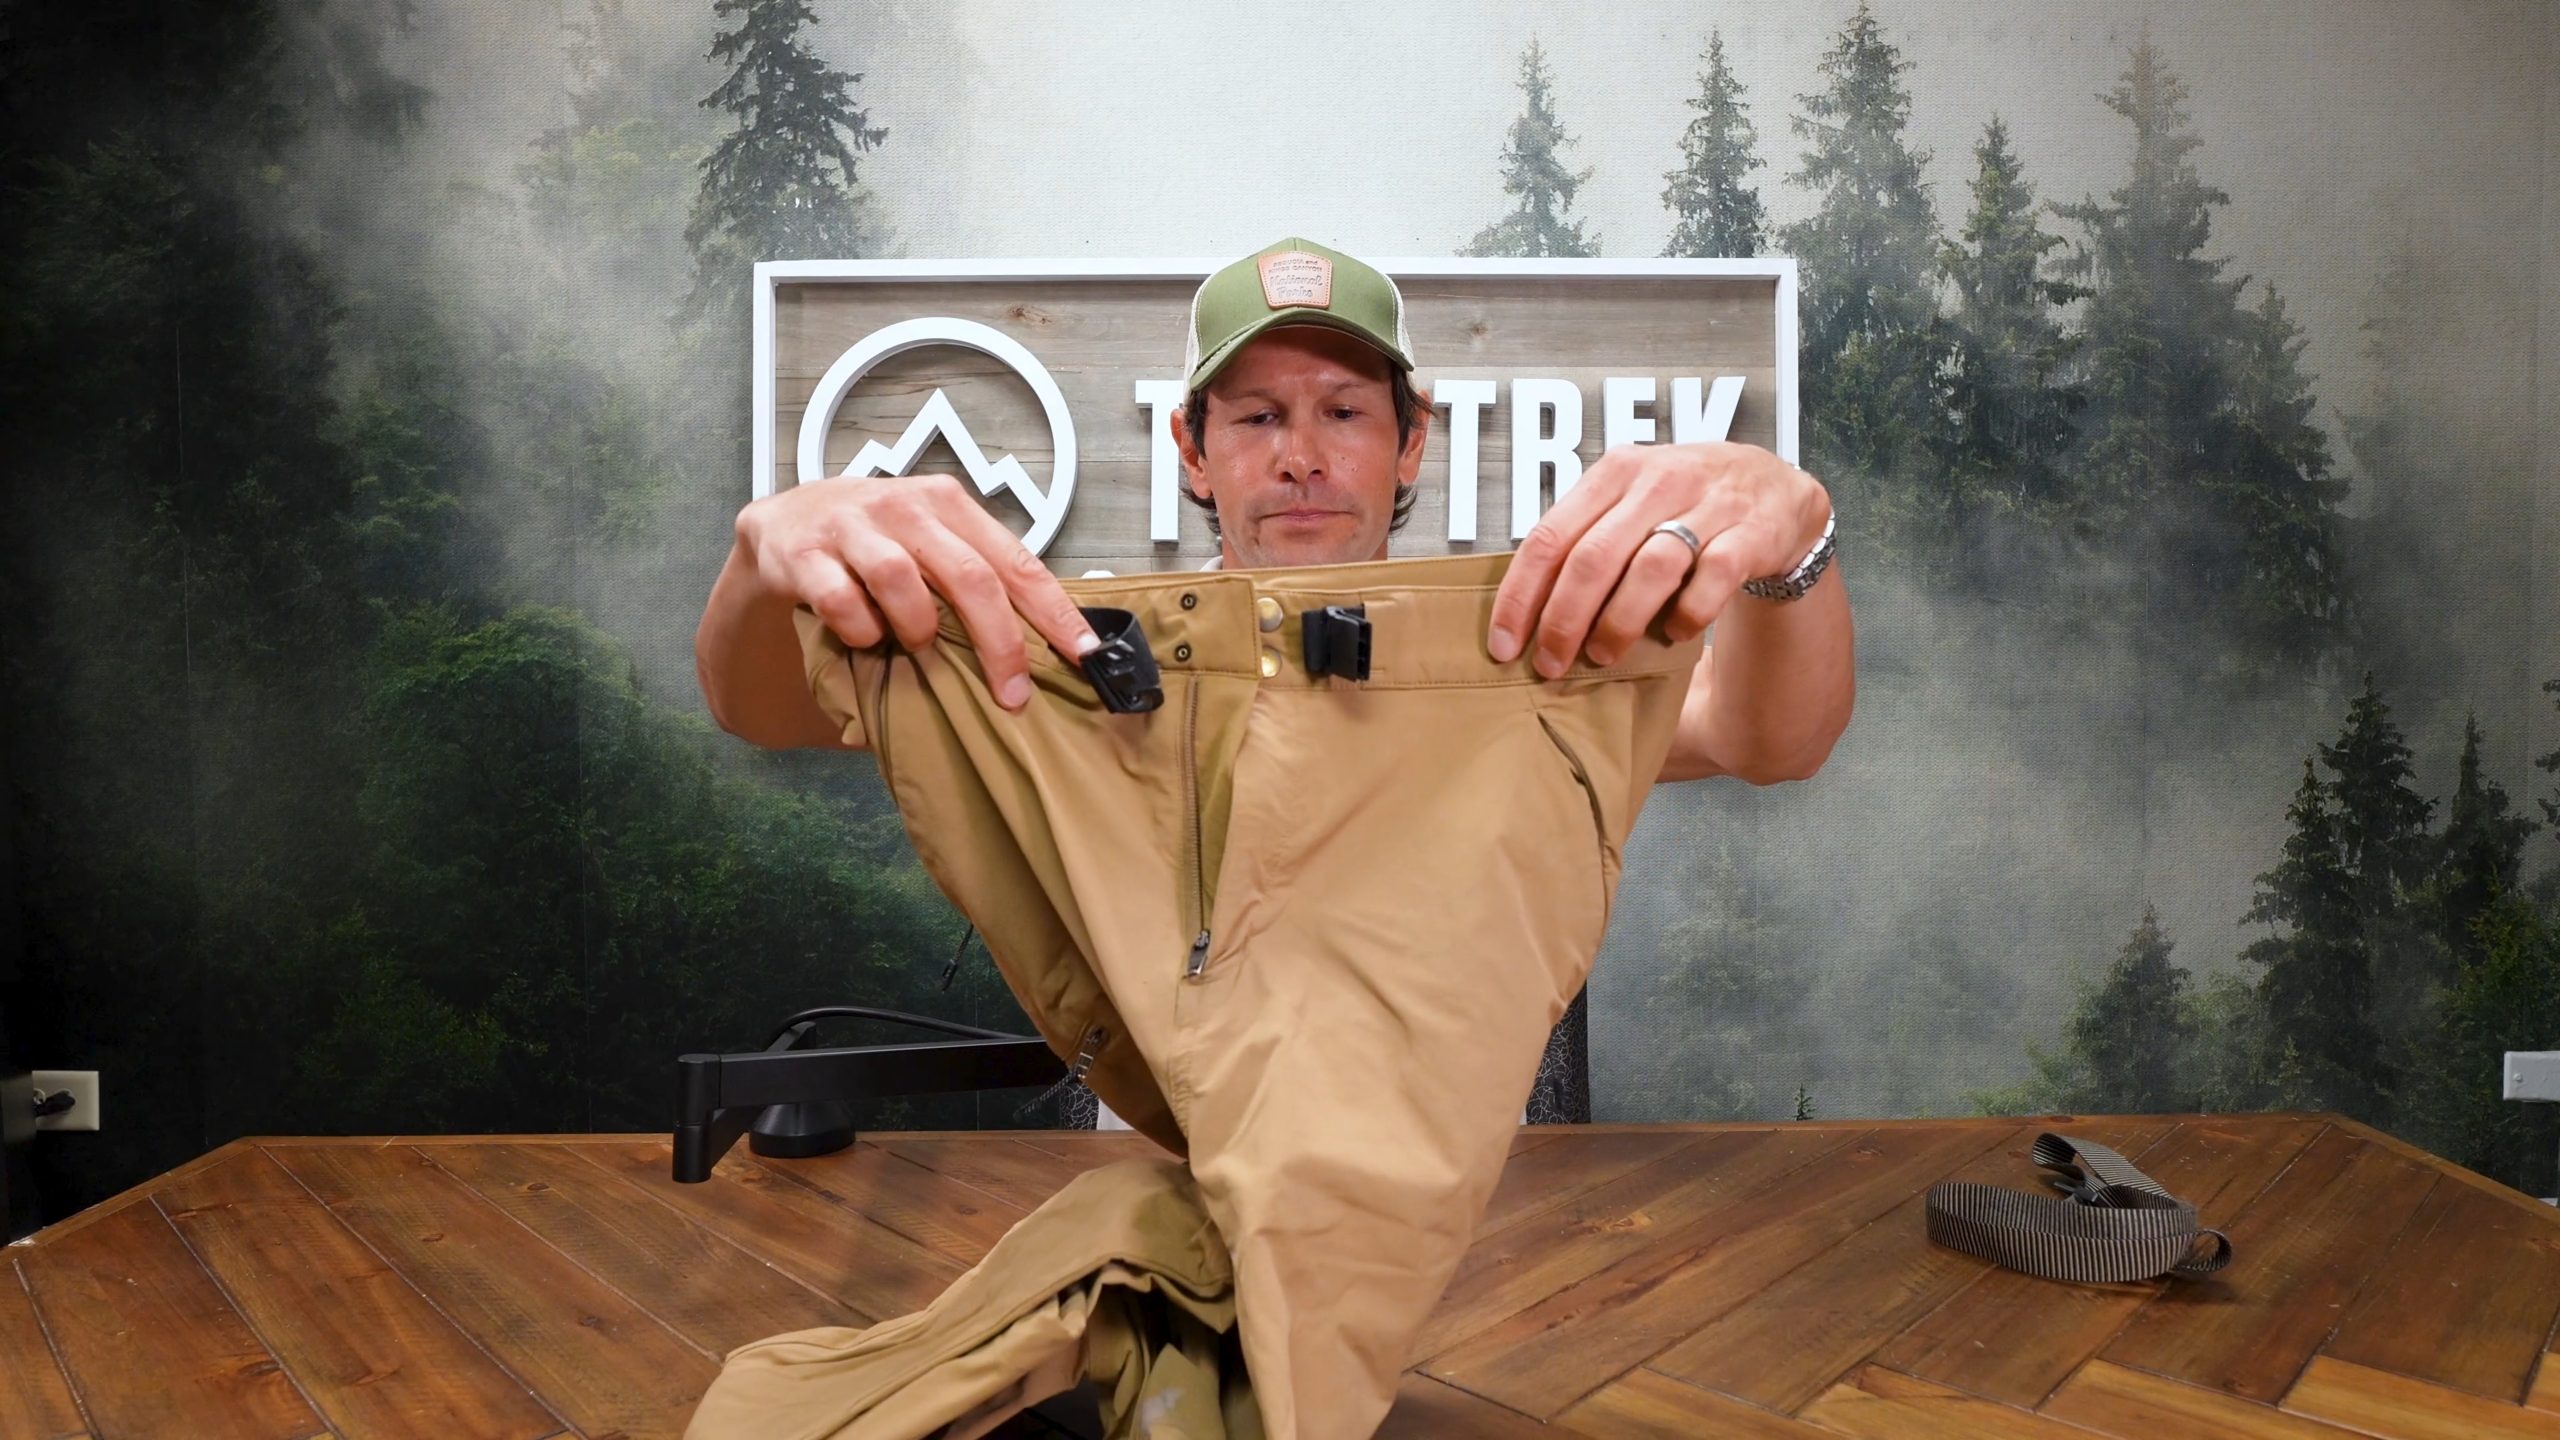
This particular pair—I think these are Black Diamond Alpine Pants—I’ve been wearing for a couple of seasons. They’re not perfect, but I like them enough that I’ve continued to use them.
My big complaint, if anyone from Black Diamond is watching, is that it’s 2026. You really should be thinking about how people are going to store a smartphone in their pants.
Avoid Too Much Spandex
Most trekking pants are going to be made out of nylon.
I would try to avoid having almost any spandex in the pant. That’s the fiber that gives way early.
The first time you put on a pair of pants that have spandex in them, they feel really good. They hug your body perfectly.
But over time—and not even just over multiple years, but sometimes over the course of one longer trip—you’ll feel that spandex loosening and not regaining its elasticity.
With your pants, you also need to have a belt. These particular pants have an integrated belt, which is a nice feature. Men, if your pants don’t have a belt, you need to bring one.
When Hiking Pants Make Sense
At this point, I’ve basically shown you all the hiking outfits.
With pants, you’re going to be wearing them if:
- Temperatures are cool or cold
- There’s a lot of UV or sun exposure
- There’s brush
- There are bugs
But man, whenever you can get away with just wearing hiking shorts, that is much preferred. I spend a lot of time hiking in pants just because of where I tend to backpack. When I can wear hiking shorts, I love it.
It’s so much nicer. So much cooler. So much better airflow. So much better range of motion.
But hiking pants are a necessity. The outdoors can be an unfriendly place at times. That’s why we have pants.
Why Not Convertible Pants?
You might be thinking: Why carry both hiking pants and hiking shorts when you could just buy convertible pants?
Personally, I’ve never found a pair of convertible pants that were either good pants or good shorts.
I think it’s better to have standalone items of each and get items that excel in their intended application. Try not to confuse the two.
Item #6: A Fleece or Midlayer
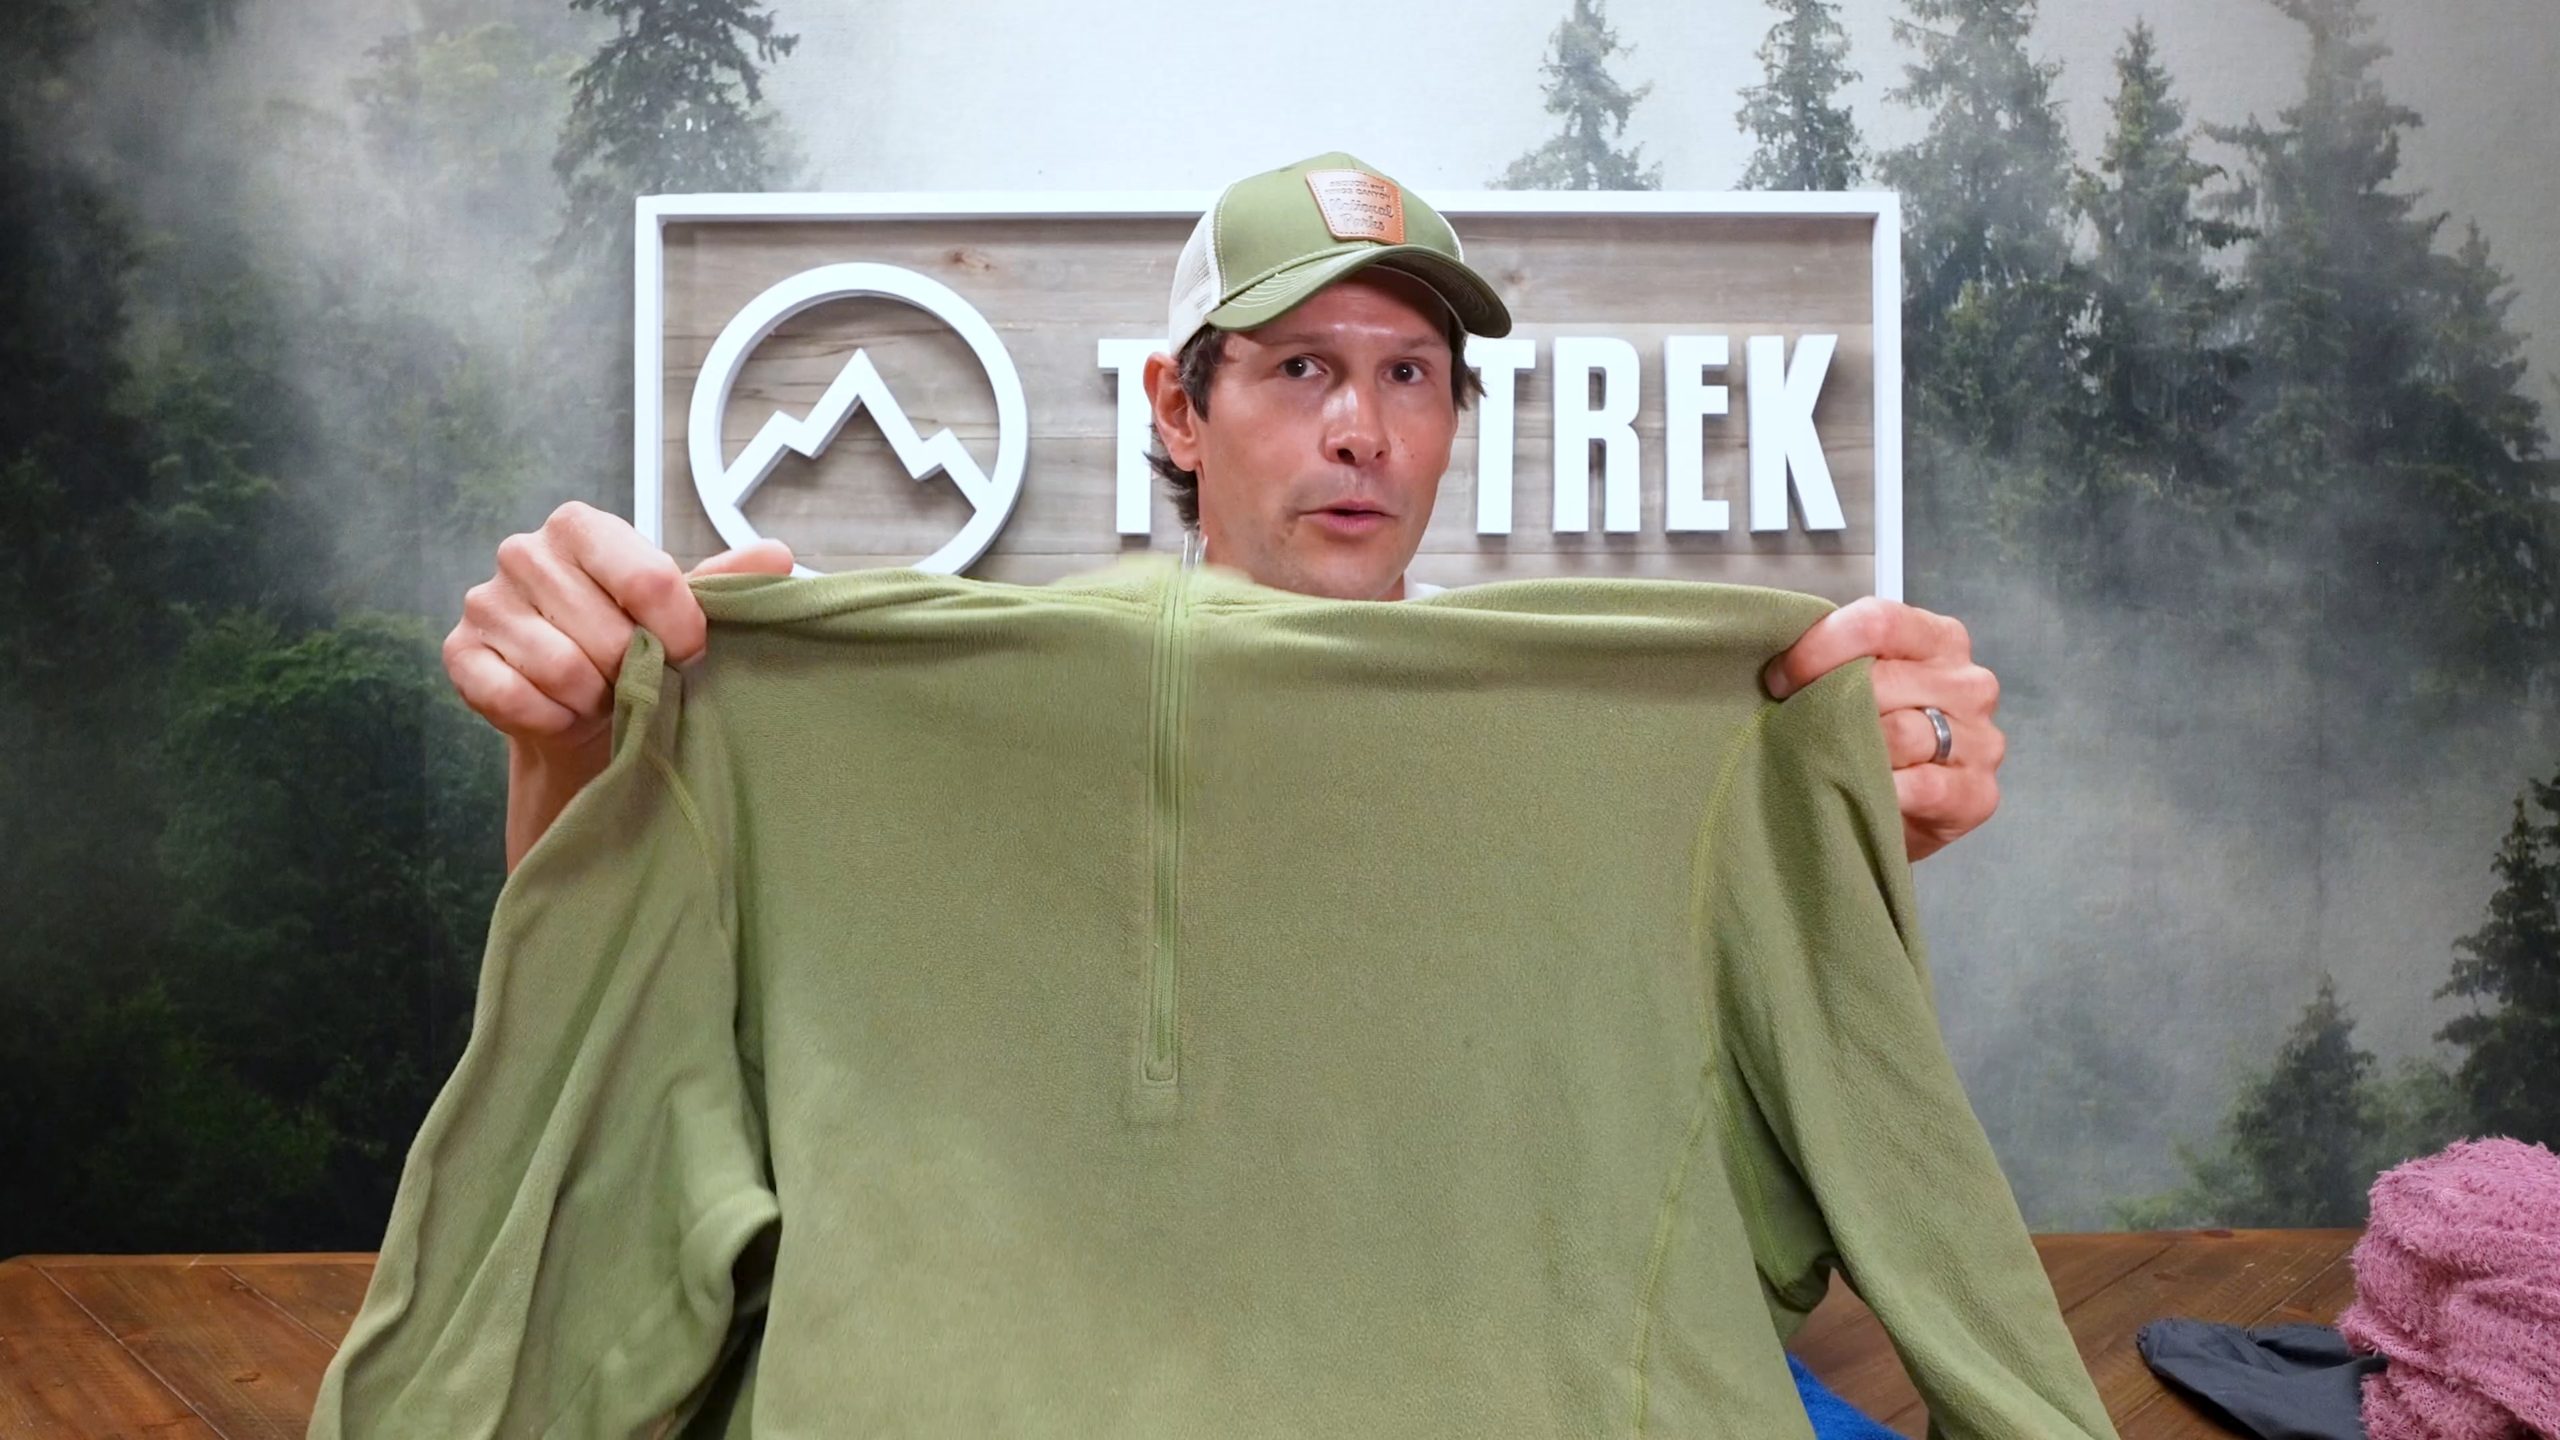
Item number six is going to be a fleece pullover.
This one is super basic. It could be something you buy at Costco. It’s probably like 150- or 200-weight fleece.
Patagonia makes one they’ve had in their line for a long time called the Synchilla. But, there are other options out there. If you want to look like a “hip” thru-hiker, you could go with a Melanzana.
What the Midlayer Is For
The idea with the midlayer is that it’s a warm active layer.
Suppose it’s a crisp morning in the fall or spring and hiking in your short-sleeve or long-sleeve shirt isn’t enough. You put this on.
Suppose you’re high during the day on a ridge and it’s windy and pretty cold. You put this on.
If it’s raining—not warm Appalachian rain, but cold rain, which is what we typically get out West—this acts as a buffer between your hiking shirt and your rain jacket.
Those are the primary uses of the midlayer.
Why a Midlayer Makes My List Instead of a Wind Shirt
In almost all conditions, I would say that the midlayer is a substitute or replacement for a wind shirt.
The wind shirt does not make my CORE12.
I did bring one here today because I think it deserves a little mention.
Wind shirts are lighter. You’re talking maybe three ounces versus perhaps eight, 10, or 12 ounces for a fleece. They pack down smaller. And I would say the wind resistance is equal.
However, the wind shirt doesn’t do anything for you as a buffering layer in cold rain.
If you have your hiking shirt, then a wind jacket, then your rain jacket, you’re still not going to feel very warm. It’s still going to feel pretty chilling.
Whereas if you have your hiking shirt, then this nice alpaca woven midlayer, then your rain jacket, it feels like you’re keeping some warmth close to your body. That’s why I tend to recommend midlayers instead of wind shirts.
I don’t want to be dismissive of wind shirts. I think they’re great for more niche environments. But if you’re looking to buy just 12 pieces of clothing, the wind shirt isn’t going to make the list.
Different Types of Midlayers
Midlayers are not all created equal.
There’s a range of options.
At the lightest end, you could go with something like Alpha fleece. Alpha is this super air-permeable, fluffy material. Companies like Senchi make it in very interesting colors. Big Bird yellow. Christmas red. It’s weird to see somebody in a full Senchi outfit, both top and bottom. But it’s fine.
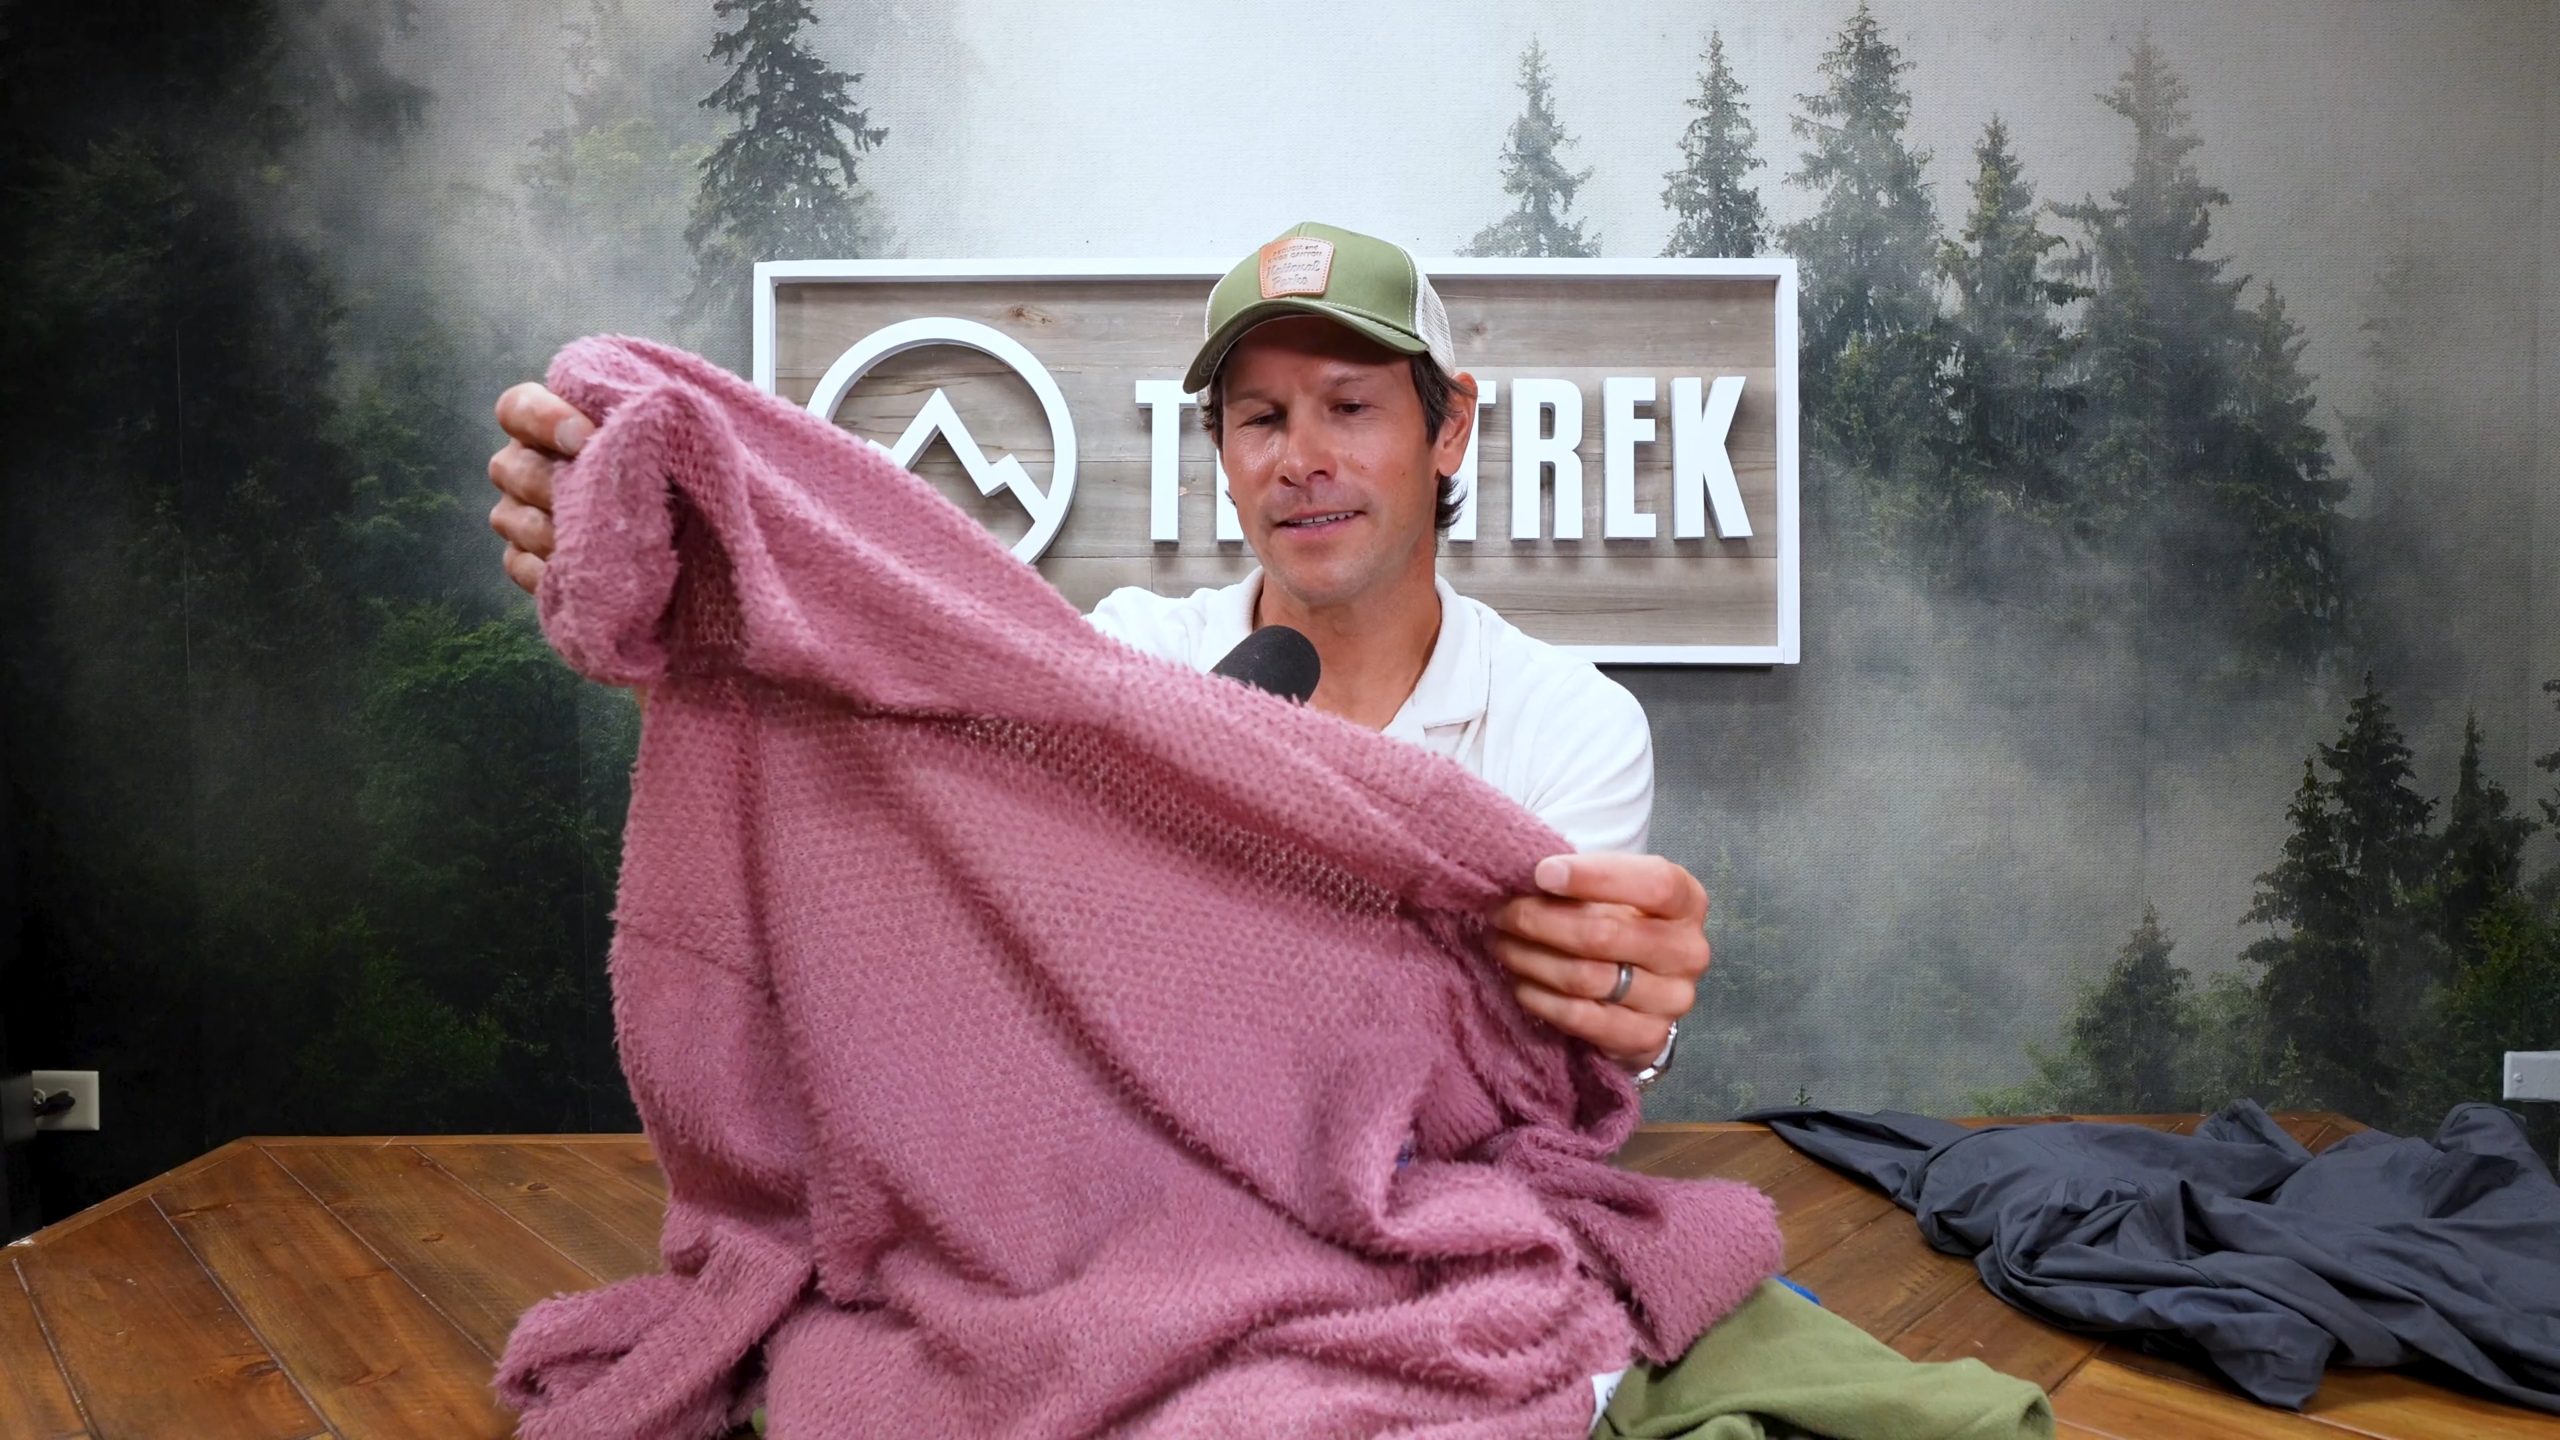
Here’s Jess’s Alpha hoodie. As you can see, it’s super air-permeable. It has good warmth for its weight. But it does not fare well in wind. If you carry an Alpha piece, you almost have to have a wind shirt. They need to go together.
That’s one option.
Your next option would be something like a grid fleece. This is your classic Melanzana grid fleece.
Then there’s commodity fleece—something you could get at Costco or as the budget option from a reputable brand.
And there are other options that are a little more niche or lower-volume, like the alpaca wool piece.
You could go with a Patagonia R1.
There are lots of options.
I think the key thing when buying one is to consider the normal temperatures and conditions you’re going to be wearing it in. Something like this alpaca piece, even though it’s old—probably 10 years old at this point—is probably one of the most versatile options. It’s light enough to wear in warmer weather and still robust enough to wear in cooler weather.
You could probably do an entire video on midlayers. We’re not doing that today.
So that’s number six.
Items #7 and #8: Rain Jacket and Rain Pants
We’re going to talk about the next two items together because I think that just makes life easier.
Items seven and eight are going to be: Rain jacket & Rain pants
If you’re looking for rain jacket and rain pants that can go anywhere and do anything, you’re going to need to spend some money and invest some weight in your options.
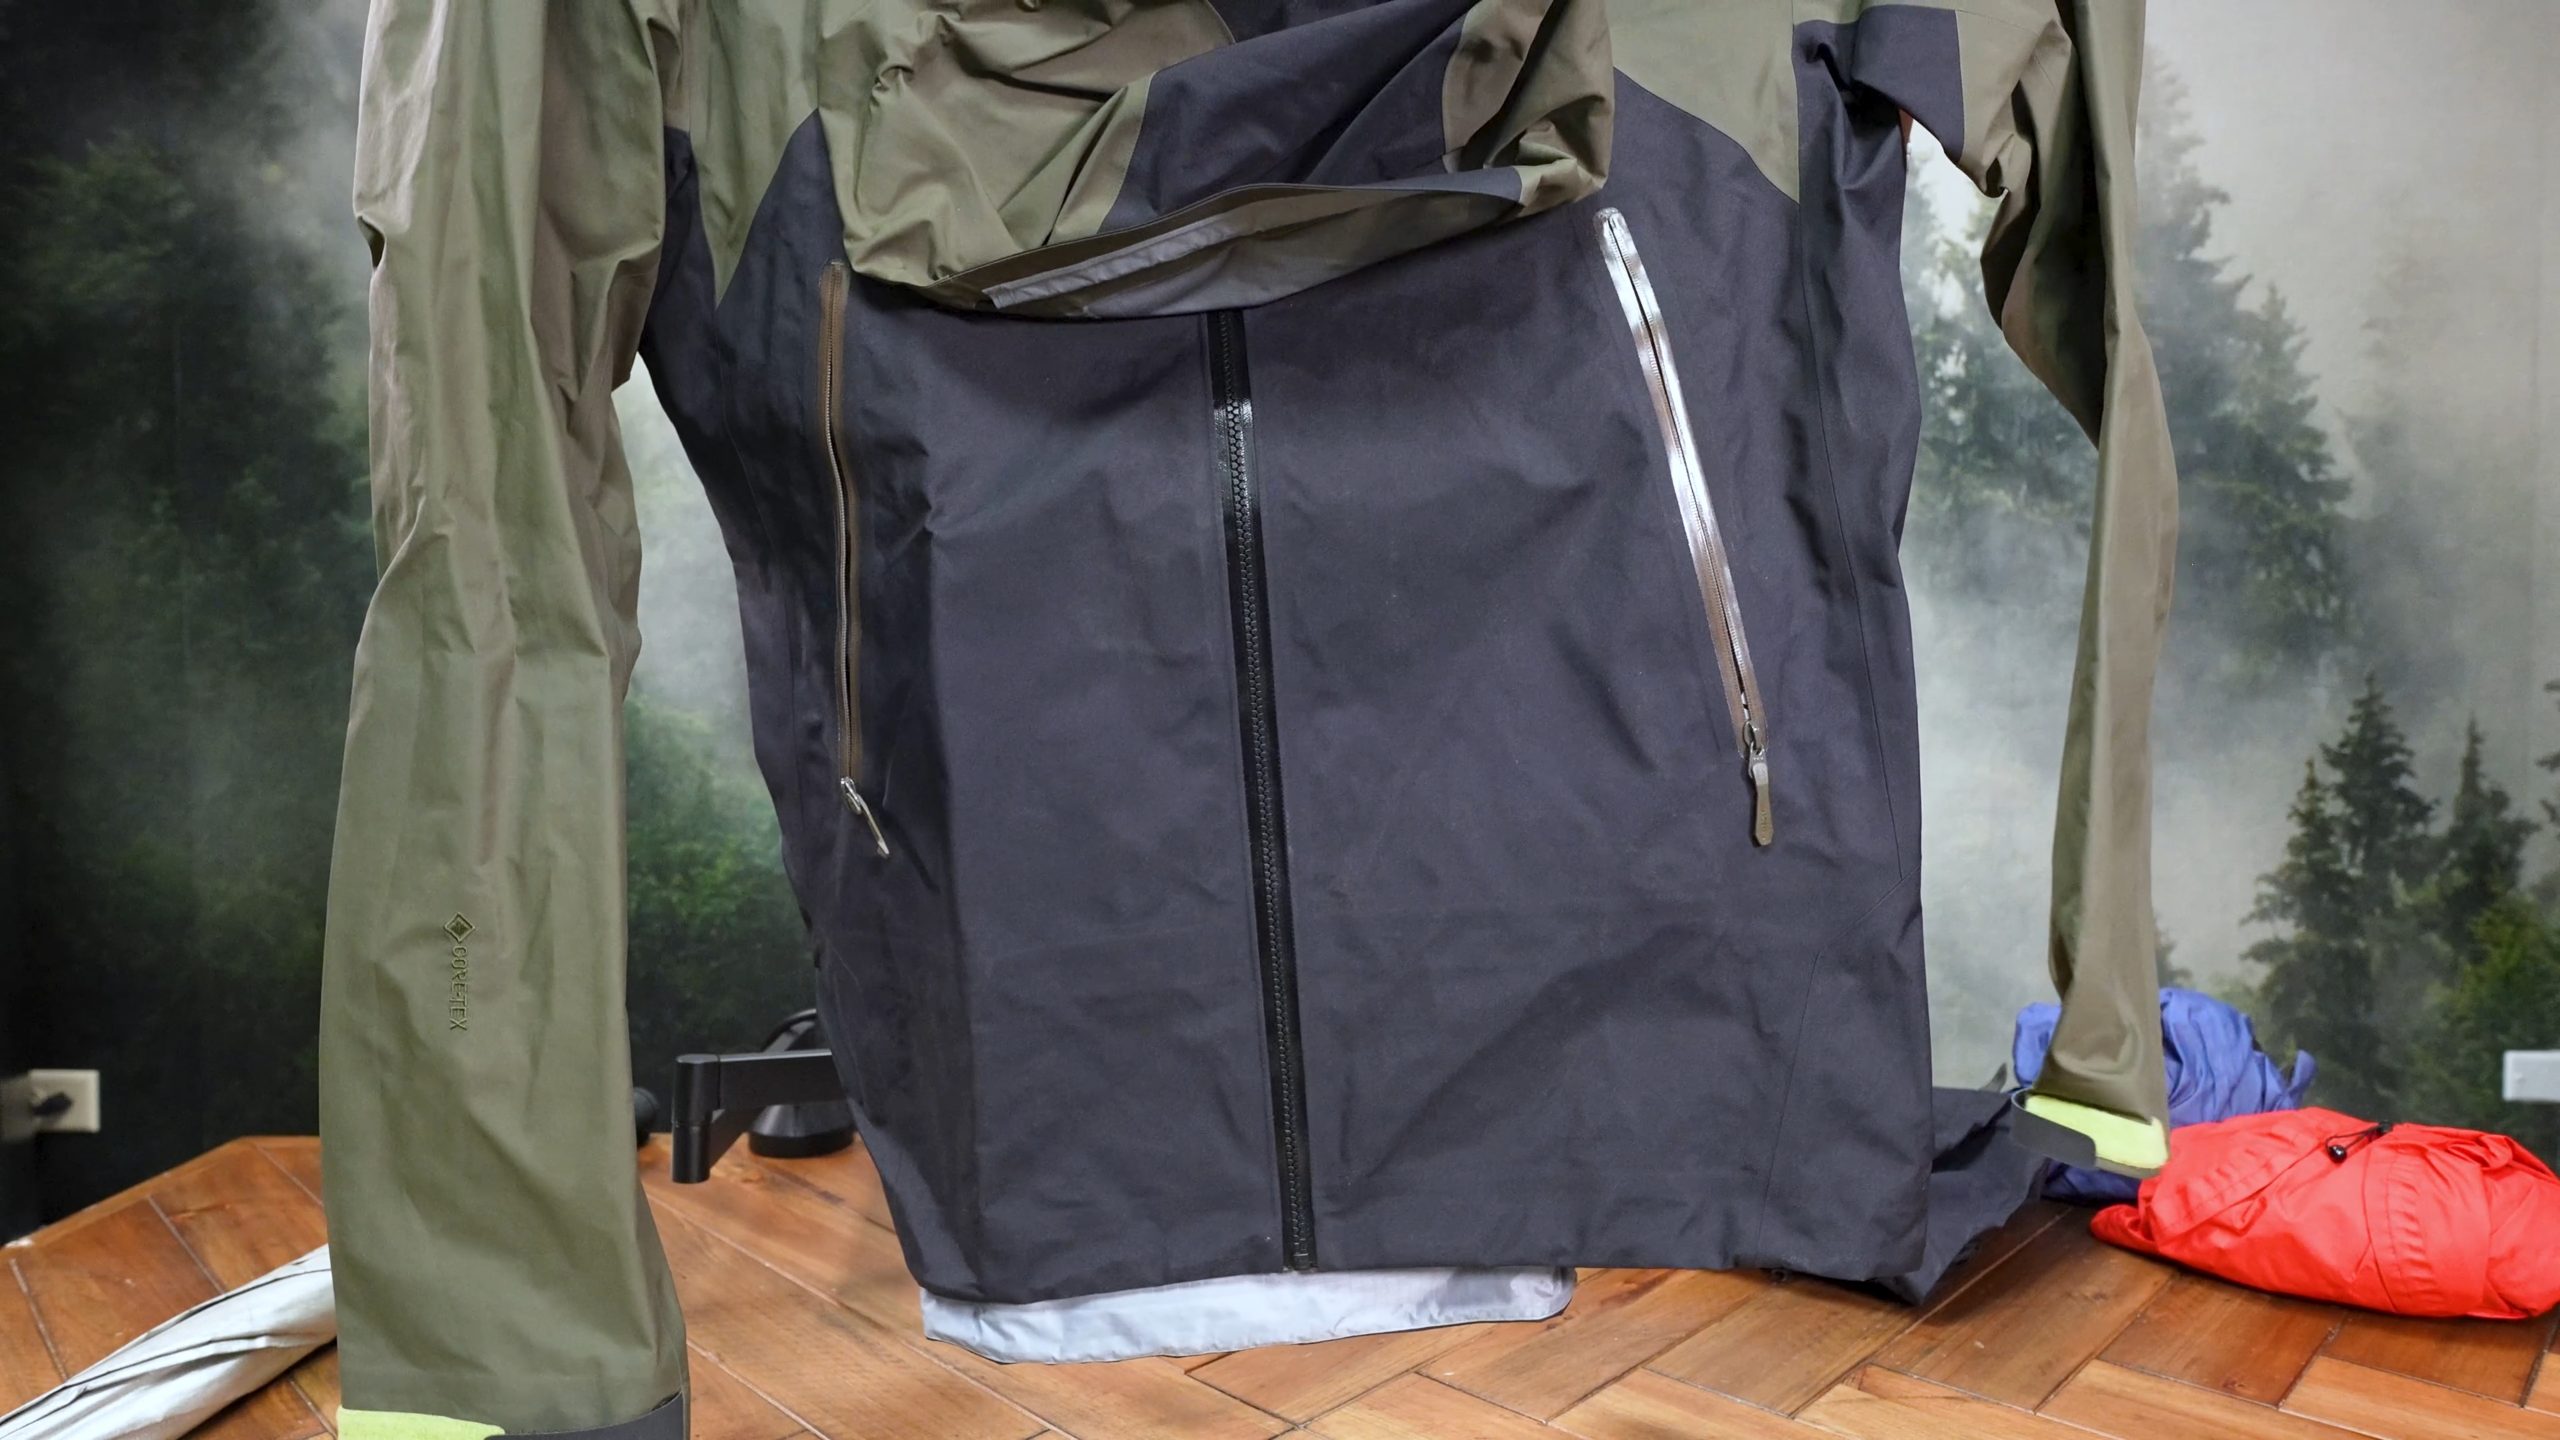
For example, this is the Arc’teryx Beta. It weighs about 12 ounces. It’s basically a fortress.
You can wear it in extreme applications, like alpine climbing some crazy peak, or something a little less extreme, like backpacking in the Brooks Range during wet conditions.
But it’s totally overkill for backpacking in the High Sierra in July, where, yeah, maybe you get some monsoonal storms, but it’s typically not day after day after day after day of rain.
In addition to the jacket, we’re going to have a matching pair of pants.
I think these probably run around eight to 10 ounces.
Make Sure Your Rain Gear Is Big Enough
With your rain pants, make sure they have ankle zips. Also make sure both the jacket and pants are a little oversized. You need to be able to put them over all your other layers.
You need to be wearing:
- Your hiking clothes
- Your insulated clothes, which we’ll get to in a minute
- Your midlayer
And they all need to fit underneath your rain jacket and rain pants.
Lighter Rain Gear for Drier Environments
The Arc’teryx Beta is the fortress. It’s capable of all conditions, but it’s overkill for a lot of them. If you’re backpacking somewhere that doesn’t see nearly as much moisture, you can go way down on the weight spectrum.
You could use something like this Enlightened Equipment jacket. I can’t remember the exact model name.
This jacket is about six ounces. So roughly half the weight. It also packs down quite a bit smaller.
There’s a matching pair of pants that are probably around five ounces. So for about 11 ounces total, I have rain jacket and rain pants.
That’s lighter than just the Beta jacket over there.
The Truth About “Waterproof” Rain Gear
I’ll just be real with you. Rain gear is marketed as being guaranteed to keep you dry. It’s marketed as waterproof.
Honestly, that’s just a load of hooey.
In extended wet conditions, you are going to get wet. There’s no way to sugarcoat that.
It’s kind of like having wet feet in wet environments. You should just plan on getting wet.
The better question isn’t: “How am I going to stay dry?”
The better question is: “How am I going to manage being wet?”
That’s why we have a midlayer.
And that’s why we have some other things that I’ll show you toward the end.
Your rain gear is more meant to delay the onset of getting wet and try to keep the weather out.
There is definitely a relationship between the weight of the fabric and the stormworthiness of the rain gear. I would not take this Enlightened Equipment set—or something similar, like an Outdoor Research Helium or Montbell Versalite—into a seriously wet environment. Those rain jackets are just not appropriate for that.
I know it stinks to have to carry 13 or 14 ounces, but it’s worth it when you need serious rain protection.
In places where you’re not expecting a lot of rain, certainly save some weight and probably some cost as well. Go with something lighter that isn’t going to keep you dry for as long, but will probably buy you enough time until the sun comes back out.
The “Half” Item: An Umbrella
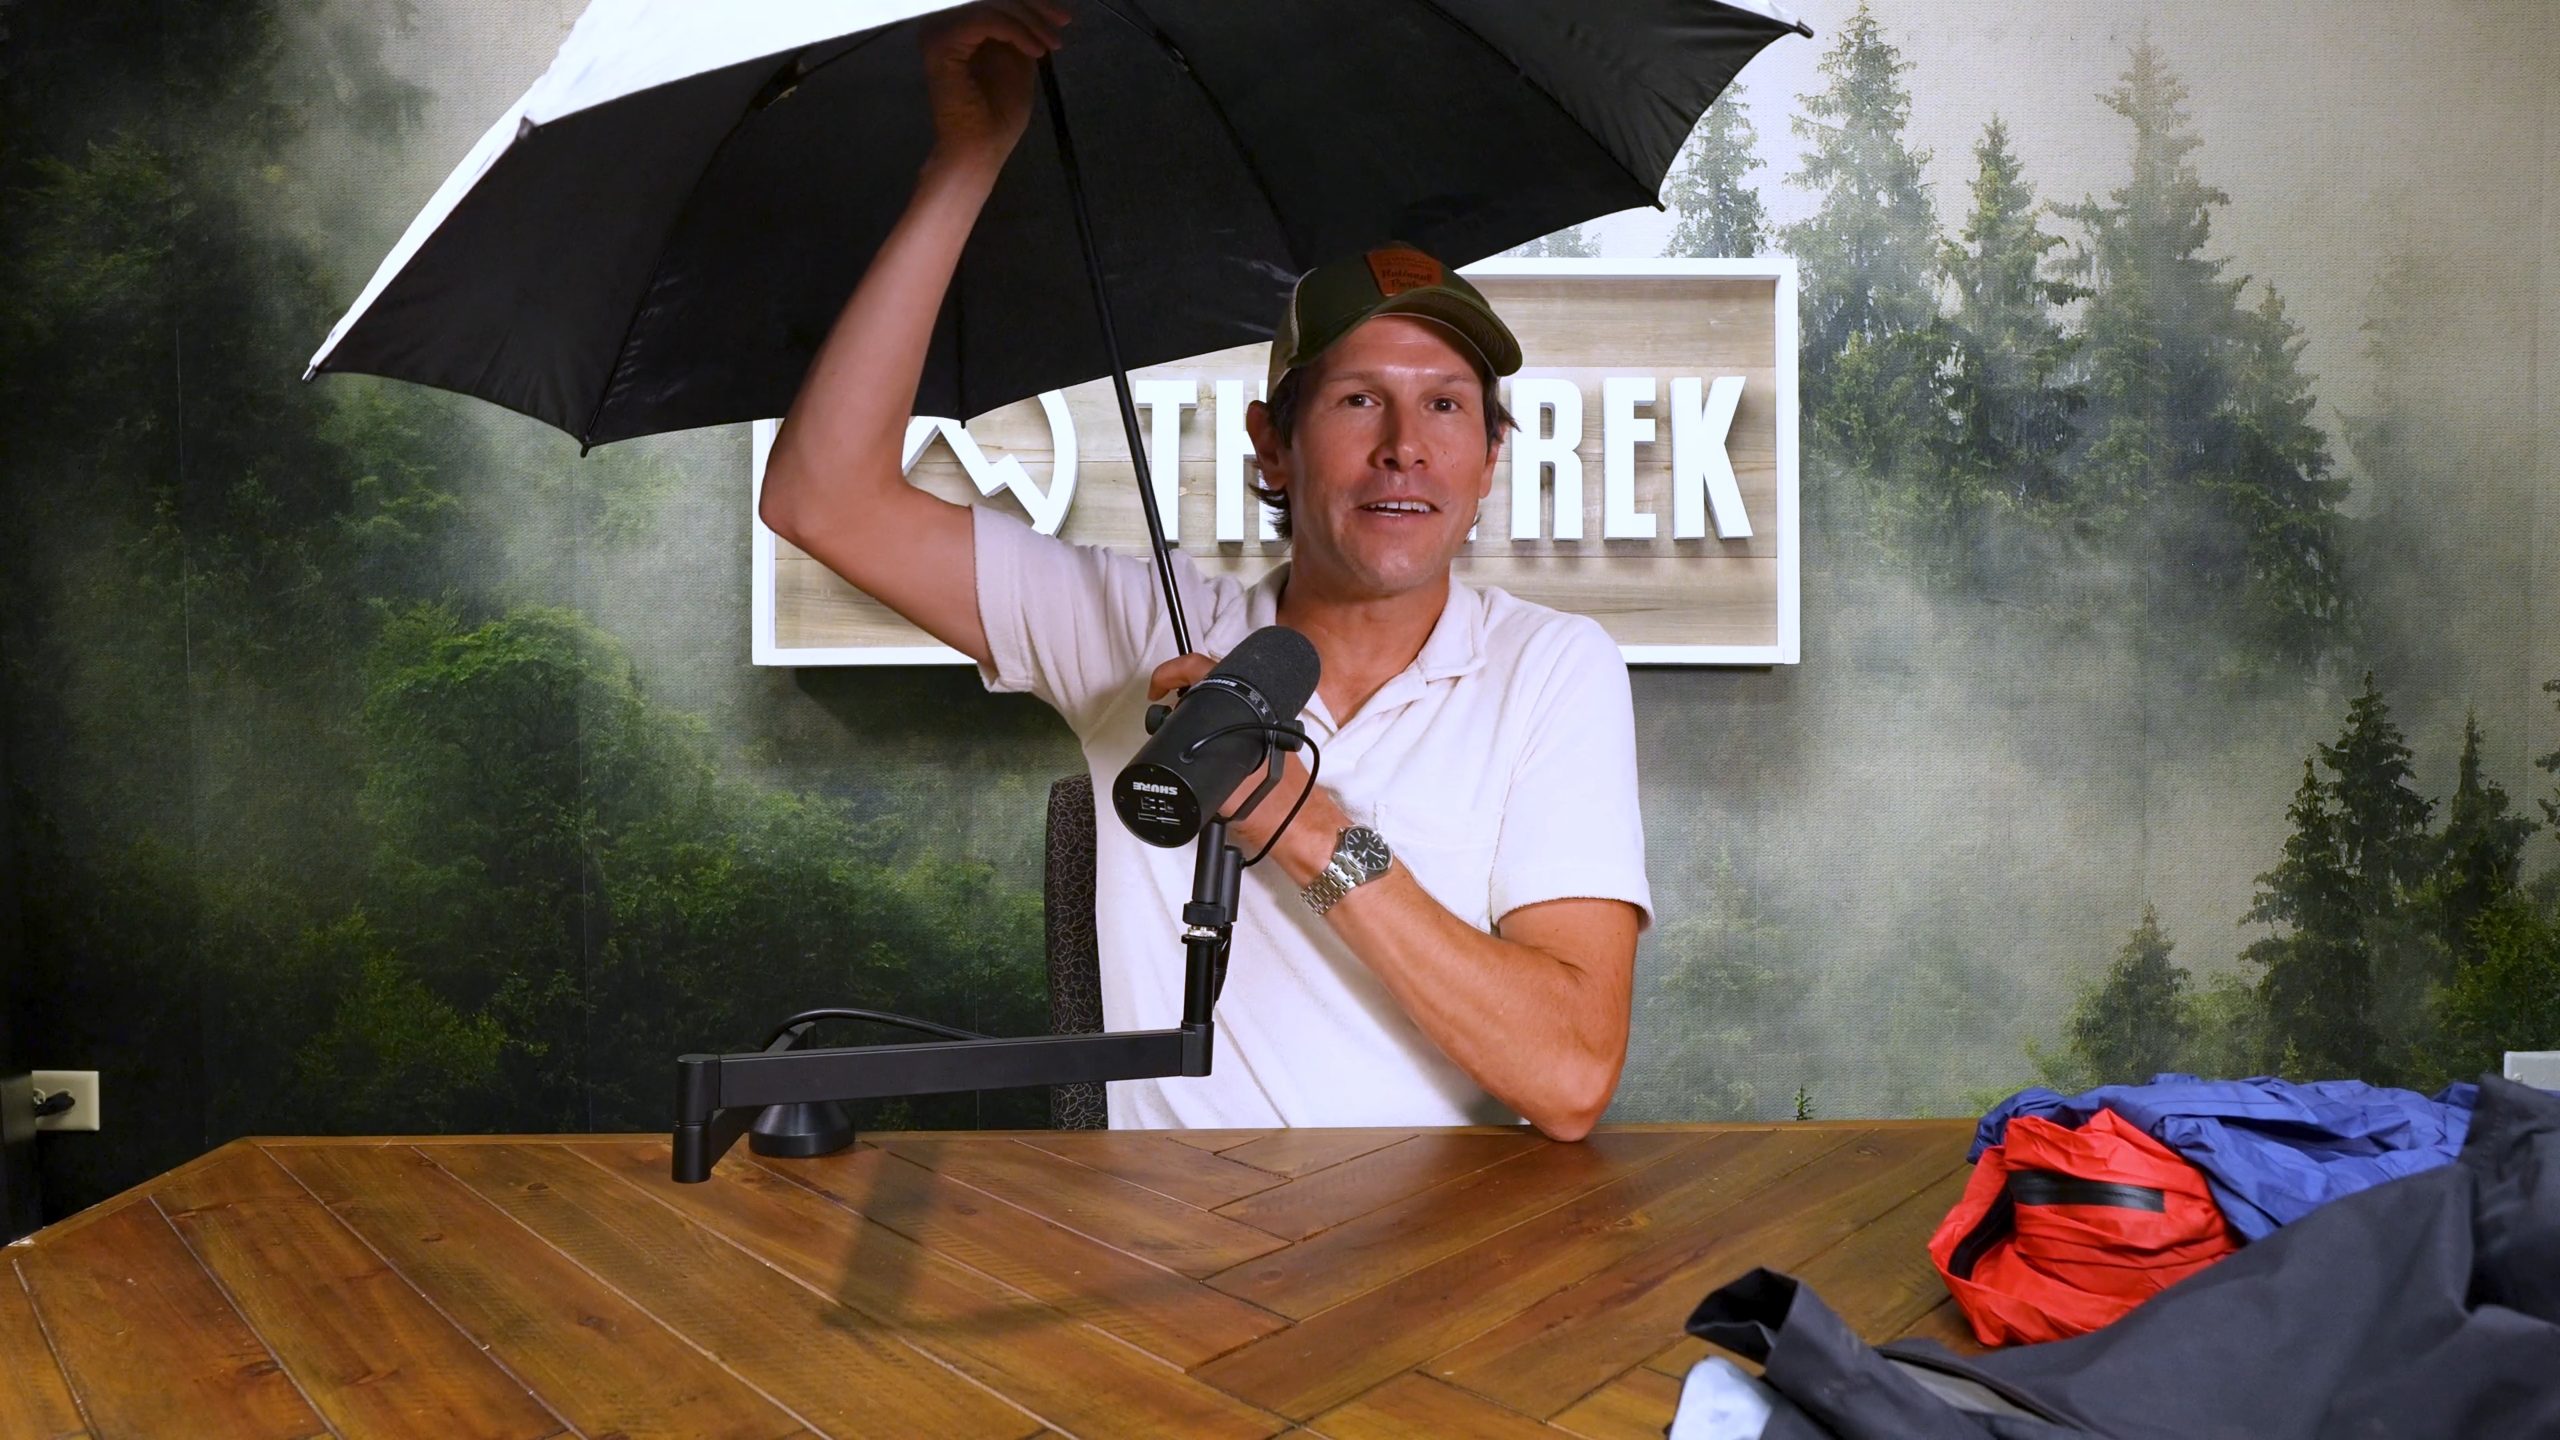
Another item you might want to consider if you’re seeing a lot of rain is an umbrella.
An umbrella is a great option for very rainy trips or for rainy trips in humid, hot environments. It keeps the rain off of you. You don’t need to worry about having cold rain sitting on your rain jacket a quarter-inch away from your body. And it also allows you to keep wearing very breathable clothing.
Imagine hiking the Appalachian Trail in July. It’s 80 degrees. It’s raining. I really don’t want to get rained on.
An umbrella is nice because I can keep hiking in my short-sleeve shirt and shorts and just carry on. Life is great.
Meanwhile, someone nearby is putting on rain gear when it’s 80 degrees outside. That’s super uncomfortable. They’re probably going to get wet from the inside before they get wet from the outside.
What About Rain Skirts?
Rain skirts are going to be in the same category as the umbrella.
They’re not as versatile as rain pants. You’re not going to be climbing over a lot of logs or bushwhacking in a rain skirt. But they provide really good airflow underneath.
They’re a solid option if your itinerary is entirely on-trail. Because they’re so simple, they’re also typically much less expensive than rain pants.
And because they have all that natural airflow underneath the skirt, you can use a purely waterproof, non-breathable fabric. Basically the same kind of fabric they use for shelters.
That’s going to be quite a bit less expensive than some fancy waterproof-breathable fabric like Gore-Tex.
What About Ponchos?
As far as ponchos go, I don’t think they can be your exclusive rain gear because they don’t protect your arms.
There is one product out there called The Packa, which is basically a rain jacket-poncho combination. It has full sleeves and a hood. But a typical poncho is going to come down around your forearms and leave your hands exposed.
In my experience, where I struggle most when it starts raining—especially cold rain—is my hands. My hands get cold. A poncho doesn’t really solve that.
Maybe if it’s really heavy rain, you’re talking about a poncho and some waterproof-breathable layers underneath it and a midlayer. You can start stacking these things up. Obviously there’s some weight involved in that.
But backpacking trips tend not to be that fun when you’re wet.
Investing some weight in rain protection is probably a good option.
Items #9 and #10: Insulated Jacket and Puffy Pants
Let’s talk about items 9 and 10.
This is going to be:
- An insulated jacket
- Insulated pants, also known as puffy pants
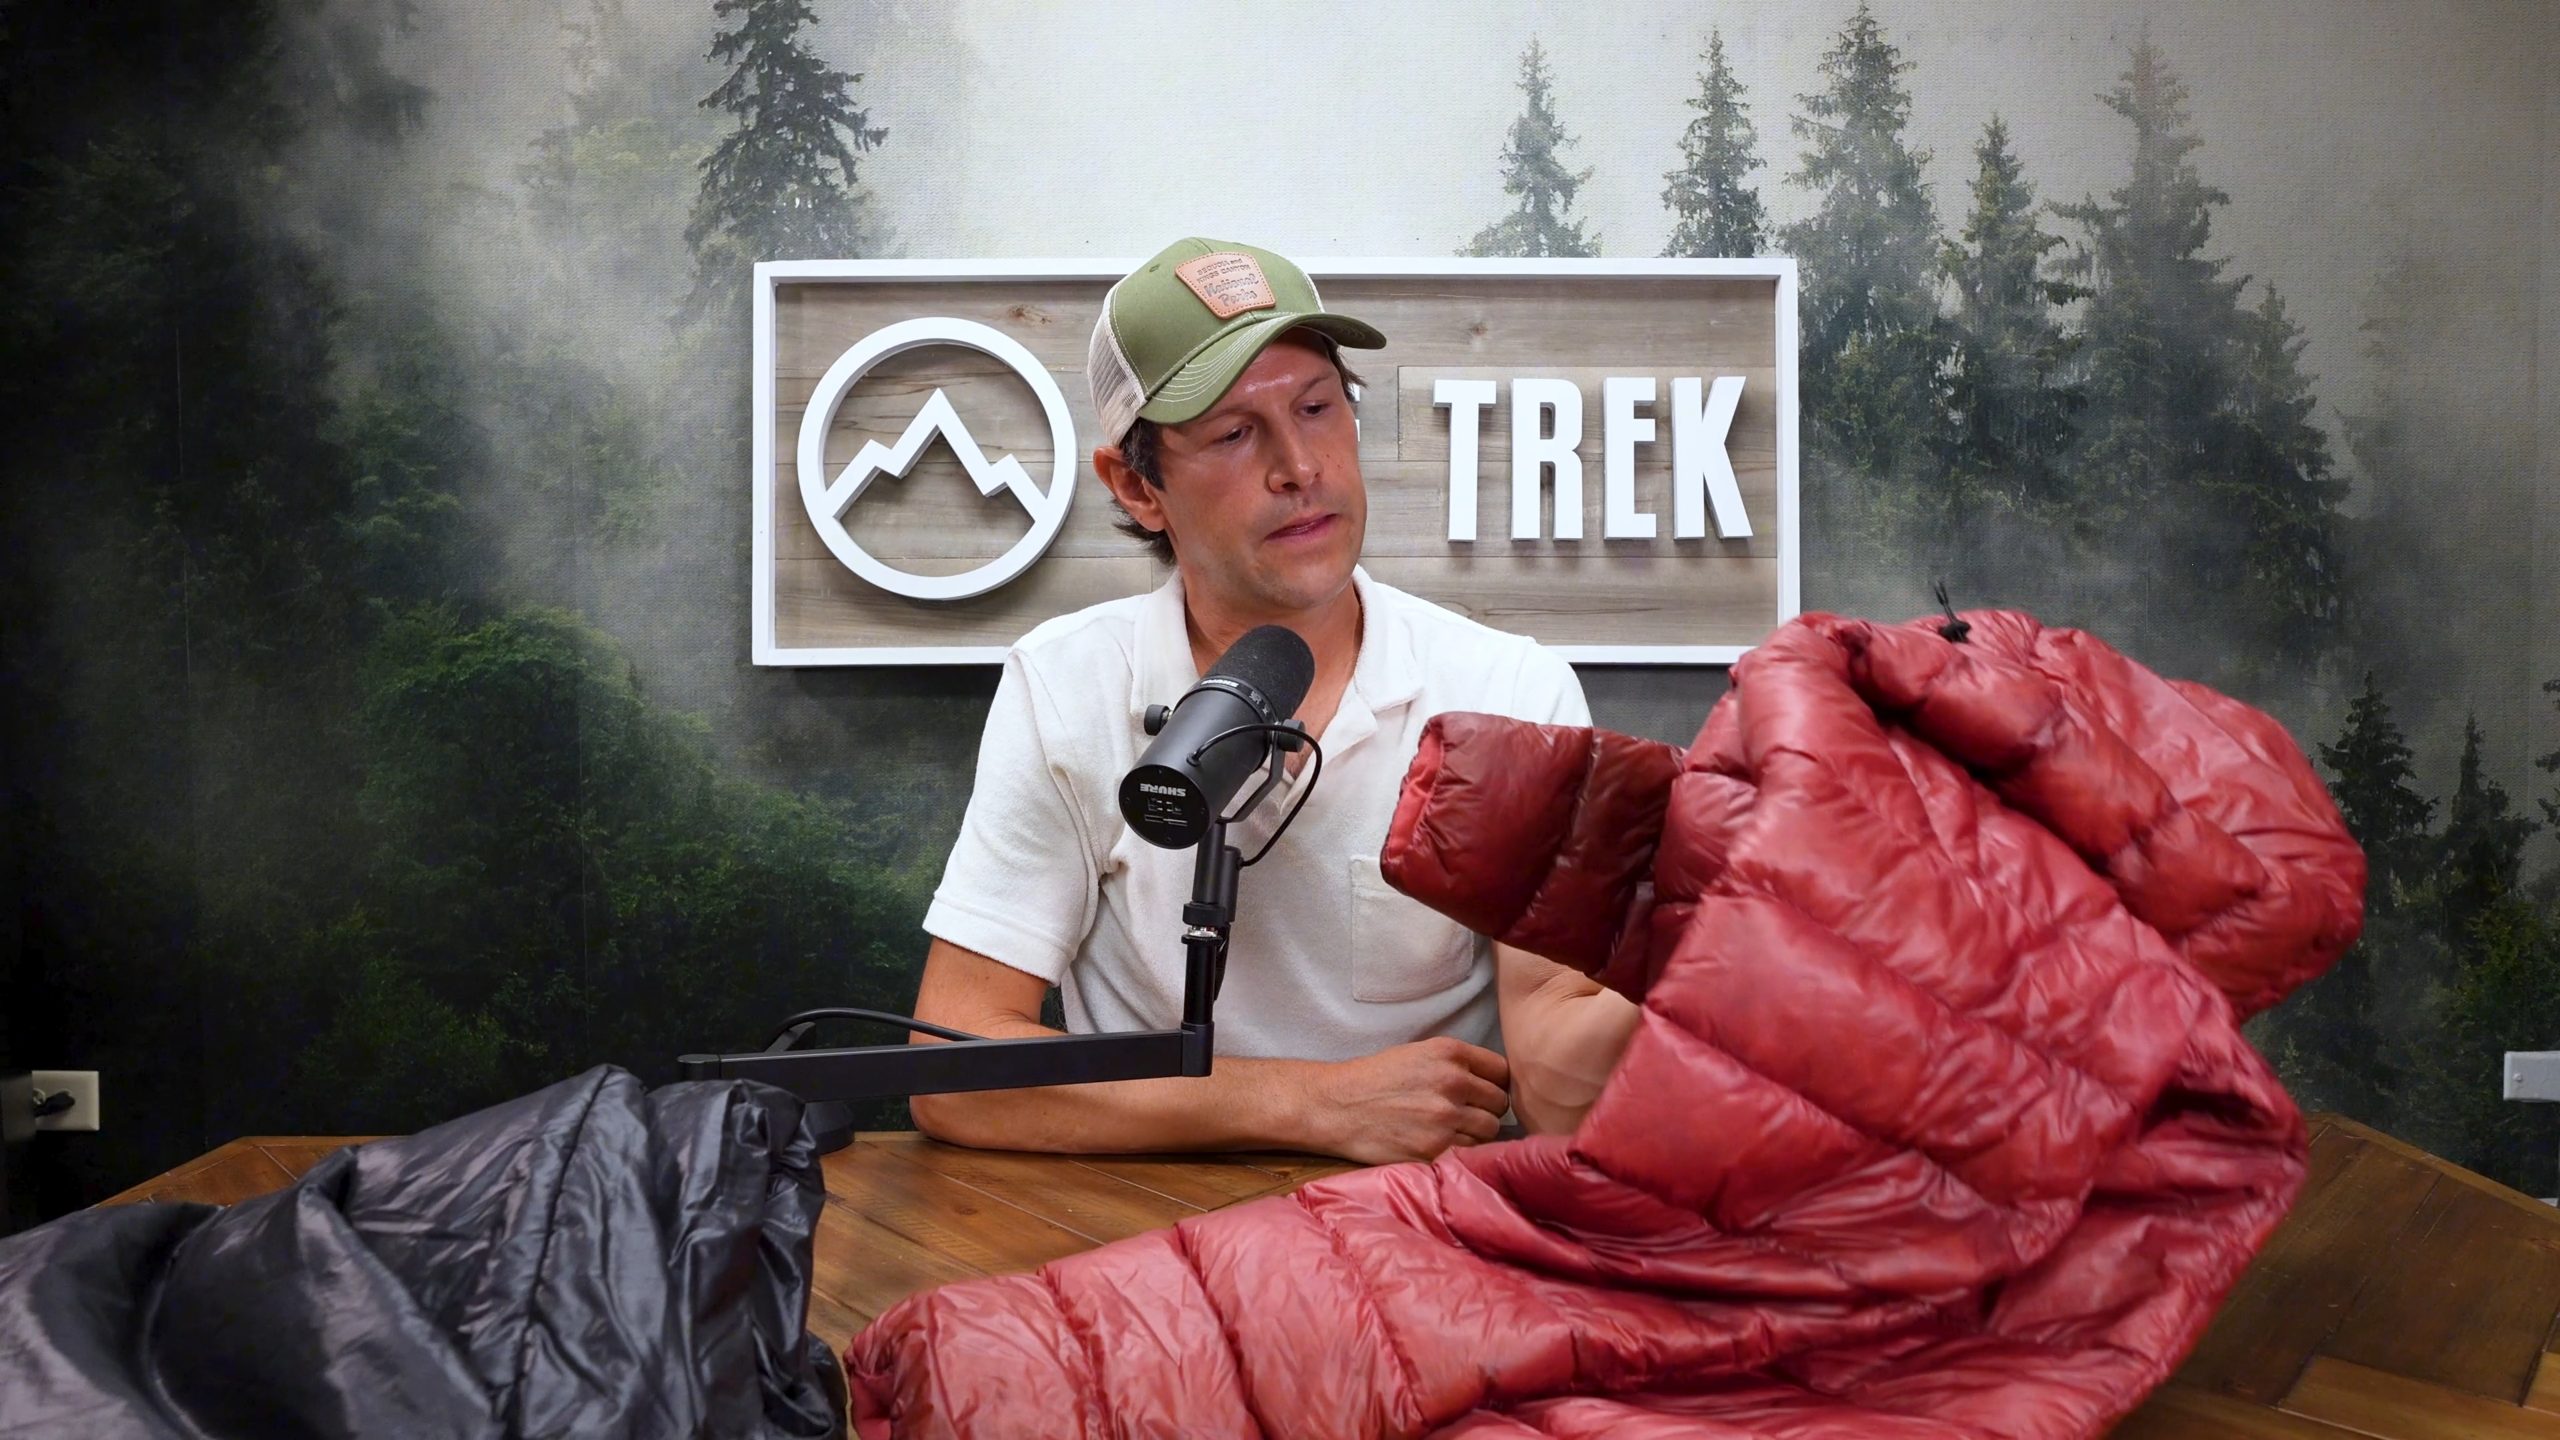
When you’re shopping for insulated clothing, you’re going to be faced with the choice of down versus synthetic.
Unless you’re living or backpacking in a really wet environment, I generally prefer down.
When I think of a wet environment, I’m thinking of somewhere like coastal California during the rainy season, anywhere along the Appalachians in spring, or Alaska during particularly rainy stretches. Those would be really rainy conditions.
In those cases, I think synthetic gets the win.
Down vs. Synthetic Insulation
“Synthetic insulation is not warm when wet.” You’ll hear that line. That’s BS.
What synthetic insulation will do is retain its loft, and therefore its warmth, better when it’s not necessarily soaked but damp.
In almost all other situations, I recommend down.
The reason is that down is quite a bit warmer for its weight than synthetic insulation. You could get a very warm down jacket, have it lose half of its insulating performance because it’s damp, and it would still be around a similar warmth-to-weight ratio as a synthetic jacket.
But the bigger reason is longevity.
I’ve found that synthetic insulation eventually poops out. It craps out.
You get maybe a season or two, and then you start holding it up and thinking:“Man, this just isn’t what it used to be.”
Then you need to go buy another insulated jacket or another pair of insulated pants.
Down-insulated clothing lasts forever. This jacket is on its third or maybe even fourth season. Feeling it right now, I have no concerns about wearing it for another season. Another two seasons. Probably another three seasons. Down just lasts a really long time.
Scientists have not yet figured out how to replicate the superior performance of down.
When to Carry an Insulated Jacket
Your insulated jacket is meant primarily to be worn in camp.
Maybe you’ll wear it on a really cold morning when you’re not yet ready to be bold and start cold. You’re walking out of camp with your insulated jacket on.
I’m going to take an insulated jacket on most summertime trips or most three-season trips.
The only time I won’t take one is if the temperatures are really mild. Nighttime lows in the 50s are probably about the cutoff.
Warmer than that, a midlayer is going to be totally fine.
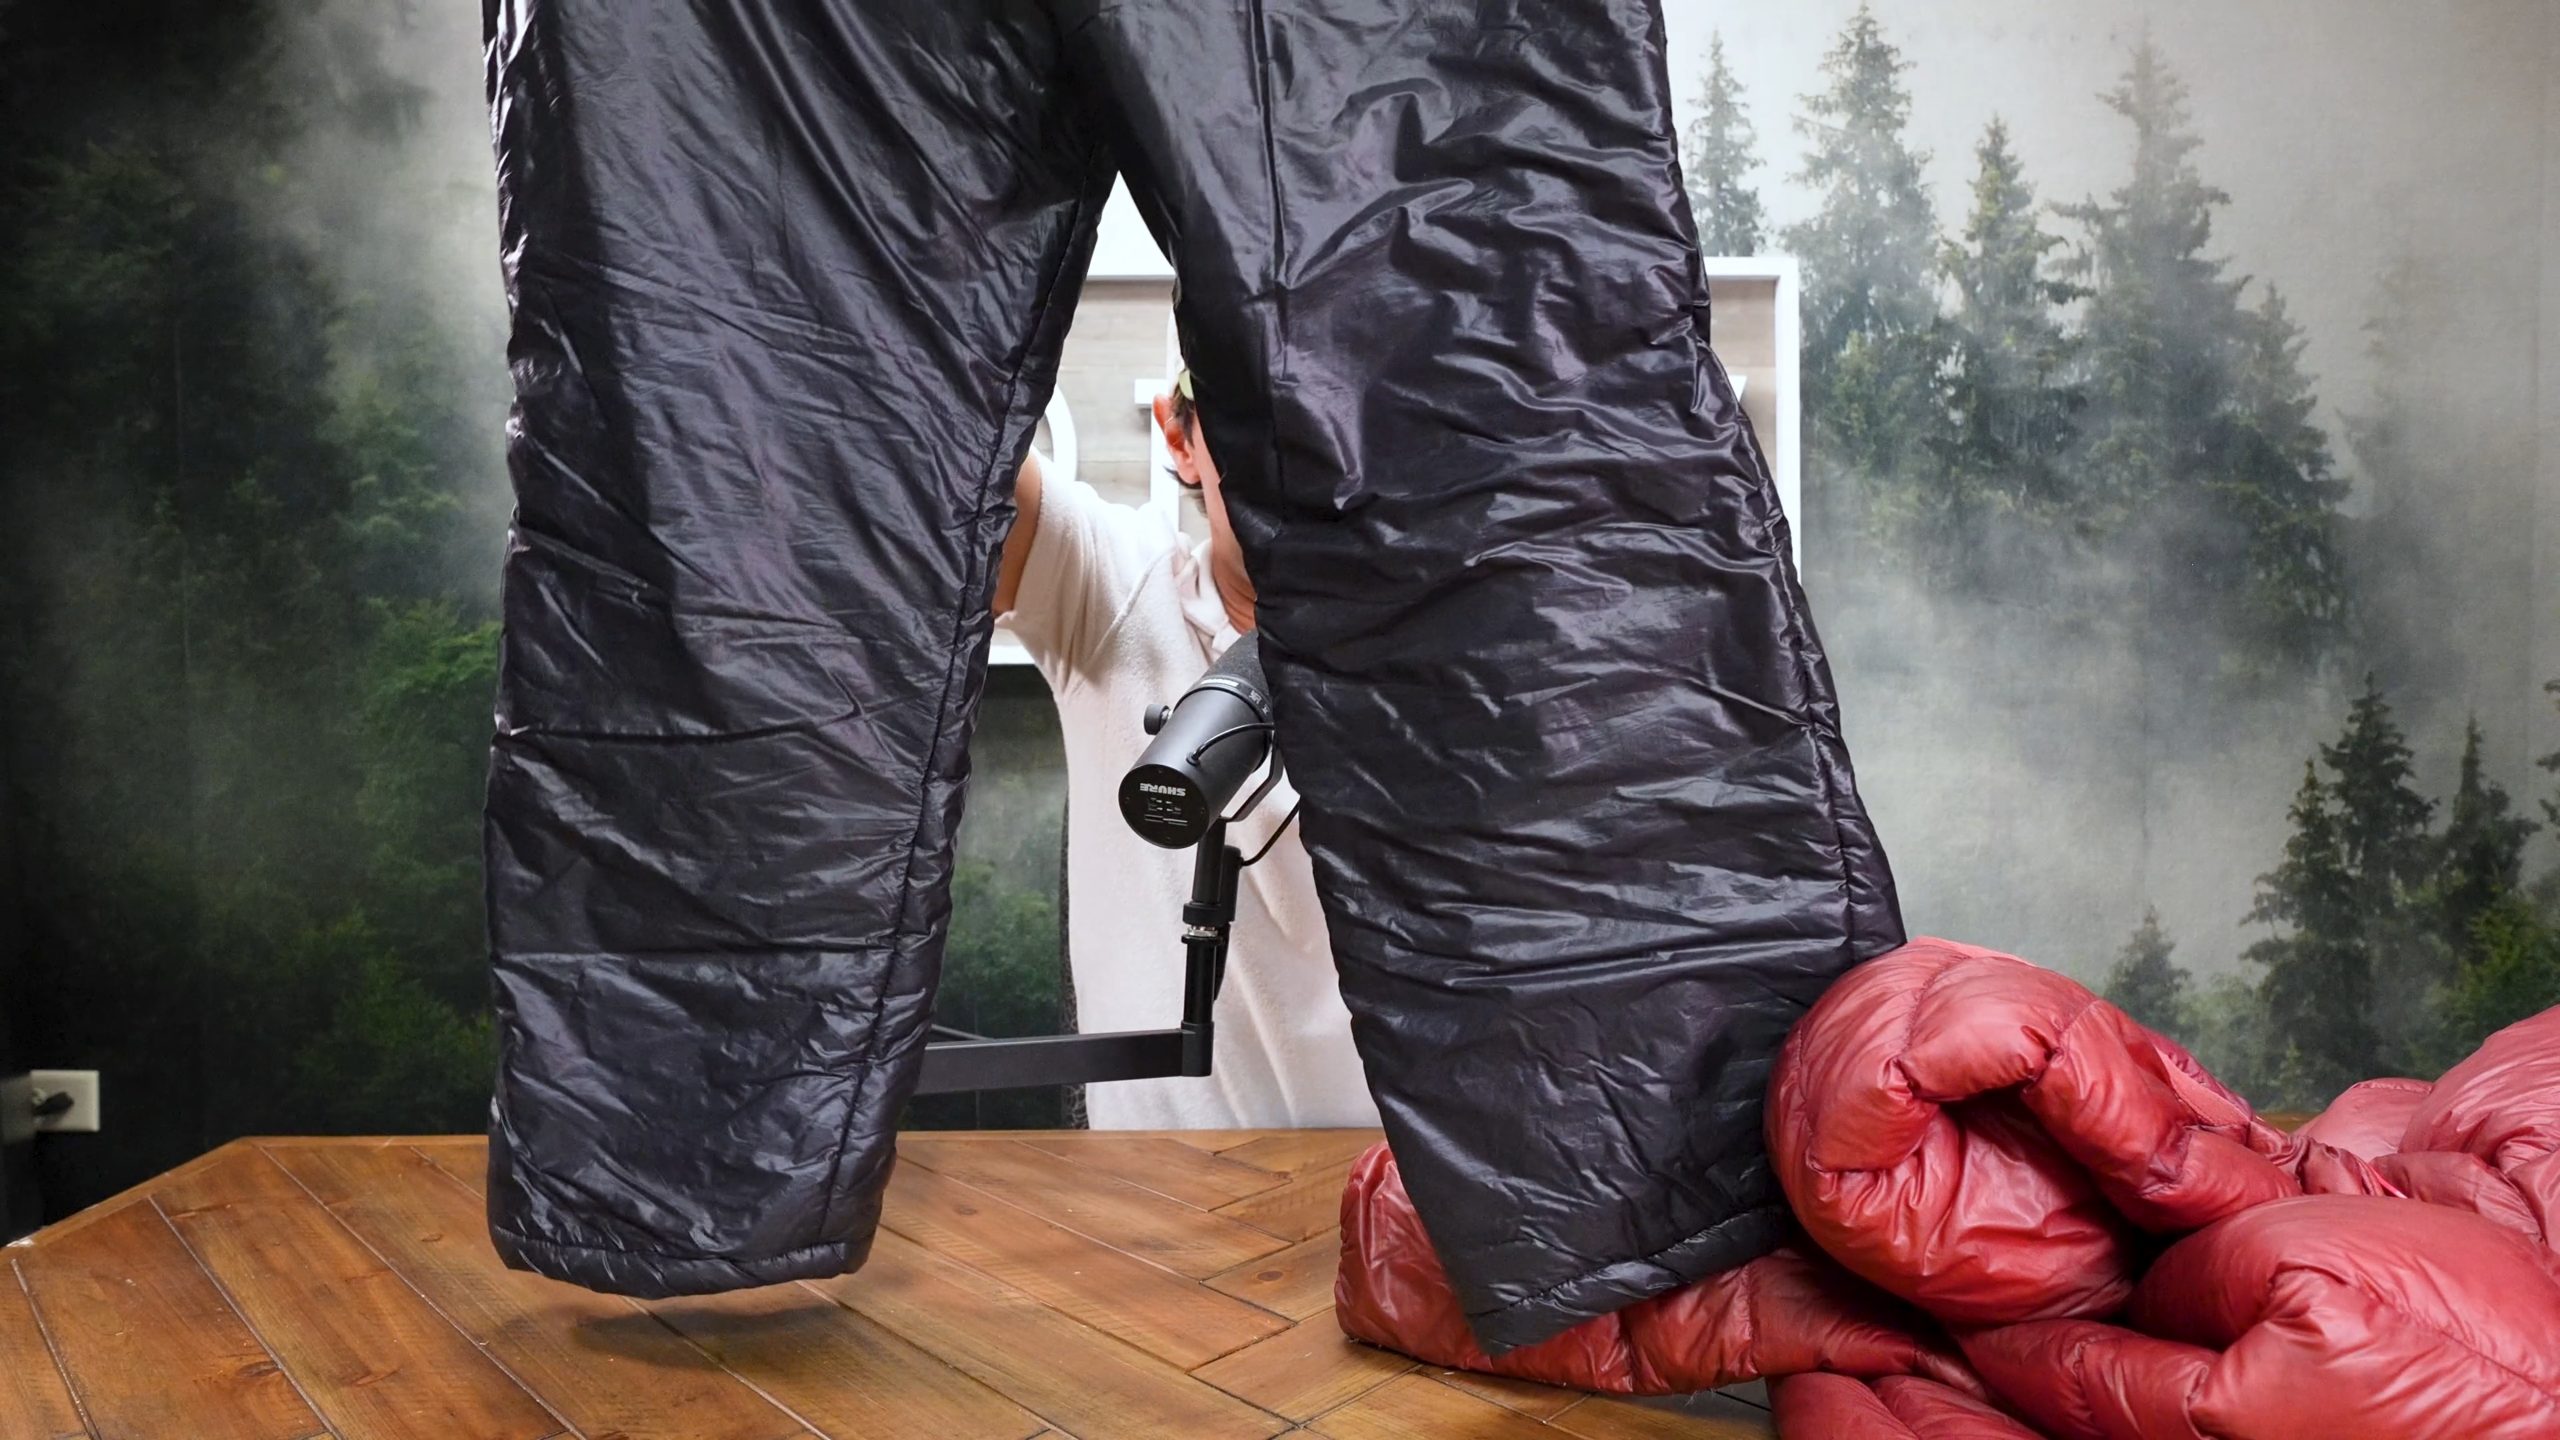
Why Puffy Pants Are Worth It
Insulated pants are an item where I’ve never met anyone who regretted buying a pair.
They’re great for early-season or late-season trips, when the nights are still pretty long and nighttime temperatures are cold.
They give you the ability to hang out in camp without having to climb into your sleeping bag at five or six o’clock in the evening because you don’t have enough warmth on your lower body. You can hang out by yourself. You can hang out with other people.
All the same conversations about down versus synthetic apply to pants too.
The one thing I would say is that you’re not going to use insulated pants very often. It’s something I might take on early trips in March or April, obviously on winter backpacking trips, and then starting again sometime around October.
Because you’re not going to use them as much as your jacket, maybe it’s okay for your puffy pants to be synthetic.
They’re just not going to see the amount of use that your down jacket will.
Items #11 and #12: Dedicated Sleeping Clothes
To round this out, I have items number 11 and 12.
These are dedicated sleeping clothes.
You’re going to take:
- A long-sleeve or short-sleeve shirt
- An extra pair of bottoms
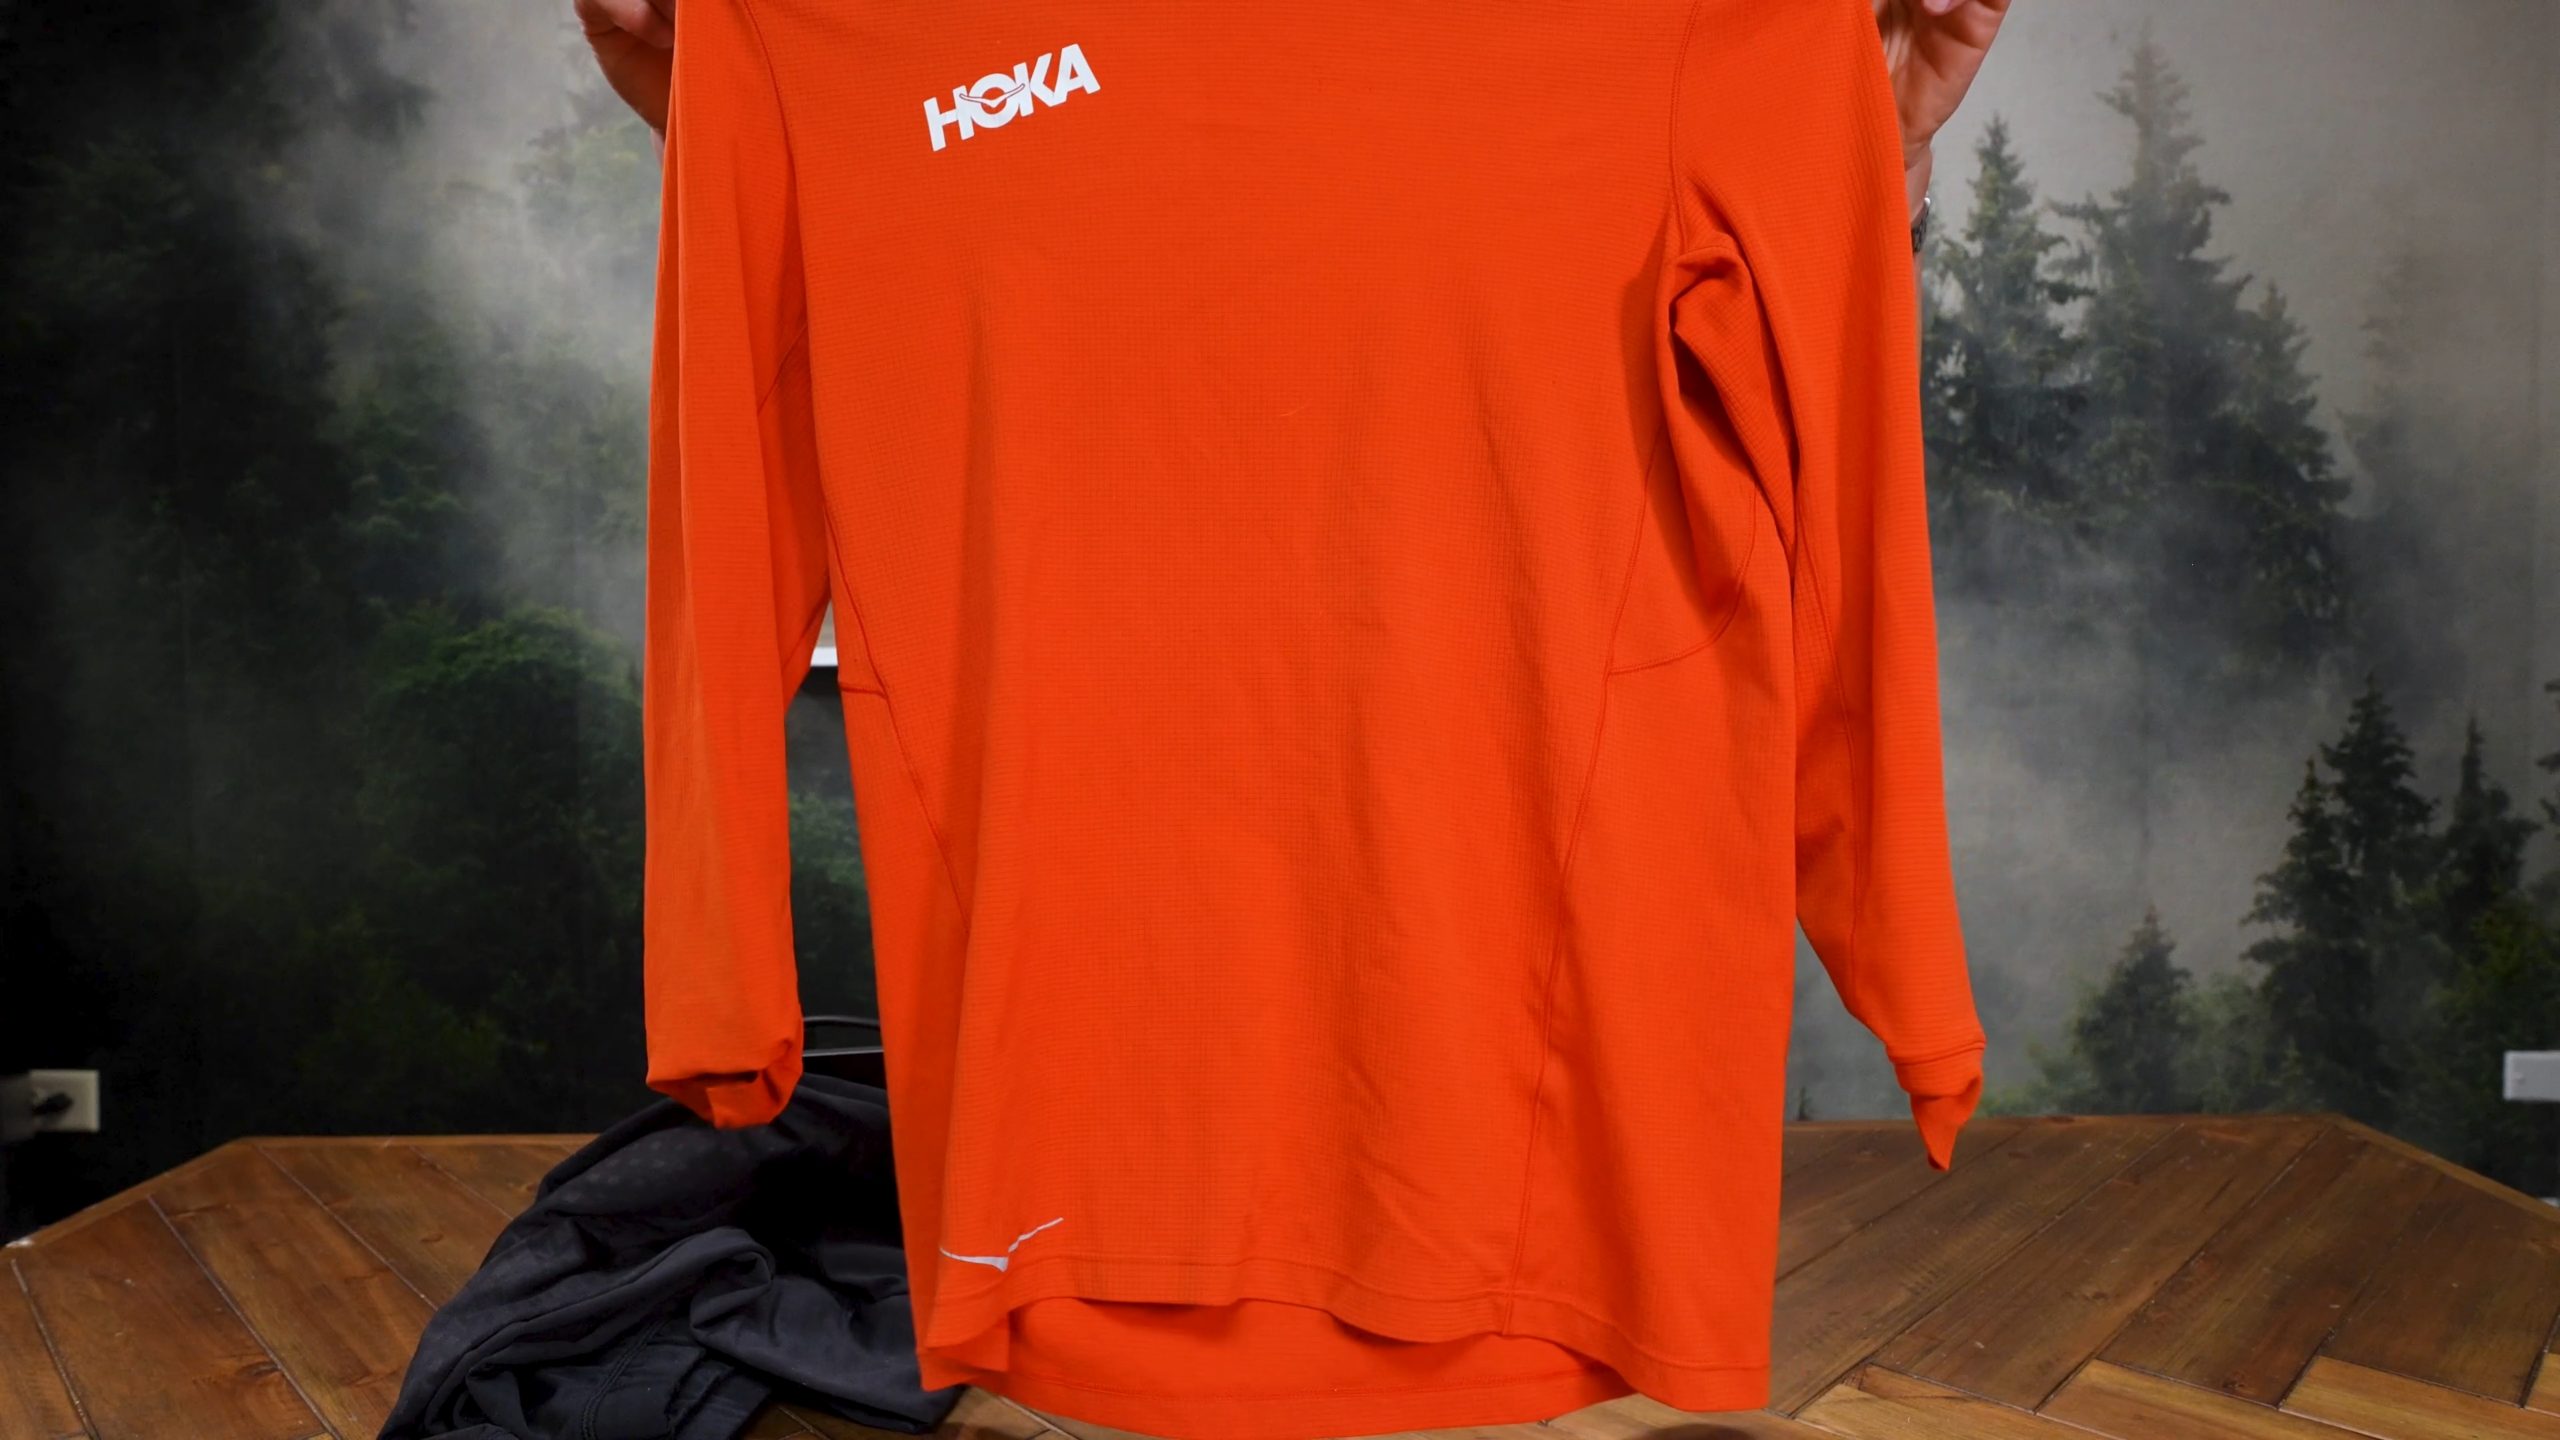
The sleeping shirt can basically be identical to your hiking shirt.
For the bottoms, these are running tights, but you could also bring a second pair of shorts or a second pair of underwear.
The idea with sleeping clothes is that these are items that never see the light of day.
They stay buried deep in your pack along with:
- Your sleeping bag
- Sleeping pad
- Pillow
- Sleeping socks
They’re meant to be used when you roll into camp soaking wet because you’ve been hiking in the rain all day.
For maybe 12 ounces—and this is kind of a robust pair of sleeping clothes—you’re going to change into these when you come into camp. And you are going to sleep warm and dry that night instead of sleeping in your wet hiking clothes.
Sleeping clothes should only be carried on trips where you look at the forecast and you’re like, “Oh man, do I really need to be backpacking in this? Can we just reschedule this trip?”
Which sometimes you can do if you’re more of the weekend-warrior crowd, like myself.
And other times, if you’re a thru-hiker, you’re just out in it. In which case, you would really appreciate having a pair of sleeping clothes.
So these are items number 11 and 12. It’s a very, very low performance threshold. Synthetic fibers or merino wool. They don’t even need to fit you that well. And they can be something that you buy from Goodwill, or maybe something that’s just in the very bottom of your drawer and you’re like, “Well, I haven’t used this in five years.”
And that is totally okay too.
What About a Traditional Sun Shirt?
So Jess has questions.
The first is, where is the sun shirt?
I think what she’s referring to is, like, an ExOfficio Halo shirt. It looks like you’re about to go see some giraffes and elephants in South Africa.
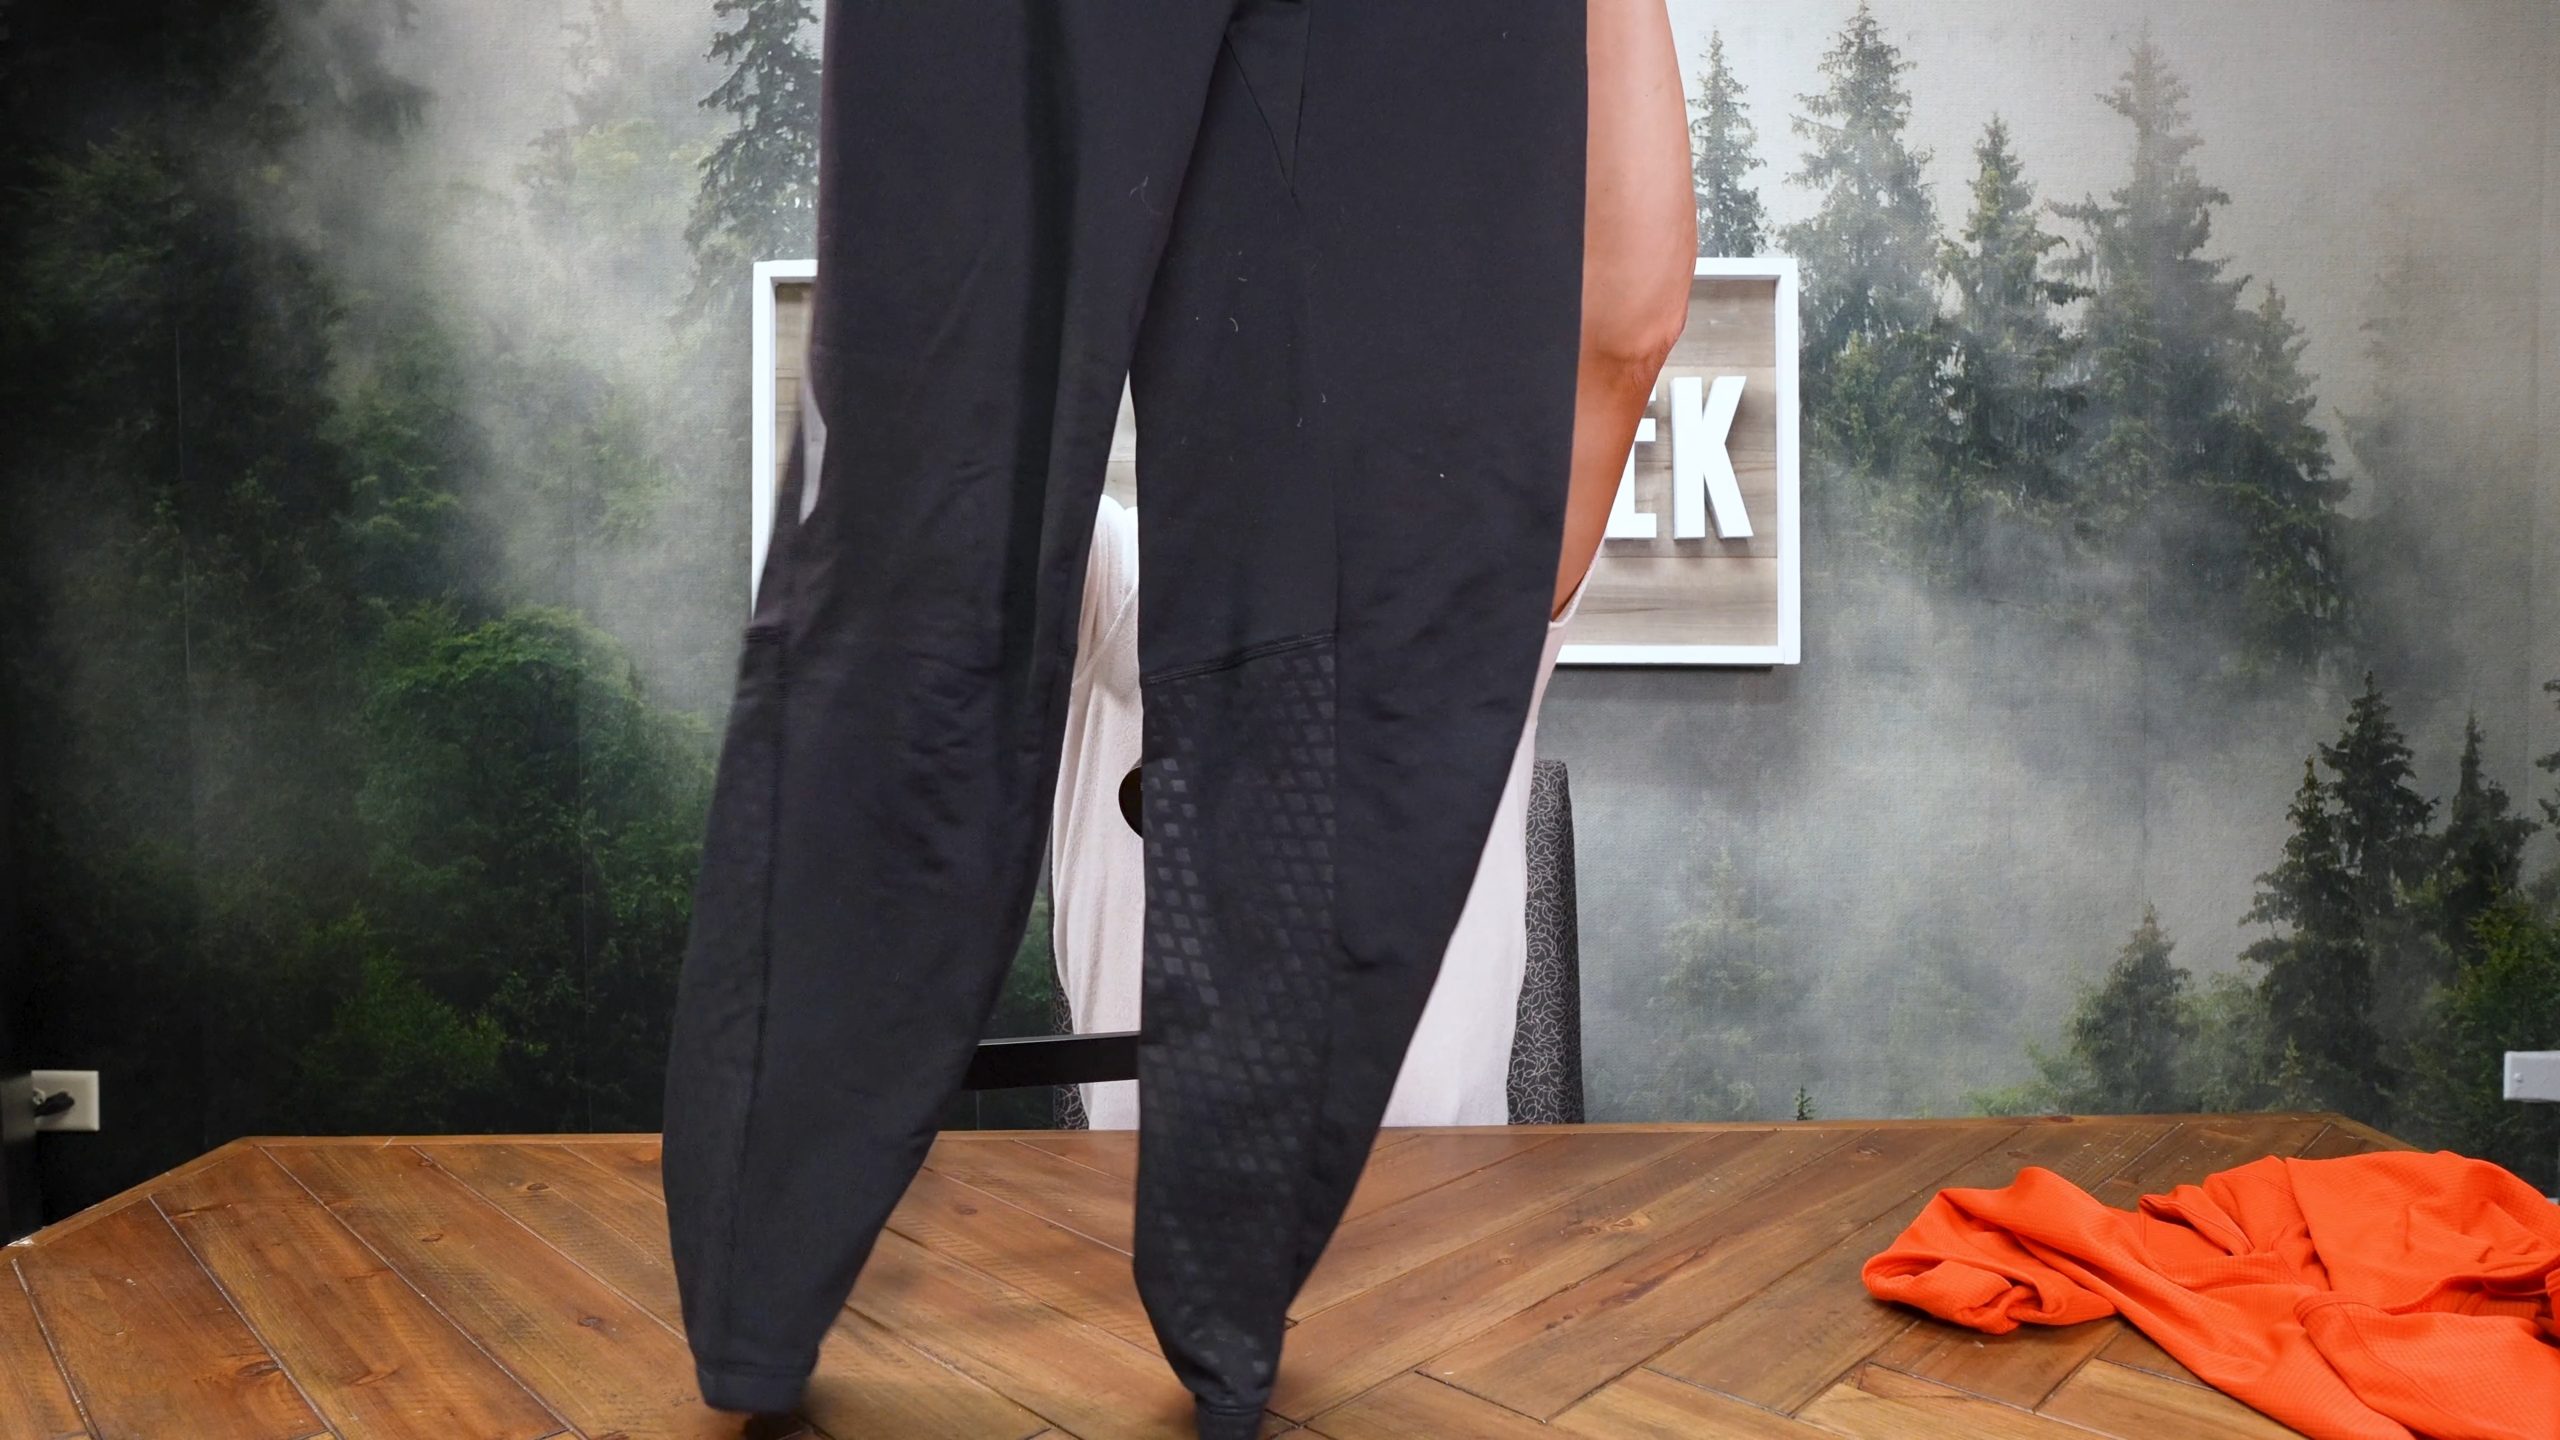
No sun shirts. The long-sleeve hoodie takes the place of that.
When I first started talking about this clothing system—this is like 10 years ago now—one of those types of shirts actually did make the list. But I would describe it more as a bug shirt.
That shirt is made out of a woven nylon or a woven polyester. And because that weave is very tight, the mosquitoes and the black flies actually struggle to physically bite through the fabric. So it’s kind of like a physical barrier for insects.
But what I have found since originally coming out with this series is that, honestly, a permethrin-treated, chemically treated long-sleeve hoodie works just as well for insects as those woven nylon shirts.
So I think that classic sun shirt is no longer in the system.
The other thing about the sun shirt is that you still need, at that point, some kind of hat to really protect your face and your neck. You’re going to need something that’s pretty wide-brimmed, and wide brims don’t fit very well underneath other articles of clothing.
For example, you can’t put a rain jacket on and still be wearing a wide-brimmed hat.
A hat is pretty nice when you’re wearing a rain jacket because that keeps the hood out of your eyes and just gives that water a place to go. It kind of drips down your brim rather than coming into your eyes.
A Few Other Critical Items
There are some other critical items that you probably should have.
As far as clothing goes, one of them is going to be a pair of sun gloves. Sun gloves are something I started wearing probably like 10 years ago. So this was, I don’t know, like 30,000 miles into my backpacking career.
And I remember the first time I wore them, I was just like, “Oh my God, where have you been my whole life?”
They’re great for protecting your hands from the sun and also from insects.
And the last thing is that you don’t get the calluses from your trekking poles.
When you’re traveling off-trail, it’s also nice to be able to grab onto things. Grab onto a boulder, grab onto some willow, grab onto a spruce—something to kind of just help make some progress forward. So sun gloves are great for that.
You’re also going to need some kind of hat. I prefer just a ball cap because that fits really well with all the rest of my clothing.
You’ll need some sunglasses.
So I don’t mean to say that these 12 items are all that you need for clothing, but you can create systems with them.
Build Your Clothing System From These 12 Pieces
At this point, hopefully you’re less confused than you were at the beginning of the video.
And you have some better sense for how to get a tight collection of clothing and mix and match those pieces together to create appropriate clothing systems for any set of three-season conditions.
Just with those 12 pieces, you’d create something that is really going to work for you, where you’re going to make use of every single piece of clothing that you’re bringing out with you.
You’re not taking more than you need.
And you aren’t missing things that you really want while you’re out there.
Final Thoughts
If you’ve enjoyed this video, please do me a favor.
Right below it, there’s a thing that says “Subscribe” and then the thumbs-up button.
Or in YouTuber-ville, they’ll say, “Oh, you know, smash that subscribe button.”
If you’ve enjoyed this video, just know that there are more coming.
This is a weekly video series that I do with The Trek. We drop a new video every Monday at noon.
And if you’re interested in learning more directly from me or from one of my all-star guides, our guided trip schedule is going to be going live in November of 2026. And we’ll be opening registrations in December of 2026, with groups announced in January of 2027.
Thanks. We’ll see you next week.

This website contains affiliate links, which means The Trek may receive a percentage of any product or service you purchase using the links in the articles or advertisements. The buyer pays the same price as they would otherwise, and your purchase helps to support The Trek's ongoing goal to serve you quality backpacking advice and information. Thanks for your support!
To learn more, please visit the About This Site page.

Comments 1
Thanks
Do socks and footwear and care next please.
Cheers.