 ">

Trail Safe Storage in the Backcountry
When you’re deep in the backcountry, it is essential that you carry some sort of bear canister or protection for your food. I have learned to carry a BearVault, which has a variety of sizes for your backpacking trip:
- BV425 – 1-2 days of food
- BV450 – 3-4 days of food
- BV475 – 5-6 days of food
- BV500 – 7 or more days of food
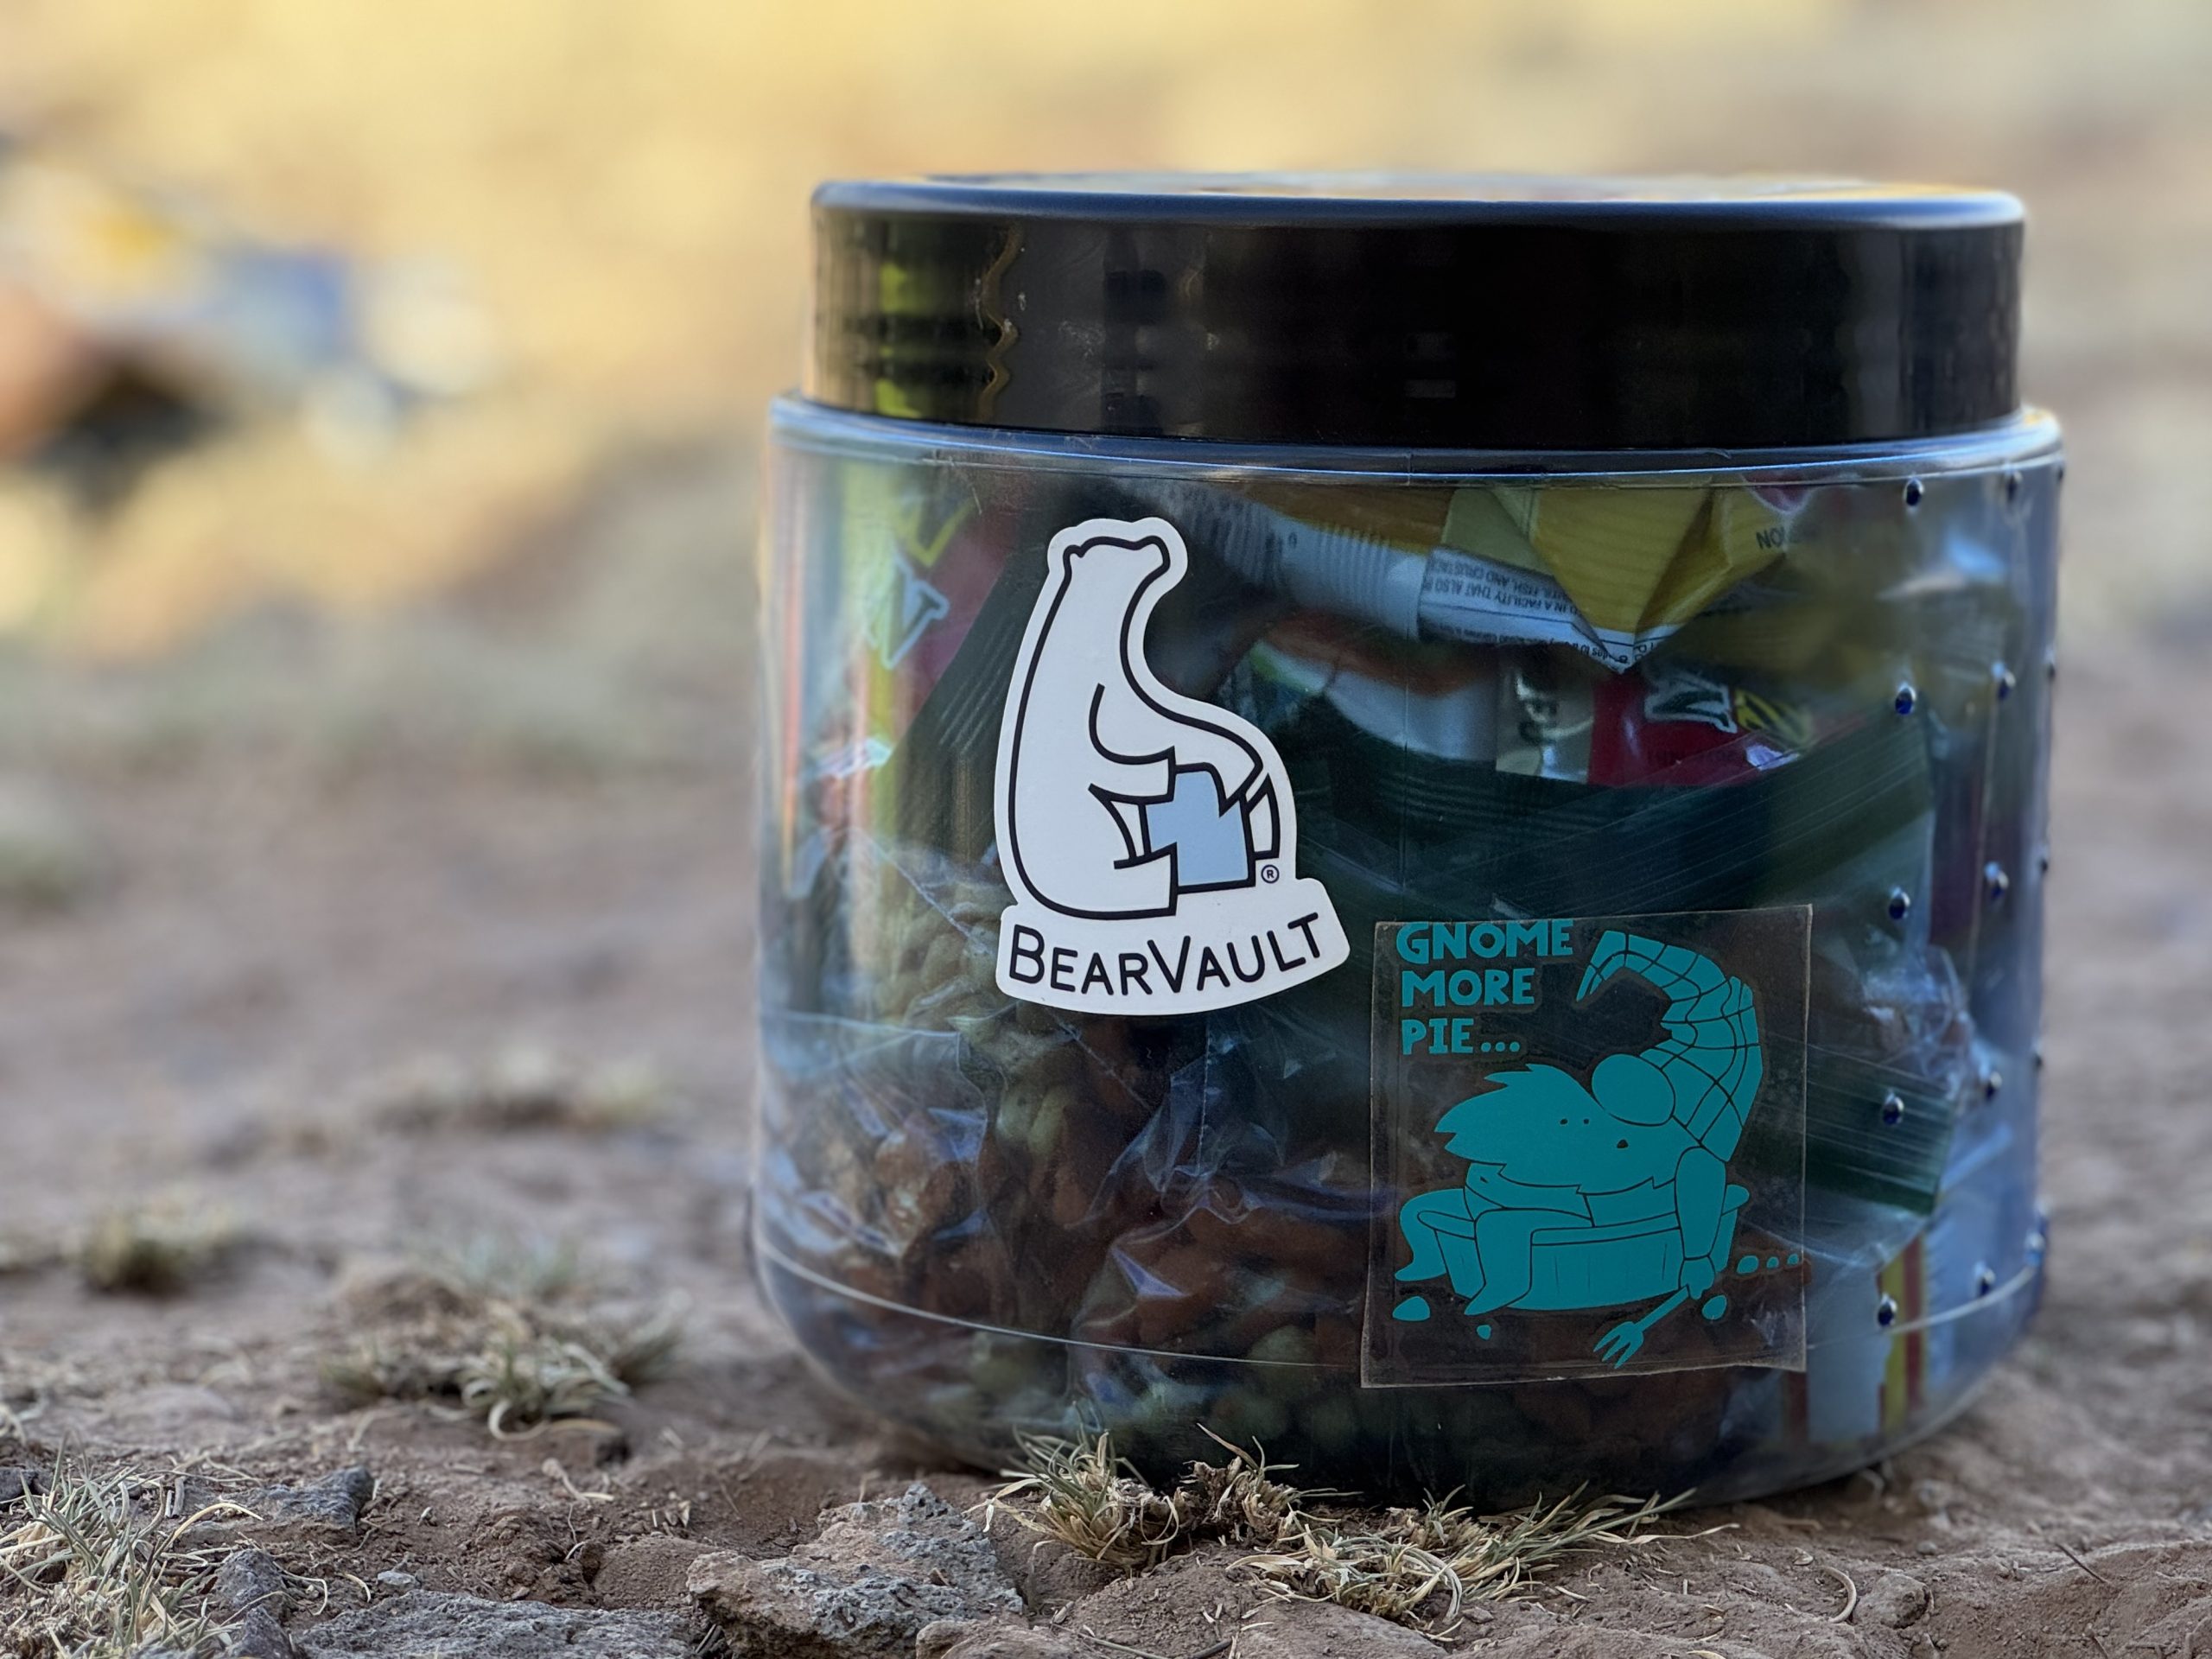
Image Source: Paige Combs, “BearVault BV450,” May 2025.
When hiking a thru-hike every cubic inch of your bear canister counts. Whether you’re heading out for an overnighter or a weeklong trek, packing your BearVault efficiently can mean the difference between a well-fed adventure and scrambling for space. I recall struggling during my first backpacking trips on the Pacific Crest Trail (PCT) in 2023 trying to fit enough food for the longer stretches in the Sierra. Packing food is an essential skill when it comes to safe camping.
Additionally, many people think the only time you need bear proofed gear is in the specified sections, however you can run into bears in most backcountry wilderness. I recall my friend in Oregon having a run in with some hungry chipmunks who tore through his tent to get to his food! BearVault doesn’t just protect against bears. It protects food from being crushed in your bag, keeps rodents out of your supply, and can be used as a chair!

Image Source: Paige Combs, “Aquaman Using BV450 as Seat in New Mexico,” May 2025.
In an effort to streamline my learnings and mistakes these are my recommendation on how to pack your BearVault like a seasoned thru-hiker.
⸻
Step 1: Plan Your Meals by Day
Before you even start packing, map out each meal. Choose your form of resupply. Are you going to send a box to a post office, buy food at a local store, or are you planning to dig through hiker boxes? Once you have an idea of how many days you’ll be on trail it is easy to select meal options that you can group together by day. Group food into daily bundles like breakfast, snacks, lunch, and dinner so you can avoid overpacking and find what you need quickly when out on the trail.
Pro Tip: Try to use zip-top or vacuum-sealed bags for each day of food to reduce bulk and keep food organized. Label them by day for even quicker access. I buy these in town and share with other hikers or send them ahead in my resupply boxes. Use gallon bags for the day of food and quart bags to organize meals and snacks.

Image Source: Paige Combs, “Organized Snack Bag,” May 2025.
⸻
Step 2: Remove Excess Packaging
Bulky packaging wastes valuable space AND weight. Take food out of boxes and stiff wrappers, and repackage into flexible bags.
• Do: Repackage oatmeal, trail mix, pasta sides, and dehydrated meals.
• Don’t: Use containers with rigid shapes unless necessary (e.g., for crushable items like crackers or cookies).
Pro Tip: Use a pen to write cooking instructions directly on the new bag. The ziplock bags can withstand heated water you use to rehydrate food as well.
⸻
Step 3: Pack Heavy & Dense Items First
Start with your heaviest, most compact foods like nut butters, jerky, or dense energy bars at the bottom. These create a stable base and fill awkward gaps.
Next, add dehydrated meals, rice, pasta, or anything that packs flat.

Image Source: Paige Combs, “Layered BearVault,” May 2025.
Pro Tip: Tuck small items like bouillon cubes or electrolyte tablets into gaps along the walls.
⸻
Step 4: Save Fragile and Scented Items for the Top
Things like snacks, your first meal of the day, or soft items (tortillas, bars) should go near the top for easy access and to prevent crushing. Also anything you may rub on your skin or toiletries you have you will want to leave in baggies inside your BearVault.
If you’re using odor-proof bags (recommended), keep each day or food type together to make grabbing and resealing easy.
⸻
Step 5: Think Like Tetris—Use Every Inch
BearVaults have a round shape, so fill edge space deliberately. Push pliable foods into the curves and use a gentle press to compact everything without damaging fragile items.
Pro Tip: Store your first meal outside the BearVault (as long as it’s attended or hung), so you gain space and eat down weight early. Just make sure you have room for everything you don’t eat the first day and all your trash from that first day.
⸻
Bonus Tips:
1. Odor management: Always store trash inside the canister. Use odor-proof liners or pouches to reduce bear interest. And store your other smelly items like toothpaste in here as well.

Image Source: Paige Combs, “Trail Trash Bag,” May 2025.
2. When placing in your backpack, either:
A) place sideways on top of sleeping bag, or
B) place upright on top of sleeping bag, or
C) keep food in bag inside pack and carry BearVault on the outside of your bag with proper straps.
3. Make your BearVault unique by putting your favorite stickers on the outside!

Image Source: Paige Combs, “Take Your BearVault on All Your Adventures,” May 2025.
⸻
Final Thoughts
Packing a BearVault efficiently is both a science and an art. With a little practice and planning, you’ll find your system, and maybe even fit that one extra cookie. A well-packed BearVault means less time organizing and more time enjoying the wild.
BearVault Packing Checklist
Before You Pack
• Plan each meal by day (breakfast, lunch, dinner, snacks)
• Repackage food into flexible, zip-top or vacuum-sealed bags
• Label bags with meal/day info
• Remove all unnecessary packaging (boxes, wrappers, etc.)
• Write cooking instructions on bags if needed
⸻
What to Pack Inside
• Dense foods at bottom (jerky, nut butter, protein bars)
• Flat-pack meals (dehydrated dinners, pasta sides, oatmeal)
• Snacks & soft items near top (tortillas, crackers, cookies)
• Trash in odor-proof bag
• Small items in gaps (seasonings, drink mixes, bouillon cubes)
⸻
Additional Items to Consider
• Odor-proof liner or bags (e.g. OPSAK, other dry sack brands)
• Lightweight spoon or utensil

Image Source: Paige Combs, “Trail Spoon,” May 2025.
• Small dry bag or cloth to keep BearVault dry in rain
• Marker for labeling bags or writing notes
⸻
At Camp
• Store BearVault at least 100 ft away from tent
• Place it on level ground where it won’t roll
• Use as stool or prep surface if clean
• Keep lid secure and locked (make sure it clicks twice!)

Image Source: Paige Combs, “Lid Lock Mechanism Behind Latch,” May 2025.

This website contains affiliate links, which means The Trek may receive a percentage of any product or service you purchase using the links in the articles or advertisements. The buyer pays the same price as they would otherwise, and your purchase helps to support The Trek's ongoing goal to serve you quality backpacking advice and information. Thanks for your support!
To learn more, please visit the About This Site page.