 ">
">
Dehydrating 102: Getting Started
So, you’re ready to prepare your own meals for the length of your thru-hike. You’re probably looking at your bank account and thinking “wow, vacuum seal bags are expensive,” or you’re looking at your electric bill and thinking “wow, I didn’t account for this,” or you’re looking at a large pile of onions and thinking “wow, that’s a lot of onions.” Whatever trepidation you might be feeling, work through it, because I promise it will be worth it! You and your delicious homemade stir fry will be the envy of all your hiking buddies.
Hopefully by now, you’ve gotten your hands on a good dehydrator, a vacuum sealer, a lot of storage space and a lot of storage containers, and a lot of free time! If not, please refer back to my Dehydrating 101 article for a list of necessary equipment and purchasing advice. If so, get out your grocery list and read forth.

On second thought, come back when you’re a bit more organized… (image courtesy of Flickr)
My first, and most valuable, piece of advice is to plan your dehydrating around ingredients rather than meals. Other sources may tell you that it’s faster and more efficient to cook a large meal of several servings in one go, dehydrate the lot, bag it, rehydrate on the trail, and enjoy. I attempted this with a few different meals when I began food planning for my thru hike, and all failed miserably and tasted offensively bad. The reason for this is that different meal components (meat, vegetables, grains, sauce, etc.) require different dehydrating times, temperatures, and techniques, and when you try to find a happy medium for all, your meat doesn’t dry all the way, your vegetables get burned, and the tastes all bleed together instead of complementing each other, for a Franken-meal of disgusting proportions.
Related: Our Favorite Meals for Backpacking
Aforementioned lessons learned, I began dehydrating ingredients one at a time and storing them in jars and bags, and figuring out recipes based on a few flexible ones I had in my head, the amount of each ingredient I had, what was on sale, and so on. I advise you to do the same. Not only will your food taste better, but in the long run you’ll get more for your money and less time wasted.

Image courtesy of Flickr.
I’ve broken down my dehydrating tips based on the type of food being dried, as most vegetables require similar work, meat requires different steps, and so on. In addition to my own information, look to the drying guide that comes with your dehydrator, like Excalibur’s, seen here.
However, take the drying times given in these guides with a grain of salt, as I often had to keep my items in for another two or three hours to achieve full desiccation. To maximize your time, make sure to rotate your food every few hours, if at all possible. You will notice that as items dry, the ones in the center of the trays, and on the top trays, will dry a little more slowly. The dehydrator is very good at distributing heat and removing moisture quickly, but it’s not perfect, so you will often need to compensate to make sure your food dries evenly. Just switch the bottom trays with the top trays and move the food in the center to the outside. I found that I could achieve drying for most things, rotating like this, during the evening, and let other items go for longer while I was at work and asleep.
1. Vegetables
I started my vegetable efforts buying only fresh produce. After all, what could be better than fresh vegetables (albeit dried) on the trail? However, I quickly realized that the extra prep work required to even get the vegetables in the dehydrator was taking up far too much time. On top of that, the sheer amount of onions I was chopping nearly drained by body of tears. I didn’t cry again for 14 months. So, I moved on to using canned vegetables. Though not as fresh, they turned out to be much, much easier to work with, and cheaper in the long run as well (accounting for sales and coupons and the like).
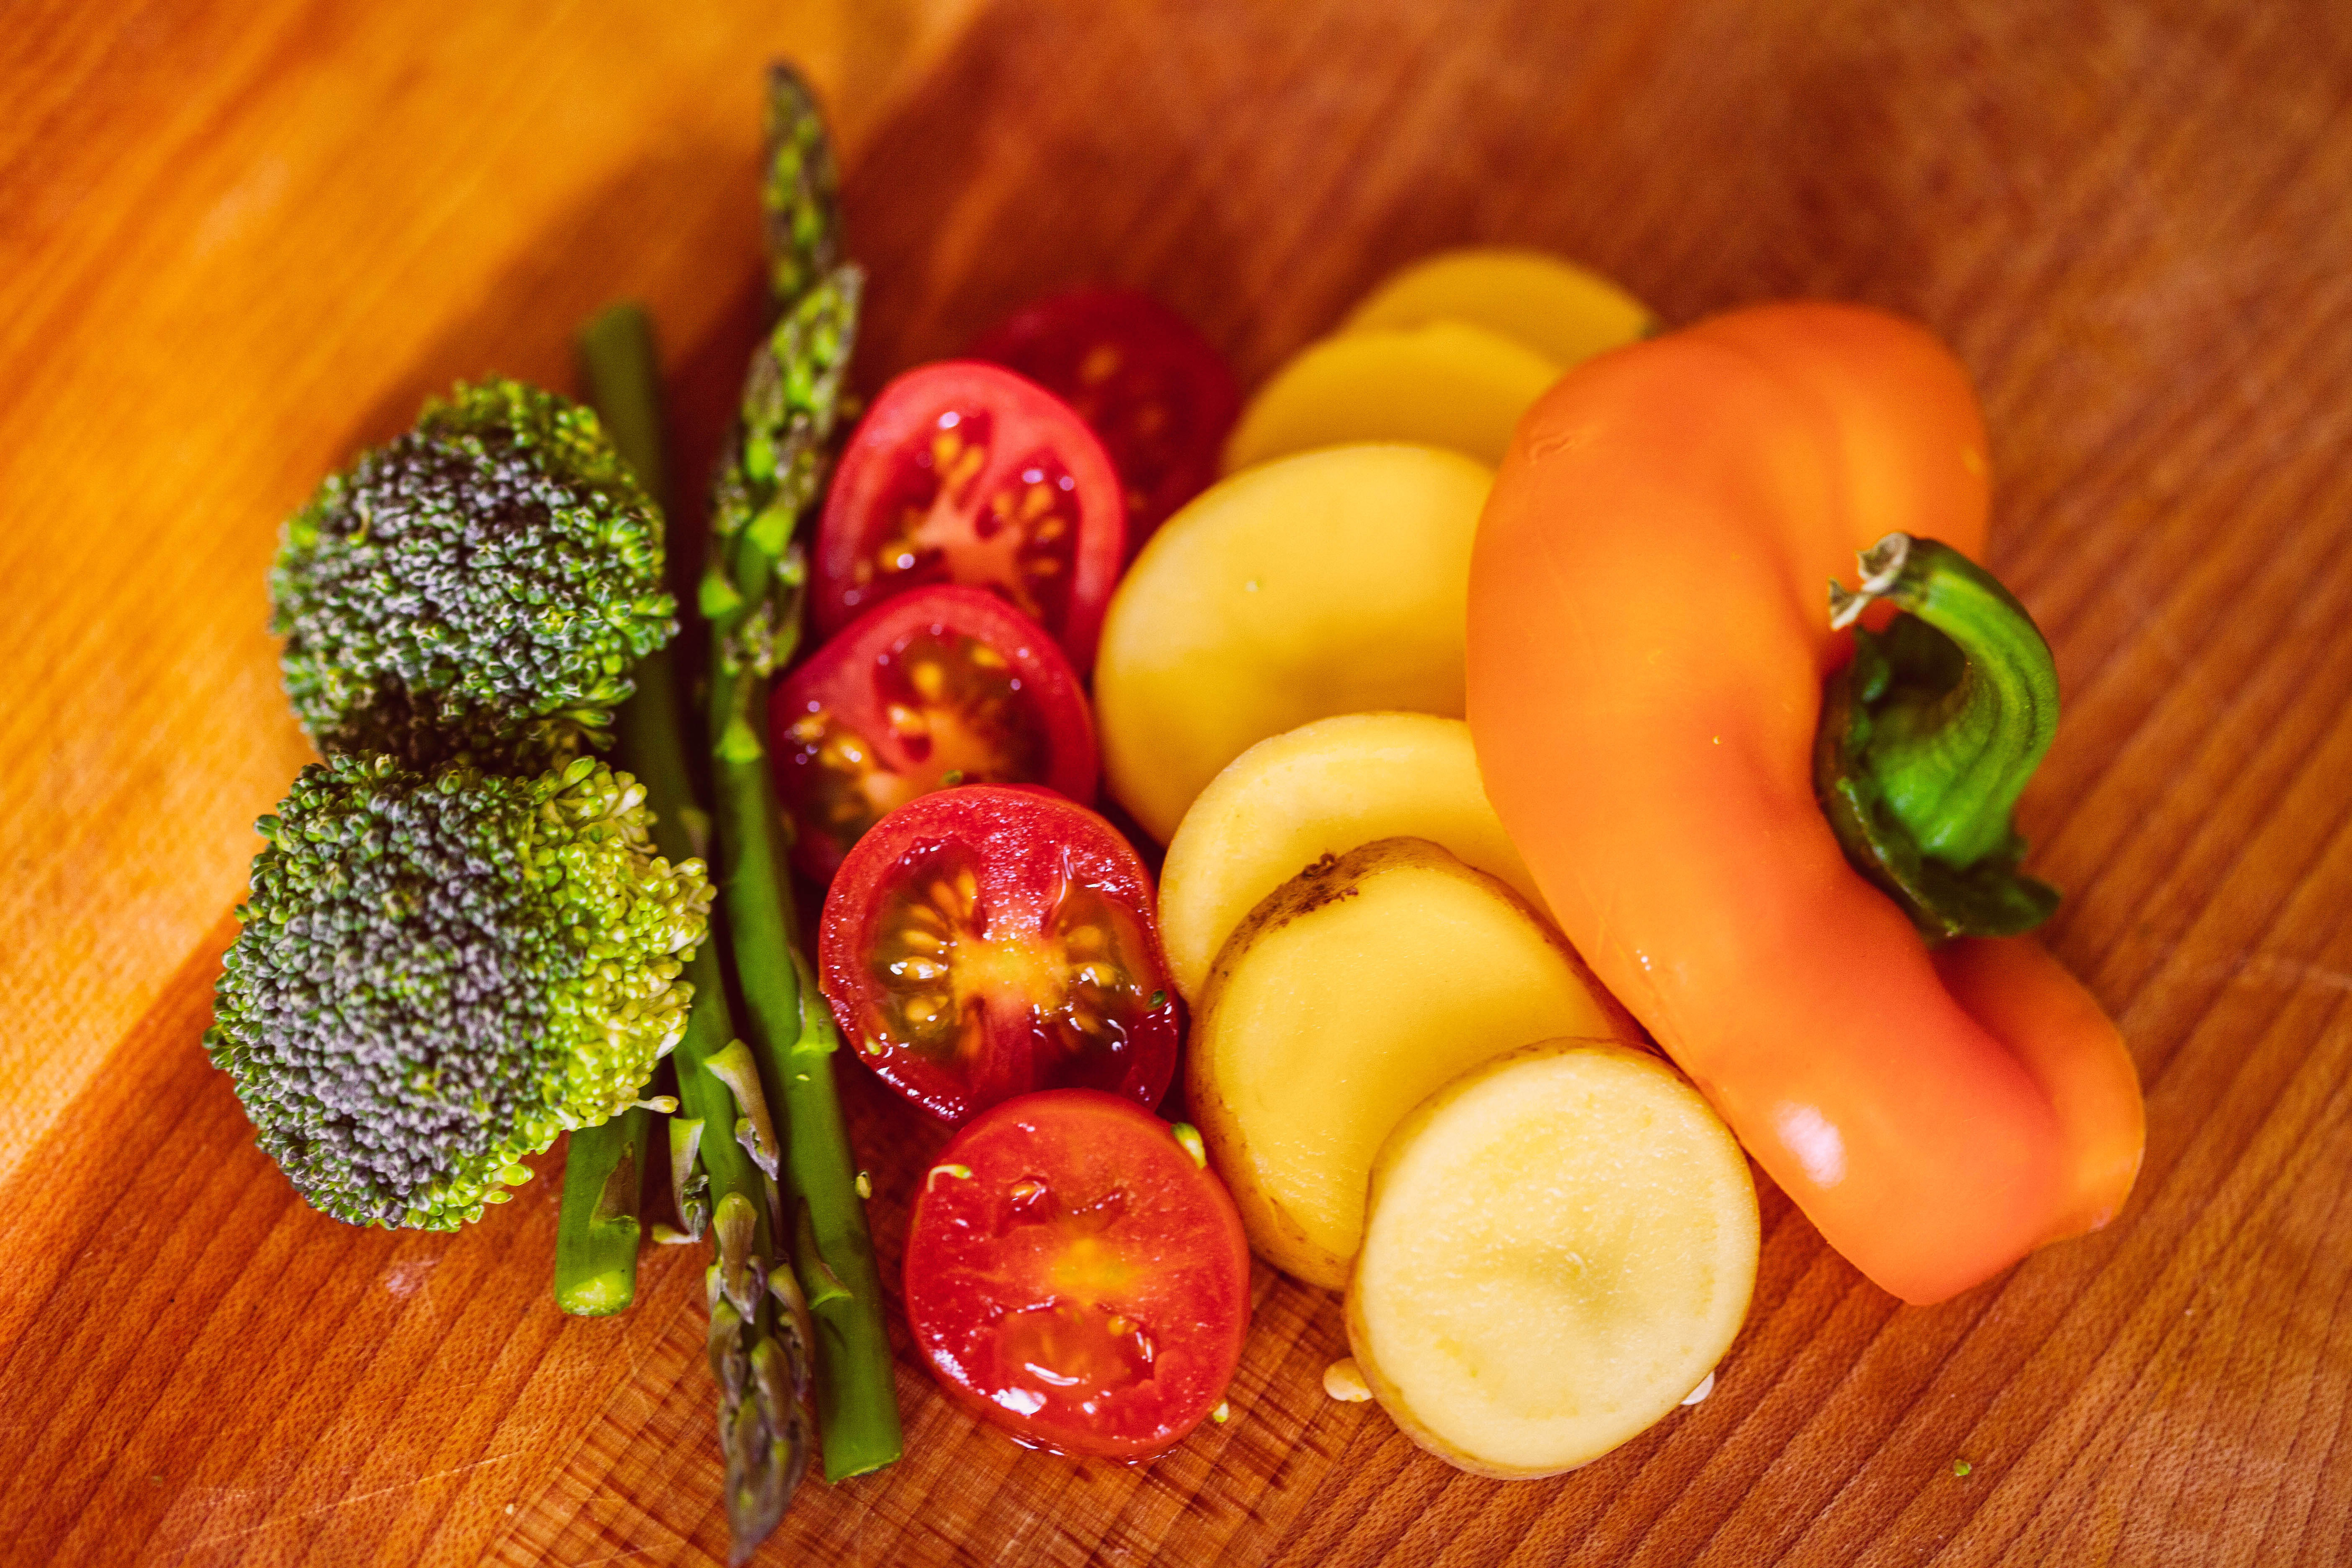
Image courtesy of Flickr.
Dehydrating vegetables is fairly straightforward. Some vegetables, like broccoli, asparagus, and greens like spinach and kale, benefit from being briefly blanched before dehydration (to blanch, bring a pot of water to a boil, dip your vegetables in for 1-3 minutes,transfer to a pot of cold water, and pat dry with a towel). For others, simply dice into small chunks (the smaller the better; the more surface area per weight you have on a chunk, the faster your drying process will go). Spread out your diced chunks on your dehydrator trays, making sure that none of the pieces are touching. It’s for fresh produce or particularly moist vegetables that an 8 or 10 tray dehydrator, which will let you stack a lot of little pieces at a time, is really advantageous. For all the vegetables I worked with, 125° F was an appropriate and effective temperature.
Drying times varied, but I found onions, peppers, carrots, and olives the easiest and most consistent to work with. Potatoes are easy as well, especially so if you grate them and boil them for a few minutes. You will know when you are done are done by a brittle texture, in the case of most vegetables, or a leathery texture, in the case of foods in the squash family and root vegetables. Most of my trays of vegetables were done in 8-12 hours.
2. Fruit
Though I didn’t include any fruit in my meals themselves, dried fruits and fruit leathers are great to have on the trail, and especially valuable to make at home because of their high cost in the grocery store. Fruits are very simple to work with as well. It works better to slice fruit, rather than dice it. This way, it’s easier to test its pliability and recognize when it’s done drying. Your fruit slices should be dry, but you should be able to fold and twist them without ripping or snapping them. The disadvantage to dehydrating fruit is that it takes almost twice as long as vegetables, and requires a slightly higher temperature of 135° F as well. Fruit will typically take 12-18 hours to fully dehydrate. Apples, pears, bananas, peaches, nectarines, plums, and other fruits of that ilk are easy to work with.

Image courtesy of Flickr.
If you crave berries and citrus fruits among your trail snacks, making fruit leather is usually a better option. Add 2-3 Tbsp of honey and 1 Tsbp of lemon juice to 3 cups of your favorite berry or citrus fruit, then simmer on low heat until the solid fruit has broken down and combined with the other ingredients. Purée the cooked fruit until smooth, then spread on a sheet of parchment paper and dehydrate at 135° F for 6-10 hours. The result can be cut into strips and rolled up in the same piece of parchment paper or transferred to Saran wrap. These make excellent snacks and a break from the monotony of trail mix and granola bars.
3. Meat
I was surprised to learn that one could even dehydrate meat and keep it vacuum sealed and fresh in the basement for up to 6 months, but it turns out that with the right approach, you can get your delicious protein on the trail with little effort. The meats that I experimented with were chicken, sausage, ground beef, and ground turkey. A whole other series of articles can be written about dehydrating other meats and making jerky, so I’ll simply stick with meats as ingredients for meals. Unlike fruits and most vegetables, you will need to cook your meat beforehand. This is nice, however, because it allows you to infuse it with spices and sauces.
The primary criteria for selecting your cut is going to be its lean meat content. The higher the percentage of lean meat, the less fat there is. Very lean meats will dry more quickly and be less likely to spoil. As an added precaution, before cooking your meat, thoroughly spray it down with hot water and pat it with a paper towel to dry. If you want to be really safe, you can boil it as well, though that will remove more of the nutrients and flavor. After cooking it on the stovetop, spray it down with hot water a second time before drying it.
For chicken, the best method is to shred whole chicken breasts with a fork and sautée it until cooked through. Shredded chicken dries much more quickly and it’s a great way to get flavor into your pieces. Spread your chicken pieces onto your trays and dehydrate at 145° F for 6-8 hours. You will know it’s done when completely dry and brittle. You should be able to hear an audible snap when breaking the pieces. For many of my recipes, I cooked chicken on the stove in a cheese or tomato sauce and then dehydrated the mixture as a whole. More on that in the Sauces section below.

Image courtesy of Flickr.
For ground beef and ground turkey, cook over medium heat until brown and completely cooked. Drain the fat from the pan and spray down with hot water again before putting it in the dehydrator. Dry at 145° F for 6-8 hours until dry and crumbly. It might seem burnt, but it will rehydrate successfully. As with the chicken, I often cooked my ground meats in taco seasoning, tomato sauce, or added garlic salt, pepper and basil while on the stove.
For sausage, lean sausage made from turkey is great, but even pork and beef sausage can work. It will be very fatty, so be extra diligent in spraying it down or boiling it. As with other meats, cook over medium heat until brown and fully cooked through. Dehydrate at 145° F for 6-8 hours until the meat is dry and crumbly. When cooking on the stovetop, add spices at your discretion to liven it up, because it will be difficult to get spices to fully permeate your meal when rehydrating.
4. Sauces
Making delicious sauces is what will really set your meals apart from the typical Ramen and Spam combinations you’re bound to see in other hikers’ pots. Though recipes may vary, the drying techniques remain the same. Cook whatever sauce you like on your stovetop until you reach the desired texture, then transfer it to pieces of parchment paper (remember to use parchment paper, not wax paper!) on your dehydrator trays. Spread the sauce out with a rubber spatula so it reaches the edges of the paper. Err on the side of thinner layers than thicker; you should almost be able to see through it.
Dehydrate at 135° F for 4-6 hours, or until you can peel the sauce off the parchment paper and flip it over to ensure equal drying. Dry at the same temperature for another 3-4 hours or until completely dry. The sauce should peel off easily, at which point you can rip it into strips and wrap it or put it into a food processor to make a powdered sauce. This extra step takes a little bit more time, but it will spread the sauce out evenly and you won’t have to wait as long for it to break down when rehydrating.
The only limit to your sauces is your imagination. I made several tomato sauces with spices, soup mixture, cheese sauces (with milk as an ingredient that nonetheless kept for six months), salsas, and stir fry sauces.

Image courtesy of Flickr.
As I mentioned above, you can combine your sauce and meat on the stovetop for a tastier and more complete meal. I cooked shredded chicken in a tomato garlic basil sauce, dehydrated at 145° F following the procedure for sauces, and was able to break it up into manageable pieces that, when rehydrated with pasta, made a complete meal. I did the same for chicken tetrazzini in a milk and cheese sauce, and taco meat in a cumin and salsa mix. Don’t be afraid to experiment!
5. Grains
Though not something I usually had to dehydrate, the carbohydrates deserve a mention in this article because we wouldn’t make it to Katahdin without them. After all the vegetables, meat, and sauces were dehydrated and sufficiently organized, I was able to begin making meals with my grains and dried ingredients and rehdyrating them on my stovetop at home to figure out the portions of water needed and the timing. I had the most success with egg noodles, Barilla White Fiber pasta (it boils faster and doesn’t get as mushy if you put a bit too much water in, so you don’t have to worry about straining pasta or keeping it separate), and instant rice.
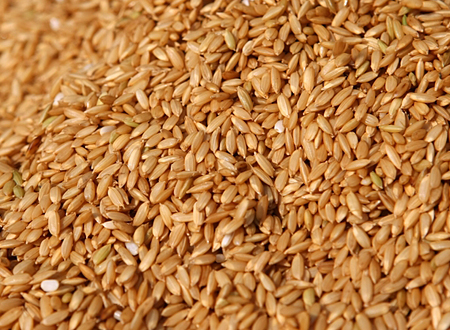
Image courtesy of Flickr.
If I’ve done my job right, you now have the equipment and the knowledge, so go forth and create meals! Stay tuned for some of my own Thru-Hike recipes, and feel free to leave recipes of your own in the comments. Happy cooking!
Dehydrating Series:
featured image via

This website contains affiliate links, which means The Trek may receive a percentage of any product or service you purchase using the links in the articles or advertisements. The buyer pays the same price as they would otherwise, and your purchase helps to support The Trek's ongoing goal to serve you quality backpacking advice and information. Thanks for your support!
To learn more, please visit the About This Site page.

Comments 5
Wiseguy,
THANK YOU SO MUCH FOR YOUR POST!! Seriously, you have so much wisdom and I learned so much! I hadn’t thought seriously about dehydrating my own food but after reading your two posts, I will for sure be spending the next six months elbow deep in onions! Okay, I have a question about rehydrating the foods on the trail, what’s your seasoned wisdom say? I really want to be light weight so I don’t like the idea of carrying gas and a stove. I think I read somewhere that if after breakfast you put your dehydrated food in a container with water it will rehydrate and “cook” throughout the day with no heat. Is this true or am I making it up? Thanks so much!! Happy Trails!
Unfortunately, having use a stove myself, I can’t really tell you if that’s true. I can’t imagine eating cold dinner every night myself, but if the weight save is worth it, more power to you!
This was AWESOME. Thank you! You have a great writing voice too.