 ">
">
So You Want to Film Your Thru-Hike? (Part I)
In December of 2010, my girlfriend and I watched National Geography’s Appalachian Trail film on Netflix. I recall pausing it halfway into the film and looking at each other with beaming eyes. A seed was most certainly planted. It wasn’t long before we were Googling “Appalachian Trail hiking”. That search lead to a million other searches about the Trail. We read and read and the seed grew. We both lived in Louisiana all our lives and had spent minimal amounts of time in the mountains, much less backpacked to any extent through them. Nevertheless, we started with dropping the idea of hiking from Georgia to Maine to our families who didn’t quite get the concept. We didn’t expect them to. I don’t know if we fully understood the concept. We just knew that we were dying for some adventure and the AT looked to be exactly that.

We decided our leave date was April 1, 2012 so we had plenty of time to prepare. Throughout our research we were sorely disappointed in most of the films that existed about the Trail at that time. Many were outdated and quite unprofessional, not that that stopped us from watching them many times. I have a background and major in film. I decided to combine them with our thru hike and that’s when the search for camera gear began.
High definition was a must. Nature films in standard definition, I feel, doesn’t have the same impact. Plus, SD is outdated. Obviously, there are a few things to keep in mind when it comes to technology, or anything “extra”, that you will be carrying on the Trail:
Weight: That’s a big one. Probably the biggest. “How much does that weigh?”, was by far the most common question I was asked about my camera set up, my backpack, and the general inquiry overheard daily between hikers. It seems DSLR’s are the current assumed way filming nowadays. And why wouldn’t they be? Incredible pictures and amazing film quality goes a long way. However, a quality DSLR is pricey. That isn’t the problem as the camera I went with was also expensive. DSLR’s require lenses that are often as heavy or heavier than the camera body itself. Not to mention how to decide how many and which lenses to tote along with you. Some of the best outdoor shooting lenses are huge and often delicate. Two things that you can’t really afford when you are carrying everything you need for 6 months. The DSLR option was ruled out. Also, I was wanted to get long zoom-ins and zoom-outs that can be difficult to pull off with a DSLR.
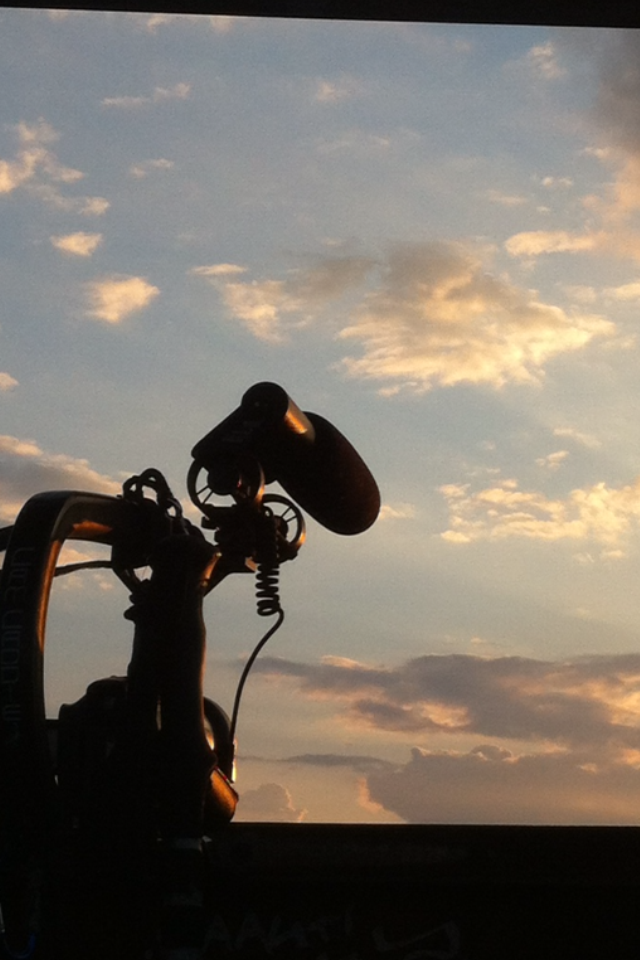
I focused my attention on smaller camcorders. They have really come a long way since the MiniDV era. After a ton of research, I knew the best thing that would work would be a higher-end consumer camcorder. A few things were necessary: small batteries, microphone input, and a small enough body that can fit with relative ease into an already full backpack. I ultimately decided on a Canon HF M41. It shot incredible video and was relatively light(14.9 ounces). It also had two SD slots and 32GB internal memory.
Batteries: Fortunately, I was able to find some good deals on batteries for this camera. I initially brought along 6 batteries. These were extended life, larger-than-normal batteries. I sent two of those home in Haiwassee(within the first 2 weeks). I didn’t want to be left without power. Each battery offered about 2 hours of life using the LCD screen. There were stretches of the Trail that we were unsure when the next power source was going to be. The longest stretch, The 100-Mile Wilderness, was the only time that I used all 4 batteries. Typically, I’d use 2 or 3 of them and have the 4th as back up. Note: in cold weather, they died much faster.
Media: I purchased six 64GB SDXC cards. They were not cheap. Each one was able to record about 8 hours of footage. I purchased a 2TB external hard drive and sent it to my brother who was responsible for dumping the footage and sending the cards back to me. This was quite a terrifying issue at times. I saw the USPS fall short many times along the hike by losing packages or just the contents of the package of fellow hikers’ belongings or food drops. There was one in particular scare right after the Smokies where the cards took nearly two weeks to arrive to my brother. That was a very long two weeks. I thought for sure the footage was gone which would have compromised an important section of Trail. In the end, USPS came through for us with flying colors. Note: We also had close to 50 pre-packaged parcels that we had mailed to us along the way. Also, always get tracking.
Keeping it Charged: This proved to be a challenge. There are a lot of options in this area. Nowadays there’s far more USB battery packs and solar power options. They had some in 2012 but not as many. I didn’t want to carry the large cord that comes with the camera to charge it. Instead, I found a charger that, to the best of my knowledge, no long exists. I lucked out. It was an external charger that could be plugged into the wall and was also powered via USB. This was beneficial because I did carry three solar charging USB battery packs. I only had to use them one time in Maine for the camcorder batteries because I carried so many. However, they came in quite handy for cell phones, MP3 player, and our small point-and-shoot Sony CyberCam camera. In addition, I opted to carry a small surge protector. I know what you are thinking, but hear me out. It was a one-outlet to three outlet and two USB inputs. People often thought I was crazy for carrying it. I kind of was. But, boy, did it come in handy when there was only one outlet available. I didn’t just have the camera to charge either. I won’t go very deep into it, but we had an action camera strapped to our dog’s backpack too. Instead of a leash(which we carried one), our dog was offered more freedom via a shock collar(which also has a vibrate function and was used far more than the shock feature). So, when we got to an outlet, we had two phones, three USB solar battery packs, a shock collar, point-and-shoot camera, the dog’s camera, and my camcorder to charge. Yes, we carried a lot of cords. The surge protector certainly came in handy and was worth the weight. Not to mention how handy it was somewhere like Fontana Dam that only had one outlet available to an uncertain number of hikers. From one plug to five plugs helped significantly.
One more thing about keeping stuff charged. We stayed at hotels and hostels a substantial amount. I’d say more than most hikers but not as much as ones with a ton of money to spend. This was financially tough, though the bed rest was welcome. It also proved to be difficult with a dog to find a hotel/cheap hotel but that’s another article altogether. Nevertheless, we needed to keep our stuff charged. What’s the point of carrying a dead camera?
 Upper left, middle left, middle right. That was things we had to keep charged.
Be sure to stay tuned for part 2 of this series, which will cover audio, accessibility, rain protection, and more. Subscribe to our Facebook page and/or the Appalachian Trials newsletter to be the first to get the next installment.

This website contains affiliate links, which means The Trek may receive a percentage of any product or service you purchase using the links in the articles or advertisements. The buyer pays the same price as they would otherwise, and your purchase helps to support The Trek's ongoing goal to serve you quality backpacking advice and information. Thanks for your support!
To learn more, please visit the About This Site page.
