 ">
">
Modifying your Gear List for High Routes and Off Trail Hikes
Many thru-hikers find themselves financially depleted after tackling a six-month long trail and are relegated back to a desk job with only two or three weeks of vacation a year to scratch the itch for adventure. While you could take on a shorter trail and happily cruise along, some might find themselves wanting something harder, more engaging, and outright wild to spend their PTO on.
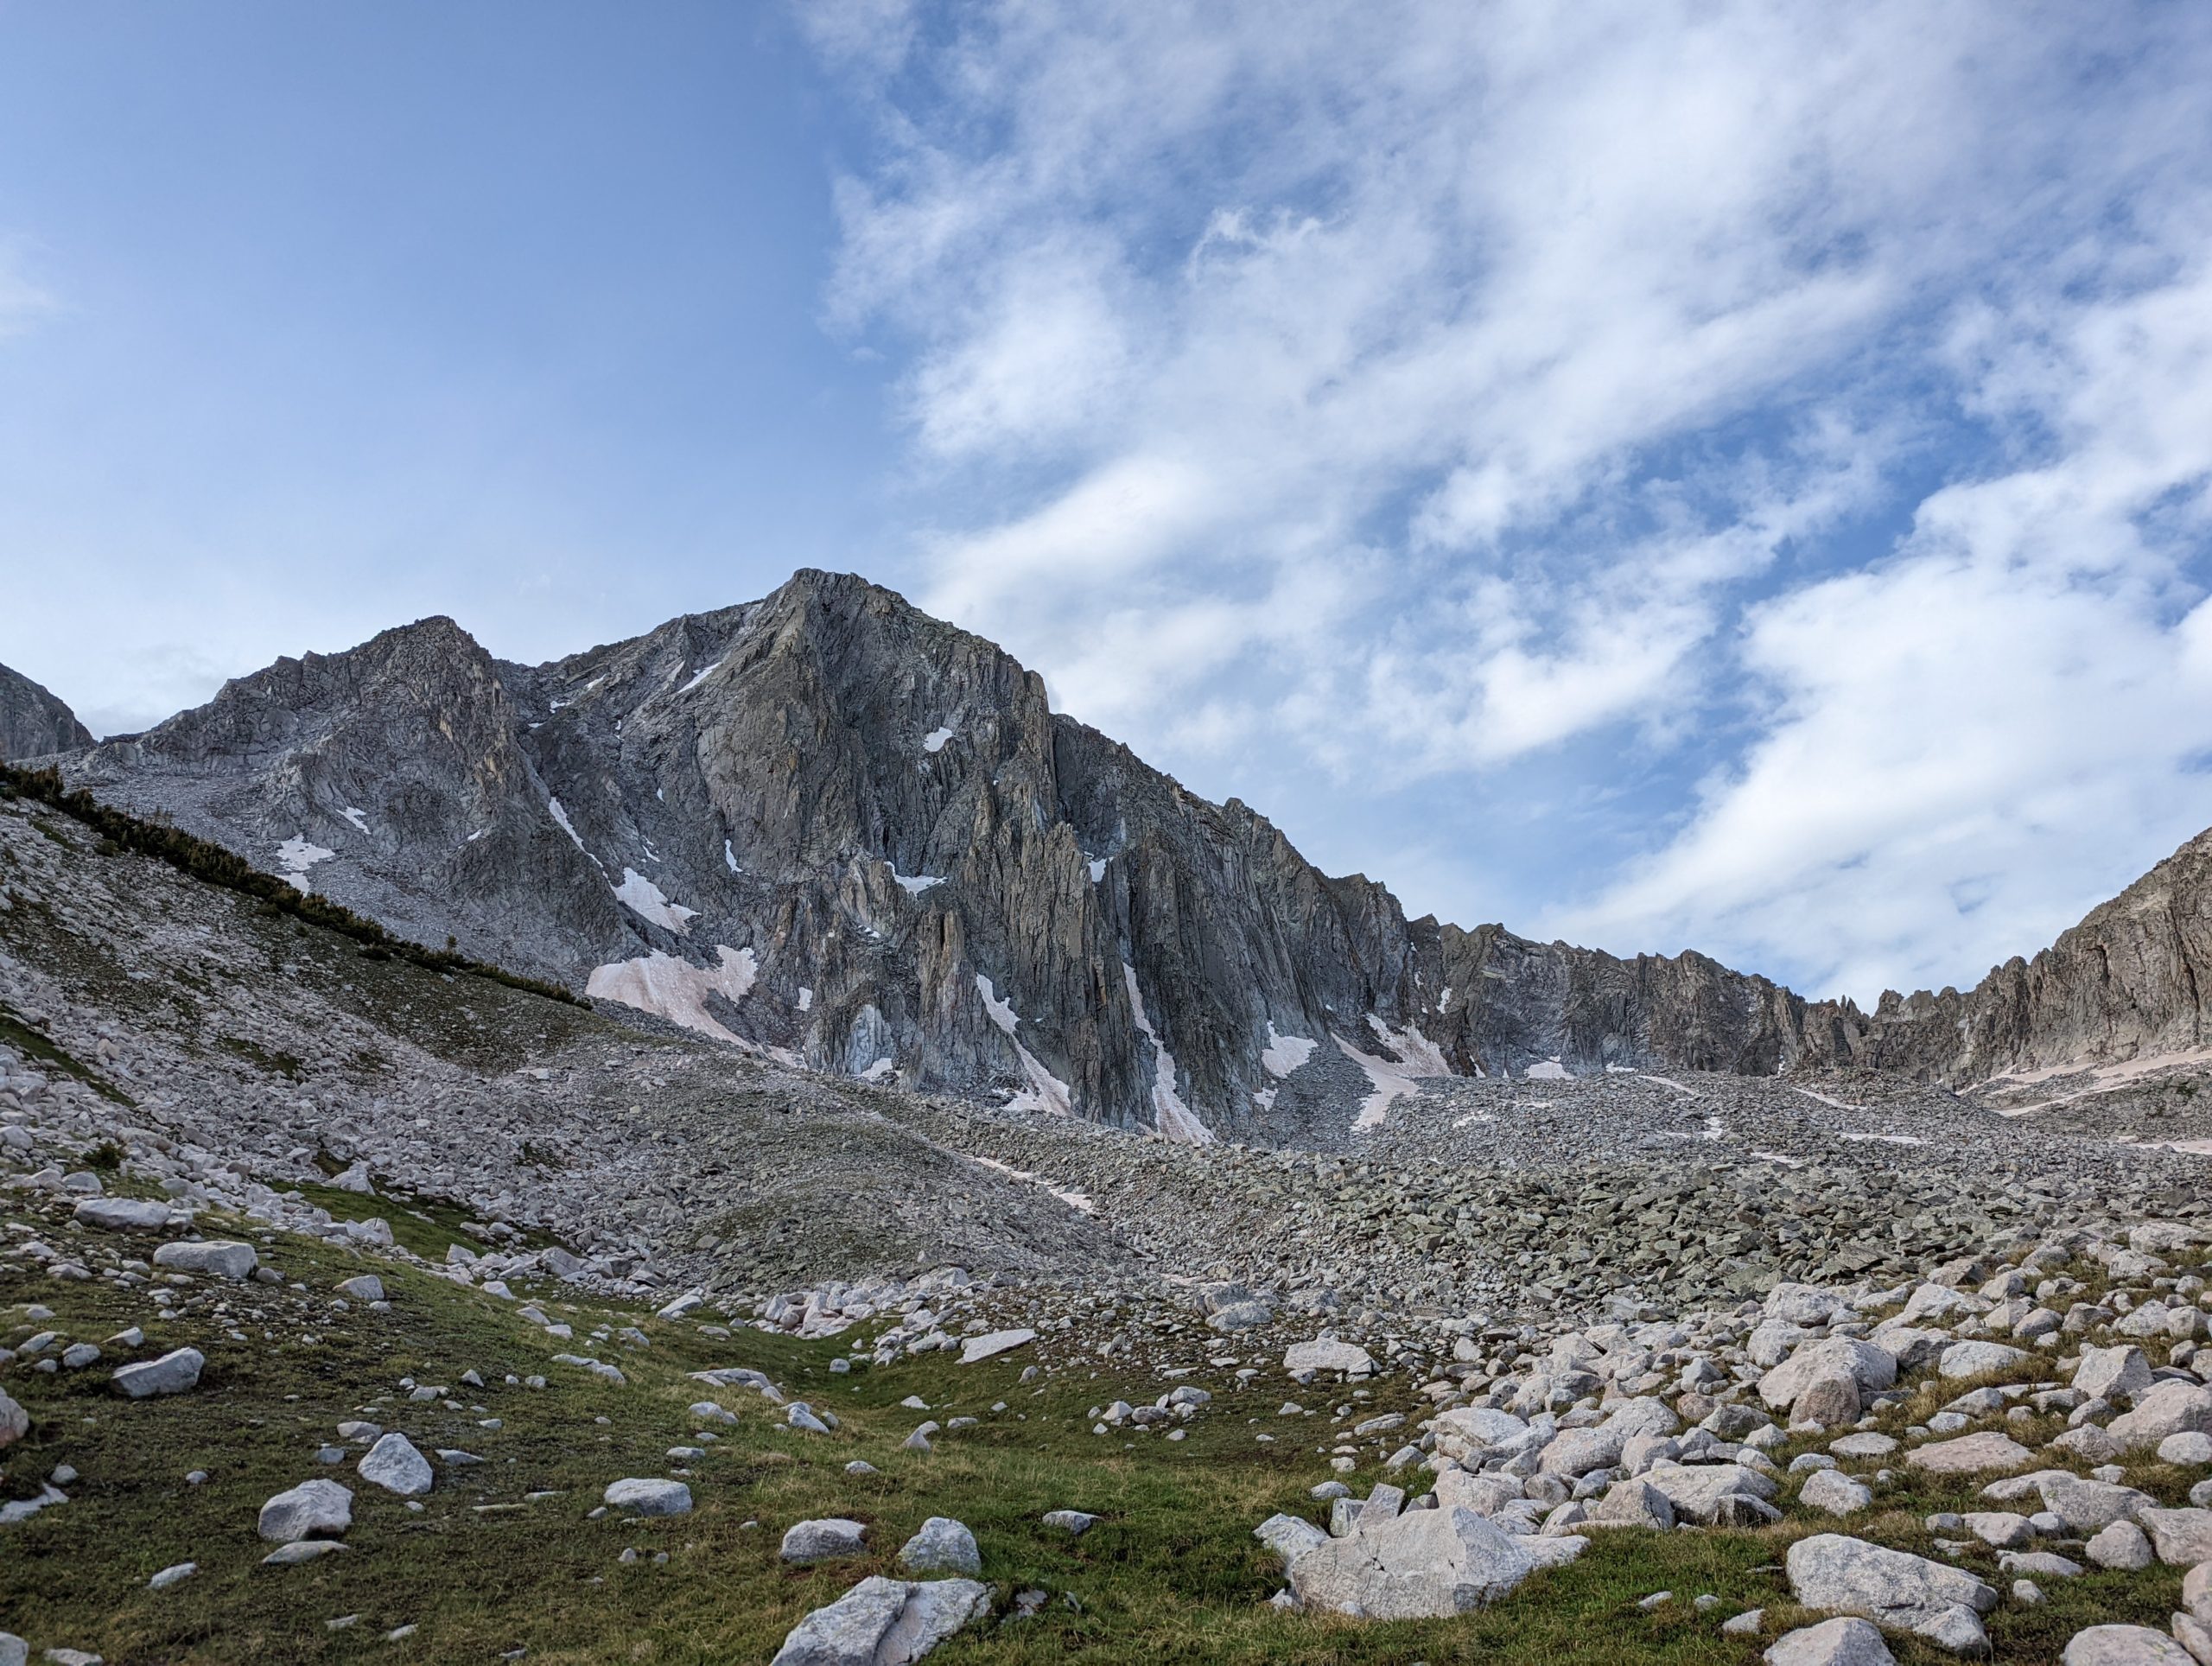
High routes and off trail hiking are appealing in their sense of adventure and solitude, and they provide great bang for your buck on time used. However, they do require more skills, better planning, and, to some extent, different gear.
Why Your Gear List Needs to Change for Off Trail Hikes
If you’ve already pounded the dirt for thousands of miles on a Triple Crown trail, you might think you’ve narrowed down a perfect thru-hiker pack that can take you anywhere. Off trail routes pose different challenges than a typical on-trail hike, however, and a few gear adjustments have to be made. Most of these adjustments are a consequence of steeper terrain, uneven surfaces, environmental exposure, and increased navigational needs (FarOut won’t give you the step-by-step guide here).
Most items on your gear list probably won’t need to change for an off trail hike. If I haven’t mentioned it specifically in the list below, your standard gear will likely work just fine. For instance, you can probably stick with your standard Big Three, although you may want to upgrade to lighter-weight alternatives to compensate for the difficulty and longer-than-average food carries that accompany most high routes. The key is to balance weight savings with durability, as the terrain may be unforgiving of fragile ultralight materials.
READ NEXT – The Ultralight Backpacking Gear List
Quick Navigation
Footwear
Wind and Weather Gear
Sun Protection
Backpacks
Navigation
Modifying Your Gear List for an Off Trail Hike
Footwear
While Altras and other soft, wide shoes reign supreme in the thru-hiking world, most models aren’t prime for the technical terrain found on many routes. The extra width decreases lateral stability (rolling and sliding side to side), the untextured foam-like outsoles slip easily, and the uppers shred on jagged talus fields. Shoes in this category also often lack features like a stiff sole, toe guards for kick protection, or strong lace points to keep your shoes on tight.
Fit: When picking a shoe, fit is always the most important factor. Know your foot shape (length, width at forefoot, heel/midfoot volume, etc.), and try on as many pairs as possible. Off trail shoes should fit a little tighter than an on-trail shoe, but you shouldn’t be banging your toes or be squeezed so tight you get blisters.
Outsole: Check what type of rubber your shoe uses. Many running shoe brands use squishy, thick soles since their target audience is road and trail runners that need the cushion but not the grip. Brands that use Vibram soles or also produce climbing shoes (Scarpa, La Sportiva, Five Ten) are more likely to have a sticky, rugged outsole. Sticky rubber helps you climb steep terrain, especially rock and wet vegetation, at a trade-off for long-term durability.
Non-waterproof footwear is the way to go for breathability and quick drainage. A stiff shoe, while uncomfortable for some, helps you stand on small edges and will make your foot less tired in the “steep uphill, heel off the ground” position.
Off Trail Footwear Recommendations

One pair of Bushido IIs (left) and 2.5 pairs of Ultra Raptors. While the soles of the Ultra Raptors wore out, the uppers were in incredible shape.
La Sportiva Ultra Raptor ($155 MSRP)
This is my personal choice. I’ve worn through four pairs of the original Ultra Raptor and have six more in my closet. I’m currently trying Version II, which is very similar with minor differences in the laces, the inner material/ bulk of the heel cup, and a different mesh in the uppers.
Despite having the stickiest rubber La Sportiva puts on a running shoe (the “white” mix), I have averaged an exceptional 1000 miles per pair. These run on the low side of normal volume (the sides of my toes just barely squeeze side-to-side) but don’t give me blisters. A wide version (wider and taller toe box) is available in a waterproof/GTX version in the US, while Europe currently has sole distribution of the wide/non-waterproof models.
La Sportiva Mutant ($155 MSRP)
These are La Sportiva’s widest off trail-worthy shoes. They might be a good step for an experienced thru-hiker who has already flattened their foot into a pancake. They sport an ultra sticky (but low durability) rubber that should breeze up steep talus fields. The uppers on this shoe are not as much of a porous mesh as most trail runners, meaning they will keep out sand and dirt better than most at the expense of breathability.
Salomon XA Pro 3D V8 ($130; also available in wide)
I used an older version of this shoe many years ago when I first started tackling harder terrain, and it doesn’t look like much has changed. They are a little heavier, and the sole is excessively thick, but the deep tread pattern felt good in wet and muddy conditions compared to most shoes I have worn. A specific wide model is available as well to help dial a good fit.
Wind and Weather Gear

Most high routes target high ridges, peaks, and alpine basins. This terrain comes with great views but leaves you more exposed to weather and sun. While you certainly don’t want to be caught above treeline in a lightning storm, you still have to be prepared for the possibility.
Your gear is also much more likely to come into contact with abrasive rocks or bushwhack through branches that will tear paper-thin gear to shreds. When hiking off trail, you’ll want more durable, full-protection rain gear (i.e., not Frogg Toggs). Wind-specific layers are also a good choice for ridge walks where it’s blowing 30mph but it’s still hot and sunny.
Off Trail Wind and Weather Gear Recommendations
Arc’teryx Beta LT Men’s | Women’s ($400, wait for a coupon at REI)
This waterproof breathable rain jacket is more durable than your standard thru-hiker pick, with a 40-denier (abrasion resistance) face fabric, pit zips, and high-quality construction. Compare to the 7-denier Zpacks Vertice or the notoriously not-completely-waterproof OR Helium jacket, the extra weight of this jacket is probably worthwhile to keep you dry during blowing rainstorms or pushing through dense brush.
Montbell Tachyon wind jacket and pants ($140 and $130, respectively)
While these layers are made of thin 7-denier fabric, wind layers are most effective above treeline, where they aren’t likely to snag on some brambly bush you just had to tackle. So long as you aren’t trying to glissade down a snowfield, you should be fine for alpine cruising in these extremely lightweight layers (the jacket is just 2.5oz, or about the weight of a snack bar).
Defending Against the Alpine Sun
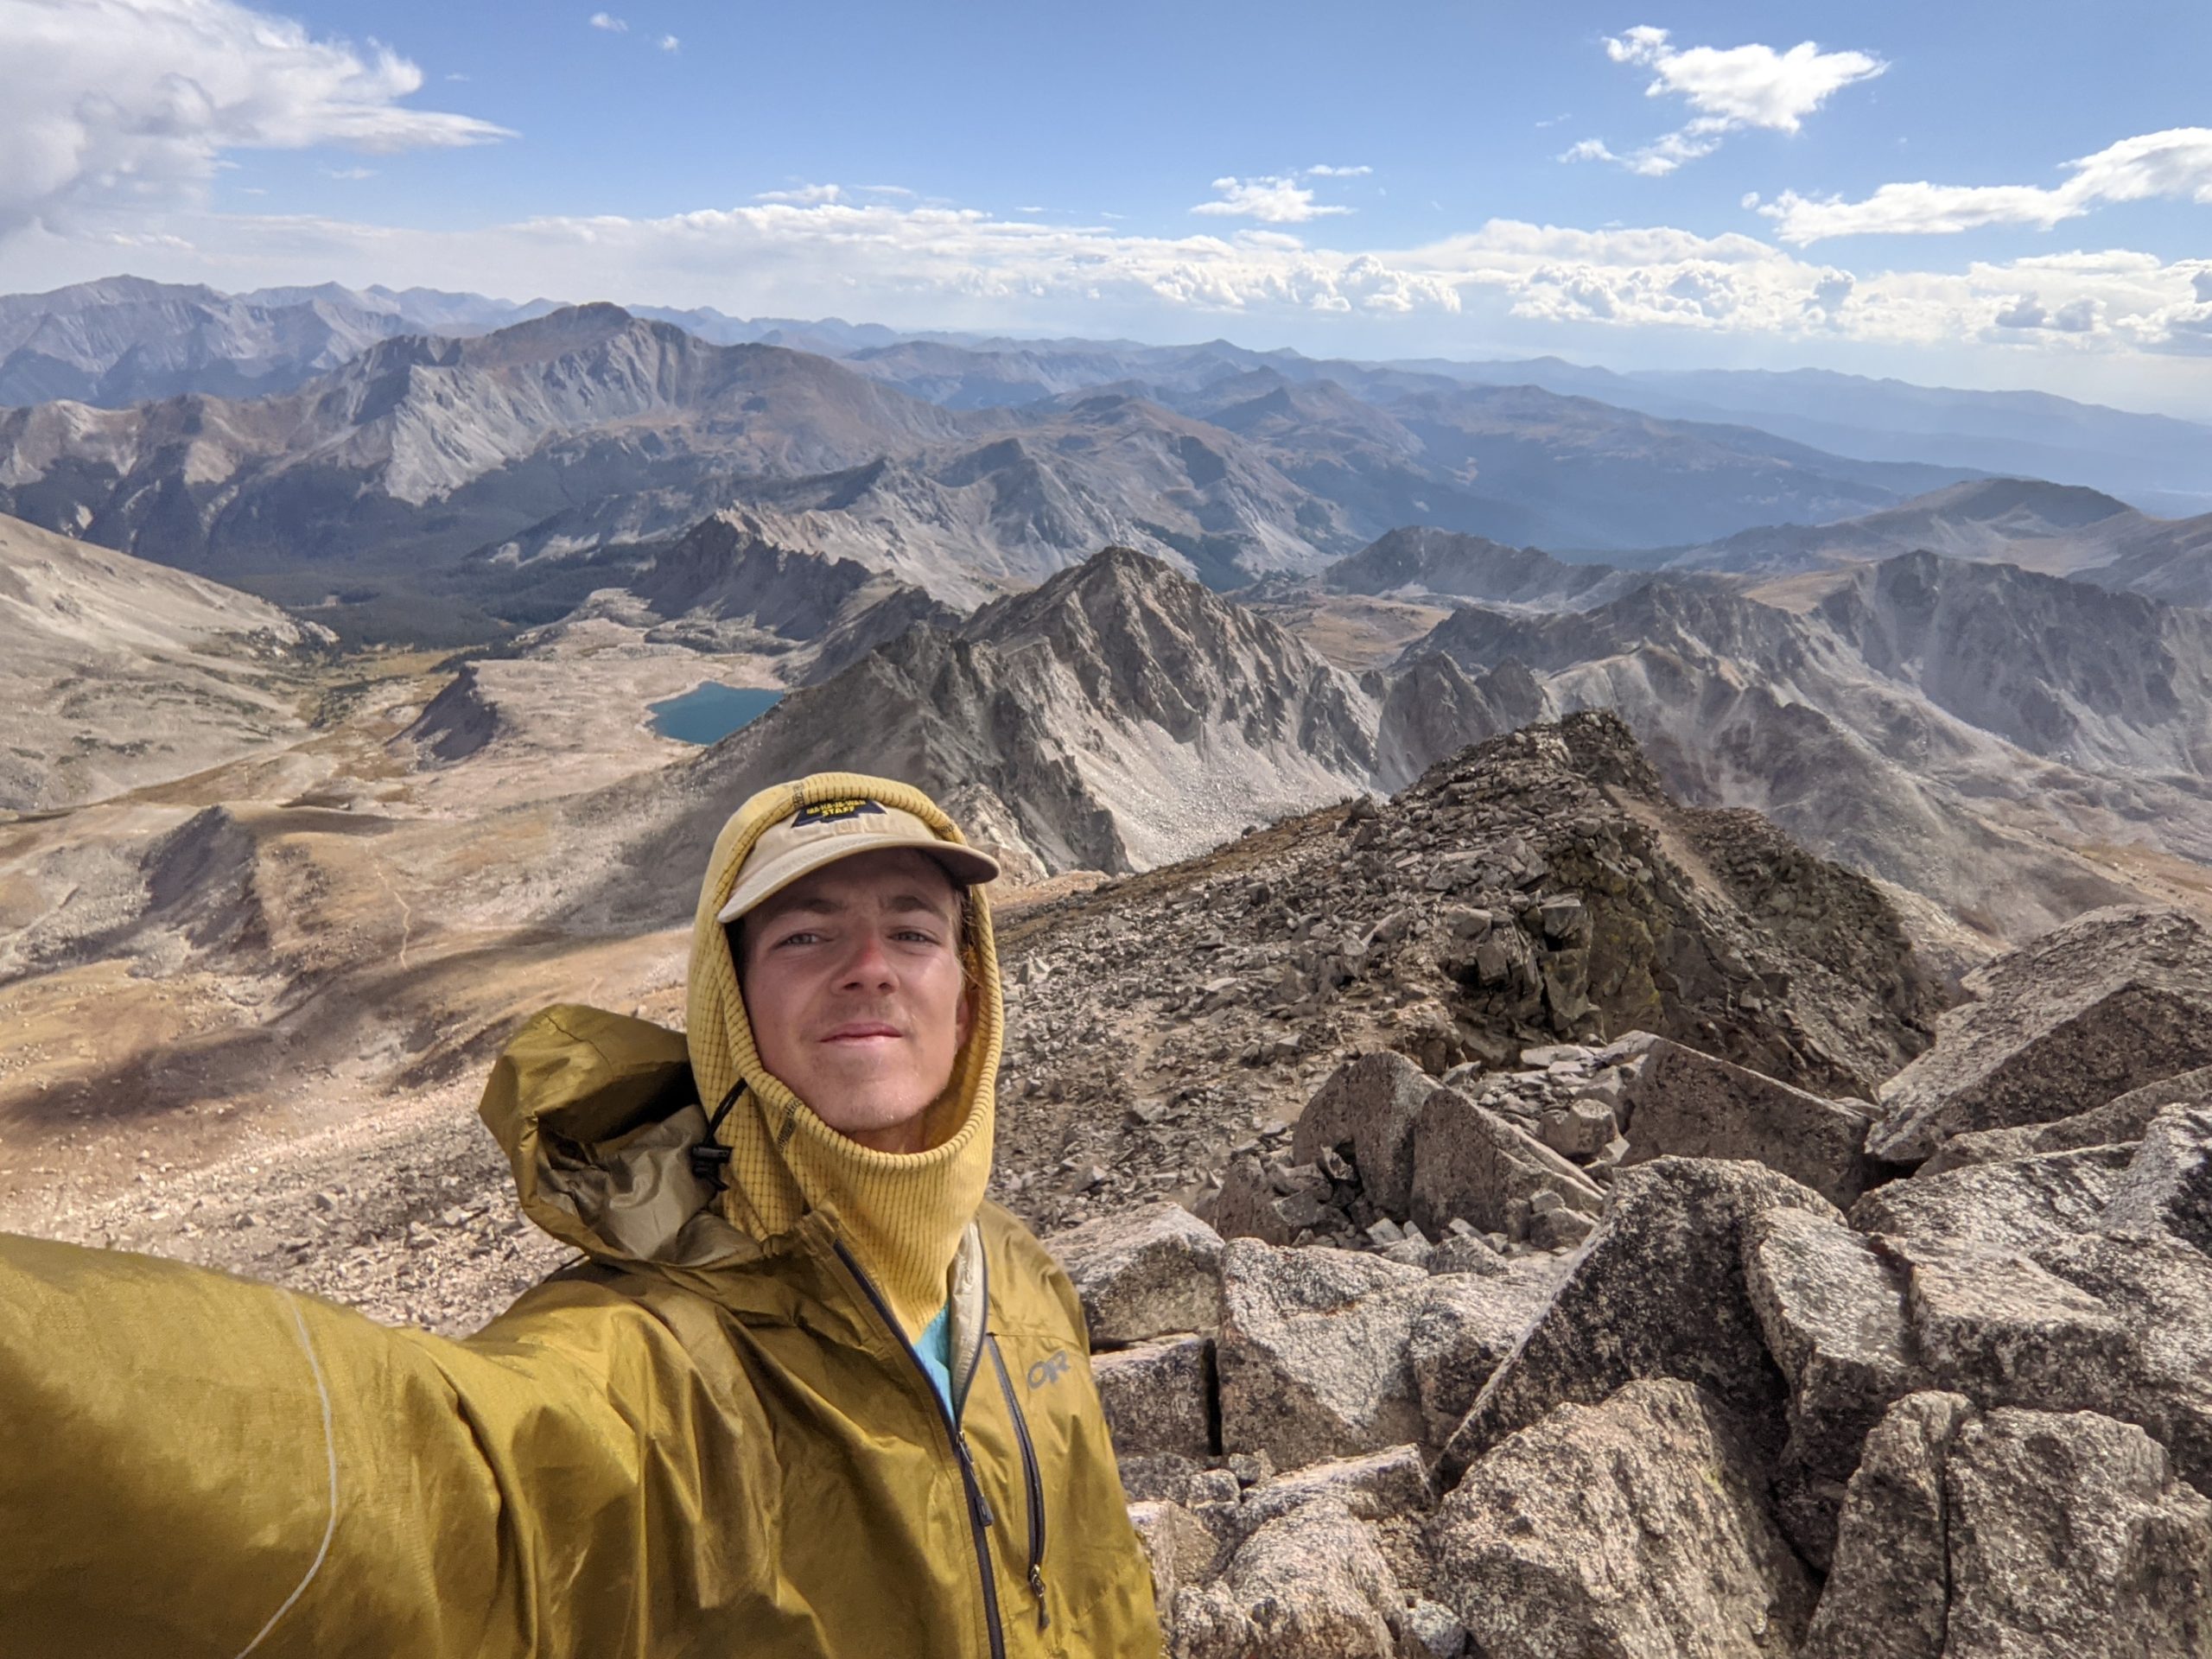
The sun is significantly stronger at elevation, with some studies saying you might get more than twice as much radiation on a 14er than on the low parts of the Appalachian Trail, meaning you can burn in as little as six minutes and do much more damage over the course of the day. Umbrellas are poorly suited to high routes, which typically entail bushwacking, scrambling, and a high degree of wind exposure.
READ NEXT – How to Pick a Sun Hoodie for Your Next Hike
Off Trail Sun Protection Recommendations
Patagonia Capilene Cool Daily Hooded Shirt Men’s | Women’s ($38.50)
A full-coverage sun shirt is your best bet against the sun, preventing UV from getting to your skin in the first place. The hood covers the often forgotten back of the neck, and the lightweight fabric keeps you as cool as possible for a long sleeve shirt on a summer’s day.
READ NEXT – Patagonia Capilene Cool Daily Sun Hoodie Review
Julbo Vermont Sunglasses ($150)
If you’ve never seen a picture of sunburned eyeballs, do yourself a favor and DON’T google it, just take my word that it’s disgusting. A dark, UV-protective pair of glasses is essential to high-altitude hiking, and this pair has lenses with as little as 7% visible light transmission while providing full-sided protection from glare and internal reflections.
Dark wrap-around sport sunglasses also work. Make sure to pick a reputable brand that publishes its UV and visible light transmission rates.
Neutrogena Beach Defense Sunscreen Stick SPF 50+ ($9)
While I prefer to wear long sleeves to cover most of my skin, some areas are hard to layer, like the back of the hands or the face. While my favorite 70 SPF sunscreen stick has been discontinued, this looks like its closest successor. I prefer the stick format because I don’t have to get my hands greasy for grabbing rocks and hiking poles, and I don’t mix the hiker filth from my hands and spread it all over my body.
Backpacks

When there is no trail to follow, the chances that you have to butt-scootch off a short boulder face is pretty significant. You’ll also likely be taking breaks in sub-optimal places like talus fields or amid pointy vegetation. Both of these can be pretty hard on packs, especially the bottom panel that gets dragged the most on steep descents.
Most popular UL packs use fabrics with mediocre abrasion resistance in order to save weight. Possibly the biggest innovation in pack materials since DCF got popularized over a decade ago is Ultra fabrics, which are much more abrasion resistant than typical UL pack materials while still being waterproof when new.
Compared to packs made with traditional nylon or gridstop fabrics, this will come at a modest weight penalty of 1-2oz per pack, but compared to Hyperlite and other Dyneema packs, you might actually come out ahead. 200D Ultra is the same weight as 50D DCH (Dyneema Composite Hybrid), and 400D Ultra actually weighs 7% less than 150D DCH. This means you could get 2.6 to eight times the strength without sacrificing your base weight at all!
READ NEXT – Ecopak: Revolutionizing Thru-Hiking Packs for a Better Planet
Off Trail Backpack Recommendations
Superior Wilderness Designs Rugged Long Haul ($345)
This has become my go-to pack for long food/water carries and areas that require bear cans. It is an internal frame pack that uses 400D Ultra fabric throughout, making it tough as nails while being lighter on average than the popular HMG Southwest. It has a frame that extends past the shoulders with load lifters, many options for straps and hip belts, and a removable frame for when you have a lighter load and don’t need the support.
READ NEXT – Superior Wilderness Designs Long Haul 40 Review
Mountain Laurel Designs Exodus in Ecopak Ultra ($325)
This frameless pack is fast and light at 18oz for 55 liters of storage while still being up to the task of off trail scrambling with a mix of 200D and 400D Ultra fabrics. If you fill a 55-liter frameless pack to the top, it probably won’t be very comfortable, but the flexibility of being able to pack more food/water when you don’t have a choice is worth the .5oz penalty over its little brother, the Prophet. As with most MLD products, the build quality is through the roof, and the shoulder straps are absurdly comfortable for how light they are.
LiteAF Ultra 30L Curve ($235)
If you already have a super dialed ultralight setup but need a slightly stronger pack, this offering from LiteAF might be a fantastic option. At only 30L of internal volume, you’ll need to keep your luxury items to a minimum and carefully consider your food bag. One unique thing about LiteAF is that they will print colors onto most fabrics, including ultra, meaning you can earn style points most hikers only dream of.
Navigation & Planning

FarOut won’t help you here.
Most hikers are familiar with guidebooks or “guide” style GPS apps like Guthook/FarOut or AllTrails, which are great for providing in-depth info on established trails already loaded into their database. When it comes to planning your own route, these apps fall flat.
Map navigation and route planning are skills that no item in your pack can completely replace. If you are a beginner in navigation, a course like Andrew Skurka’s Plan Like A Pro ($175) is a great way to get a comprehensive education in the subject, tailored to off trail and high route backpacking. It includes live communication with an instructor and discounts to your favorite gear companies, something a Youtube video won’t provide. If you want to go the “free-ninety-nine” route, there are plenty of good videos on the subject available.
Route Planning Tools
In the planning phase, you’ll want a feature-rich GPS map service, preferably with both a web and a phone app. These services generally provide multiple map layers and overlays, a 3D topographic model to provide elevation data, and route planning tools such as snap-to-track routes and terrain analysis.
While you may be able to find high-detail GPX tracks of a route you are planning to attempt, it’s best to go through and rebuild the route yourself in one of these services. This will familiarize you with the terrain and help you spot potential alternate routes (critical if you aren’t able to scout out a route before attempting a full thru).
Recommendations
Gaia GPS ($40/year, less with new account incentives)
Gaia was a long-time staple for me because of its solid map set and route-building tools while retaining a user-friendly interface. I’ve even got my mom to use it for her day hiking! A killer map layer they have exclusive access to is the NatGeo Trails Illustrated series, which are easy to read and provide better contextual information than most national mapsets.
On the downside, GIS and map nerds will find their data organization a bit lacking, and the route editing tools are still a bit behind the competition. They were also recently bought out by Outside, and bug reports have been on the rise as their engineering and support staff was cut back.
CalTopo ($20 or $50/year, depending on subscription level)
Caltopo is like the 202-level GPS map. While their user interface isn’t quite as intuitive to navigate as the competition, they more than make up for it with their extremely advanced feature set. They excel at editing existing tracks/routes, analyzing terrain, and customizing graphics.
They also provide an excellent tool for printing physical maps in sets at specific sizes and scales and partner with an online printing company to make getting large copies a breeze. As I get more into creating my own routes or linking together long trips, CalTopo has become an almost daily tool for me.
OnX Backcountry ($30/year):
First popularized in the hunting and offroad world, OnX has recently released a hiking and winter sports-specific version of their app called OnX Backcountry. Their original claim to fame is their extremely up-to-date property ownership map overlay, useful for hunters trying to stay on public lands but also off trail hikers from wandering where they don’t belong.
I have little experience with this app, but they seem to be focusing on a data-driven approach similar to AllTrails while still providing full-service map and navigation tools.

Paper Maps
Paper maps have faded in popularity on the Triple Crown trails as high-detail guide apps like Guthook/FarOut have become popularized and trail signage has improved. Not only are the comforts of these things not available off trail, but you also probably won’t cross paths with another hiker to point you in the right direction if you break your phone or run out of juice.
Recently, while hiking the Pfiffner Traverse, I accidentally left my phone charging cable in the car, meaning I had just one phone battery to last me six days. Luckily I had printed paper maps as a backup (albeit without a compass) which really saved my buns. I ended up only using the CalTopo app to triple-check my location below treeline and did the rest of my navigation with the maps (or, more honestly, by memory from planning and rebuilding the route in CalTopo the week before).
Paper Map Recommendations
Printing maps is best done on 11 x 17 paper. Some home printers can handle this (if your letter-sized (8.5×11) paper loads sideways, that’s a good sign), but otherwise, your local print shop can usually handle this format, as well as chains like FedEx Office (formerly Kinko’s) or an online printing company. If you want to be sneaky, many office print stations can load this paper too, or a university print center.
To protect your maps from water, consider water-resistant paper, or put your maps in a gallon-sized ziplock (perfect for holding an 11×17 folded in half).
Compasses
The level of compass you need depends on how advanced you want to get with navigation, but a simple model will be fine for most people.
Compass Recommendations
Suunto A-10 ($27)
This model from Suunto is straightforward, reasonably light, and the price is right for a name-brand compass.
Suunto Clipper L-B NH Compass ($23)
This micro-sized compass won’t do much besides tell you which way is north and get a basic declination off of it, but it weighs ~0.2oz and will fit in even the most useless athletic wear mini pocket. Its lack of features means it’s best suited for experienced off trail navigators who can easily match paper map topography to features, accurately use dead reckoning, and who are otherwise in obvious terrain.
Electronics and PLBs
Most arguments to forego power banks and personal locator beacons (PLBs) are based on the social safety net of being on well-traveled trails, the relatively low risk of injury, and the ability to frequently recharge in town.
All this goes out the window once you step off trail. It’s worth re-evaluating this gear category on a high route, where rock stability and exposure are not guaranteed, and you could get very badly injured without anyone around to help you. If you choose not to use paper maps, you will be looking at your phone far more often than on a standard long trail and will quickly diminish your battery.
READ NEXT – What Actually Happens When You Hit the SOS Button on Your GPS Device
Off Trail Electronics Recommendations
Garmin inReach Mini 2 ($400)
The inReach Mini 2 is a fantastic PLB at only 3.4oz that has standard SOS features and two-way communication. While you can’t fully navigate with it (there are no maps or tracks), it does provide a backup compass feature and can identify your latitude and longitude. The new version has improved battery life, especially in tracking mode, that will keep you adventuring longer without a recharge.

Dropped off a cliff and eaten by a deer, it still works (although it is no longer waterproof).
Nitecore NB10000 Gen2 battery bank ($59.95)
While 60 bucks is a little silly for a mid-sized battery, this unit boasts the highest weight-to-capacity of anything on the market while having some water resistance. The Gen2 also attempts to fix common complaints against the first version, such as loose USB-C ports and hard-to-read capacity indicators.
If you need more capacity for longer trips or rocking out while walking, it’s actually more efficient to get two NB10000s (and two chargers/cables, if you have limited time in town) than one large capacity battery because of the way they are wired and ported.
Conclusion
If you are looking to up the difficulty level of your backpacking, you’ll have to up the level of planning and packing you do as well. There is no packing list that covers every circumstance, so taking a good look at what goes in your bag before your first off trail hiking trip is critical.
Featured image: Photo by GPS; graphic design by Chris Helm (@chris.helm).

This website contains affiliate links, which means The Trek may receive a percentage of any product or service you purchase using the links in the articles or advertisements. The buyer pays the same price as they would otherwise, and your purchase helps to support The Trek's ongoing goal to serve you quality backpacking advice and information. Thanks for your support!
To learn more, please visit the About This Site page.
