 ">
">
Hammock Shakedown II: The Final Shakedown (maybe)
Cue music. Pinhoti trail hiking and hammock camping were the recipe for this shakedown.
Planning Information
As I set out planning this shakedown hike I had a few requirements. The first of which was that the trial was a loop so I could go alone. Also, that the location had an area that I would be sure to have a spot to hang my hammock for shakedown and research purposes. As I set out on my search the Pinhoti trail came up in my google search so I decided to check it out. I had planned on hiking some of the trail before but gave up just to frustration for finding information. Luckily, this time I finally found a map that didn’t look like someone had just drawn it on the back of a napkin. The hike I settled on was a 16.7 mile loop that included the Pinhoti, the Chinnabee, and the skyway trail in the South Cheaha wilderness in the central Alabama area.
Link to the trail beta. It was good in some places and questionable in others. I enjoyed it for the majority of the way points it called out correctly.
Link to the trail map. Forest Service map showing trail intersections, major points of interest and parking areas.
With all this information in hand I shoved all my gear in my backpack and headed out to Adams trailhead.
Day 1: Adams Trailhead:

I left off from Adams trail head and took the Pinhoti (PT) trail east. This portion of the PT is not too bad in some parts, but in others are hiking literally on top of rocks up the side of a mountain in a rock garden. This section of the trail was probably my favorite in terms of difficulty. I took a few pictures of the “trail” in the rock garden. My favorite is below.

Even though the PT trail is tough in some places it is well marked. As I progressed east at about 6 miles in you reach the first intersection in the trail to get on the Chinnabee trial(CT). The intersection is clearly marked, however the CT trail is not well marked. There were pink ribbons tied on select trees, which helped a little, but I would have expected some kind of blaze. This trail was moderate difficulty and passed several nice campsites suitable for tents or hammocks. This trail also passes through Turniseed Hunters camp which was a developed camping area with a privy. The camping area was closed for the winter but looked like a great location. Continuing on this trail you will eventually make your way to Cheaha Falls which as you can tell from the picture below is a pretty great view.

Night 1: Cheaha Falls Camping
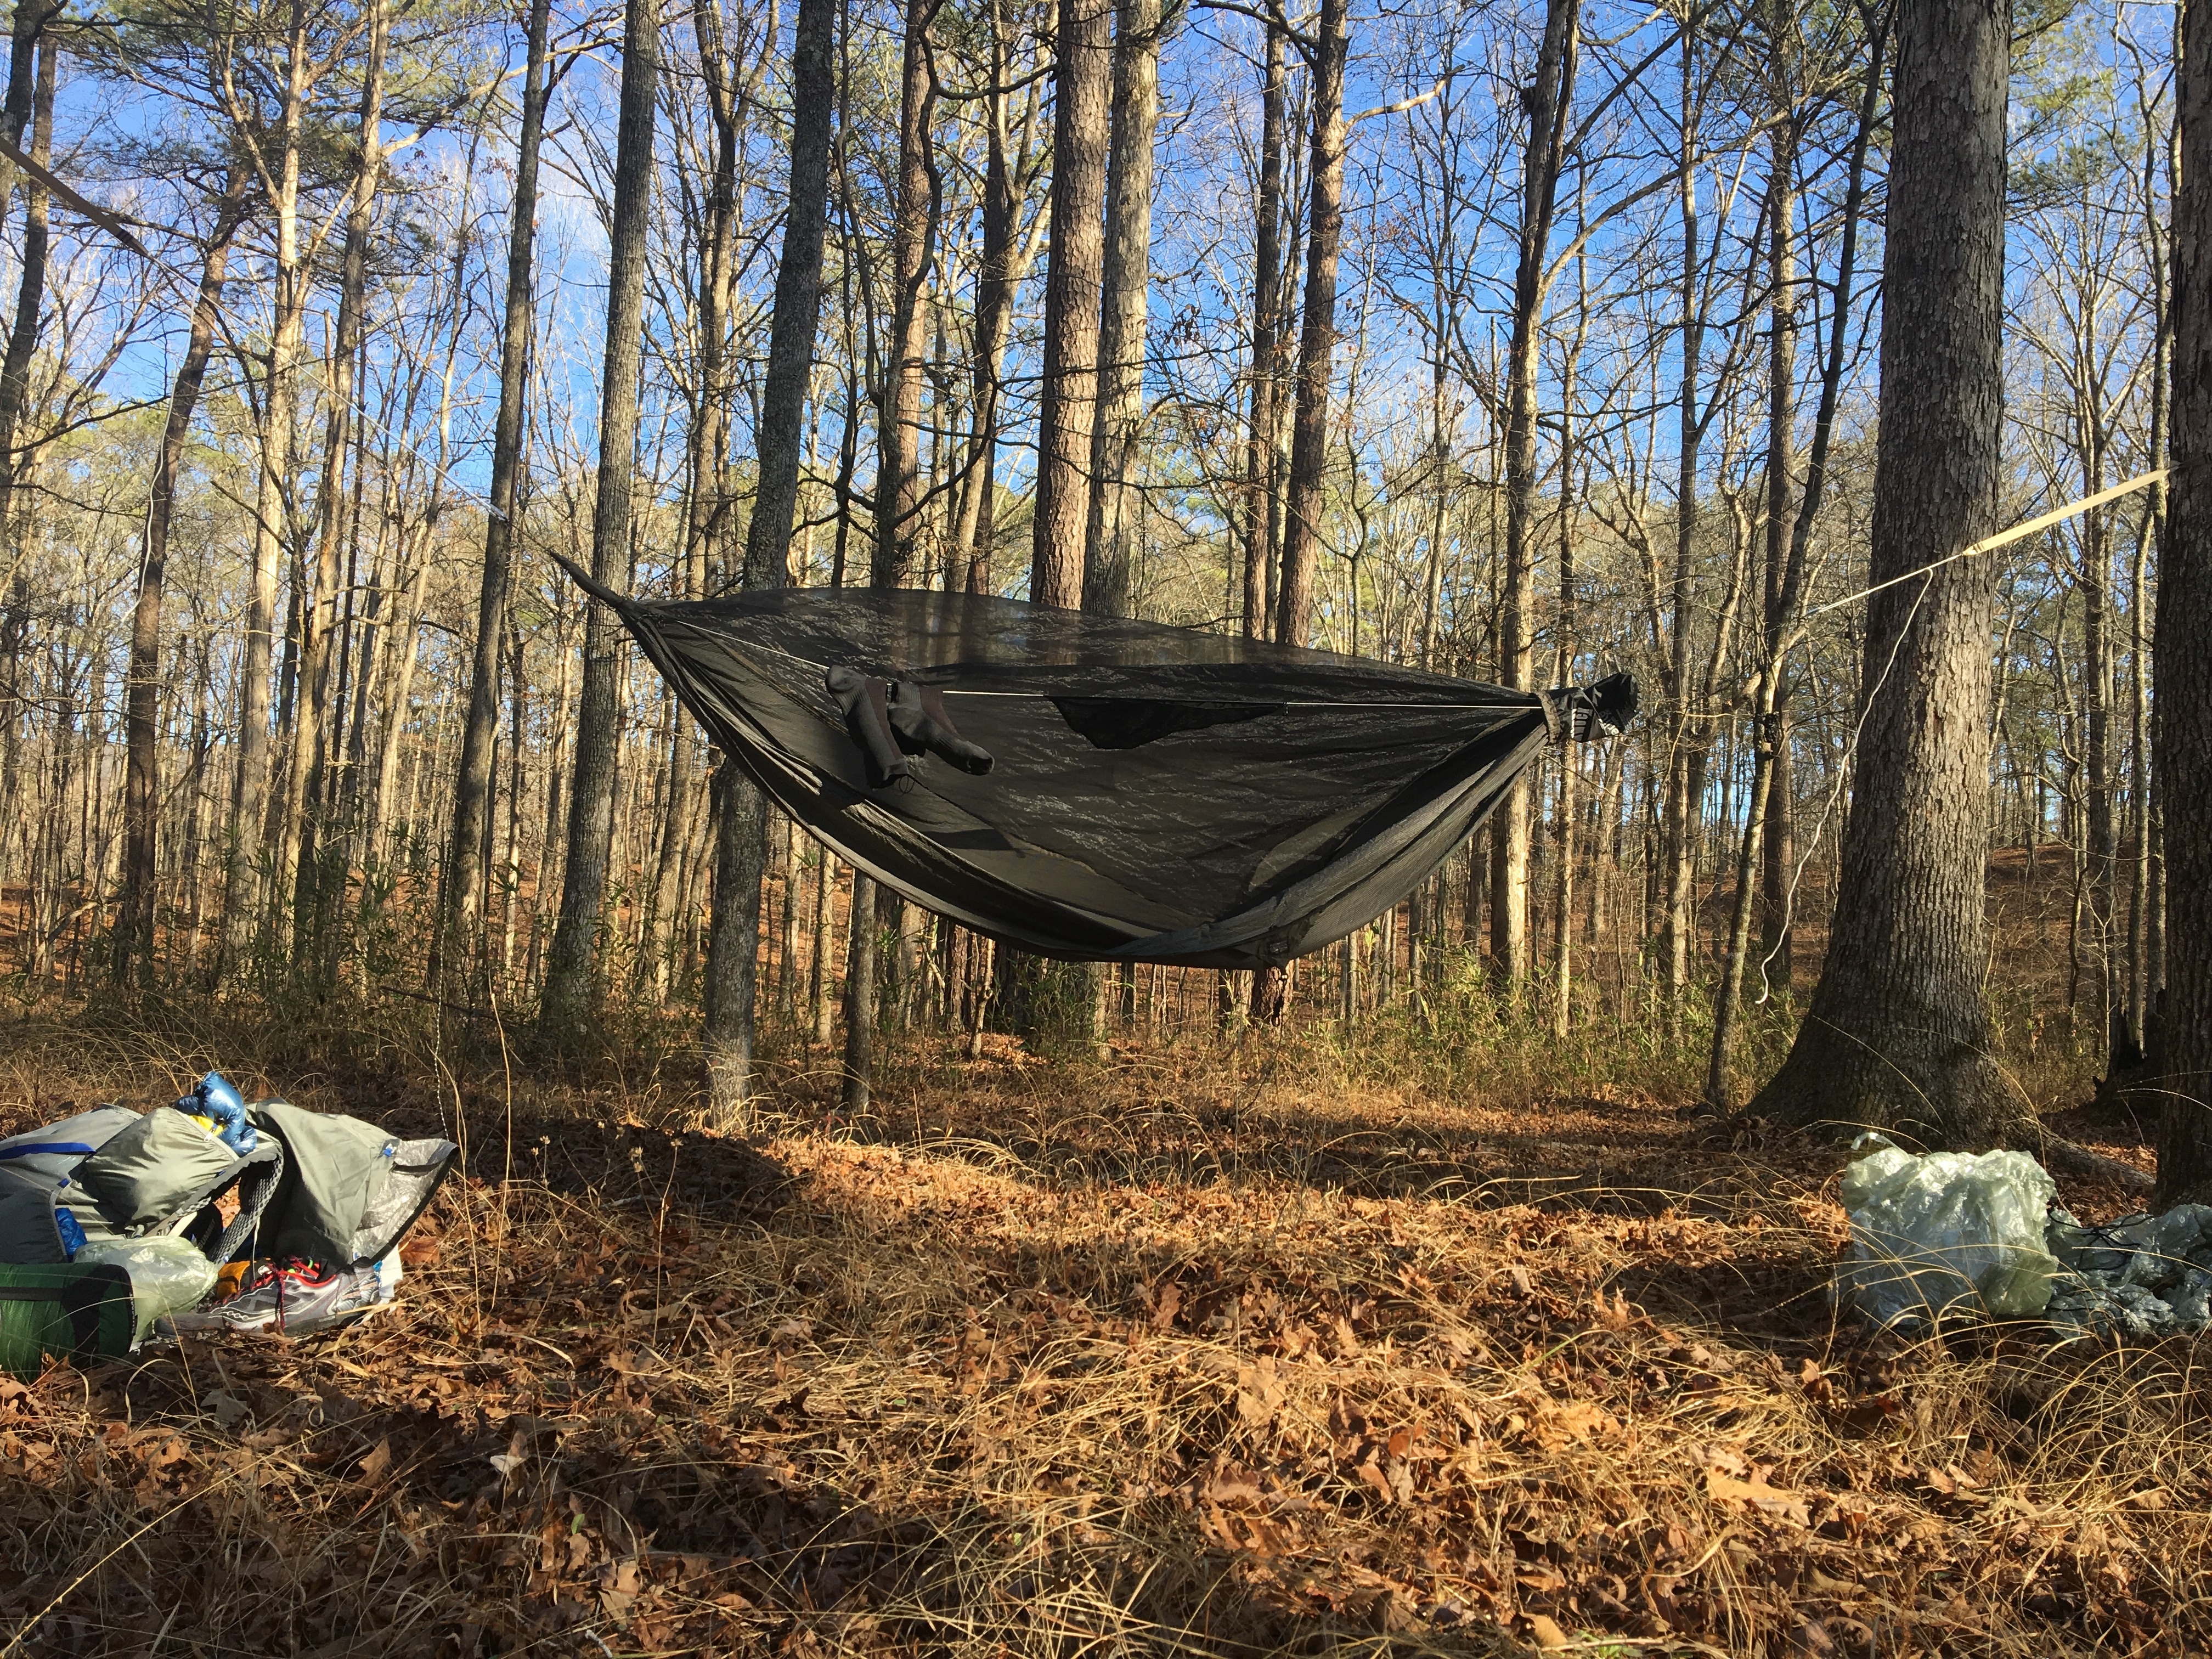
The area right before the falls was a pristine area for tent or hammock camping even with the wind(see above). I was able to get to camp early enough to set up my hammock and cook dinner right before sunset. I took a shoot at making a video of my hammock setup just to see if that may be something to supplement my journal entries on the AT. I have it below and constructive comments are appreciated.
Upgraded Hammock Gear Update
From my last hammock camping experience I made a few upgrades including:
Tarp Upgrade
Traded my old tarp (post cover pic) for a standard cuben fiber tarp with doors from hammock gear. It weighs a little more than my old tarp but makes up for it by being twice the wind/rain break.
Under quilt
I was able to use my under quilt and I have nothing but praise for under quilts now. Mine still needs some adjustment but it kept me warm all night. I have no plans to leave it at home and use a pad for hammock camping at this time. Hammockgears’s website claims if you are new to hammock camping and have the choice between getting an top quilt and an under quilt to go with the under quilt and I would have to agree.
Hammock Suspension
I also tried out some lighter hammock suspension options. I used the strap/sling combo from hummingbird hammocks, and also used carabineers from DutchWear. At less than 20 grams for under $20 for the pair these carabiners are a good investment. Both of these items worked great and earned a trip to Maine with me in March.
Since its still daylight savings time and it was in the 40s I got in my hammock at about 7 pm and stayed in there for the night listening to the sound of the river and the noisy neighbors that rolled in around 10 pm, way past hiker midnight, that night.
Bonus Hammock Camping Pro Tip
For those interested in hammock camping I strongly suggest you go to Youtube and watch some of shugemery‘s videos. If there ever was a Yoda of hammock camping, it’s Shug. His youtube videos have hundreds of thousands if not millions of views combined. He not only has thousands of subscribers he also answers all of the comments on his videos. His tutorials on all things hammock should be required viewing for everyone considering hammock camping.
Day 2: Back to Adams Trailhead
Day two started with coffee and oatmeal from the seat of my hammock to block the wind. After a few missed trail blazes on the skyway trail at river crossings I ended my hike tired but satisfied back at Adams trail head. A combination of the trail beta interpretation and lack of markings led me astray but it never took long to get back on the trail and on my way.
What you have all been reading for.
Things that went wrong
Under-quilt Adjustment
As mentioned above my underquilt needs adjustment to prevent cold air from finding its way between my hammock and underquilt. While as mentioned above this did not cause me to freeze during the night its something that I know if addressed will make my experience more enjoyable for my thru hike.
Water filtration containers
I knew the sawyer bags were ineffective at collecting water. I found this out through articles and my own shakedown. I gave up on trying to use my bags to collect water. It may have been a little too early to leave them behind. My plan this time was to leave my water bladder and just take two smart water bottles. One to have filtered water in and one to carry with unfiltered water in and just filter as needed by squeezing the bottle. Well long story short smart water bottles are not ideal for squeezing and loose their shape quickly. In the future I will carry one of the bags in addition to my two water bottles to filter water. I am still not convinced I even need to carry the water bladder and have read lots of thru hiker gear lists that didn’t include them.
Hat choice for hammock tarp
Since the cuben fiber tent is not completely opaque you can get woken up by stray headlamps and other things. My plan was to just pull my hat over my eyes and enjoy the darkness. The fleece hat I have is too short for this purpose and it wasn’t quite cold enough to pull my sleeping quilt over my head so I may have to take my bigger hat just for that purpose.
Things that went right
Under-quilt versus pad
In my opinion the underquilt was in a league of its own against the pad when used in a hammock. Yes the under quilt is expensive and yes it weighs more than the pad but its worth it. It also may make it not ideal for me to sleep in a shelter but I have no intention of switching back to a pad. Who wants to sleep in some kind of mouse castle shelter anyways. That being said I will be able to switch out gear in Virginia when I go by my parents so I may have to eat those words and switch back to pad and maybe even tent up if the SHTF during the first part of the hike.
Hammock tarp upgrade
The upgraded tarp I got was awesome. It has doors to keep the wind out and ample coverage to keep my stuff dry just short of horizontal rain fall. If this happens all my important stuff is in a dry cuben fiber pack liner and I also have a pack cover from zpacks.
Hammock suspension upgrades
The new tree strap whoopie sling combinations I tried worked great. I was able to adjust them on the fly and didn’t have to worry about tying a lot of knots. The carabineers from Dutchwear also worked great. These things are light, made in the US, and are super well made.
Hot food
I know there have been articles on going stove less but for me that coffee in the morning and hot food at night is such a morale booster id never leave my stove at home but applaud all you ounce counters and may even share my coffee with you if its 20F one morning…just kidding.
Trail company
While I thought since the weather was supposed to get down to 40F there would be a lack of folks to share the trial with me I was completely wrong. I saw 6 people out camping and even saw a group of about 15 hiking the other way when I was hiking out Saturday. It’s always great to be able to enjoy the mountains with others.
Thanks for reading if you made it this far and as always I enjoy reading your comments and questions below!
While I accept all free gear donations, or donations of any type for that matter, sadly none of the products discussed above were given to me in exchange for my review. I only mention them because they may be something others may be interested in purchasing from these great US based companies.

This website contains affiliate links, which means The Trek may receive a percentage of any product or service you purchase using the links in the articles or advertisements. The buyer pays the same price as they would otherwise, and your purchase helps to support The Trek's ongoing goal to serve you quality backpacking advice and information. Thanks for your support!
To learn more, please visit the About This Site page.

Comments 3
Love the tarp tip to use mini biners to secure doors closed! I’ll be doing that from now on, rather than using stakes, so thanks.
You had an extreme upgrade, going from an asym to CF with doors and you’ll be rewarded by privacy, increased warmth, and dry gear. But dang, the sun is blinding through CF! I drape a shirt across the hammock ridge line above my head to provide some shade.
I’ve used a Yeti 20 degree UQ and was warm enough on my AT section hike that began April ’16, but just ordered a Phoenix 0 degree to up the warmth factor. I’m confident you’ll get your quilt dialed in for better warmly, the excellent hang of your tarp demonstrates considerable skill.
Have a great hike!
Regarding the bit on water: There will be some sections where it may even be difficult to fill up a bottle in most sources (mid-Atlantic, if there’s a drought, can be VERY dry). You can bring the cut-off bottom of a cheap bottle (almost negligible in weight) and use it as a scoop to either fill another bottle or your sawyer bag.
Good luck and enjoy your hike!
Thanks for the information. I know first hand filling up the bags in anything other than a lake is impossible so any tips are appreciated.