 ">
">
Trail Coffee 6 Ways: Which Method Makes the Best Brew?
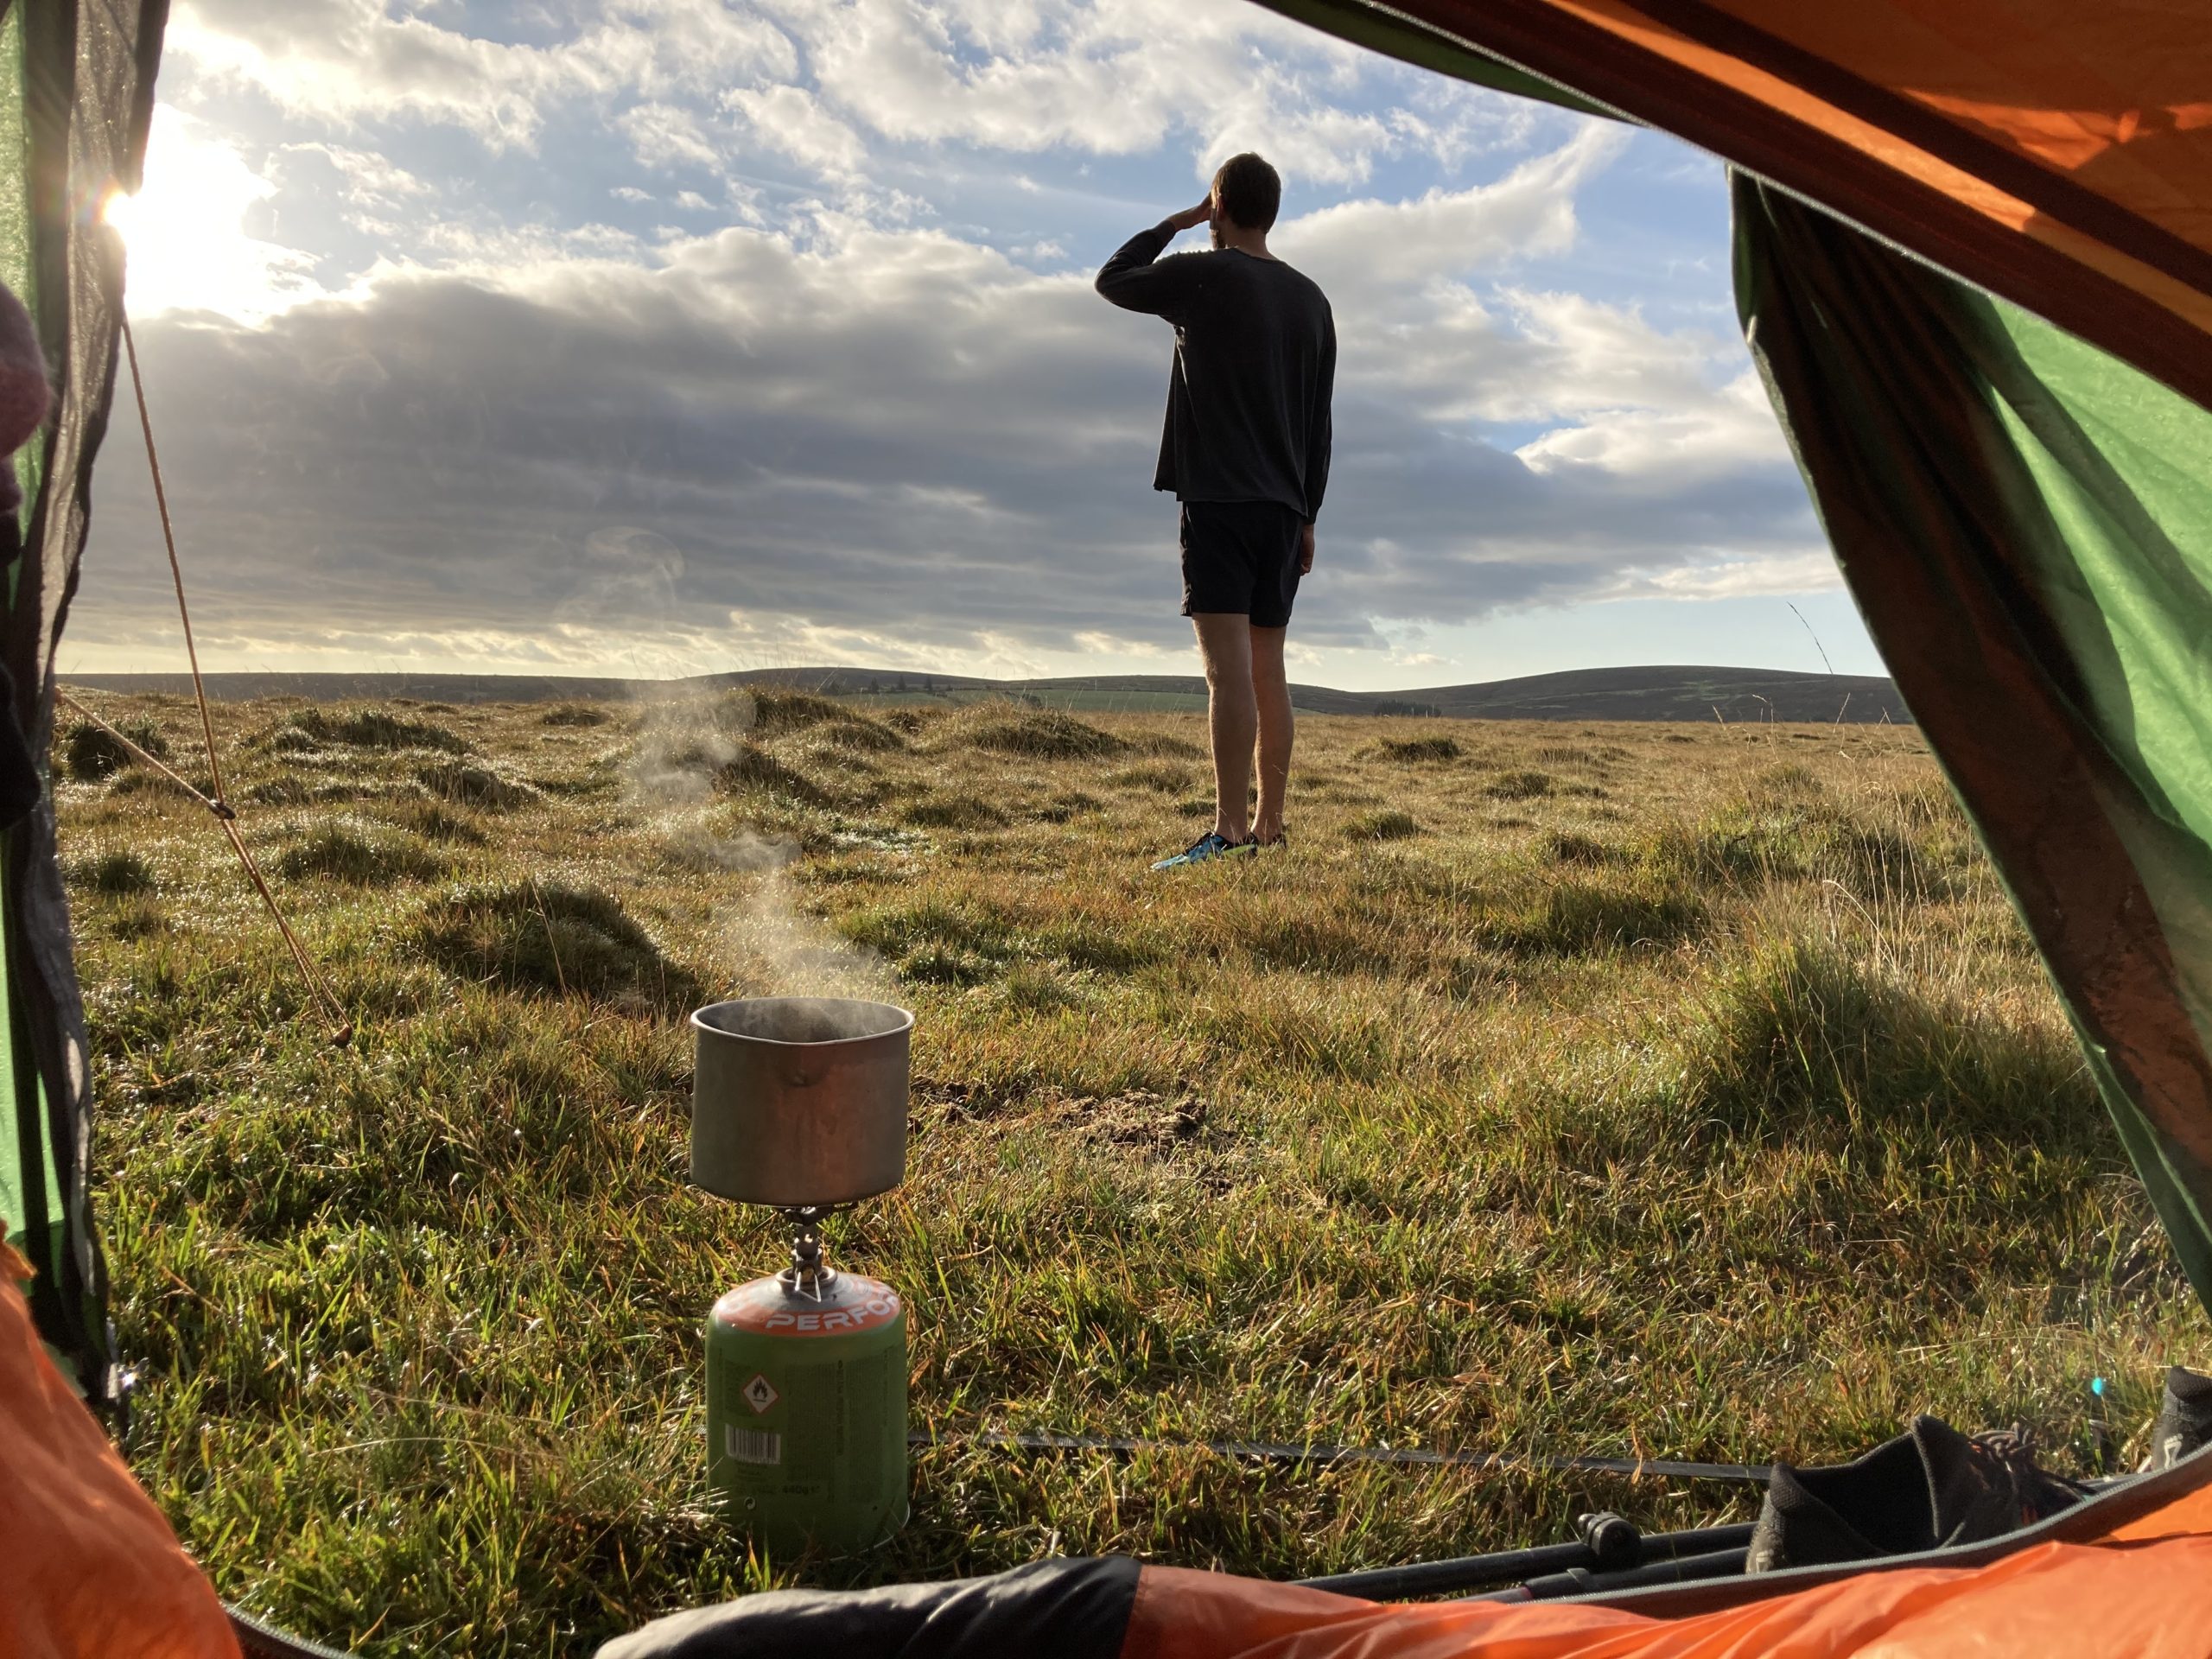
My days tend to start the same way whether I’m on or off-trail: waking up, putting the kettle on, and making a good brew. I’m the kind of person who doesn’t make sense unless I’ve got my coffee fix.
When we hiked the PCT, I relied entirely on Folger’s instant coffee sachets. They did the job, but I often found myself longing for a “proper cuppa” when I was back in town.
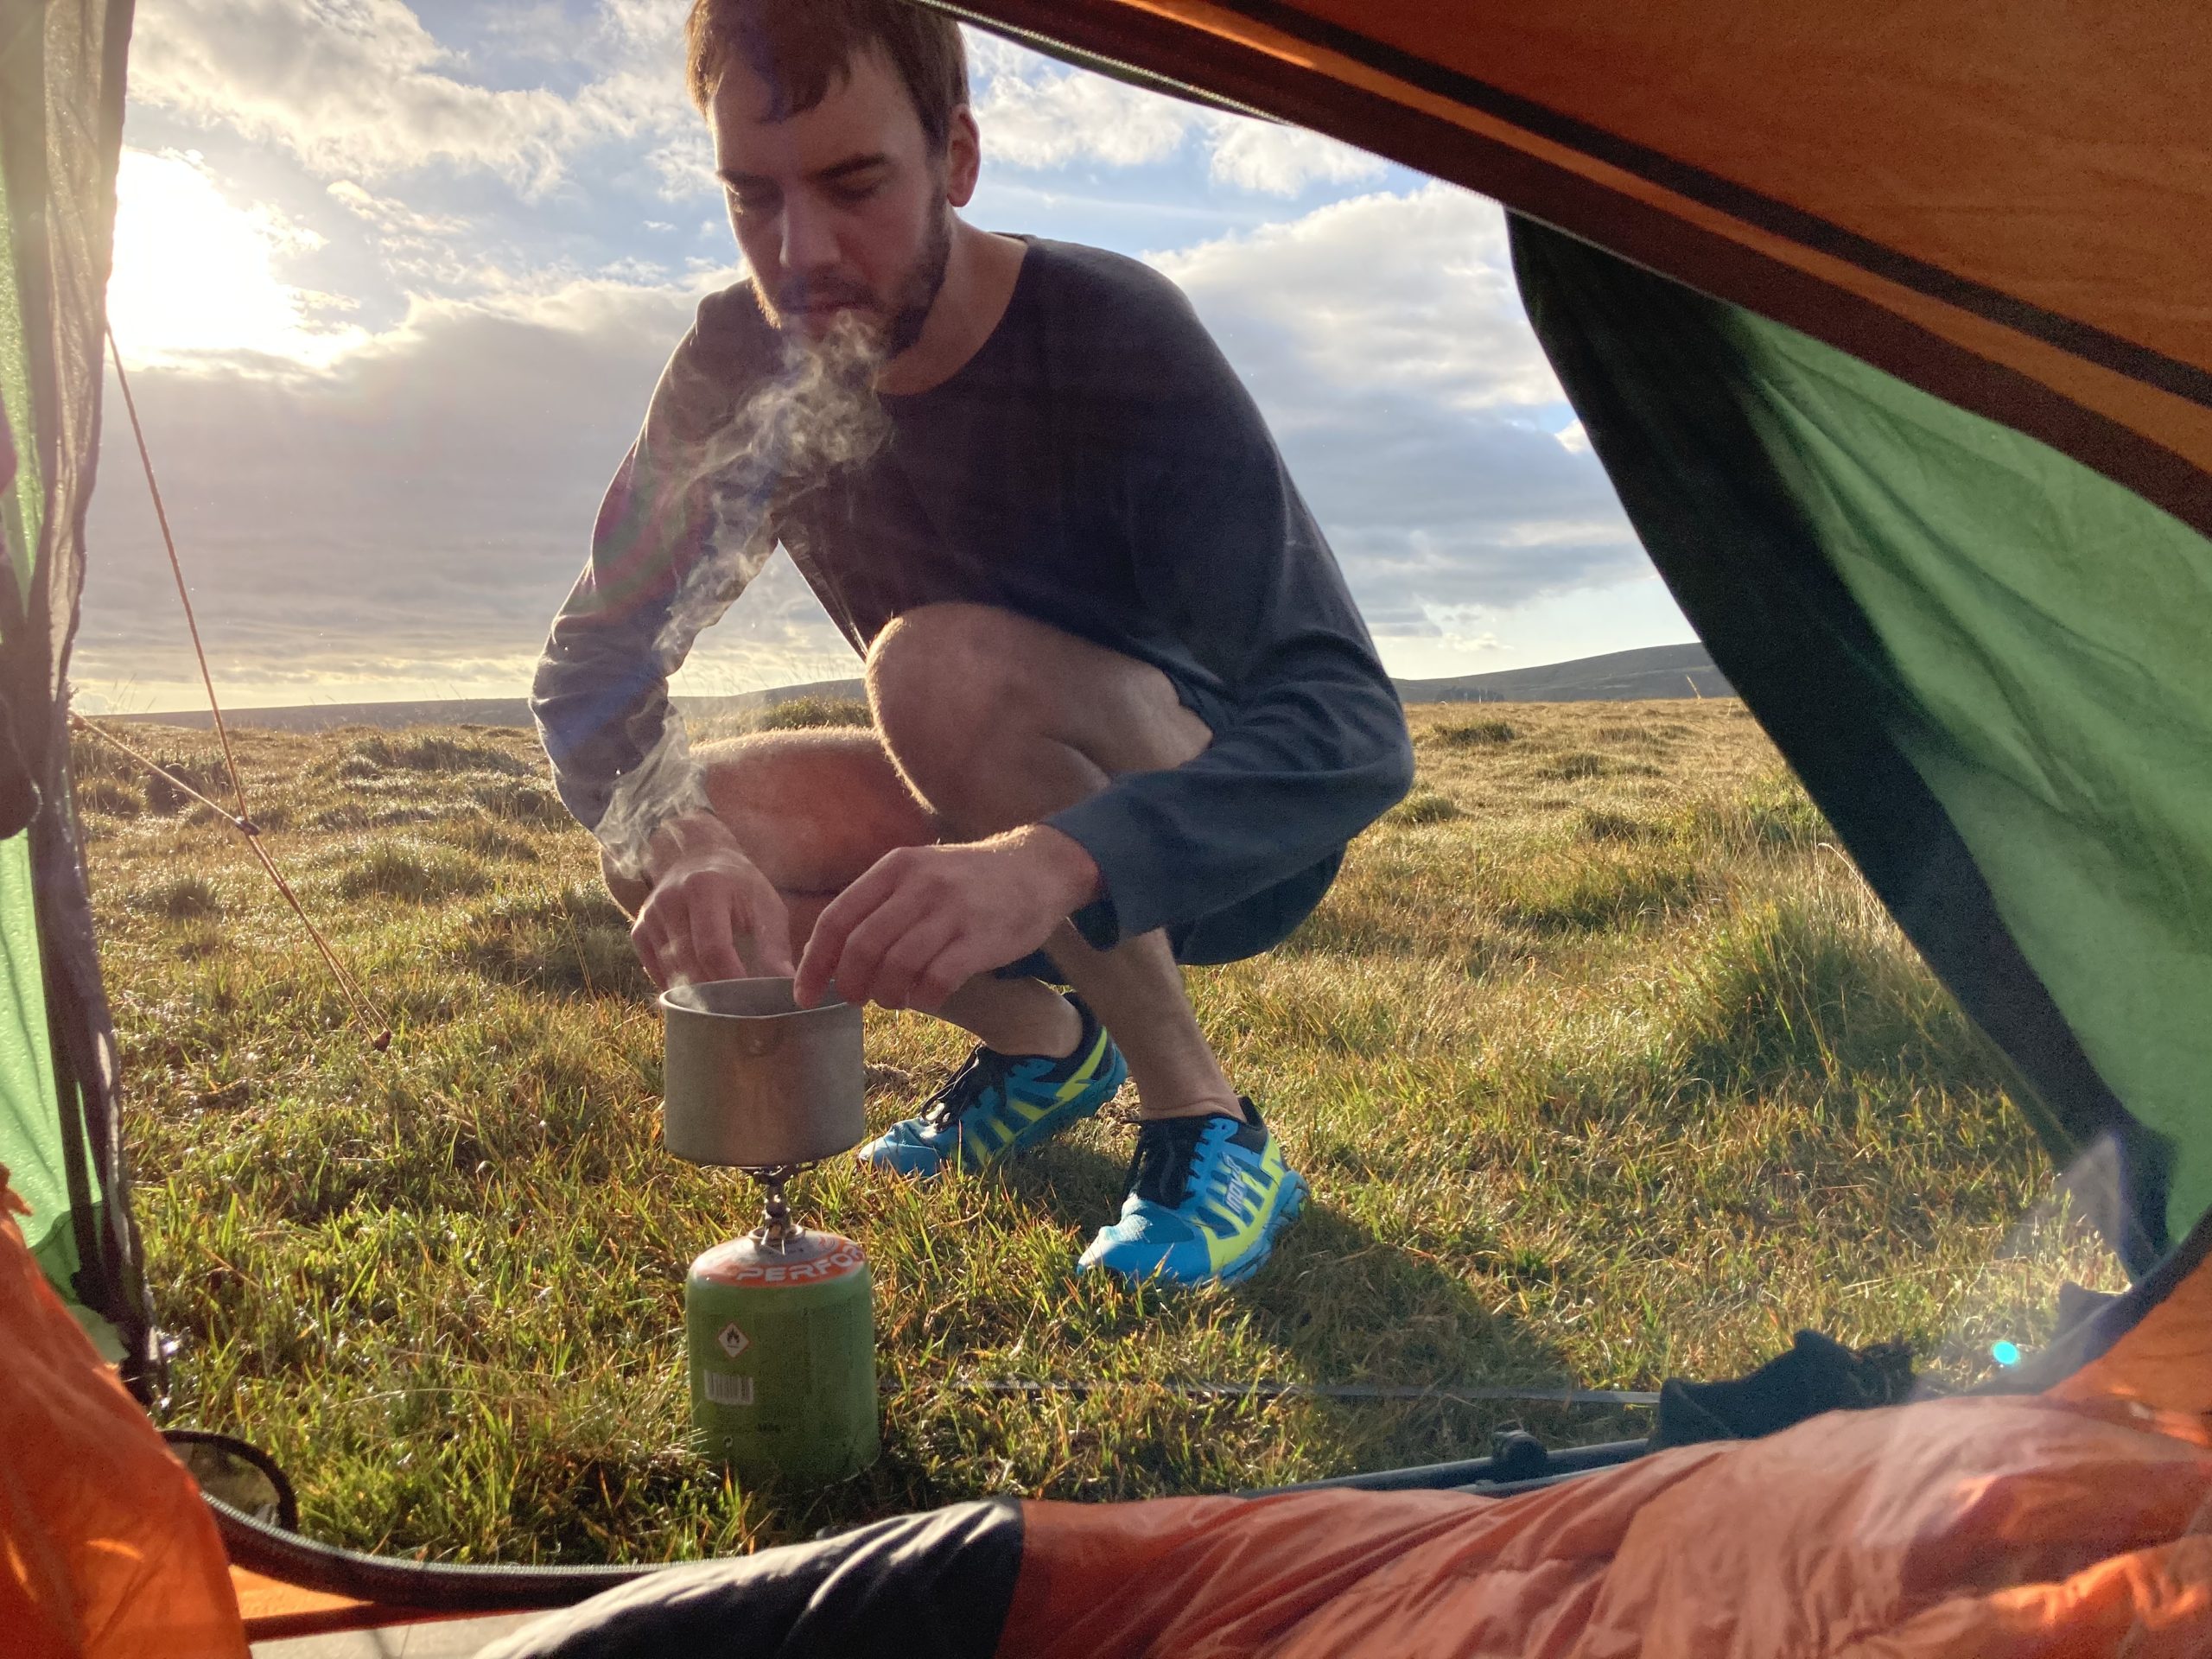
In northern California, we ran into a hiker called Irish Coffee who carried a percolator with him. At the time I thought he was mad for carrying an 18.5-ounce Moka pot, a hand grinder, and then having to pack out all his ground beans, but I slowly started to believe he was onto something. Being locked down due to Covid compounded that. We bought a great coffee machine for the home so when I was out on a trail last year I started looking for a way to satisfy my refined thirst.
I’ve scored the following coffee-making methods primarily on three metrics to give an overall score out of five. The metrics are Taste, Ease, and Weight. Note that all the below methods assume you are using ground coffee, not instant.
Cowboy- Style
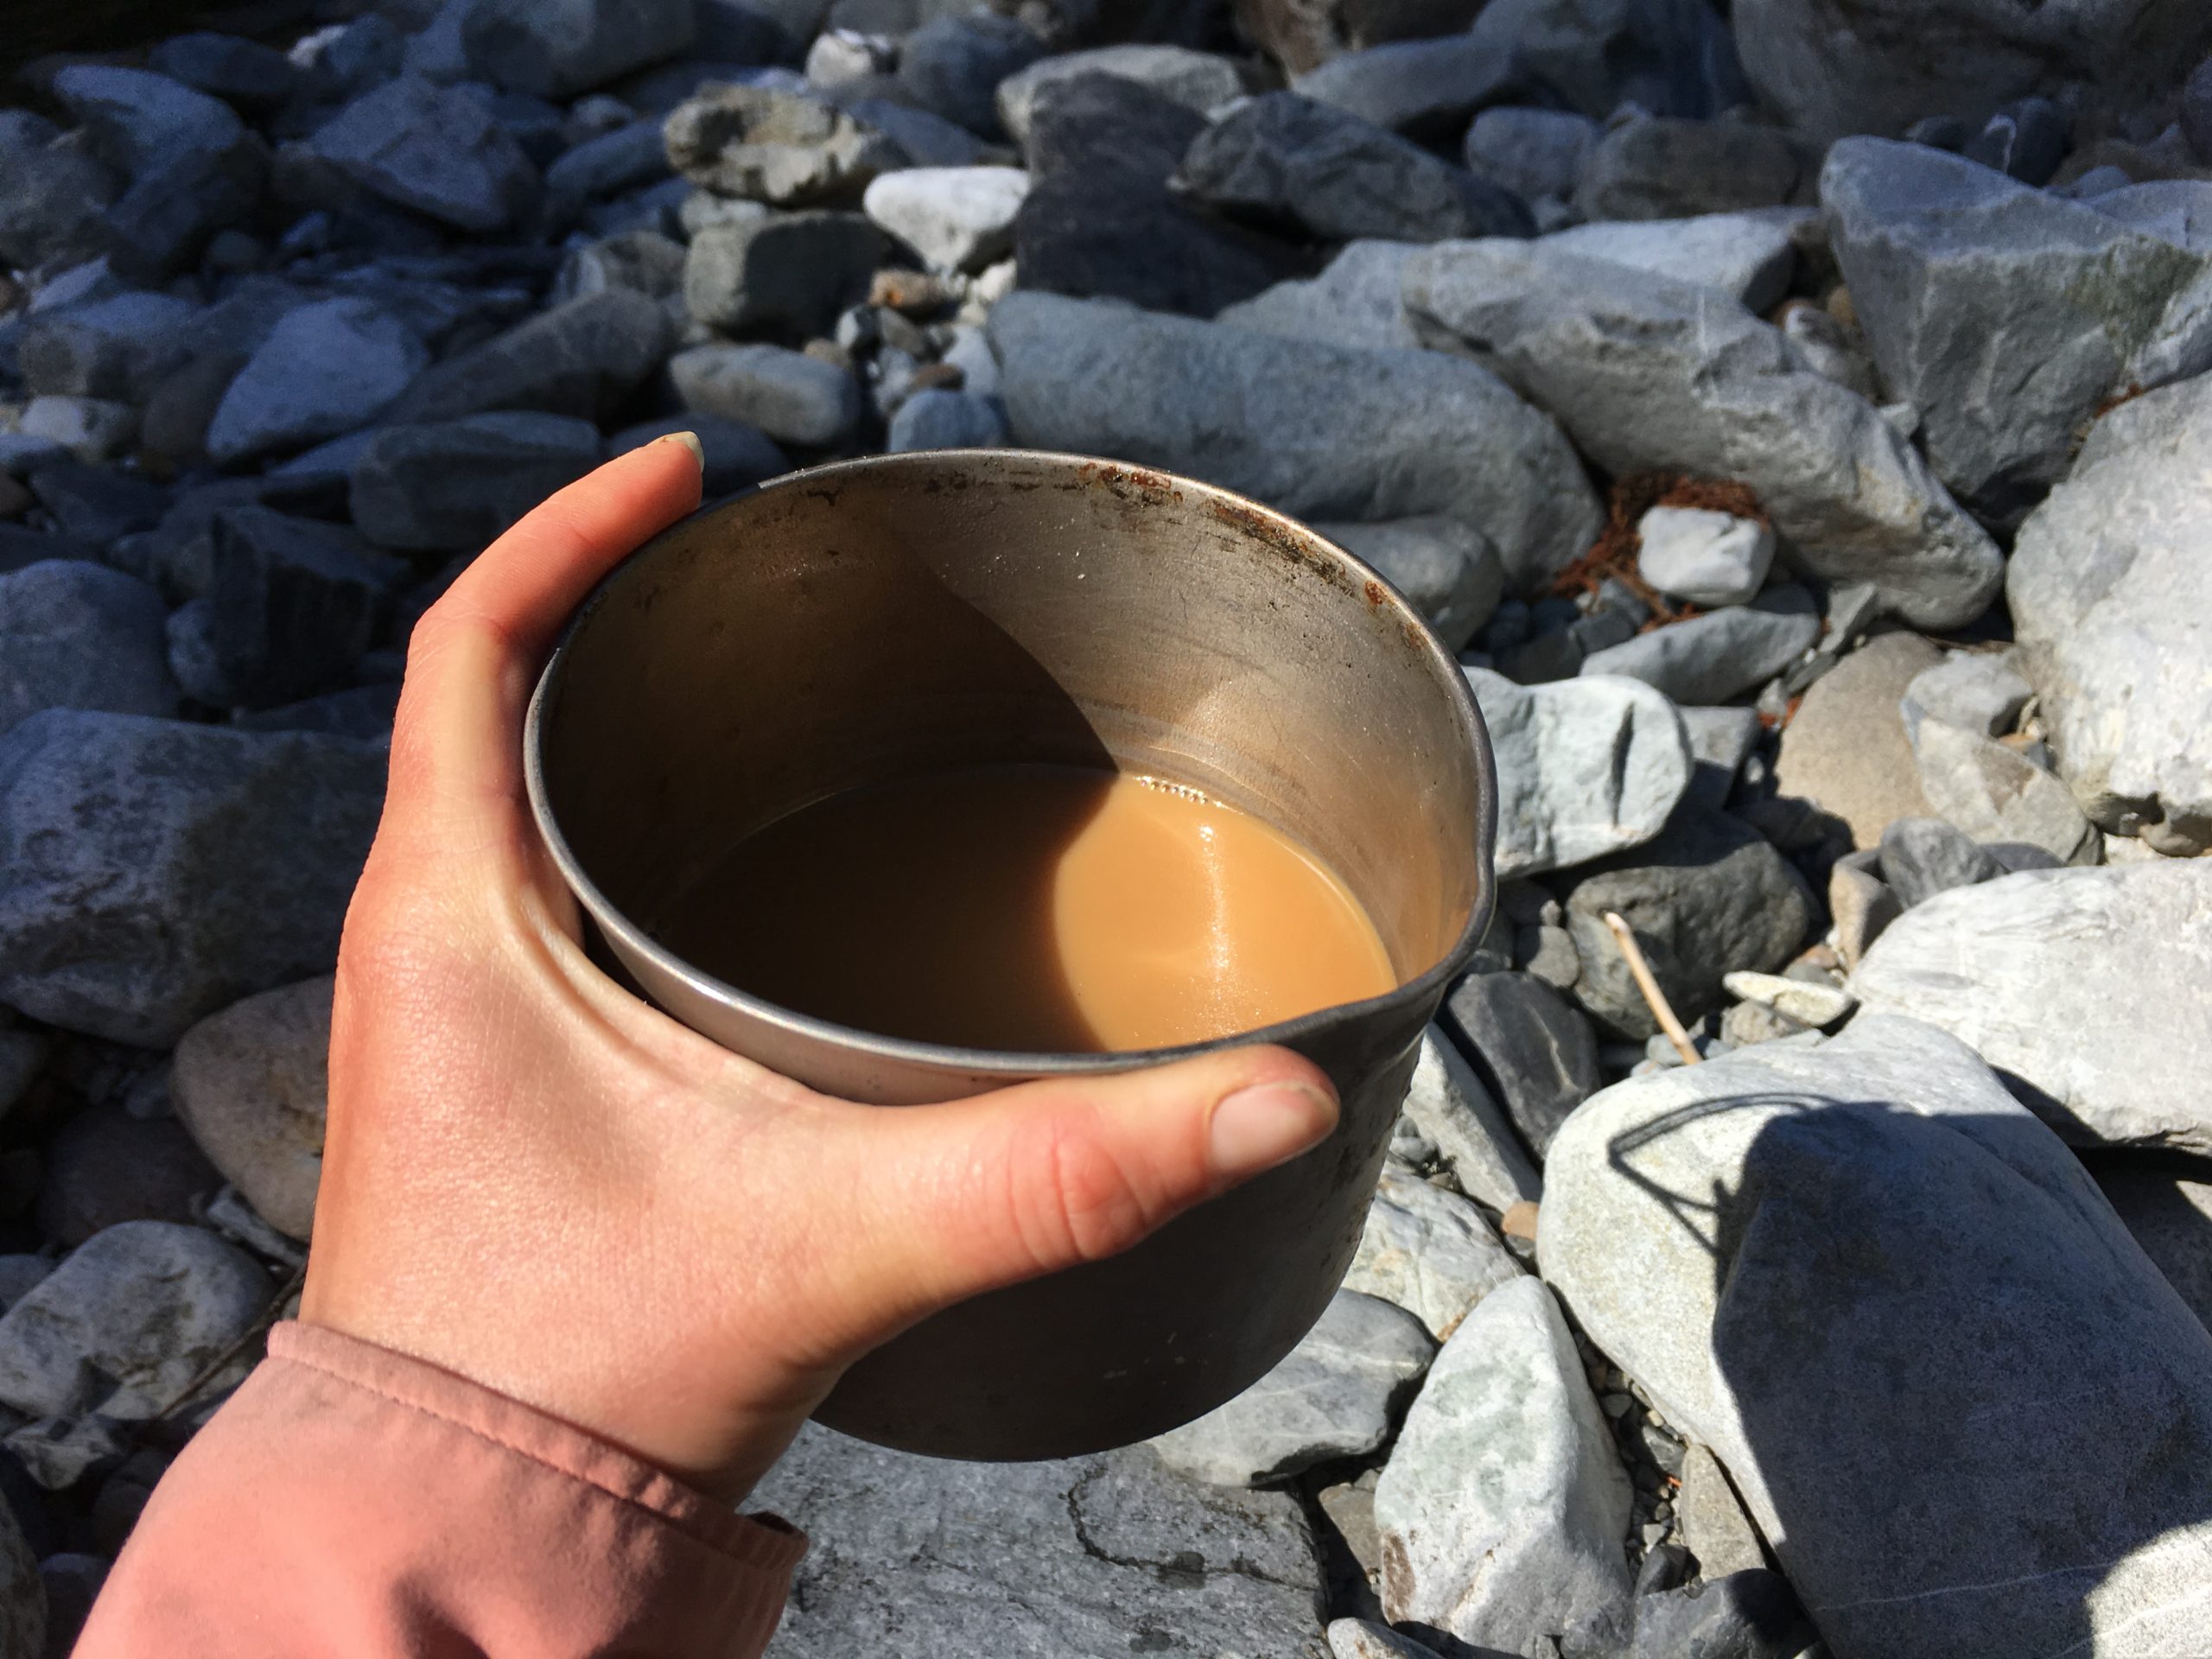
What is it? Cowboy-style means pouring your ground beans directly into your boiling vessel and then transferring the water to a separate cup. To reduce the number of grounds that make it into your mug you can use the lid of your pot to help strain, or in true dirtbag style, use your buff or bandana.
The perks: Requires no additional kit apart from your pot, stove, and mug, saving on weight and improving ease. Your coffee also stays hot for longer than other methods.
The downsides: Every time I’ve done this I’ve ended up with a very gritty coffee. This immersion technique only seems to work well with coarsely ground coffee which normally means you can only really make an Americano-style coffee. While this method requires very little additional kit, I found it messy. You’ll need to use almost as much water again to get everything clean or you’ll find coffee grounds in your food or all over your bag.
The verdict: I only used this method a couple of times before I gave up on it. While the coffee can taste marginally better than instant, the amount of mess means I won’t be using this technique in the future.
Overall Score: 1/5
Coffee Bags (Store-Bought or Homemade)

Two DIY coffee bags made from filter paper (left) a muslin cloth (right) and dental floss.
What is it? Upgrading slightly from the option above, a coffee bag means you wrap all your grounds in a filter or cloth, tie the top together with dental floss, and infuse the coffee after the water has boiled. For the true dirtbag experience, you can use your bandana as the filter. You can also buy pre-made bags, similar to a regular tea bag.
The perks: Fewer grounds left in your cup than cowboy style and minimal equipment needed. Can be used with less water to make a stronger coffee. this method has an easy clean-up, especially if you are using a dedicated cloth, as you can pack it away without needing to get it perfectly clean.
The downsides: I’ve always found store-bought bags to be pretty weak. In addition, the coffee didn’t taste as fresh. Using your own cloth/paper was a good option, but I was always worried that the paper filters I was using would rip or come undone. If using paper filters, you’ll probably need to carry an additional ziplock to keep them dry throughout the trip. Using a cloth filter could be a bit messy/wet, though it could be tied to the outside of your pack to dry off.
The verdict: The coffee bag method is a good, minimalist option that removes the grittiness problem of cowboy coffee. While I wouldn’t recommend using the pre-made bags, making your own is simple and doesn’t require too much more than what you should already have on you.
Overall score: 2.5/5
Hario V60 Coffee Dripper

The dripper is slightly too small for my pot, so I needed to use tent pegs to make this work.
What is it? The Hario V60 is a brew method used by coffee enthusiasts on and off-trail. It is effectively a funnel that you fill with a paper filter and pour water through.
The perks: The V60 is rated by coffee connoisseurs as a great way to produce coffee at home. With the right equipment, you might be able to get a great cup of coffee from it. At three ounces, the plastic V60 isn’t heavy and can be stored with your cooking supplies.
The downsides: The V60 is fiddly. It requires a specific grind size for the filter to work properly, a small mug size for the filter to sit on top of it easily, and truly boiling water because the coffee will flow really slowly when the temperature of the water drops. Finally, our V60 wouldn’t pack down, so we had to strap it to the outside of our packs. This was a little annoying and will also reduce durability in the long term. I was constantly worried I’d crack it as I put my bag down.
The verdict: I was really looking forward to trying this method, as I use my V60 at home a lot with great results. If done correctly, it can produce a brilliant cup of coffee. Unfortunately, there are so many variables on trail that I was unable to get the same results. Using a metal pot also meant that by the time brewing was done I was left with a lukewarm coffee.
Overall score: 2/5
The Jetboil Coffee Press

Image via Jetboil.
What is it? This nifty contraption turns your Jetboil stove into a French press.
The perks: This 1.3-ounce contraption instantly turns your Jetboil into a French press pot. The detachable stem makes for easier stowing, while the silicone ring prevents coffee grounds from making it into your mug. As an additional plus, you can also use it flipped over to steam vegetables or fish – although I can’t say I’ve ever wanted to do this.
The downsides: If you are a one-pot type of person, this method won’t work. In addition, you’ll need to buy a Jetboil pot and stove in addition to the coffee press, adding up to a hefty cost and weight.
The verdict: While this will give you one of the better cups of coffee from the methods tried, I found it wasn’t worth the wait. Between getting the water to boil, waiting five minutes for the coffee to be immersed properly, and then having to pour the made coffee into a separate vessel, I wouldn’t consider this for anything more than an out-and-back or an overnighter.
Overall score: 3.5/5
The Aeropress
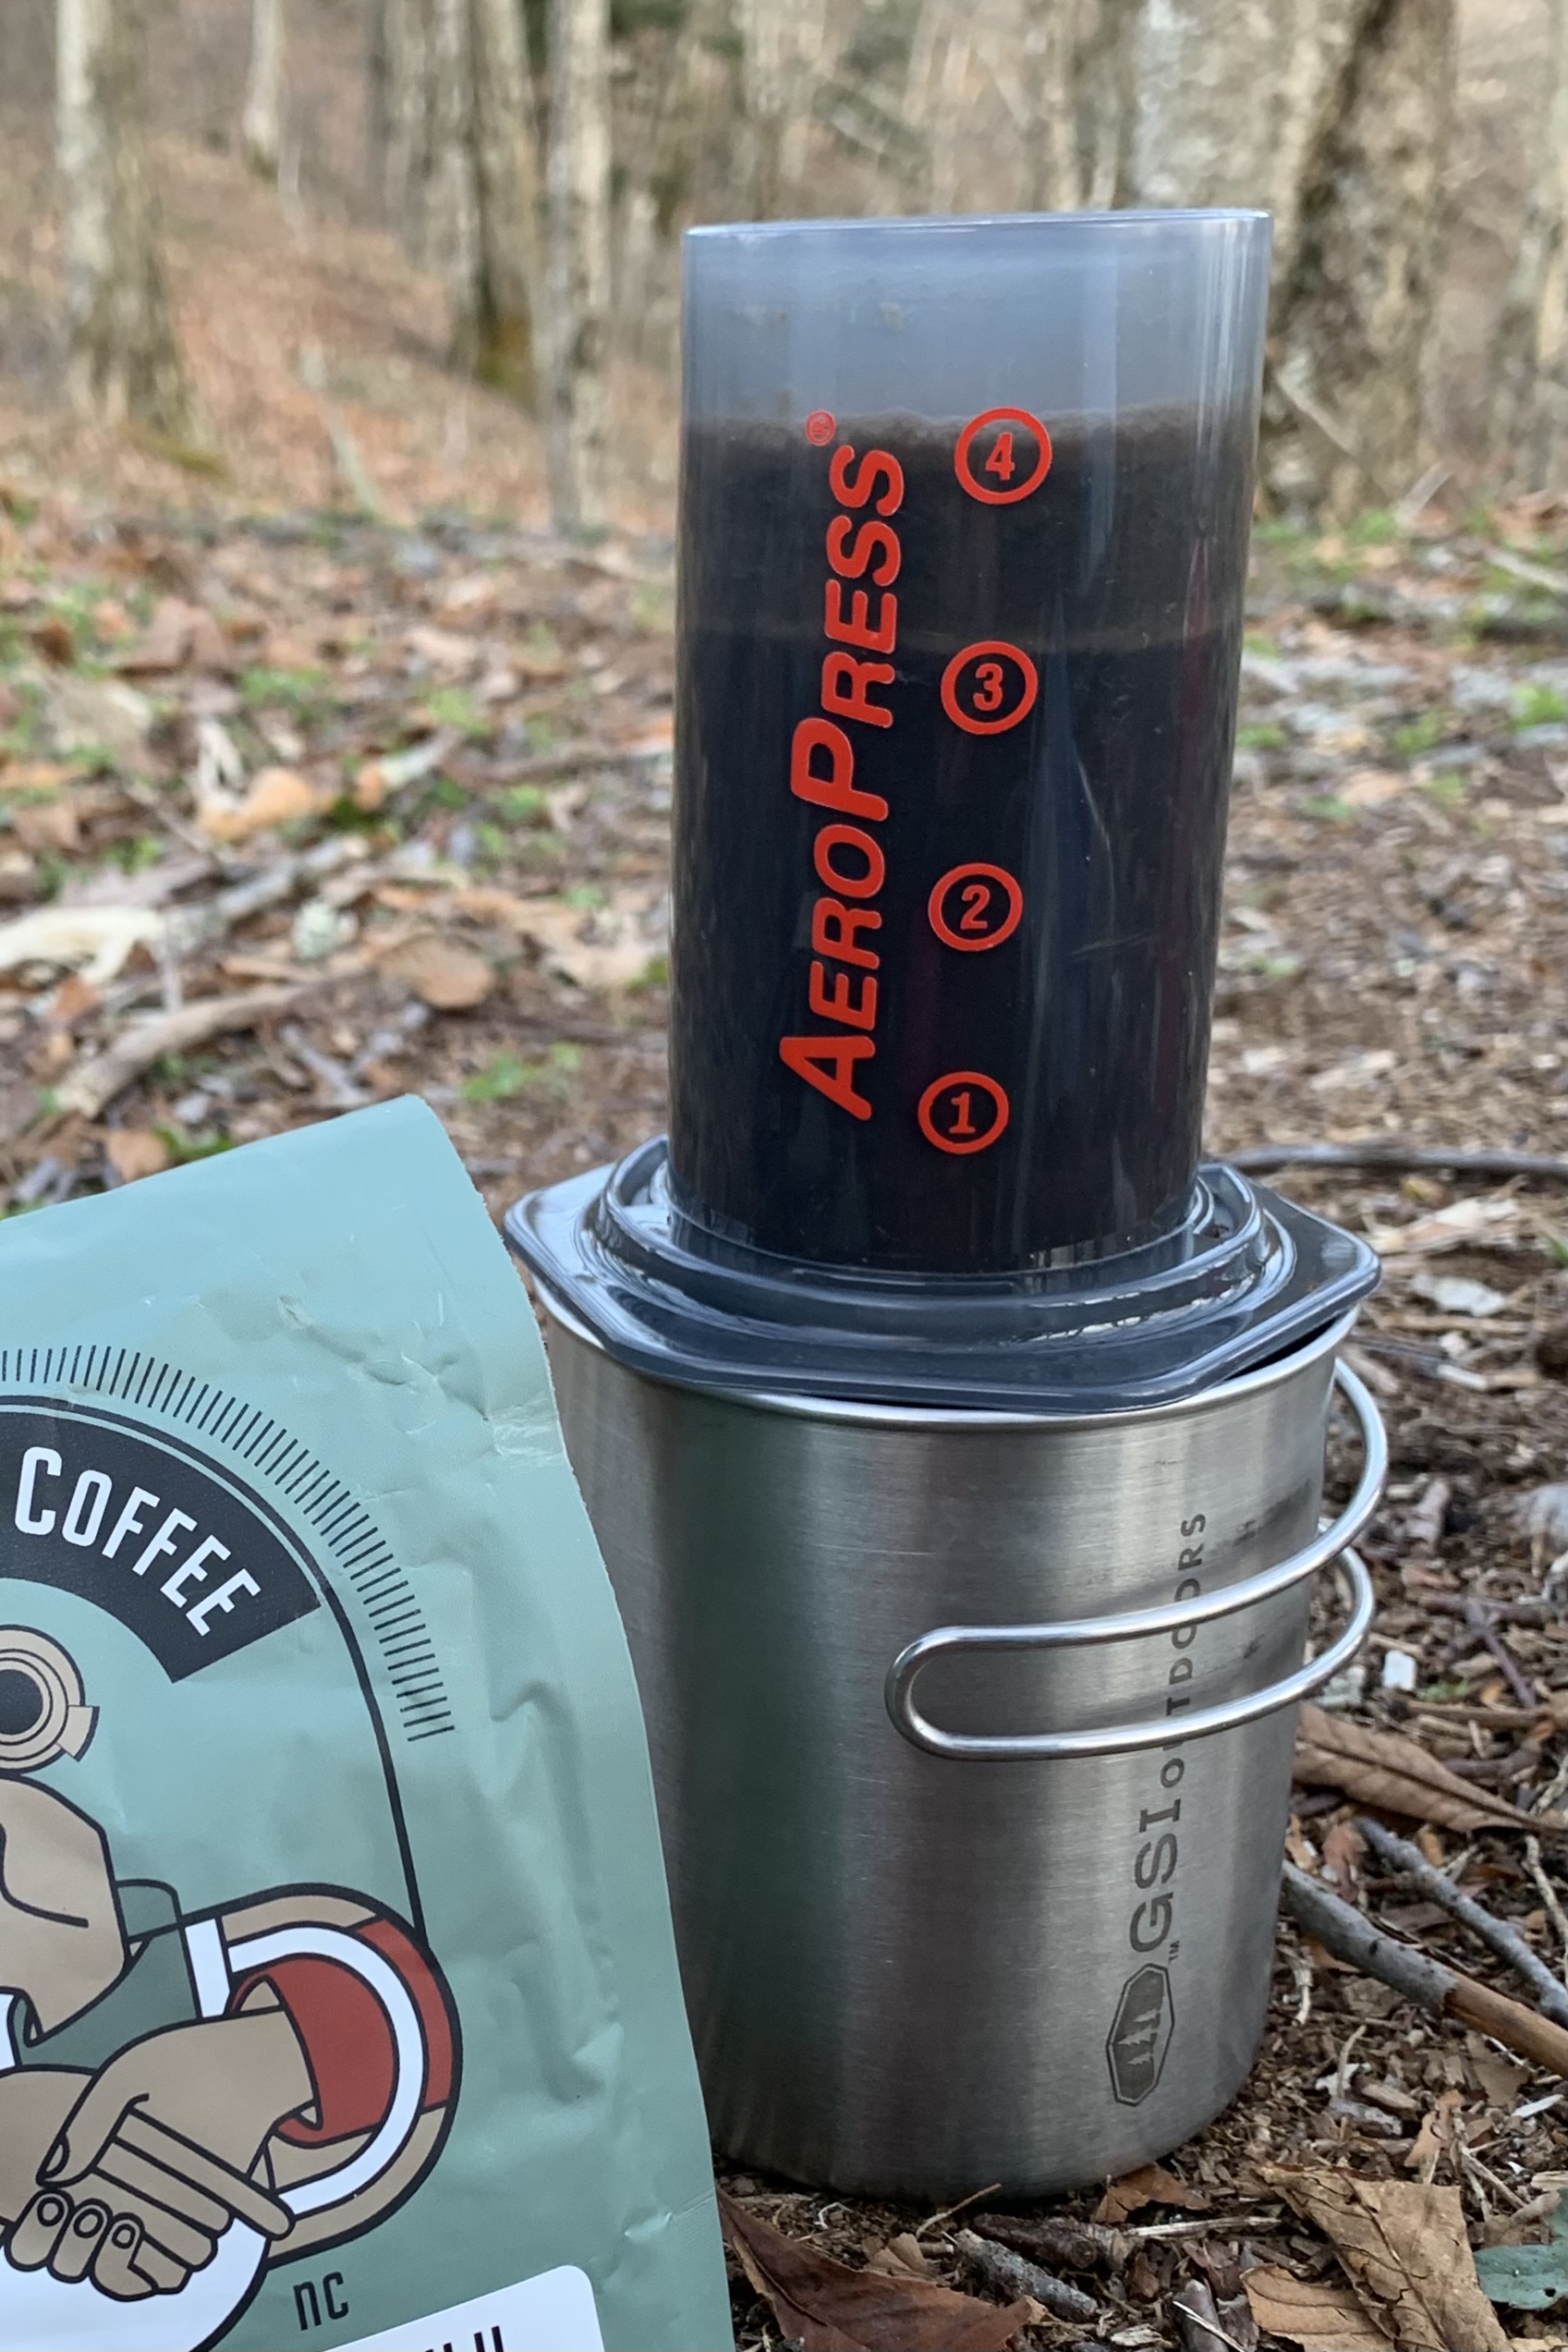
Photo by Claire Dumont.
What is it? The Aeropress looks like a big plunger and has been designed to imitate the pressure that an espresso machine produces. It is a simple product, yet produces coffee to a standard where there is even an international championship each year that judges the best Aeropress techniques and baristas. The Aeropress Go is the “travel” version, which is marketed for those on business trips or camping holidays.
The perks: Hands down this produces some of the best coffee I’ve ever had on trail. The Aeropress can extract great-tasting coffee without requiring loads of water. That means it is great for short espresso-style drinks or flat white/latte drinks as well. The cleanup is simple and it is very durable. The Aeropress can make about four shots of coffee, enough to serve you and your partner.
The downsides: An Aeropress can be quite bulky, so you’ve really got to be a fan of coffee to lug the additional eight ounces. It isn’t the ideal choice for the ultralight, gram-conscious hiker who has honed down their pack size. At $32, it is also the most expensive method on the list.
The verdict: If you love coffee, this might be the brew method for you. I have a number of friends who use this every day, whether on trail or off, and they swear by it. But for me, it is just a tad big for some of the longer-distance hikes I am doing, where weight and space are paramount.
Overall score: 4/5
The GSI Outdoors Ultralight Drip Filter
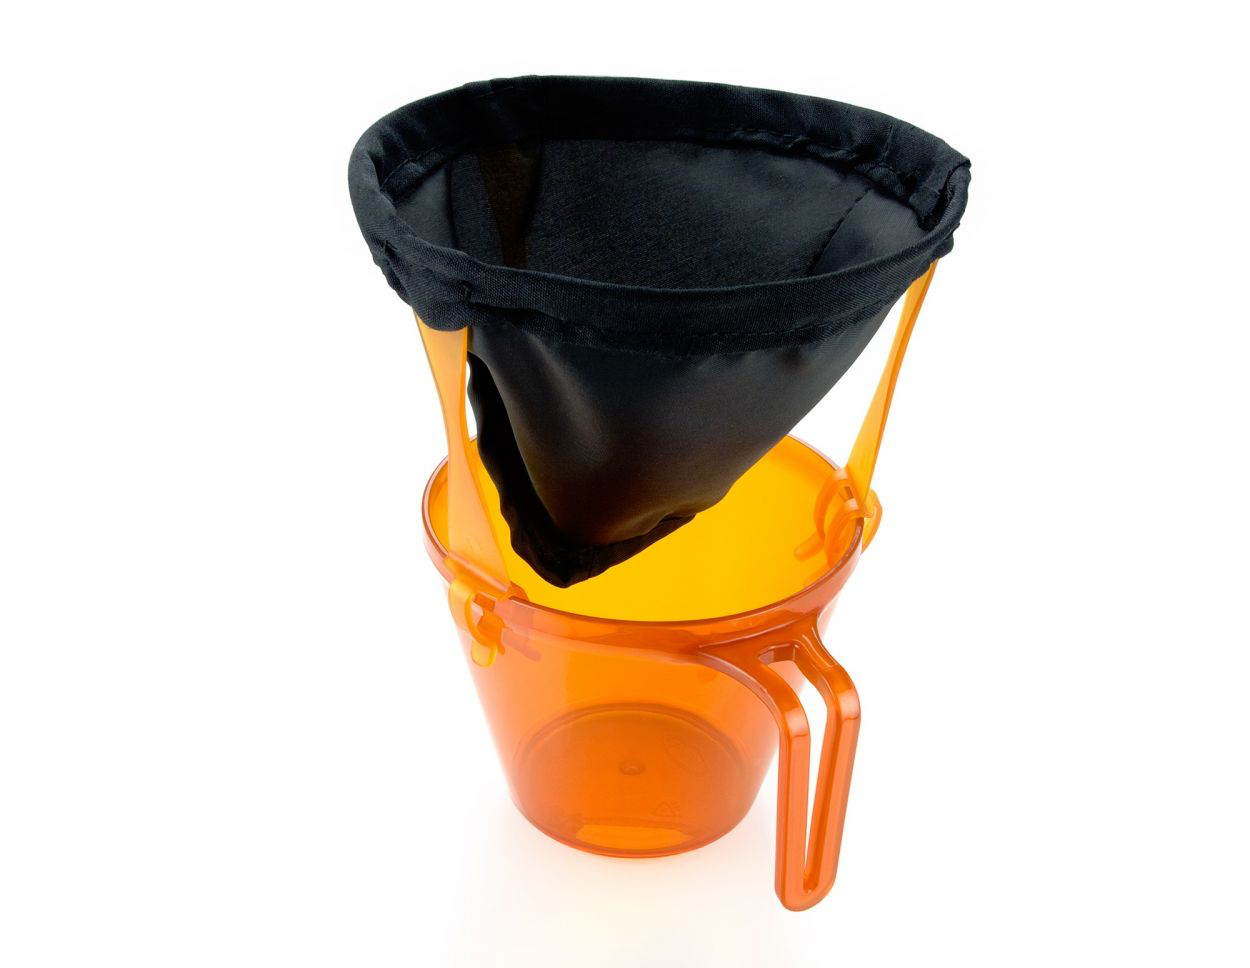
What is it? This Ultralight pour-over filter is similar to the Hario V6, but without the need for a paper filter. The Drip also folds up small enough to fit in the bottom of your gas canister/pot with your lighter.
The perks: Very lightweight at only 0.5 ounces and relatively cheap at $10. The filter packs away easily into your stove pot and gas canister, making it easy to travel with. It produces great-tasting coffee and is easy to clean. You will also save money by not having to buy additional paper filters.
The downsides: If the grind size of your beans isn’t right, you may end up with silty or weak coffee. As the immersion time isn’t as long as other methods, this can deteriorate the quality of the brew. In addition, you’ll need two vessels in order to pour the hot water out of one and into the other.
The verdict: Once you dial this into the right grind size, this is my favorite way of brewing coffee on trail. It is lightweight enough not to worry about, doesn’t take up any additional space in my pack, and produces a great mug of coffee quickly. In addition, it is incredibly quick to rinse off and means less to pack out when done.
Overall score: 4.5/5
A Few More Things
Freshly Ground Coffee
All of the above methods have used coffee beans. As I did my caffeine research I consistently heard that the single most important thing for a great tasting brew was freshly ground beans. While overly decadent, this meant I invested in a Hario hand grinder, which can be dialed in to the different grind sizes needed for the different methods. For most people, this will be overkill, but for our weekend or week-long hikes we were OK with the additional weight this added, for the additional flavor in the coffee.
What about instant?

Breakfast on the PCT.
We’ve tried a lot of instant brews, and they’re ideal for most people. On the PCT Starbucks VIA sachets were a treat for us. More recently, I’ve been really impressed by the Douwe Egberts Pure Gold instant blend, which replaces the above methods when I need a quick instant fix. This can also be used for a cold brew for those without a stove.
The good news is that the instant coffee game seems to be changing rapidly, with a bunch of smaller companies trying to bring good taste to this arena, so we’re no longer stuck with the pond water I drank on my thru-hike.
Can you get frothy milk on trail?
Absolutely. Just heat up your milk (fresh or powdered) and put it in a jar, like the Talenti jar we used for cold-soaking on the PCT. Shake it like you’re making cocktails in a bar and you’ll have great frothy milk to enjoy in your brew of choice.
READ NEXT – Espro Ultralight Coffee Press Review.
Conclusion
While many hikers will consider the above methods to be overkill (and a little pretentious), I make no excuses for loving coffee and am happy accommodating the extra weight for a great start to the day. Some of the above techniques are definitely a bit much for a long thru-hike, but with us having shorter adventures this year the tradeoff has been worth it for us.
Have we gone coffee mad? Do you have any brewing suggestions we should try? Let us know in the comments!

This website contains affiliate links, which means The Trek may receive a percentage of any product or service you purchase using the links in the articles or advertisements. The buyer pays the same price as they would otherwise, and your purchase helps to support The Trek's ongoing goal to serve you quality backpacking advice and information. Thanks for your support!
To learn more, please visit the About This Site page.

Comments 15
I’ve packed Starbucks instant, a Melita cone for pourover, and a Moka pot on trail at different times over the years. How I’m feeling about weight, comfort, and time issues all play a factor. They all make fine coffee. Nalgenes, miraculously, do not hold coffee flavor/aroma, and my melita cone fits perfectly on it. This means you can make two cups at once for you and your hiking buddy. The moka pot is fast , comparatively light, and I use espresso from Aldi which is cheap. A bonus to the Sbux instant– it works cold as well so you can skip hearing the water if you are in a hurry a d just need the caffeine.
The moka pot really is the king of brew methods for me. I just can’t bring myself to carry mine as it is so bulky!
I don’t know what it is about camping that makes even the simplest coffee taste amazing. At home we fresh grind and make it up all nice and a cup of instant would taste just so….bleh. But in the backcountry…. it’s amazing. Lol, I guess I’m easy to please.
At Christmas, through a Secret Santa gift exchange, I was given an nCamp Camping Coffee Maker. Hands down, the best Secret Santa gift I have ever received. It is compact, easy to clean, comes with a nice mug that works as a cover, and it makes an incredible cup of coffee. I pre-ground and pre-measured my beans for easy packing. It’s worth a try.
Great article overall! Long live coffee!!!
You’re getting confused with your cowboy coffee technique and ground type. Coarse ground is the best. Mixing hot water with coarse ground is not Americano. By definition, Americano is watered down espresso and espresso requires fine ground; hence cowboy coffee is not Americano. Additionally, you don’t filter your cowboy coffee, neither with a bandana nor with any other contraptions. You are simply letting the coffee ground get saturated and fall to the bottom and you can help it sink by tapping the side of your vessel or by moving it up and down. If still by any chance you have floaters that are disturbing your enjoyment, you’re in the backcountry: there are whole lot other inconveniences that you are supposed to be embracing.