
 ">
Why Most Backpackers Buy the Wrong Backpack
If you’re in the market for a new backpack, this is for you.
Choosing a backpack for a backpacking trip is one of the most important choices you’ll make with all of your gear. Depending on the type of hike you’re going on, your backpack will impact how much gear you can bring with you. Not to mention, it can impact the comfort of that hike as well.
You want to make sure the backpack you choose has enough room for all of your gear and all of the food you’ll need on your hike. But you don’t want to make sure that it’s so big and so heavy that you’re forcing yourself to overpack just to fill up the space.
If you go to a gear store and have someone help you find a backpack, they might not be doing the kinds of backpacking trips that you’re going to be doing. So I’m here to cut through all the crap and help you figure out what’s going to work for you.
Hi, I’m Jabba, the Real Hiking Viking. I’ve backpacked roughly 25,000 miles, all of the Triple Crown trails, and everything in between that you can imagine.
Today, we’re going to talk about how to choose a backpack and everything that comes along with that.
1. Start With the Type of Trip You’re Taking
Before we even select a backpack, we need to know what kinds of trips you’re going on.
Will it be an overnight trip, a weekend, or a multi-day trip? Will it be a full thru-hike where you’re out there for months? What kinds of uses will your backpack be going on?
Next, think about seasons. What time of year will you be backpacking? Will it be spring, summer, fall, or all three? Is it going to be winter?
Also, are you going to be on-trail or off-trail? In the desert or high alpine?
All of these things should be taken into consideration when thinking about the pack you want to buy.
You may even want to consider whether you’re going solo, with a partner, or with a group. Sometimes you have shared gear. You might want to carry more than someone else, or someone else may be carrying some of your gear too.
All of these things can matter when deciding what type of pack you want to use.
It could mean you need a more robust pack. It could mean you need a lighter pack. It could mean you need a pack with more features or fewer features, or a pack that has a more padded hip belt or no hip belt.
Make sure you know what you want to do before you start selecting the type of pack you’re going to use.
For example, let’s say you’re going into the desert. You might be carrying much more water than you would if you’re going to be in the high alpine, where you’ll be seeing streams, lakes, and creeks all the time. Make sure you know how much water is out there.
If you don’t have a good hip belt and you’re carrying 10 liters of water between water sources, that can mean your shoulders and back are in a lot of pain by the end of day one.
Or maybe you’re doing an overnight trip versus a thru-hike, and the volume of your pack comes into play. You may not need 70 liters. Maybe 40 liters is enough.
These are all the kinds of reasons why you see different backpackers using different backpacks on different kinds of trips.
Take that into consideration when choosing your backpack because it is not one-size-fits-all.
2. Understanding Backpack Volume
What does pack volume mean?
You’re probably wondering that if this is your first time buying a backpack.
Pack volume is measured in liters. I know that’s the stuff we drink, typically. But it’s also how we measure the size of our packs.
People choose backpacks for backpacking trips ranging from about 35 liters up to 75 liters and everything in between.
Daypacks: 10 to 30 Liters
Let’s start with daypacks.
Those can be anywhere from 10 to 30 liters, depending on your needs.
Here we have a 26-liter daypack. It could be used around town or for quick trips up a mountain for training or peak bagging. You could probably even sneak in an overnight trip if you’re pretty ultralight.
Essentially, you want to make sure you have a big pocket for everything you’ll need during the day:
- Layers
- Food
- Outer mesh storage
- Bottle pockets
- Snacks
- Water filters
Daypacks can have hip belts, but a lot of them don’t.
They’re usually pretty simple. They may have a little padding. They don’t need frames. They’re generally lightweight. They’re just going to get you through whatever day trips you have going on.
When picking a daypack, you don’t have to get too discerning about all of the features because you’re just using it for the day.
Pick what you want.
Do you want colors? Do you want to go big? Do you want to go small? Do you want ultralight? Do you want durable?
It’s kind of whatever suits your fancy.

Overnight and Weekend Packs: 30 to 50 Liters
Next, we have overnight or weekend packs. Those can be anywhere from 30 to 50 liters.
Again, remind yourself that you still have individual needs based on your base weight and the things you’re carrying. What works for one person is not going to work for everyone.
Here we have a 37-liter pack.

For some people, this is a lot of space. For other people, it isn’t.
This can be used as a daypack or a thru-hiking pack.
This particular pack has:
- One main compartment
- One large mesh stuff pocket
- Two bottle pockets
- No frame
- A couple of small mesh pockets on the shoulder straps
That’s it. It’s pretty simple.
Again, it could be used as a daypack, overnight pack, or thru-hiking pack.
You’ll see a range of features in these types of packs that may or may not work for you.
This one has no frame, no padding, and no hip belt. It could be an ultralight thru-hiking pack or someone’s standard daypack. But we can probably comfortably put it in the category of a good weekend pack.
Here we have a 40-liter pack with a few more features built into it than the prior pack.
This can also be an overnight or weekend pack. To compare, you have ultralight, featureless packs that can be used for those trips, or packs that are a little heavier, more robust, and more feature-rich.
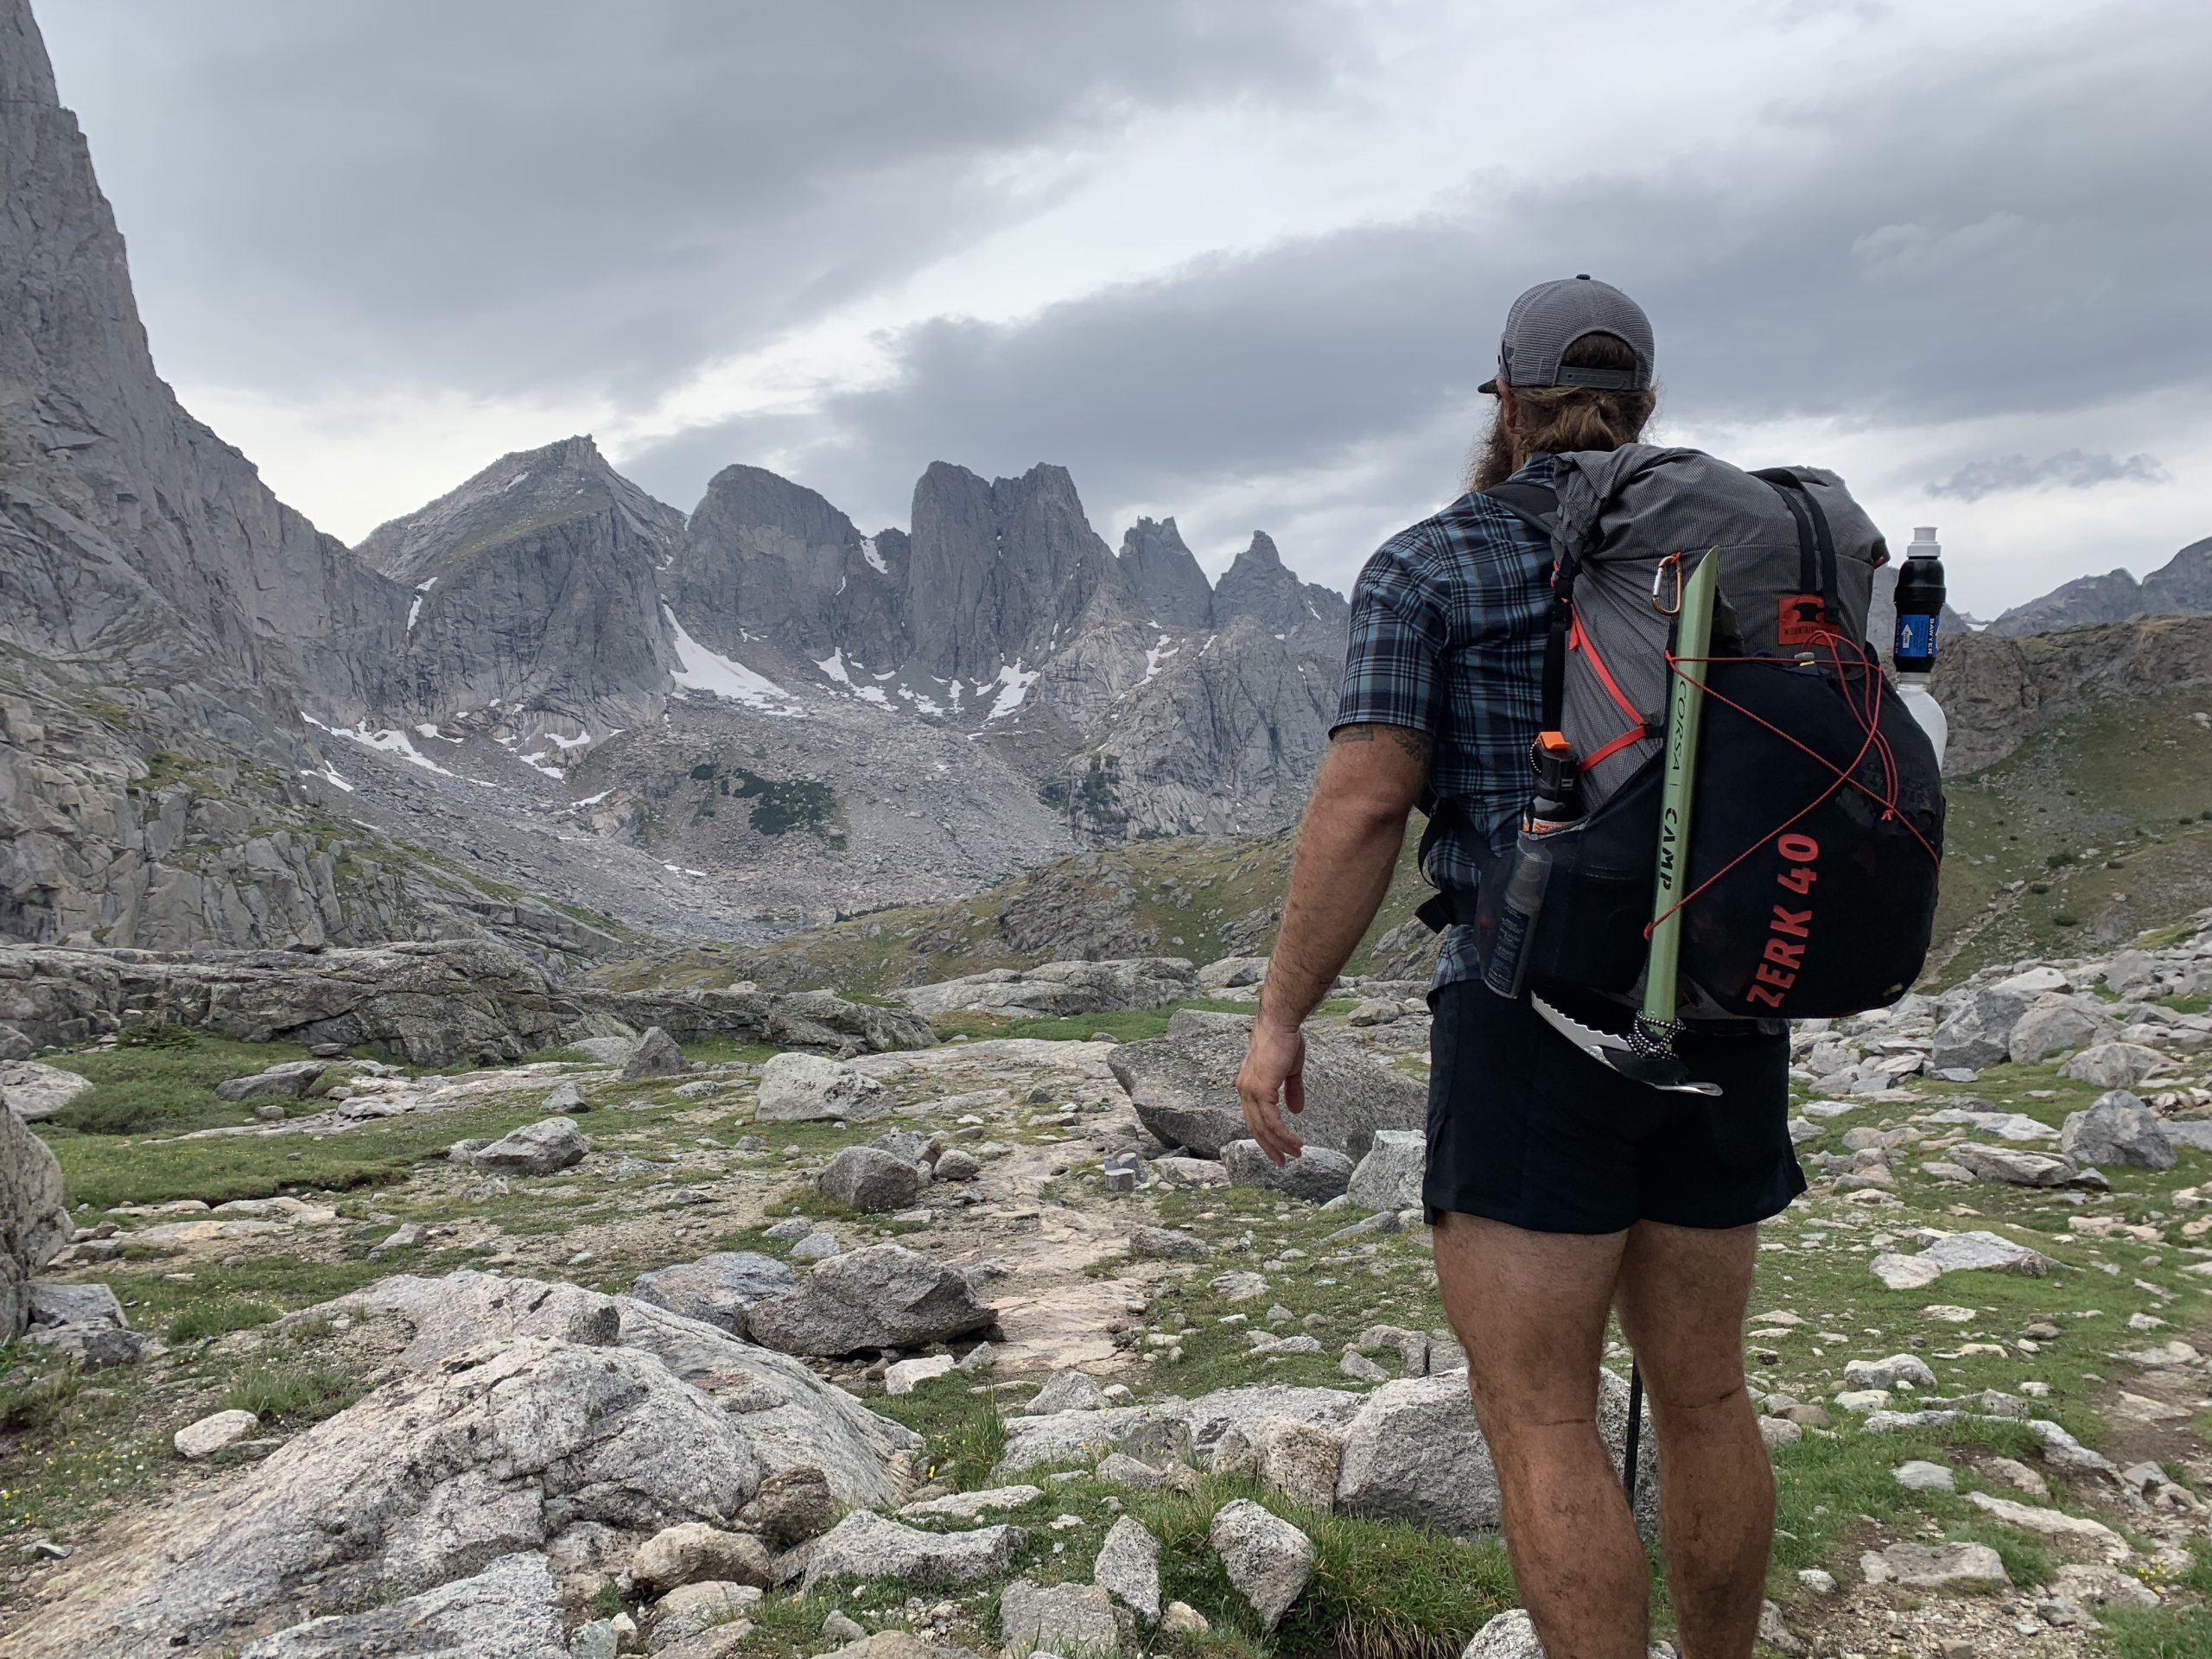
This happens to be my own personal pack, the Mountainsmith Zerk 40. I use this on all my thru-hikes.
You can use it for a day hike. You can use it for an overnight. You can use it for thru-hiking.
This one has a foam frame sheet and a hip belt. The hip belt is also removable, so it’s versatile in that way.
That’s one thing you’ll want to consider when buying a pack: Is it versatile? Maybe you’re trying to buy one backpack for all kinds of uses.

Long-Distance and Thru-Hiking Packs: 50 to 70 Liters
Moving on to more traditional-volume packs for long-distance backpacking or thru-hikes, you’re generally looking at 50 to 70 liters.
Here we have a Gossamer Gear Mariposa 60.
I would call this a pretty robust backpack for most of your long-distance backpacking needs. I’ve personally used this backpack multiple times on thru-hikes. It comes with an aluminum stay built in as a frame.
It has foam padding and a full, load-bearing hip belt. You’ve got load lifters. You can even swap out the hip belt if you lose or gain weight.
It also has:
- A large tent pocket on one side
- Two other accessory pockets
- Optional shoulder-strap accessory pockets
- An accessory zippered pocket for getting things quickly while on the move
I would say this is a pretty feature-rich pack when considering long-distance backpacking packs today.

Another pack for thru-hiking or long-distance backpacking in the 50- to 70-liter range is the Hyperlite Mountain Gear Southwest 55.
A couple of differences with this pack are that it’s basically waterproof. It’s made from a material that doesn’t allow water in, and the seams are taped.
With this particular pack, the hip belt is not replaceable. Once you buy it, you’re locked into that hip-belt size.
You’re also missing some of the accessory pockets, but you can mitigate that by adding other accessory pouches to the outside. The hip-belt pockets are also waterproof and use waterproof zippers.
So, why choose one of these packs over the other?
Some things you might want to consider are:
- Are you worried about your hip belt becoming too small or too large at different points in your hike?
- Are you worried about the price?
- Are you worried about waterproofness?
- Do you like more features or fewer features?
- Do you want more durability?
- Do you want more pockets?
- Do you want things you can tether to the outside?
These are all things to consider when choosing these types of backpacks.
We haven’t even discussed the weight of the packs yet.
Maybe you want a brighter pack. Maybe you want a darker pack. Maybe you like the aesthetic of one over the other.
I’ve gone through all types of packs in my day.
Sometimes I like switching it up. Sometimes I want a waterproof pack. Sometimes I want a pack with a frame.
It changes all the time.
Play around with it yourself and decide what you want to use this time around.

Expedition Packs: Around 70 Liters and Up
Next, you’ve got your 70-liter backpacks.
Boom. It doesn’t even fit in the frame. It’s so big.
These packs are for expeditions or really long food and water carries where you’re not getting resupplied in less than, I don’t know, six days or so.
Packs like this are going to have more features than the lighter and smaller backpacks we’ve been showing.
For example, this one has a full aluminum frame inside, along with a trampoline-style back that helps distribute air behind you so you’re not overheating while carrying a heavy load uphill.
You’ve got load lifters made from more durable materials.
You’ve got a robust hip belt with a whole bunch of webbing that you can tighten down to make it fit more precisely. These are typically heavily cushioned.
Again, they’re made with more robust materials because they’re meant to carry heavier loads and be used in more rugged areas.
The cases where you might use a pack like this include:
- Trail maintenance
- Trips with food carries longer than a week
- Expeditions
- Carrying supplies for other people
- Carrying gear for dogs or kids
- A first thru-hike where you’re prioritizing comfort
These are often starter packs for thru-hikers. I can attest to that. On my first thru-hike in 2013 on the Appalachian Trail, I used a backpack just like this.
You might also see people using packs like this in Alaska or Nepal.
If you’re just going out for the weekend and you’re not carrying extra supplies for other people, dogs, kids, or whatever, you don’t need a pack like this.
Also keep in mind that your base weight may evolve over the years, and you may end up choosing a different pack later.
Like I said, the first pack I used was like this. Over the years, I’ve gone from 65 liters to 55, to 48, to 40, and sometimes even lower.
It’s kind of a journey for everybody, no pun intended.
Don’t be afraid to try different packs as you get lighter and reduce your gear.

3. Fit and Sizing
When you’re buying a backpack, you must know your torso length.
To measure your torso length, measure from the iliac crest, which is the top of your hip bone, up to your C7 vertebra at the base of your neck.
There are plenty of resources online where you can see someone measure torso length.
You’re probably wondering why that matters.
No two backpacks are sized exactly the same way, and all of these backpacks come in different sizes. Much like choosing the right shoe for your foot, you want to choose the right backpack for your back.

Hip-Belt Sizing
You may not know this, but your hip belt is actually pretty important because it carries about 80% of the load.
That’s if you have a hip belt, or specifically a load-bearing hip belt.
Some hip belts are just webbing straps that help keep the pack against your back. Other hip belts are carrying about 80% of the load.
So the sizing of that hip belt is pretty important.
I certainly recommend that you go into a gear shop and try on packs if you can. Buying online can involve a lot of trial and error, and you may have to return packs multiple times if they’re the wrong size, don’t fit well, or don’t feel good on your body.
Make sure you’re always putting weight in the backpack when you try it on. When packs are empty and light, they fit and ride completely differently.
Women’s, Men’s, and Unisex Packs
There are gender-specific packs and unisex packs. It’s certainly not one-size-fits-all for most people, specifically when it comes to women. A women’s pack may have different shoulder straps, different sizing, or a different hip belt. But just because you’re a woman doesn’t mean you need to use a women’s pack. There are unisex packs out there. It just means you need to try them on beforehand and make sure they work for you.
Some packs also have adjustable torso-length systems built in. Typically, there’s a range you can adjust to fit different torso heights.
The last thing I’ll mention briefly is that you can go into some gear shops and get what’s called a professional pack fitting. Some people may find that worthwhile. I’ve never had it done personally. I did a lot of trial and error. But if you have the disposable income and you know the shop has a reputable person who can fit you, it could be worth it.
The Four Main Backpack Frame Types
There are four different frame types:
- Frameless
- Internal frame
- External frame
- Suspended mesh
a. Frameless Packs
This is a true frameless pack.
It’s literally like a grocery bag with a couple of shoulder straps. There is nothing to it. There is nothing that gives it shape.
The types of people a frameless pack is for are mostly ultralight backpackers or day hikers.
The pros are:
- It’s ultralight
- It’s very packable
- It has fewer failure points
The fewer features you have, the fewer failure points there are.
But there are cons.
A frameless pack requires you to be well organized. It often requires expensive ultralight gear. It also forces you to be more thoughtful about how you pack. If you don’t pack it correctly, it will be less rigid and won’t carry the load as well as you want.
Another con is comfort.
On long water carries and long food carries, your shoulders are going to take a beating. You need to make sure you’re accustomed to that so you’re not in a lot of pain while you’re out there.
If you’re prone to back pain, hip pain, or other types of pain, this pack probably isn’t for you because it could exacerbate those preexisting conditions.

b. Internal-Frame Packs
Here we have my choice for thru-hiking, the Zerk 40.
This backpack has an internal frame, or more specifically, a frame sheet.
A pack like this is pretty common among thru-hikers these days. A frame sheet works exactly how it sounds. There is a sheet sewn into a pocket that helps the pack maintain its size and shape while you’re backpacking. It also provides a little bit of comfort against your back. You don’t have to be quite as thoughtful about how you pack it.

Then you also have internal frame stays.
Here we have a pack with a frame stay.
There’s a metal rod that goes around the outside of the pack and usually connects to the hip belt. That helps transfer the load from the pack to the hips.
One reason people choose a pack with an internal frame stay is load transfer through the load lifters. The benefit of an internal frame over a frameless pack is that it carries the load better. It also means it’s usually heavier because you have a metal frame inside the pack.
Most backpackers today use packs with internal frames.

c. External-Frame Packs
Then there’s the old-school external frame.
We don’t even have an external-frame backpack here, but it looks something like this.

External-frame packs are an older, more conventional style, but they still have relevant uses because they carry heavy loads very well.
Sometimes they can be a good choice because they offer:
- Better ventilation
- Modular uses
- Excellent heavy-load carrying
You still see rangers, trail maintainers, and other people who work in the backcountry using them.
They’re harder to find these days.
d. Suspended-Mesh Packs
The last type is the suspended-mesh back.
Here we have a pack that combines a suspended-mesh back with an external frame stay.
The suspended mesh keeps the pack off your back and improves ventilation.

People who may want a pack like this include those hiking in hotter, more humid places or people who sweat a lot. They can be more comfortable for some hikers.
One of the cons is that when the pack is fully loaded, the farther the weight sits from your back, the less stable the load will be.
When packing this type of pack, try to keep most of the heaviest items as close to your back as possible. That way, the pack isn’t pulling you off balance as easily.
Our own Andrew Skurka did a lengthy video on how to pack your backpack.
4. Suspension Systems and Load Transfer
Let’s quickly touch on load transfer.
Specifically, these load lifters. Load lifters are straps at the top of your shoulder straps that connect to the upper part of the frame. Throughout the day, you can tighten or loosen them to adjust how the load sits on your shoulders.
The looser they are, the lower the weight is going to sit on your back.
The tighter they are, the higher the weight will sit on your shoulders.
Another part of load transfer is the hip belt. As I said earlier, about 80% of the load can or should be on your hips.
If the pack fits correctly and you’re using the load lifters properly, much of that weight can be transferred down through the frame and into the hip belt.
That’s why it’s so important to:
- Have the correct pack size
- Know your torso length
- Make sure the hip belt fits
If none of those things are the right size, you won’t be able to transfer the load correctly, and the pack weight is going to ride all messy across your back and hips.
It’s worth noting that not all packs have these features. Ultralight packs and fastpacks often don’t have load lifters and may not have load-bearing hip belts. Some frame-sheet packs have load lifters but not load-bearing hip belts. Packs with internal frame stays may have both load lifters and load-bearing hip belts.
There are other factors too:
- Shoulder-strap design
- Sternum strap
- Lumbar padding
- Hip-belt padding
- Back-panel ventilation
Generally, the heavier the pack and the heavier the load, the more you’ll want load lifters and a load-bearing hip belt.
Anywhere in between, you may want a blend of those features.
Figure out what works for you, and make sure you try the packs on.
5. How Much Should the Backpack Itself Weigh?
Remember that the weight of the backpack itself is part of your base weight.
Pack weight can vary from ultralight backpacks weighing less than one pound to large 70-plus-liter expedition packs weighing more than six pounds.
There’s always going to be a comfort-versus-weight trade-off among the different types of packs.
The rule of thumb is:
Heavier pack, heavier loads.
Lighter pack, lighter loads.
We could do a whole video on pack weight by itself, but we’re going to keep this short and sweet.
6. Backpack Materials and Durability
We could also make an entire video on materials and durability, but I’m not going to do that to you here.
I’m going to keep it short, sweet, and pretty dumbed down.
Essentially, you have three main categories of backpack materials:
- Nylon
- Dyneema Composite Fabric, or DCF
- Ultra blends
Then, after you decide what material you want, you have to decide how durable you want the pack to be.
That’s where denier comes into play. Denier basically refers to how thick, robust, and durable the material is.
Common deniers include: 210D, 420D, and 630D
The higher the number, the thicker and more durable the material generally is.
Nylon
Nylon is typically going to be the cheapest and sometimes the most durable. It’s also probably the most common.
What nylon gives you in durability, depending on the denier, it may lack in ultralight properties and waterproofness.
However, some nylons have coatings such as:
- DWR, or durable water repellent
- PU, or polyurethane
- Silicone coatings
Those can help improve water resistance and durability.
Brands selling nylon packs include Osprey, Gregory, Mountainsmith, and Mountain Hardwear, just to name a few.
Dyneema Composite Fabric
Next, let’s talk about Dyneema, or DCF, which stands for Dyneema Composite Fabric.
Here we have an example from Hyperlite Mountain Gear.
DCF packs are typically more expensive but also highly waterproof. They’re usually less durable and less abrasion-resistant than nylon packs, but they’re lighter. A lot of backpackers choose DCF specifically because it’s waterproof.
However, these packs can take a beating, and by the end of a long thru-hike, you may be retiring one.
Ultra Blends
Here we have an example of an Ultra-blend material.
This is a Durston Kakwa pack.
One key difference between DCF and Ultra is that one is non-woven and the other is woven. Ultra is woven with a ripstop pattern.
This material is typically more waterproof than nylon, but it isn’t officially waterproof. The seams inside are not taped, and the outer material can still absorb a little water compared with DCF. An Ultra pack will resist punctures and abrasion much better than DCF. The trade-off is that Ultra can be a little heavier.
So how do you decide what pack material you want?
If budget is your biggest concern, you’ll probably want nylon.
If waterproofness is your biggest concern, DCF.
If abrasion resistance is your biggest concern, you may want an Ultra blend.
That’s basically all I have for you on materials.
7. Hydration Options
When it comes to hydration and backpacks, you basically have two options.
1. You can use a hose attached to an internal bladder.
Some people like that. I personally don’t.
2. You can use external bottle pockets.
I typically carry two bottles on one side and sometimes another bottle on the other side.
Some people like carrying at least some of their water on the front because they don’t want to reach backward or have a hose dangling. They want a bottle right there near their face so they can drink whenever they want.
It all comes down to preference.
Make sure you understand how you like to consume water throughout the day.
8. Backpack Brands to Know
We’ve talked about features, functions, sizing, and the packs themselves.
But what are some brands to know?
Traditionally, you have:
- Osprey
- Gregory
- Deuter
- REI Co-op
A lot of these are considered beginner or entry-level packs that you can find almost anywhere. But just because they’re traditional doesn’t mean experienced backpackers don’t use them. Some of them are built for comfort and heavier loads more than cottage-brand packs. Don’t rule them out.
Some cottage brands include:
- Zpacks
- Hyperlite Mountain Gear
- Six Moon Designs
- ULA
- Durston
- Granite Gear
Then you have some mid-range or hybrid brands, such as:
- Gossamer Gear
- Mountainsmith
All of these brands have their own unique functions and features. Do your homework. Don’t just buy the first pack you see.
9. How to Buy Your Backpack
Now you’re ready to buy a backpack.
Where are you going to get it?
Buying From a Gear Store
A lot of people like walking into their local REI and looking at the different packs available. That’s fine.
They can help measure your torso, load up a pack for you, and let you try it on over terrain inside or outside the store. They may have weighted sacks for you to load into the pack, but it can also make sense to bring your sleeping bag and shelter so you can see how your actual gear fits. REI also has a phenomenal return policy.
The downside is that they don’t always carry every brand you may be interested in.
They generally don’t carry many cottage-industry brands in stores. You’re probably not going to see Gossamer Gear, Six Moon Designs, or Mountainsmith on the sales floor, even if they sell some of those brands online.
Buying Online
It makes sense to try on a pack first, but you may find a better deal online.
A little hack to save money is to try a pack on in a store and then look for a deal elsewhere. But if the backpack you want isn’t in a store, go to the manufacturer’s website and carefully review the sizing chart.
Also, don’t buy the backpack the day before you leave. You want to do several training hikes with it before taking it on a long-distance trip. You may even want to buy several packs and try all of them before making your selection.
Just make sure you’re following the return policies so you can get your money back.
Buying Used
Maybe buying a brand-new pack doesn’t make financial sense, or you want to be more sustainable.
You can find used packs through:
- Geartrade
- Facebook Marketplace
- REI Garage Sale
Always inspect a used pack closely.
Make sure there are no major failure points and nothing is already tearing at the seams.
Final Thoughts
I just threw a whole lot at you.
Let’s recap:
- Trip type
- Volume
- Fit
- Frame
- Materials
- How to buy
All of those things should come into consideration. But you also don’t want to get too hung up on all of it because this is supposed to be fun. At some point, you’ve got to make a decision, get out there, and try it.
What kinds of backpacks are y’all looking at?
What’s your favorite?
What do you want to hear me talk about next?
Let me know in the comments, and we’ll see if we can get to it.
As always, don’t forget to like, subscribe, and get out there and have fun.
My name is Jabba, the Real Hiking Viking.
You can find me on Instagram and Facebook.
Until next time.
The above is a transcription. Minor edits have been made for clarity and readability, while preserving the original message and intent. This video is part of a new series on The Trek’s Youtube. Be sure to check out the full video and subscribe to our YouTube channel.

This website contains affiliate links, which means The Trek may receive a percentage of any product or service you purchase using the links in the articles or advertisements. The buyer pays the same price as they would otherwise, and your purchase helps to support The Trek's ongoing goal to serve you quality backpacking advice and information. Thanks for your support!
To learn more, please visit the About This Site page.
