 ">
">
Post the People: Tips for Photographing People on Trail
Photography is my language.
I’m a very visual person. It’s how I communicate; how I teach, how I learn, how I share. You know, I tried to keep a journal at the beginning of the trail. I can read what I wrote in my journal that first month or so and not feel a thing. But when I look back through all the pictures I took, at the faces of the people I met, the people I shared a laugh with, a meal with, a campfire with… there’s nothing I could say to describe that feeling. It takes me right back to the moment.
I’m not a professional but I’ll try and list some tips and tricks; from choosing a camera to photographing people on trail.
Choosing What Camera to Take
*To preface this, I just want to say that it’s absolutely true, “The best camera is the one you have with you.” By no means do you need an expensive camera to take good photos and by no means am I telling you to go and buy a new camera. As someone who partially hiked for the sole purpose of taking photos, this is my advice in how I chose what camera I was going to take.*
Phone Cameras & Point-And-Shoots |
If you’re not into photography and simply want to document your hike for the sake of memories, your phone will definitely get the job done. Honestly, even though I carried a camera with me, I used my phone camera almost every day as well. Especially for video.
If you want to get more into photography but don’t own a DSLR and want something with better quality than a phone, PLEASE don’t go out and buy a $1,500 camera to take with you on the trail. Point-and-Shoots have come a long way since 2006! I ended the trail with a first generation Sony RX100 and I found that it did basically everything my DSLR could do. So if you’re just getting into photography and want to upgrade from your iPhone, maybe check out different point-and-shoots. Look for something that’s rugged enough to withstand the trail and also something that has the ability to shoot on manual. Compared to a DSLR, they’re much more budget friendly. You can get great quality images without completely breaking the bank. They’re lightweight, compact, and therefore, make ideal hiking cameras. Don’t underestimate a good point-and-shoot!
DSLR Cameras |
- Is photography your passion and a skill you want to further develop on trail?
- How important is the quality of image to you?
- Are you willing and prepared to deal with the responsibility having a DSLR on trail?
In my gear-gathering stage of 2017 I remember going back and forth between what camera I was going to take. Was I going to go balls-to-the-wall and bring my film camera or was I going to bring my little Sony RX100? Should I bring my Canon DSLR?? That’s pretty heavy… and expensive… Maybe I’ll just make do with my phone… No way, Sony it is… but my Canon?!?
You get the idea.
Ultimately, I decided to bring my Canon 6D with a 50mm lens because I answered “yes, very, yes” to the 3 questions above. I knew that I would regret not having my DSLR with me.

Things to Consider with a DSLR:
I feel like it’s safe to say that most people that take a DSLR on trail with them already own it and use it frequently. They can be very expensive and therefore, it’s a big decision to take it on a long distance hike. Here are a few things to consider:
-
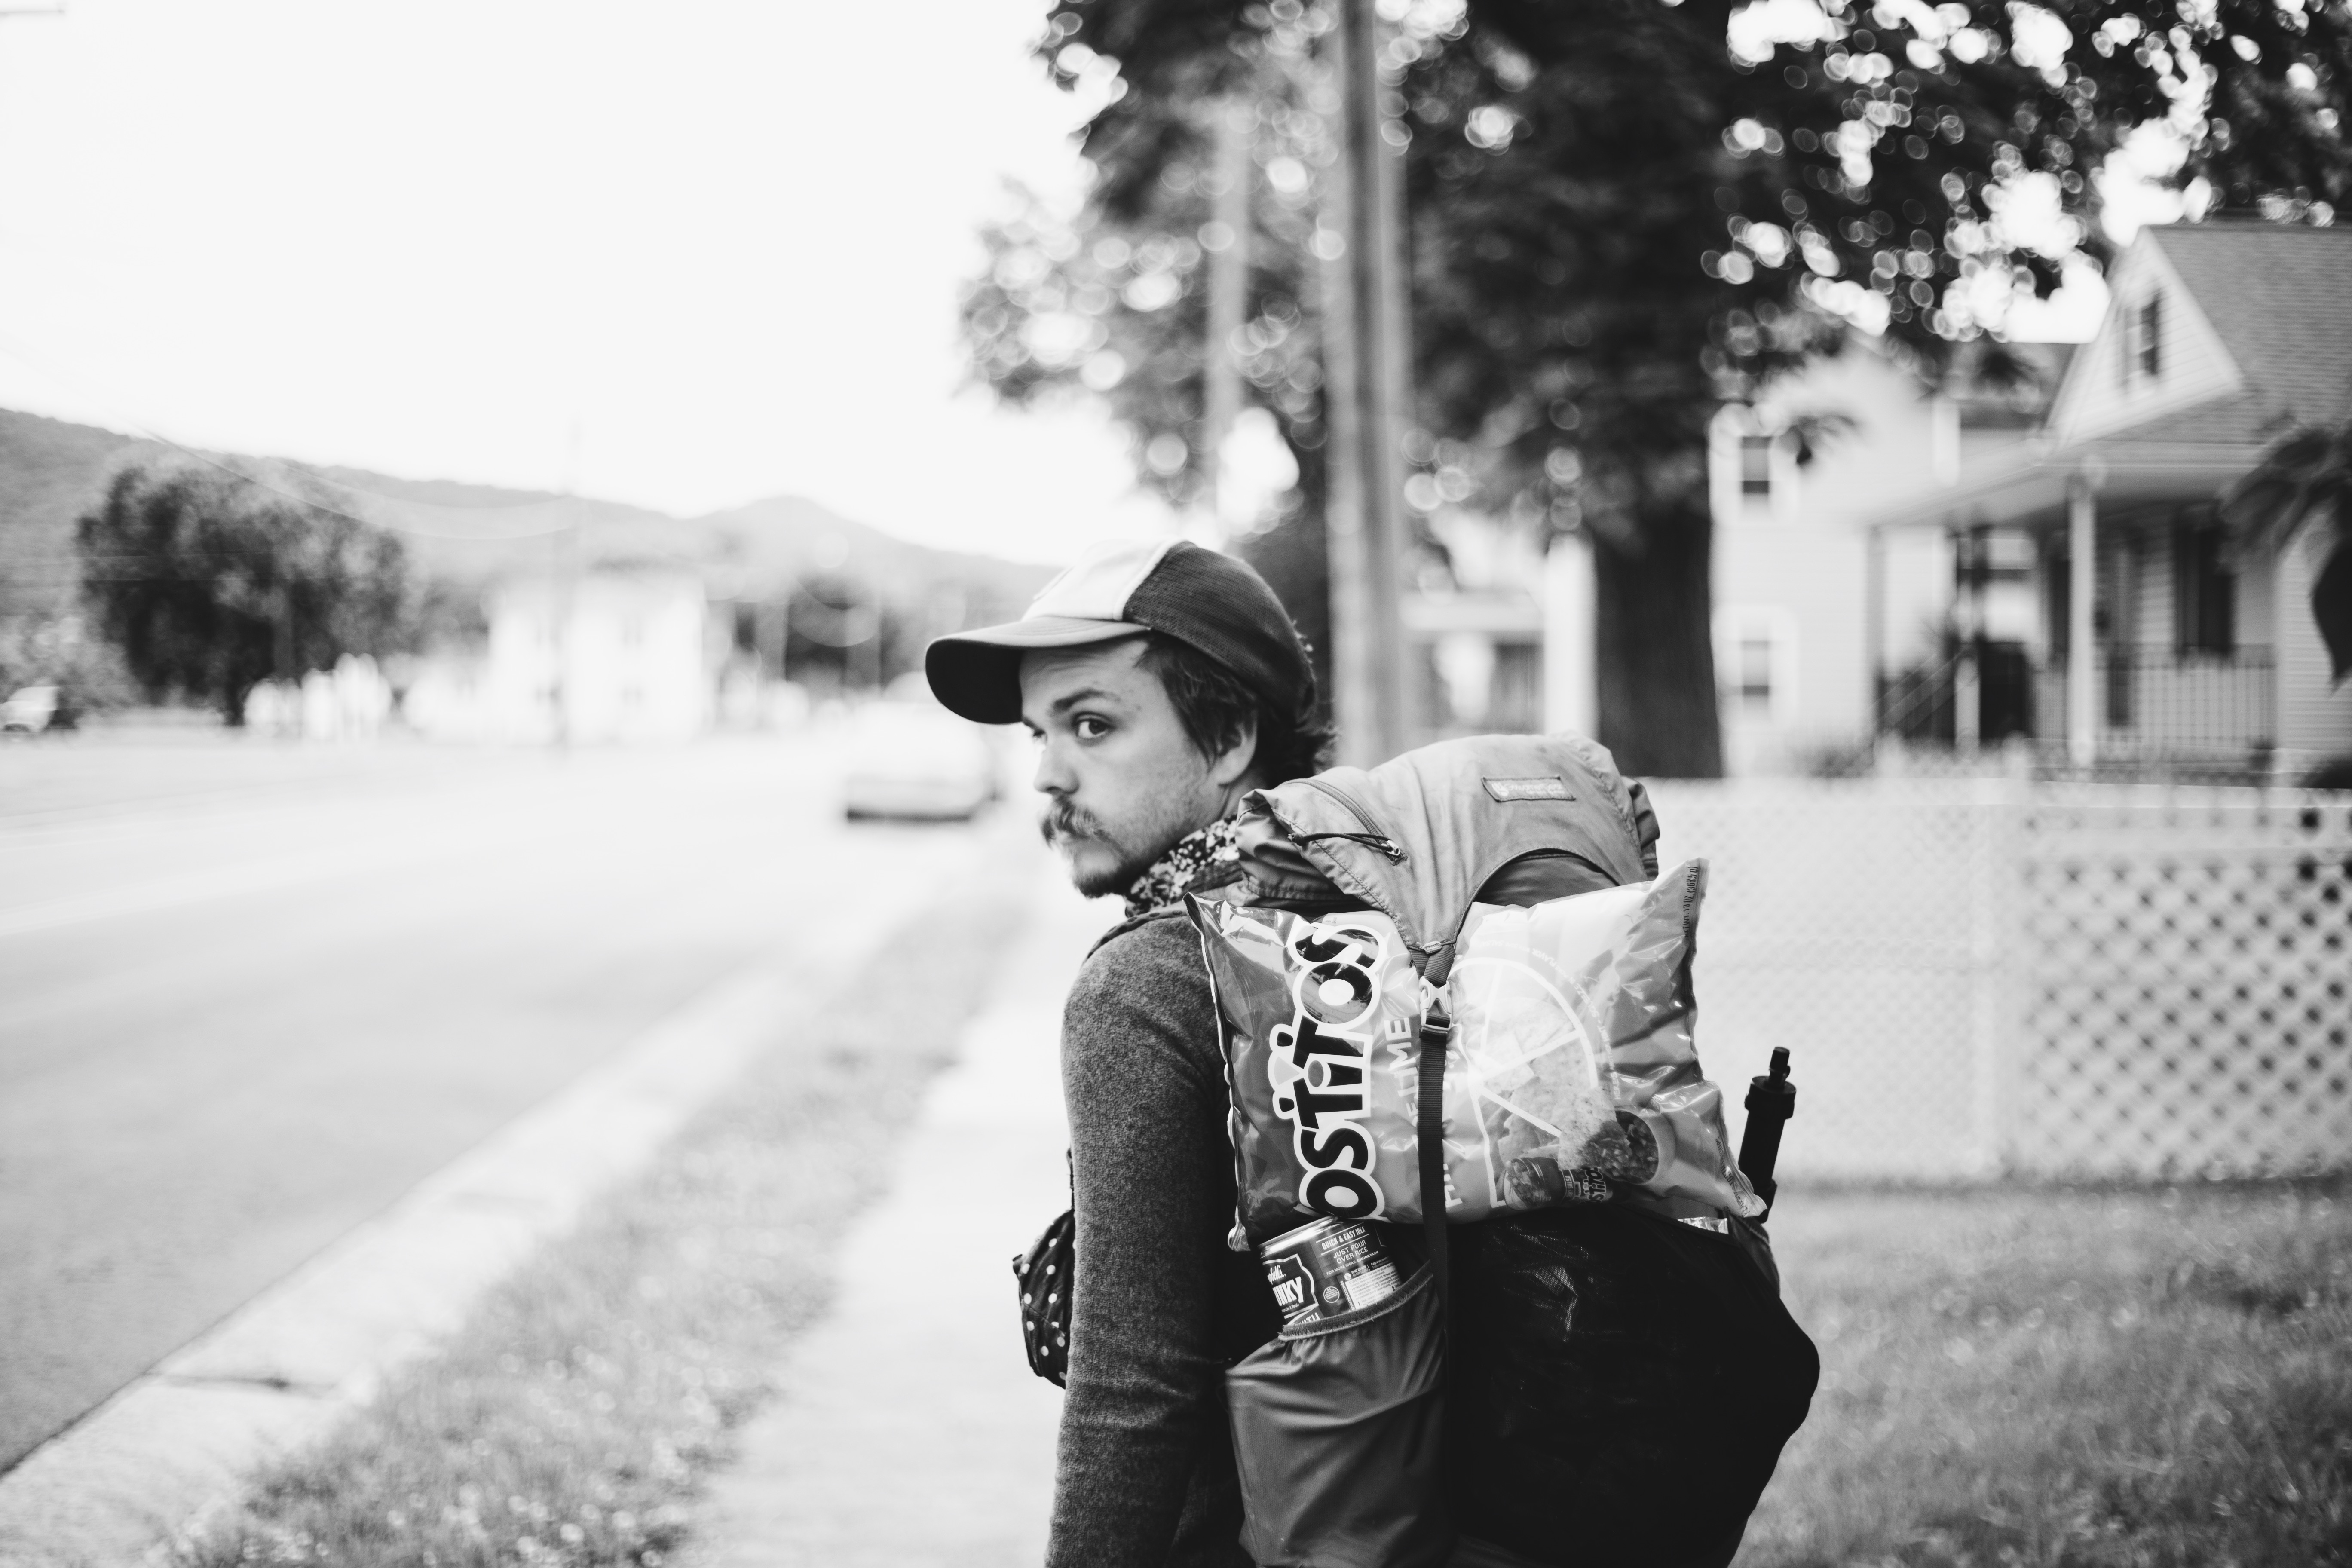
- Carrying It| How are you going to carry your camera? How much weight will it add? Do you want it easily accessible at all times? If you’re trying to keep your pack weight down, you might need to sacrifice weight somewhere else. I know for me, base weight was important, so choosing to carry my 2 lb camera meant switching out my 3 lb sleeping bag for a 1 lb sleeping bag. In terms of how you’re going to carry it and whether or not you want it accessible at all times might mean looking into a front pouch or maybe a strap clip or a cross-body carrying case. How will this affect your ability to hike? Most importantly, is it comfortable to carry?
- Lenses | What lens will you take? Think about what you want to focus on and choose a lens that best suits that. I, for instance, knew I wanted to primarily focus on people so I chose a 50mm fixed lens. If you’re unsure, opt for a zoom lens so you have options and flexibility.
- Battery Life | How long does your battery last? Will you be able to charge it fully during town stops? Will you be shooting enough that it would benefit you to bring a second battery?
- SD cards | How many photos does your card hold? Will you send it home once full and receive a new one? Will you be bringing multiples? How will you ensure those are kept safe? I started with two SD cards. The first one I filled up right after getting to Pearisburg, VA. I sent it to my parents to hold onto. I didn’t want to risk keeping it with me and having something happen to it.
- Editing Process | Are you going to edit as you go or are you going to edit everything once you get home? I, for one, am a rather impatient person. I knew that I wanted to be able to edit and post as I went so I invested in an SD card reader that plugs in and imports directly to my phone. I loved being about to share photos in real time instead of posting “throwbacks” once I finished.

- Protecting It | So this topic is a big one. It can make or break your bank account (trust me…). I ruined my Canon 6D because I did not properly protect it. The front pouch I carried it in had been waterproof up all the way up until Connecticut. I trusted it by this point. But the tiny little pinholes that came from wear and tear over those how-many-miles lead it to leak during a heavy rainstorm. The bottom of the bag filled with about a half inch of water, enough to get water in the side ports of my camera and screw it up. Luckily, I was able to take a day off trail, dry it out in a bag of rice, and get it working again. For some reason though, I decided to put it back in the same front pouch. But this time I put my camera in a gallon ziplock. I thought, “Okay, there’s no way rain is getting past this” (insert face-palm here…). Then in Massachusetts, just before Dalton… torrential downpour. It came out of nowhere and I had this terrible feeling that I forgot to zip the ziplock after putting it back in its pouch. I couldn’t open it to check so I just had to cross my fingers. It rained so hard for so long. When we got to Dalton, I was finally able to check to see if the ziplock held up. The ziplock bag was wide open and had a full inch of water in it. My camera was port-side down and had been sitting in that standing water for at least an hour. It was done for. I cried. I tried the rice again in a last ditch effort but no luck. I ended up sending it home because it was only making it worse keeping it out in the humidity. Moral of the story, learn from my mistakes and MAKE SURE you protect your camera. Give it priority. Put it deep in your pack in a waterproof stuff sack if it looks like rain. Even if it starts drizzling and you think it will pass. Make sure you have a good insurance/protection plan for it (mine didn’t cover damage from ‘standing’ water, I found out…) and at the very least, zip the damn ziplock.
- Be Aware | People on trail are very trustworthy but you never know. If you have an expensive DSLR, keep it with you or in your sight at all times. Especially in towns. Just use common sense and be careful.
If you’re a photographer and you decide to bring your DSLR with you, you won’t regret it. It’s worth all the hassle and the extra weight and potentially stressful moments, I promise!

Getting Candid Moments
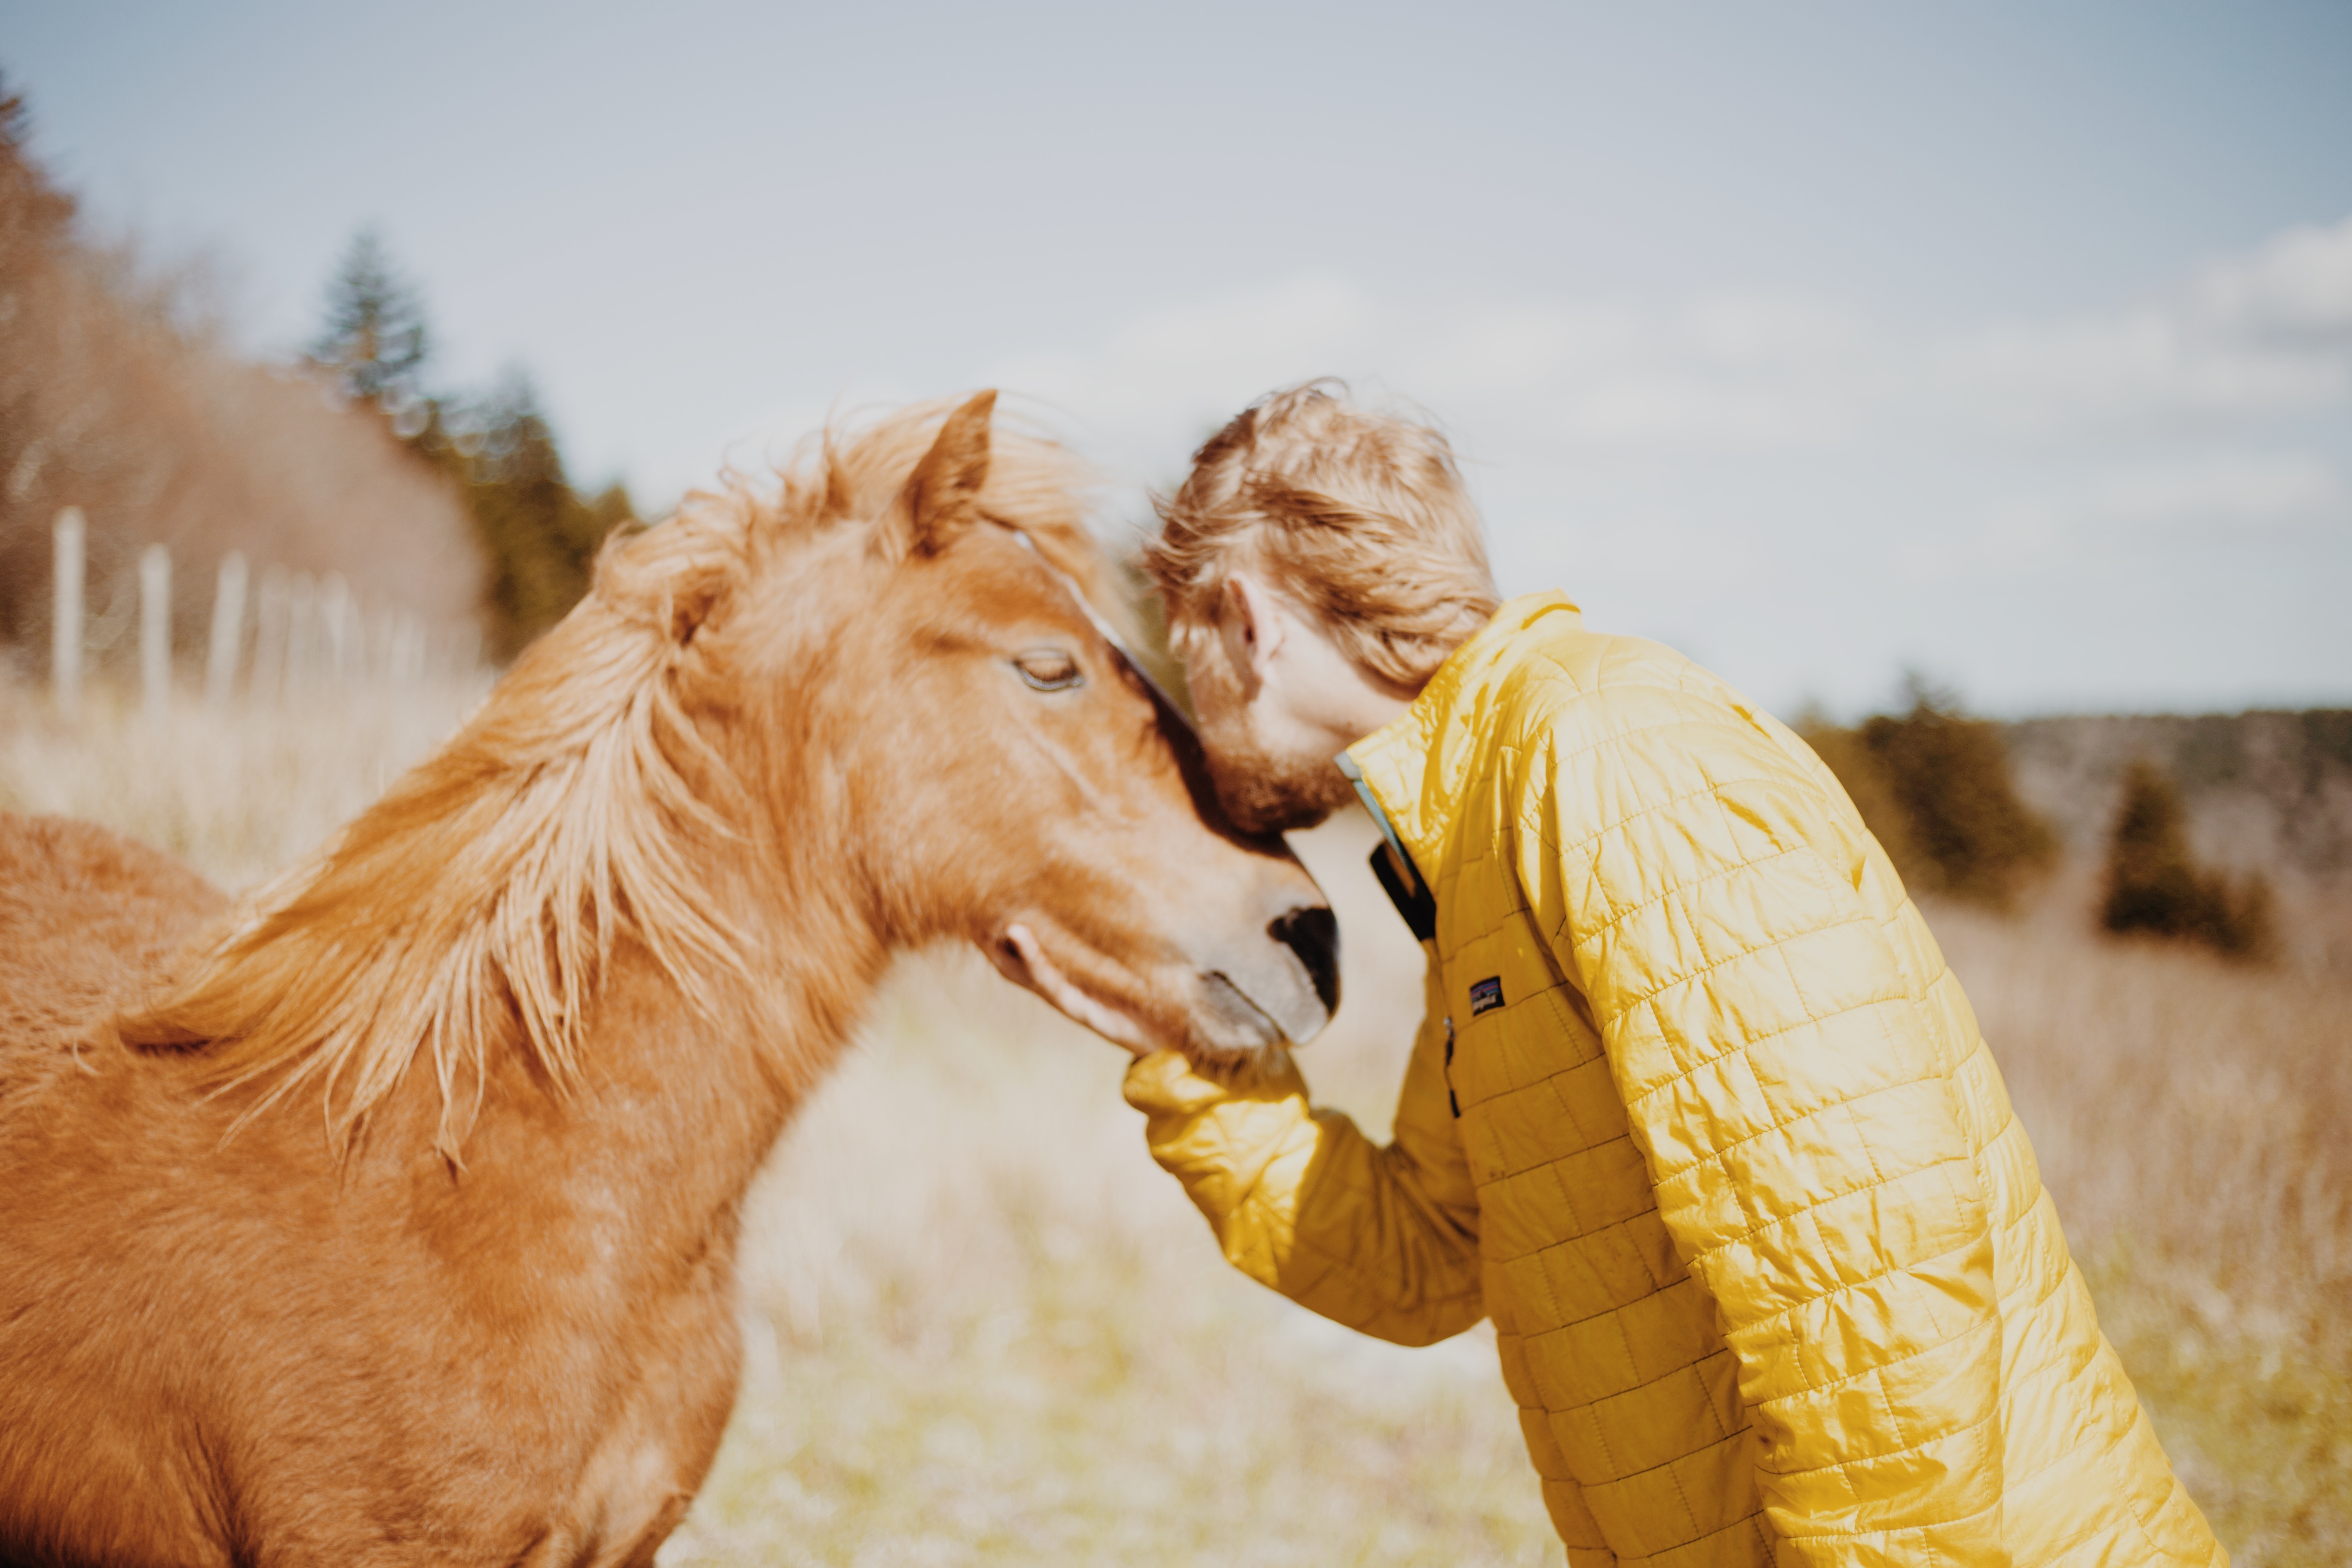
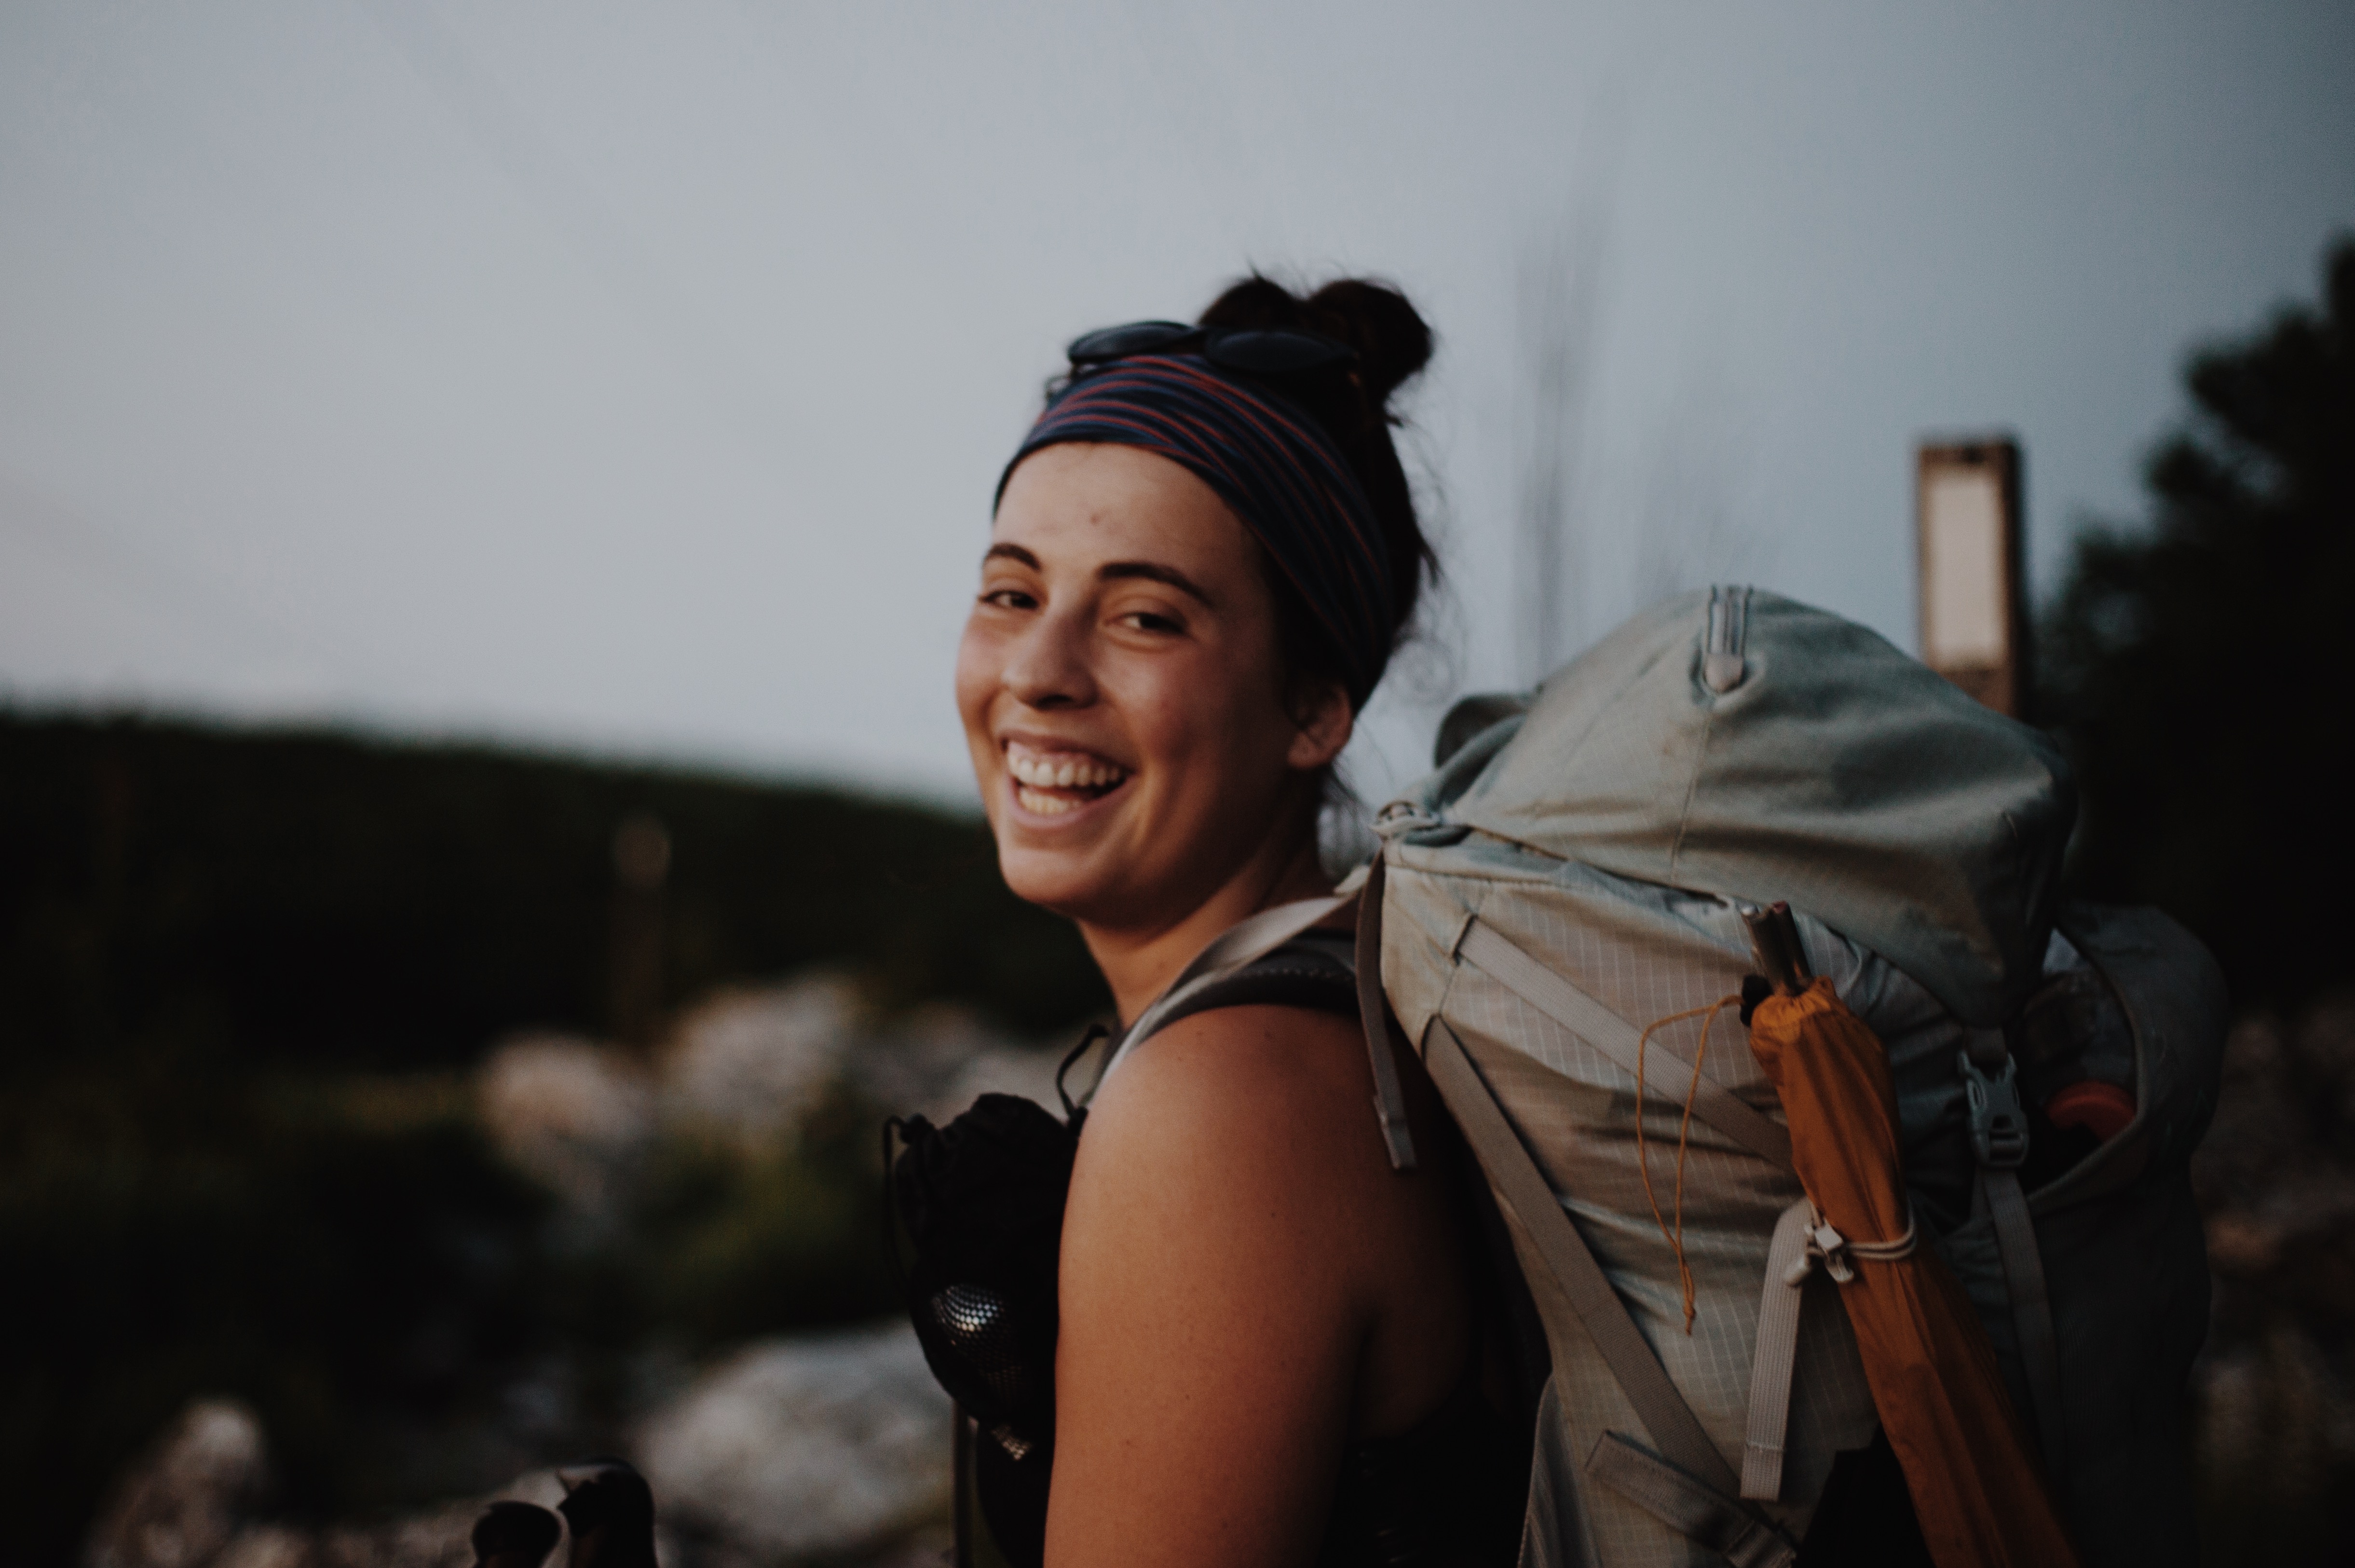
Candid shots are my favorite. I love being able to capture a person exactly how I see them. It’s real, it’s genuine. Aim to photograph the person, not their pose. As soon as they become aware that you’re taking a photo, their guard goes up. Everything changes; their face, their smile, their body language. In most cases, they become rigid and uneasy, even if they don’t mean to. There are a few ways around this:
Be Sneaky |
Now obviously, in order to not come off as a total creep, make sure you know them well enough before this. Not everyone loves to have their photo taken by a stranger, even if you think they look cool or maybe the setting is perfect and the light just right. Personally, I like to be sure that whoever I’m photographing is comfortable with me taking the photo and ultimately, having/using/posting the photo. So basically, I like to know them.
Don’t get me wrong, you can definitely still photograph strangers. On, off, and around the trail there are so many characters. Maybe the owner at the hostel you’re staying at has a beard a mile long. Maybe the older man in the truck that picked you up has wrinkled skin, weathered from decades of working in the sun. Whoever they may be, if you know you want to get a shot of them, simply ask. Ask them right off the bat if it’d be okay if you took their picture. You’ll be able to read people pretty easily. If they welcome the idea with enthusiasm, you win. Stick around a bit, talk to them, learn their story, keep you’re camera at the ready, and you’re bound to get a great candid shot (not to mention, probably a terrific story to go along with it). If they’re a little hesitant but not opposed, they’re probably just nervous. Engage them in conversation and they’ll get more comfortable with you (and your camera). If they say no, and mean it, don’t force it. You should respect them and their boundaries.


Take More Than One Shot |
A lot of the time (even if I was being discrete) whoever I was trying to snap a photo of would see me and pull a funny face or throw me a cheesy smile. Don’t feel like the opportunity to get the candid shot is over, though. Keep your camera up and wait 2 seconds. Chances are they’ll laugh at the face they made or the fact that you had your camera on them and they didn’t know it. That laugh, that right there is a genuine moment. Maybe not the one you originally saw, but maybe a better one. A lot of the photos I have of people laughing happened like this. And a lot of those photos are my favorites.


Become an Observer |
It’s easy to photograph a person, the trick is capturing their personality. Just watch for a while. Get to truly know them. See how their expressions change; how their face lights up when they laugh, how their eyes look when they’re tired, how their jaw clenches when they’re focused. Be able to read them and know how they react in situations. You’ll learn their timing and therefore, learn the right moment to ‘click’.


Technically Speaking
Apart from knowing your camera (i.e. shooting in manual, focusing, etc.)
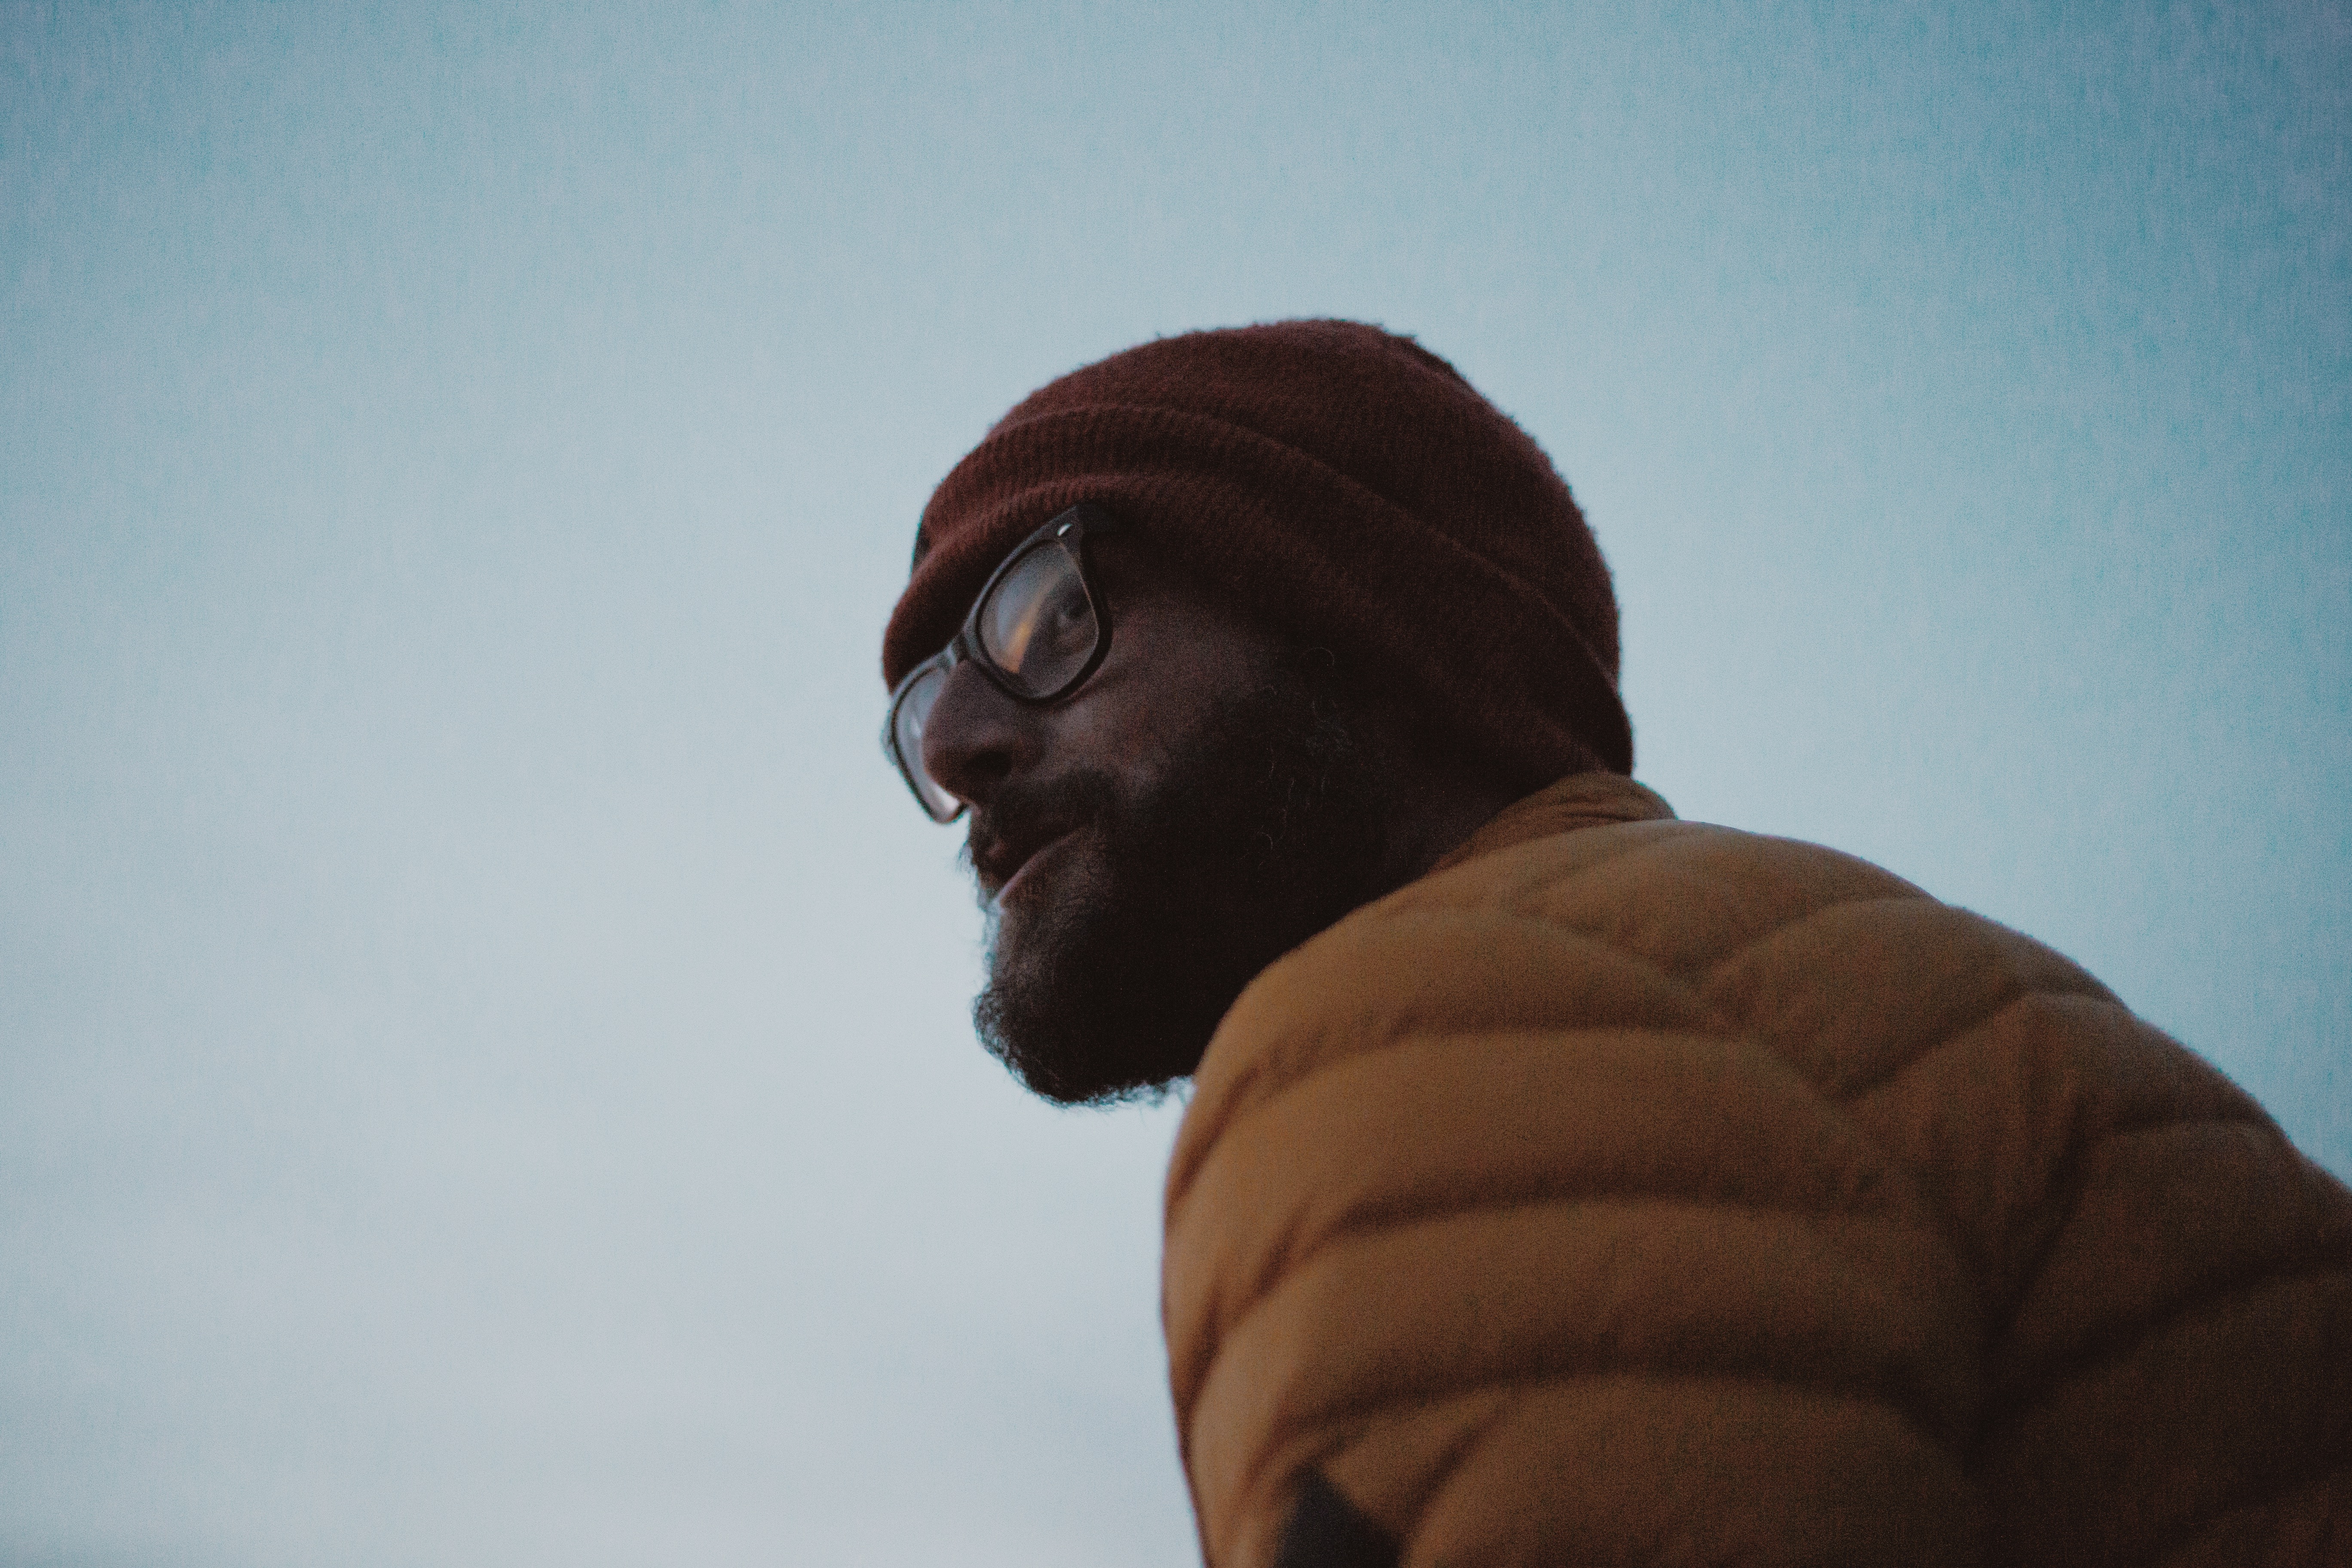
The Sun Is Your Friend | This goes right along with being an observer. Pay attention to how light falls across a face. For the most part, you want soft shadows. Overcast days win in my book. The clouds are your allies. It’s tricky to photograph someone in mid-day sun but luckily, hikers like to linger in the shade most days anyways. Watch how early morning light and evening light completely change how everything looks. Learning to work with the big bulb in the sky is all about trial and error.
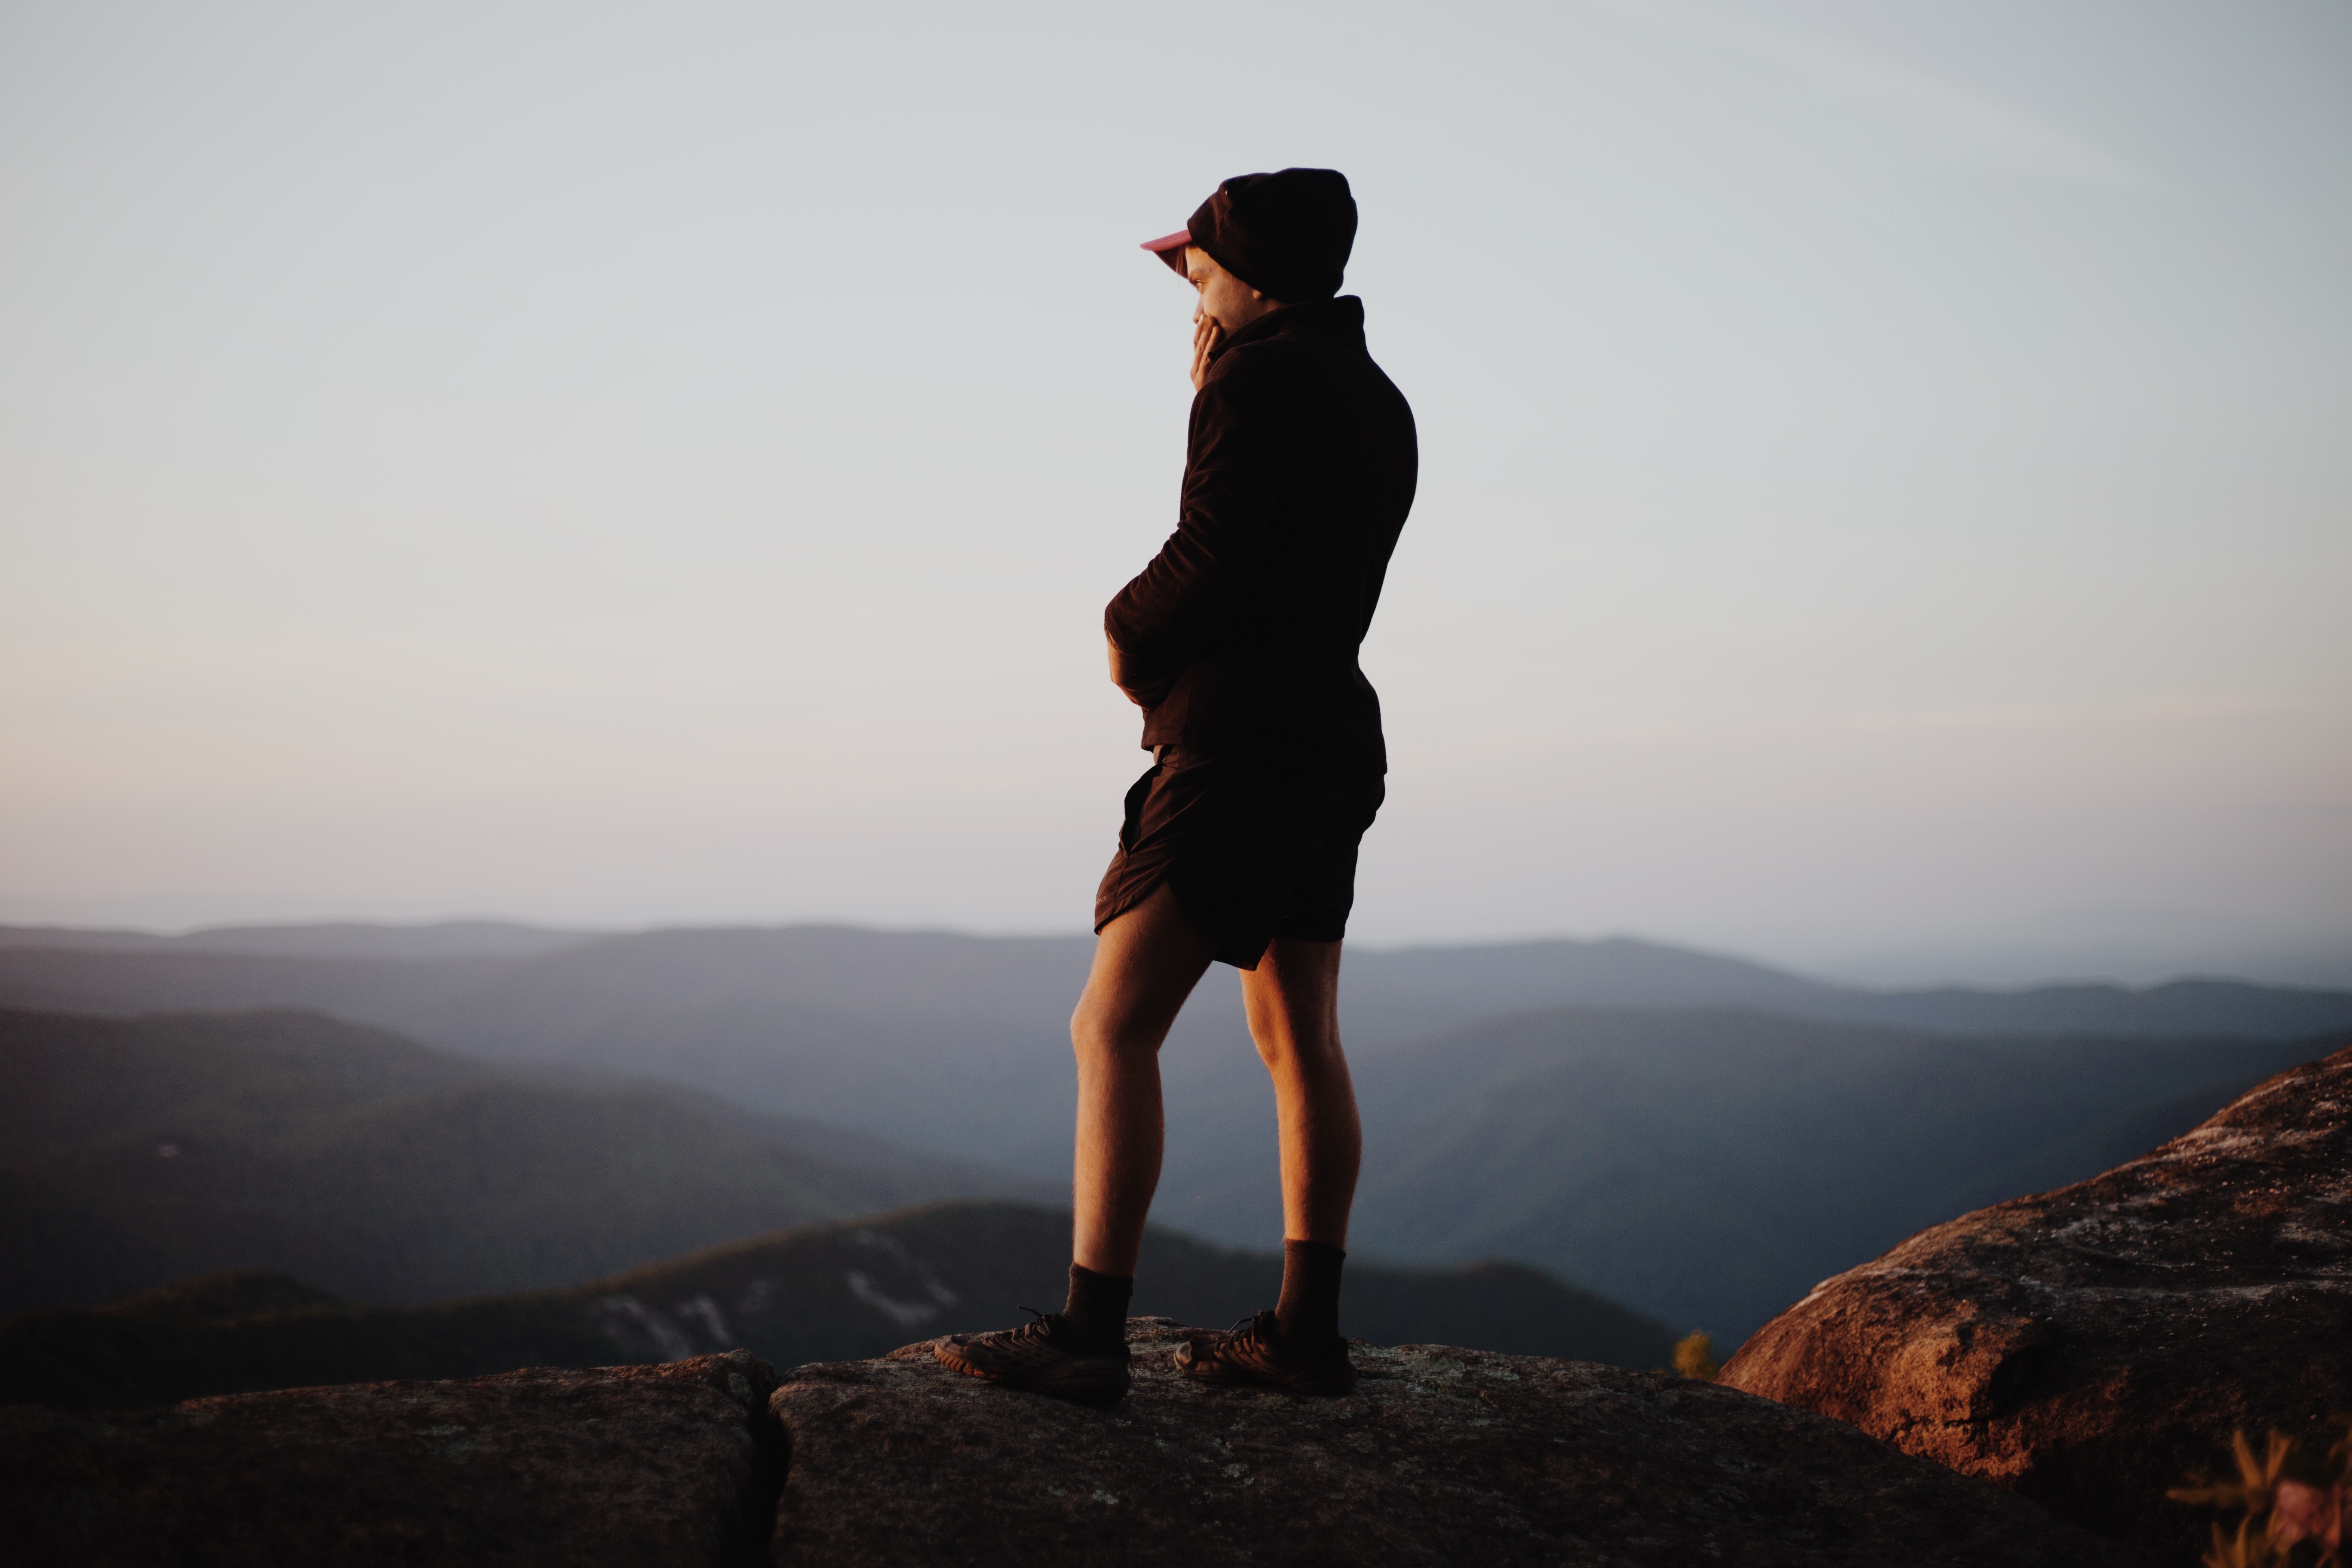


Pay Attention to Your Background |
Always take notice of what’s going on in the background. Is your subject blending in or are they standing out? Sometimes it’s a matter of taking a step to the side, sometimes waiting for the background to move or change. In the three images below, you can see how Yung Gandalf’s profile gets lost. He blends in too much with Beach Party in the background. I took a step to my left and that cleared a space for him. In this case, the background was still important to me. I didn’t want to knock Beach Party and Gnarwhal out of the frame completely. I wanted them to be in the photo and luckily for me, they all decided to look out towards the view at the same time. Take notice of your background, adjust accordingly, wait, watch, click.


The Power of Editing |
Never delete your photos. There were SO MANY images I either underexposed or overexposed accidentally. Sometimes it was just way too dark out but I still wanted to shoot. The image below I almost deleted because I thought “wow, there’s no saving this” but I kept it and tried to edit it anyways. It turned out being one of my favorites.
*I should mention that the only reason I was able to save this image was because I shot in RAW. If you have the card space and ability, shoot in RAW whenever you can. It makes a world of difference.


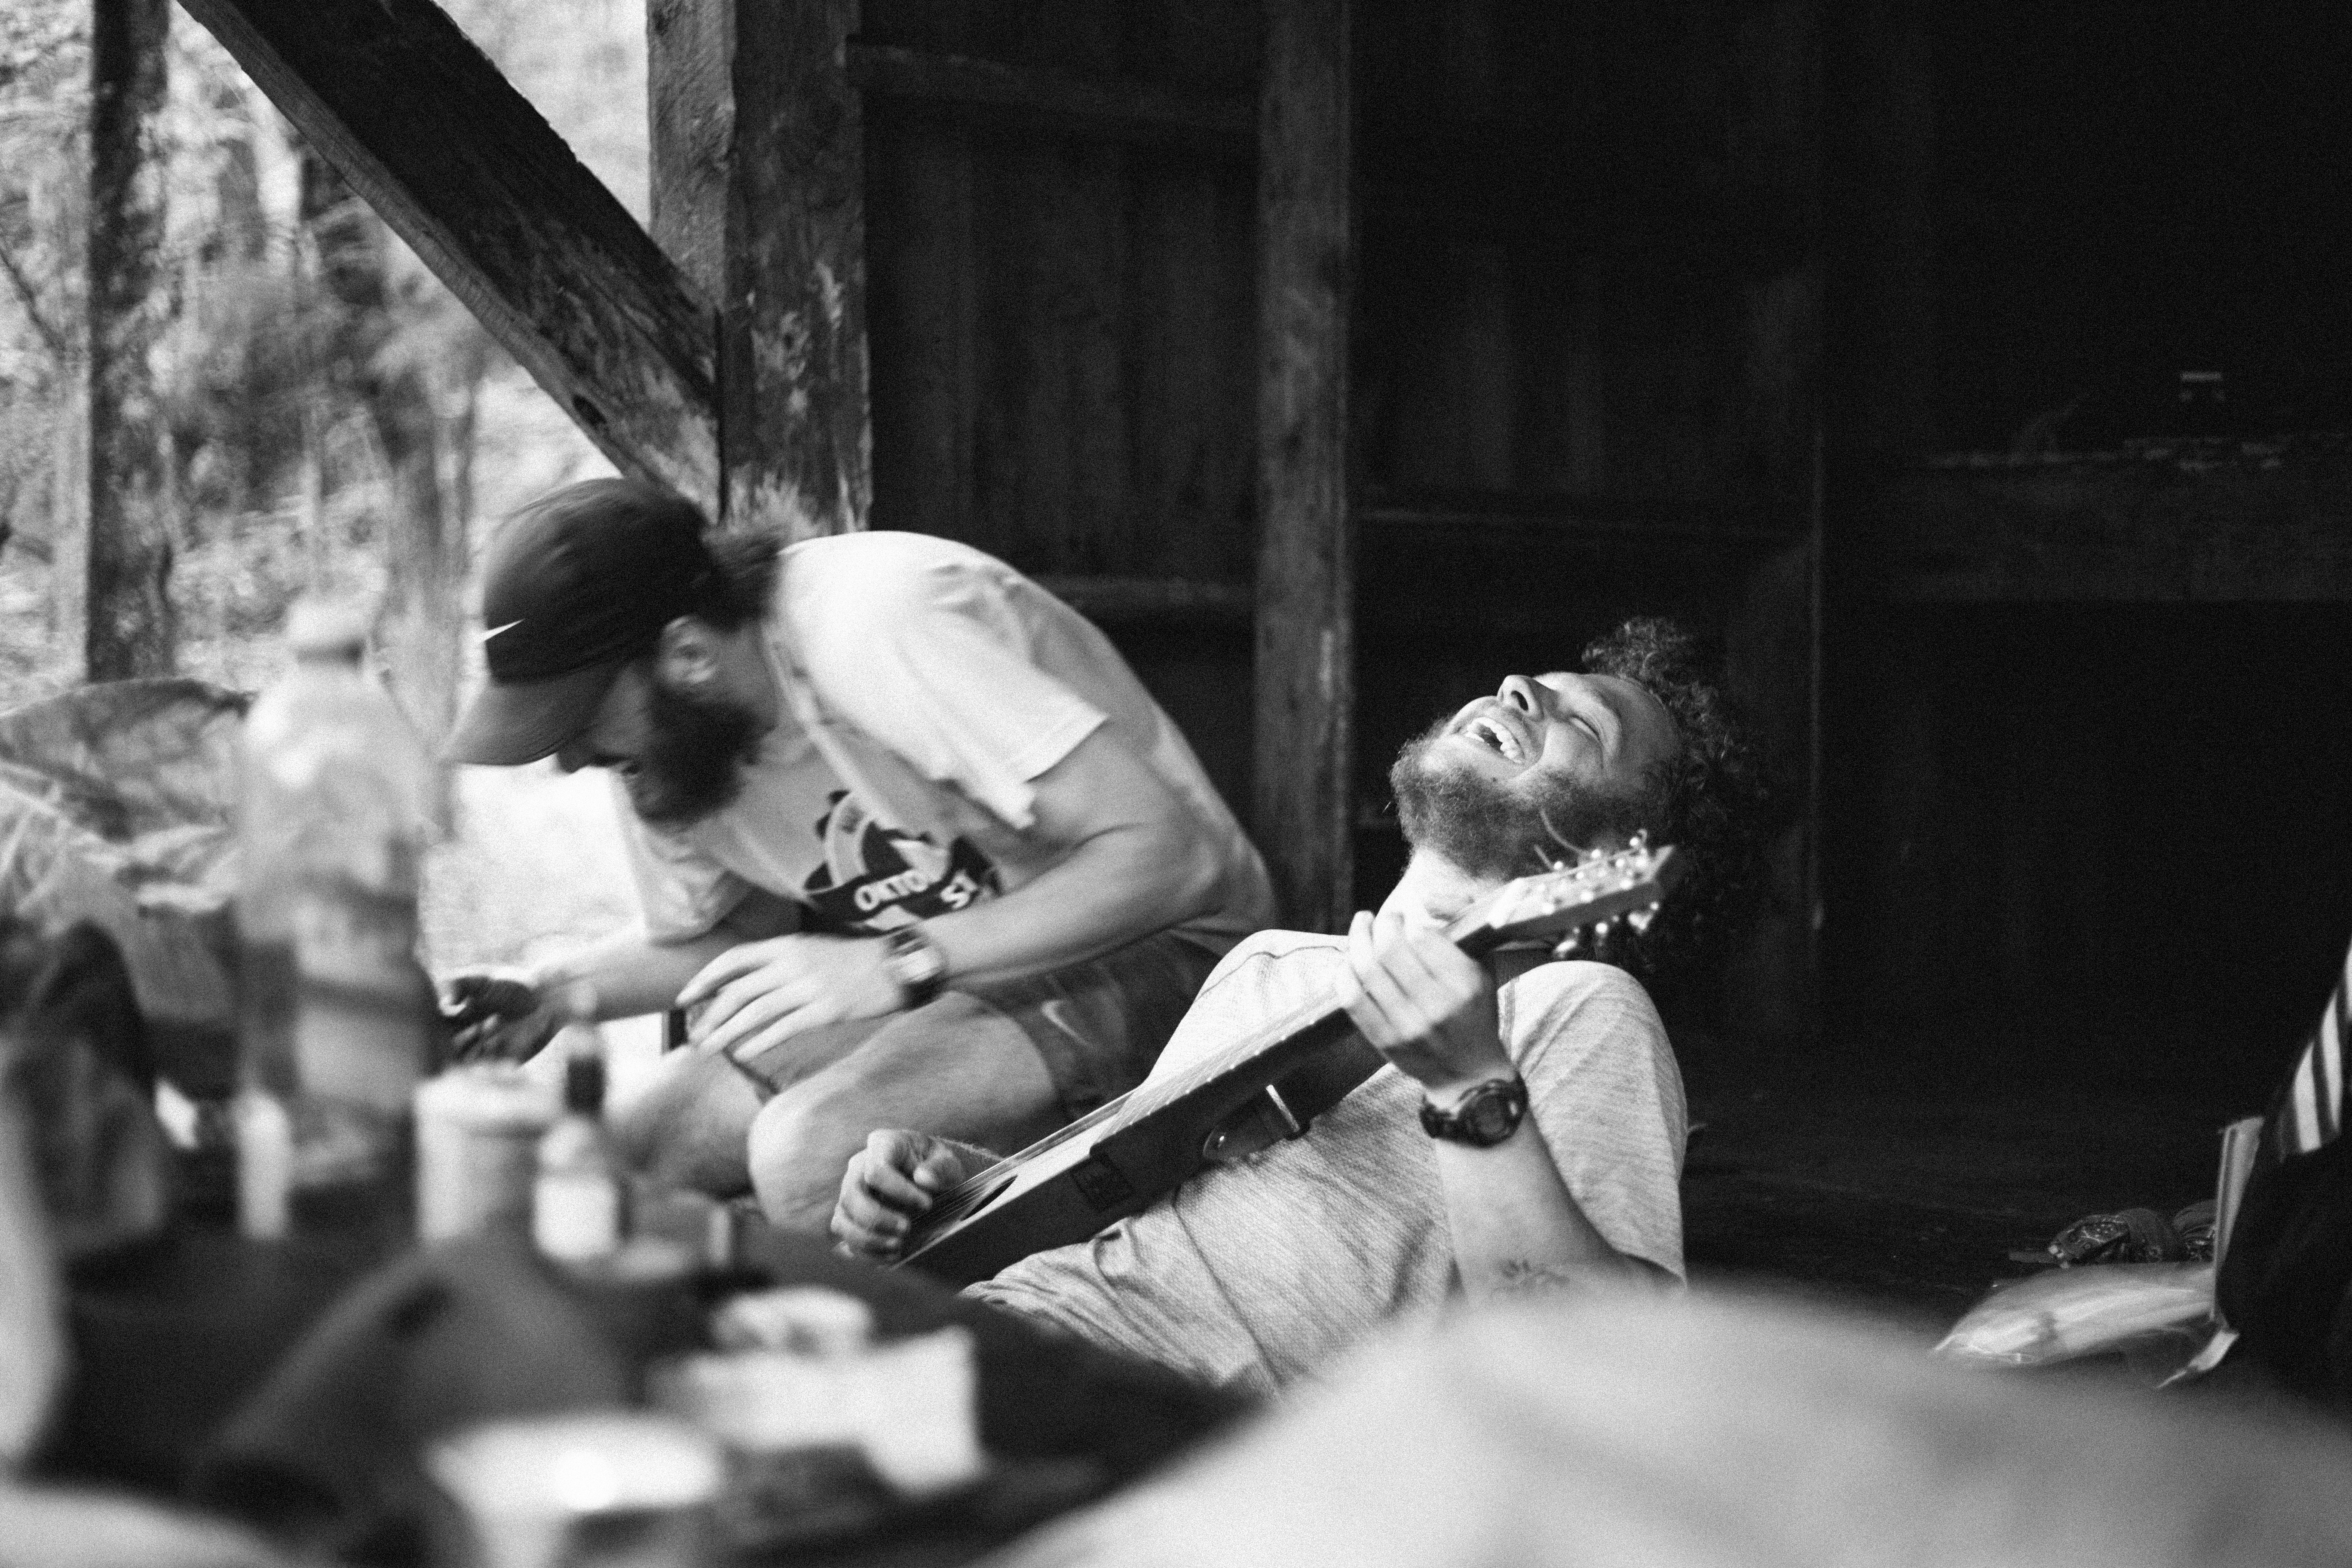
The More the Merrier |
Capture interactions. The trail is full of good souls, full of people-loving people.


Whether you get any value out of this post or not, I just wanted to share and hopefully inspire some 2018 hikers to remember to take photos of their friends.
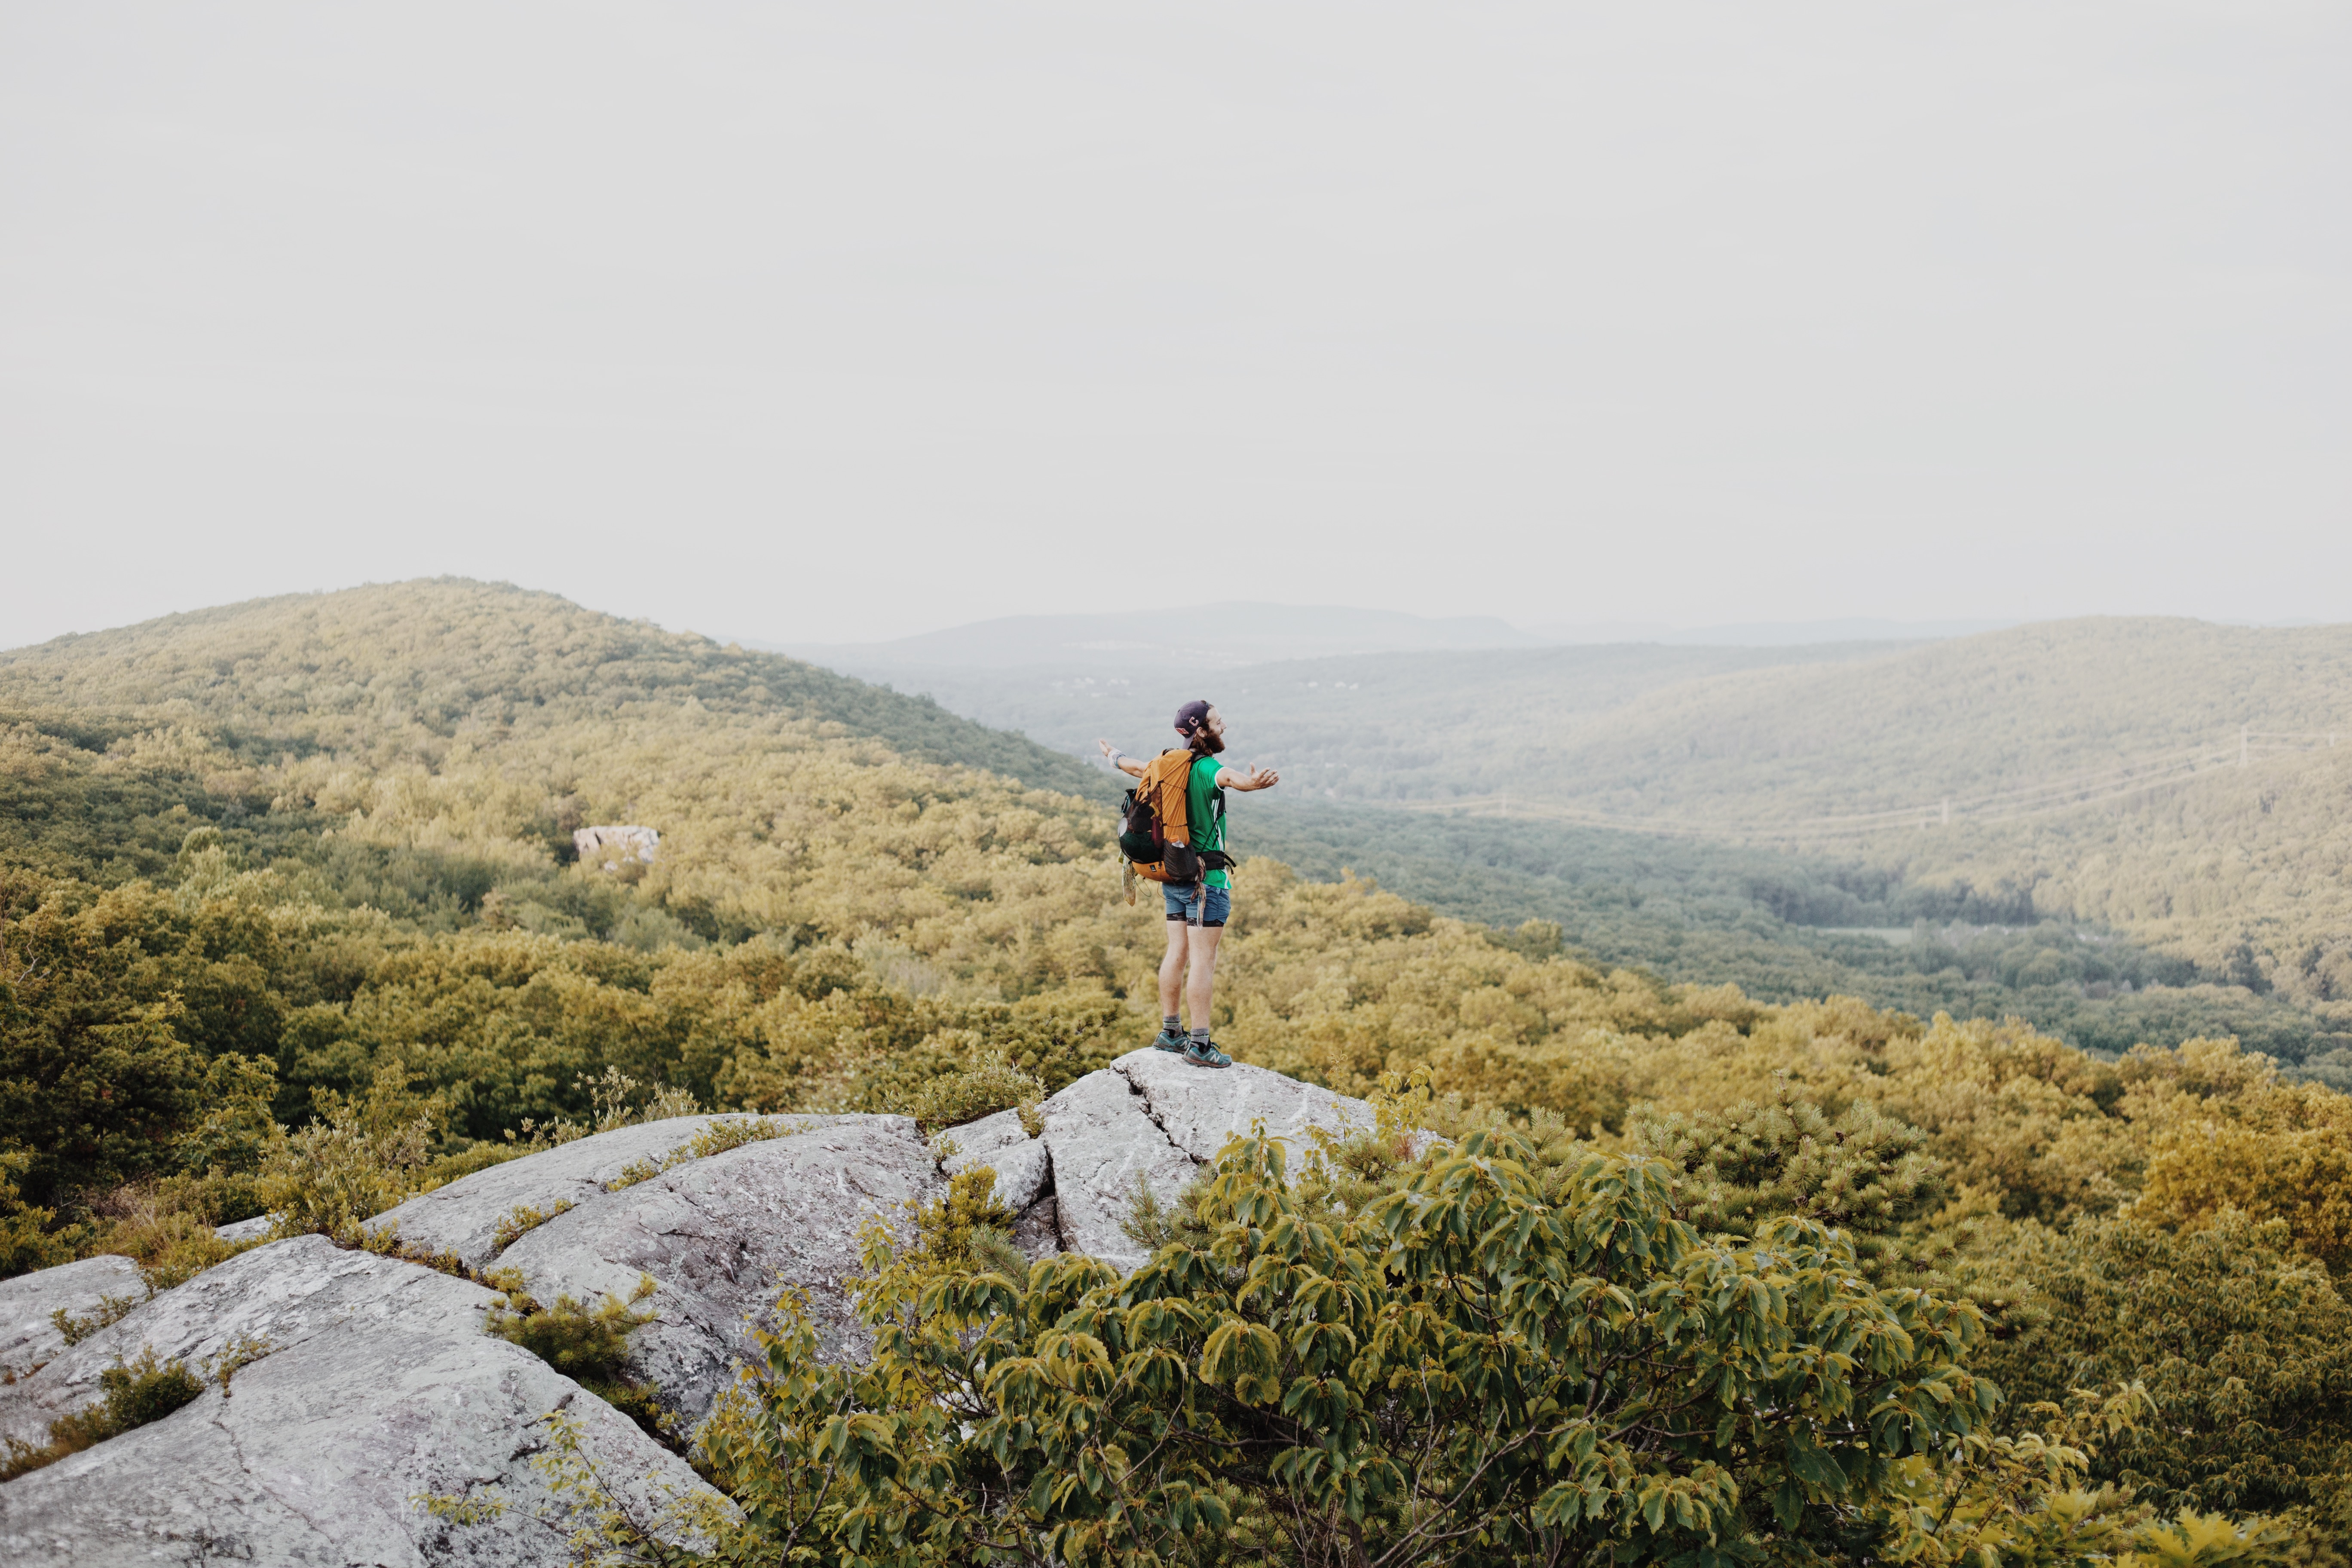
Sometimes a view is only as good as the people you share it with.
-MUMBLES

This website contains affiliate links, which means The Trek may receive a percentage of any product or service you purchase using the links in the articles or advertisements. The buyer pays the same price as they would otherwise, and your purchase helps to support The Trek's ongoing goal to serve you quality backpacking advice and information. Thanks for your support!
To learn more, please visit the About This Site page.

Comments 6
Love the shot of Squeaks with that big grin on her face!
Good advice here (and thanks for letting me take your picture at ToyMakers cafe.)
Happy Trails! -DLL
This was good advice. Many thanks.
Sorry about your Canon … R.I.P.
Also take a look at the mirrorlesss cameras. Usually much smaller/lighter, although some of the lenses are just as heavy as a DSLR lens.
“Don’t be a total creep”-Mumbles
…lol.
I hope you called the people that made that pouch and complained about its poor durability. If its the company I assume it is I’m sure they will send you a replacement free of charge. Great article as everyone is looking to capture their trip to look back on for years to come.
Good luck! thank you!
This post is pure gold! I feel like you hear people say this “photograph the people” all the time but so many people still don’t do it. I didn’t nearly as much as I wish I would have. I don’t even know the people in the photos you shared here, but looking at them gave me a feeling of warm nostalgia. I caught myself smiling while I was reading it and looking through the pictures. Thank you for sharing and reminding me to take these pictures, even if it’s just with my phone!