 ">
">
How I Prepared for an Early-Season Tahoe Rim Trail Thru-Hike
On June 16, 2019, my sister and I arrived in Reno, NV, to thru-hike the Tahoe Rim Trail. I had heard about the record snowfall but honestly had no clue what to expect. I did a lot of research and tried my best to be prepared for our 170-mile clockwise trek around Lake Tahoe but still felt clueless in some aspects. Unlike my first thru-hike on the Appalachian Trail, we were some of the very few out in mid June to hike the entire length of the TRT. In fact, we only ran into four others who were attempting to do it! We were early for the TRT thru-hiking season but with the large snowfall that year many had postponed their hikes. We unfortunately could not. We had time off work and plane tickets bought. We did our best to go with the flow.

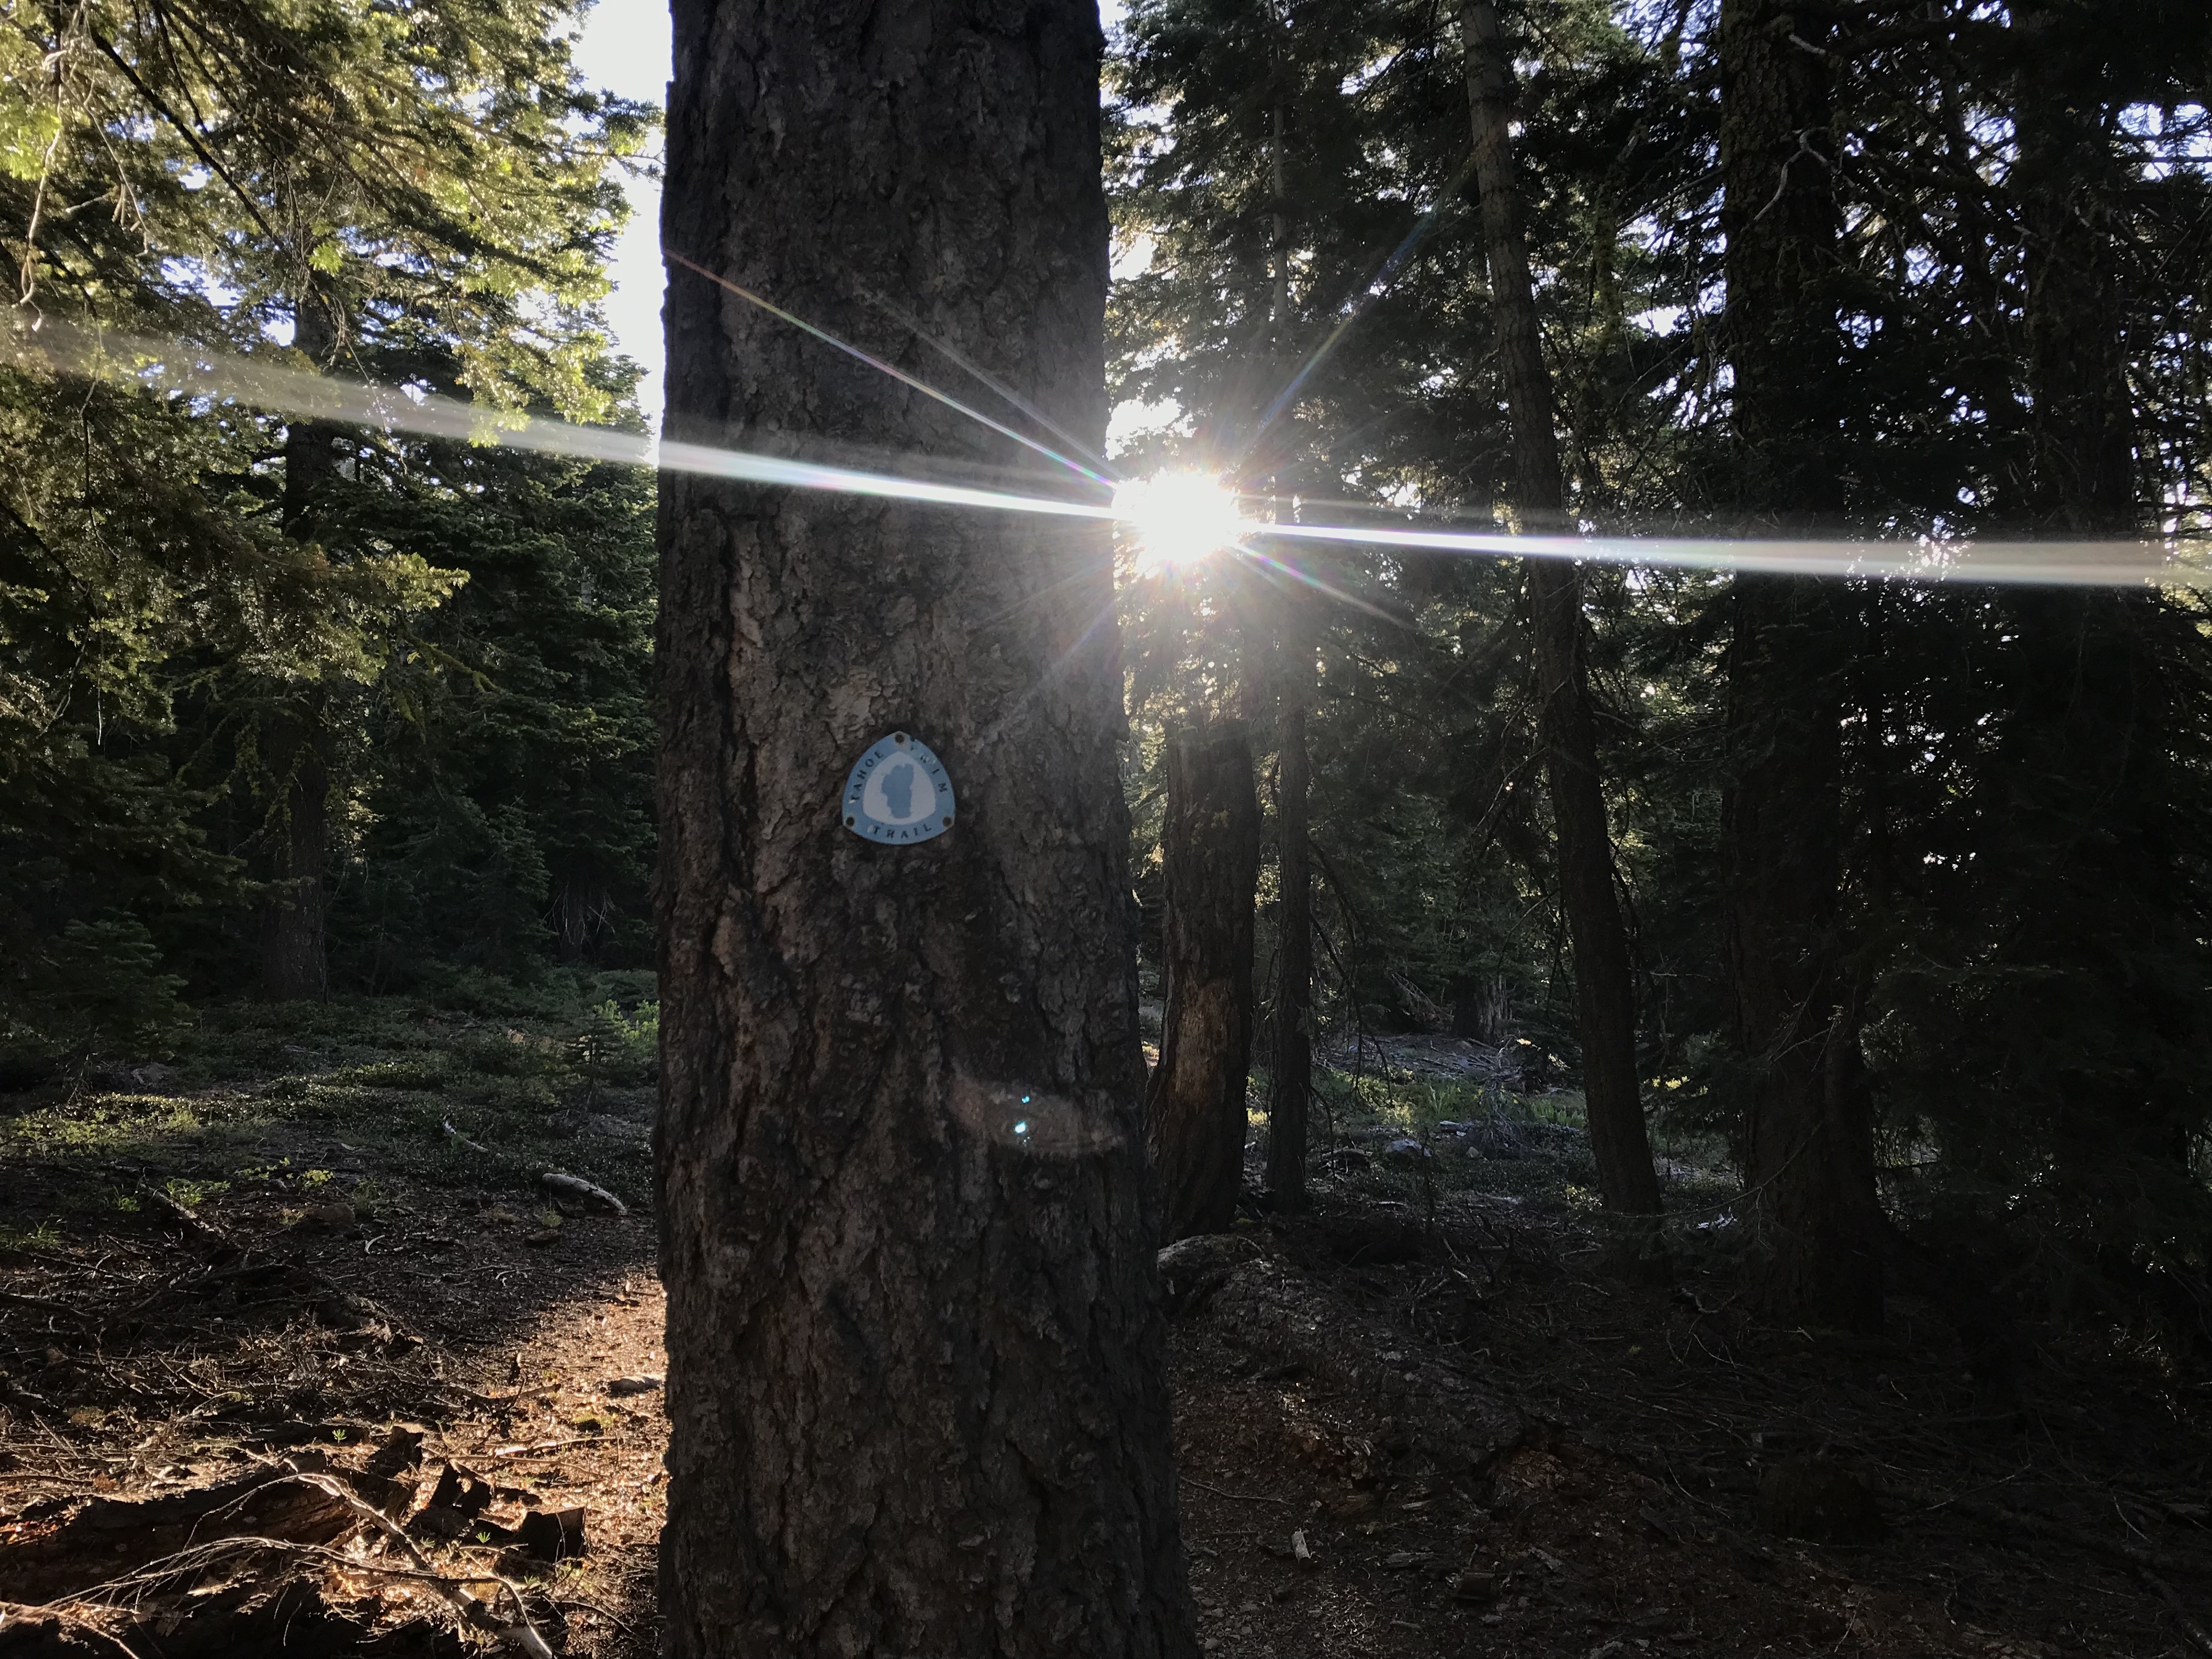
The first trailhead marker we saw was buried.
It was tough to be as prepared or feel as prepared as I was for my Appalachian Trail thru-hike as there weren’t as many resources, books, or YouTube videos. Neither one of us had ever backpacked or done a long hike in snow.
That being said, I thought it might be nice to put together a little prep post for the loop around the lake. Here are things you’ll need for the hike and things you may want to consider bringing.
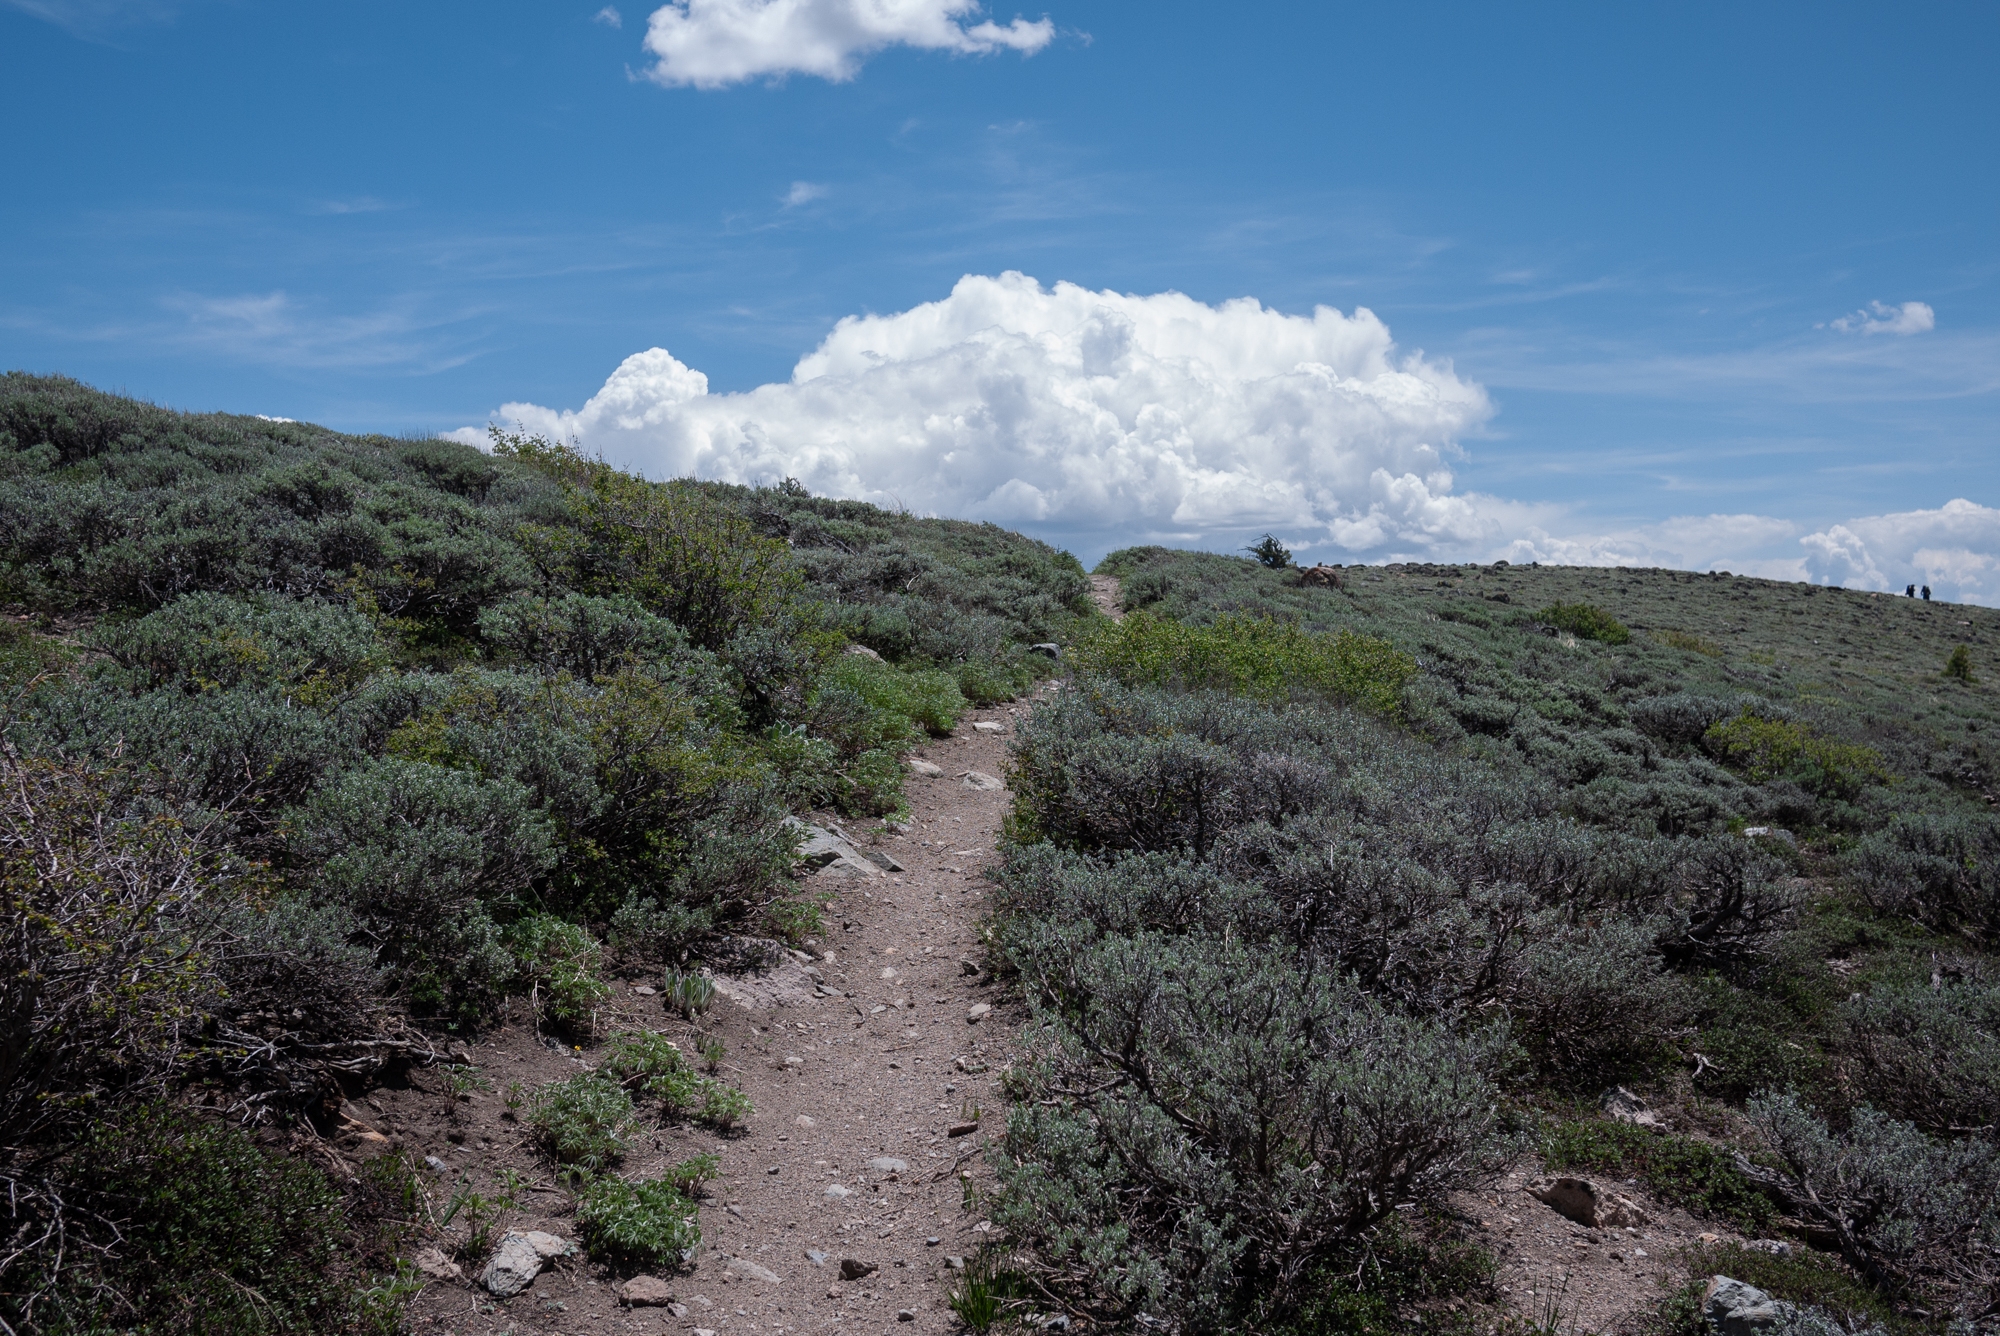
My experience was a little different than most since 75% of the trail was snow-covered. The most popular time to hike the TRT seems to be in July. This year, though, there still may be some snow patches.

Desolation Wilderness Permit and Campfire Permit
Two items you’ll need to carry in your wallet/baggie/hip belt is a Desolation Wilderness Permit and a Campfire Permit if you plan on bringing a stove. These are both easy to obtain. For the Desolation Wilderness Permit you can call and have the permit mailed (which is what I did) or visit the park office in person. The permit was mailed same day and arrived in a few days. It was $26, which I paid with a card through the phone. If you’re local, you can drive to the office and pay the fee in person and obtain the permit same day.
For the Campfire Permit, I had to watch a video and take a quick quiz on campfire safety. Once you complete the text, you’re able to download and print the permit.


I used two apps on my phone for GPS while on trail and also carried a National Geographic topographic map guide. I used Guthook for the Tahoe Rim Trail and also used the All Trails app. I constantly had the Guthook app open. Because of the amount of snow covering the trail (it was 15 feet in some areas), it was important to see our physical direction through the compass. We would have been lost without it. That being said, one reason I could not rely on strictly Guthook alone was that not all side trails were indicated on the Guthook map. Two times during our hike we had to find a bailout. The trail was covered in snow for miles and the snowdrifts were getting steeper and steeper. With only us out there and unfamiliar with the trail, we decided to take two alternate routes around the sketchy areas. I was so thankful for the All Trails app!


Lyft and Uber transportation services were available all around the lake. Since we were early (as far as the hiking season goes), there weren’t any shuttles running. We got a ride from the Reno International Airport to Mount Rose trailhead and the cost was about $45. The ride back to the airport was super-expensive. We stayed near Incline Village, NV, the last days we were there and the ride back to the airport was about double—$90. We were able to use Lyft and Uber throughout our hike for resupply runs and hotel stays. I used the Hotel Tonight app for great deals on last-minute hotels, one near South Lake Tahoe and one in Tahoe City. They were each about $60.


An item I’m really glad a bought a week before—crampons. We used them every day on the snow. I bought mine on Amazon because I didn’t do any research and wasn’t sure if we’d even use them. If you’re hiking more than 50% on snow each day, I’d encourage you to have crampons or snowshoes. The snow was much easier to grip in the mornings when it was frozen. Throughout the day the snow would melt and turn to a snow slush. By noon, we were starting to slow down and sink with every step.

Another item you’ll need is a bear canister. Bear proofing of all smellables (food, hygiene products, etc.) is required on the Tahoe Rim Trail. The preferred and most successful method is a canister. I did see one Ursack while we were on the PCT portion of the trail, but most everyone carried a canister.
I also ended up buying more sunscreen. I had read my fellow AT ’17 alumni Becky’s TRT post about bringing lots of sunscreen. But yeah, she wasn’t kidding. The snow acted like a reflector, too. I applied SPF 50 twice a day and never took my sunglasses off. But my hiker tan was still in full effect.
Since we were so early in the season, the mosquitoes weren’t bad. There was only one area (near Tahoe City) where they were. We applied bug spray though and they quickly left us alone.

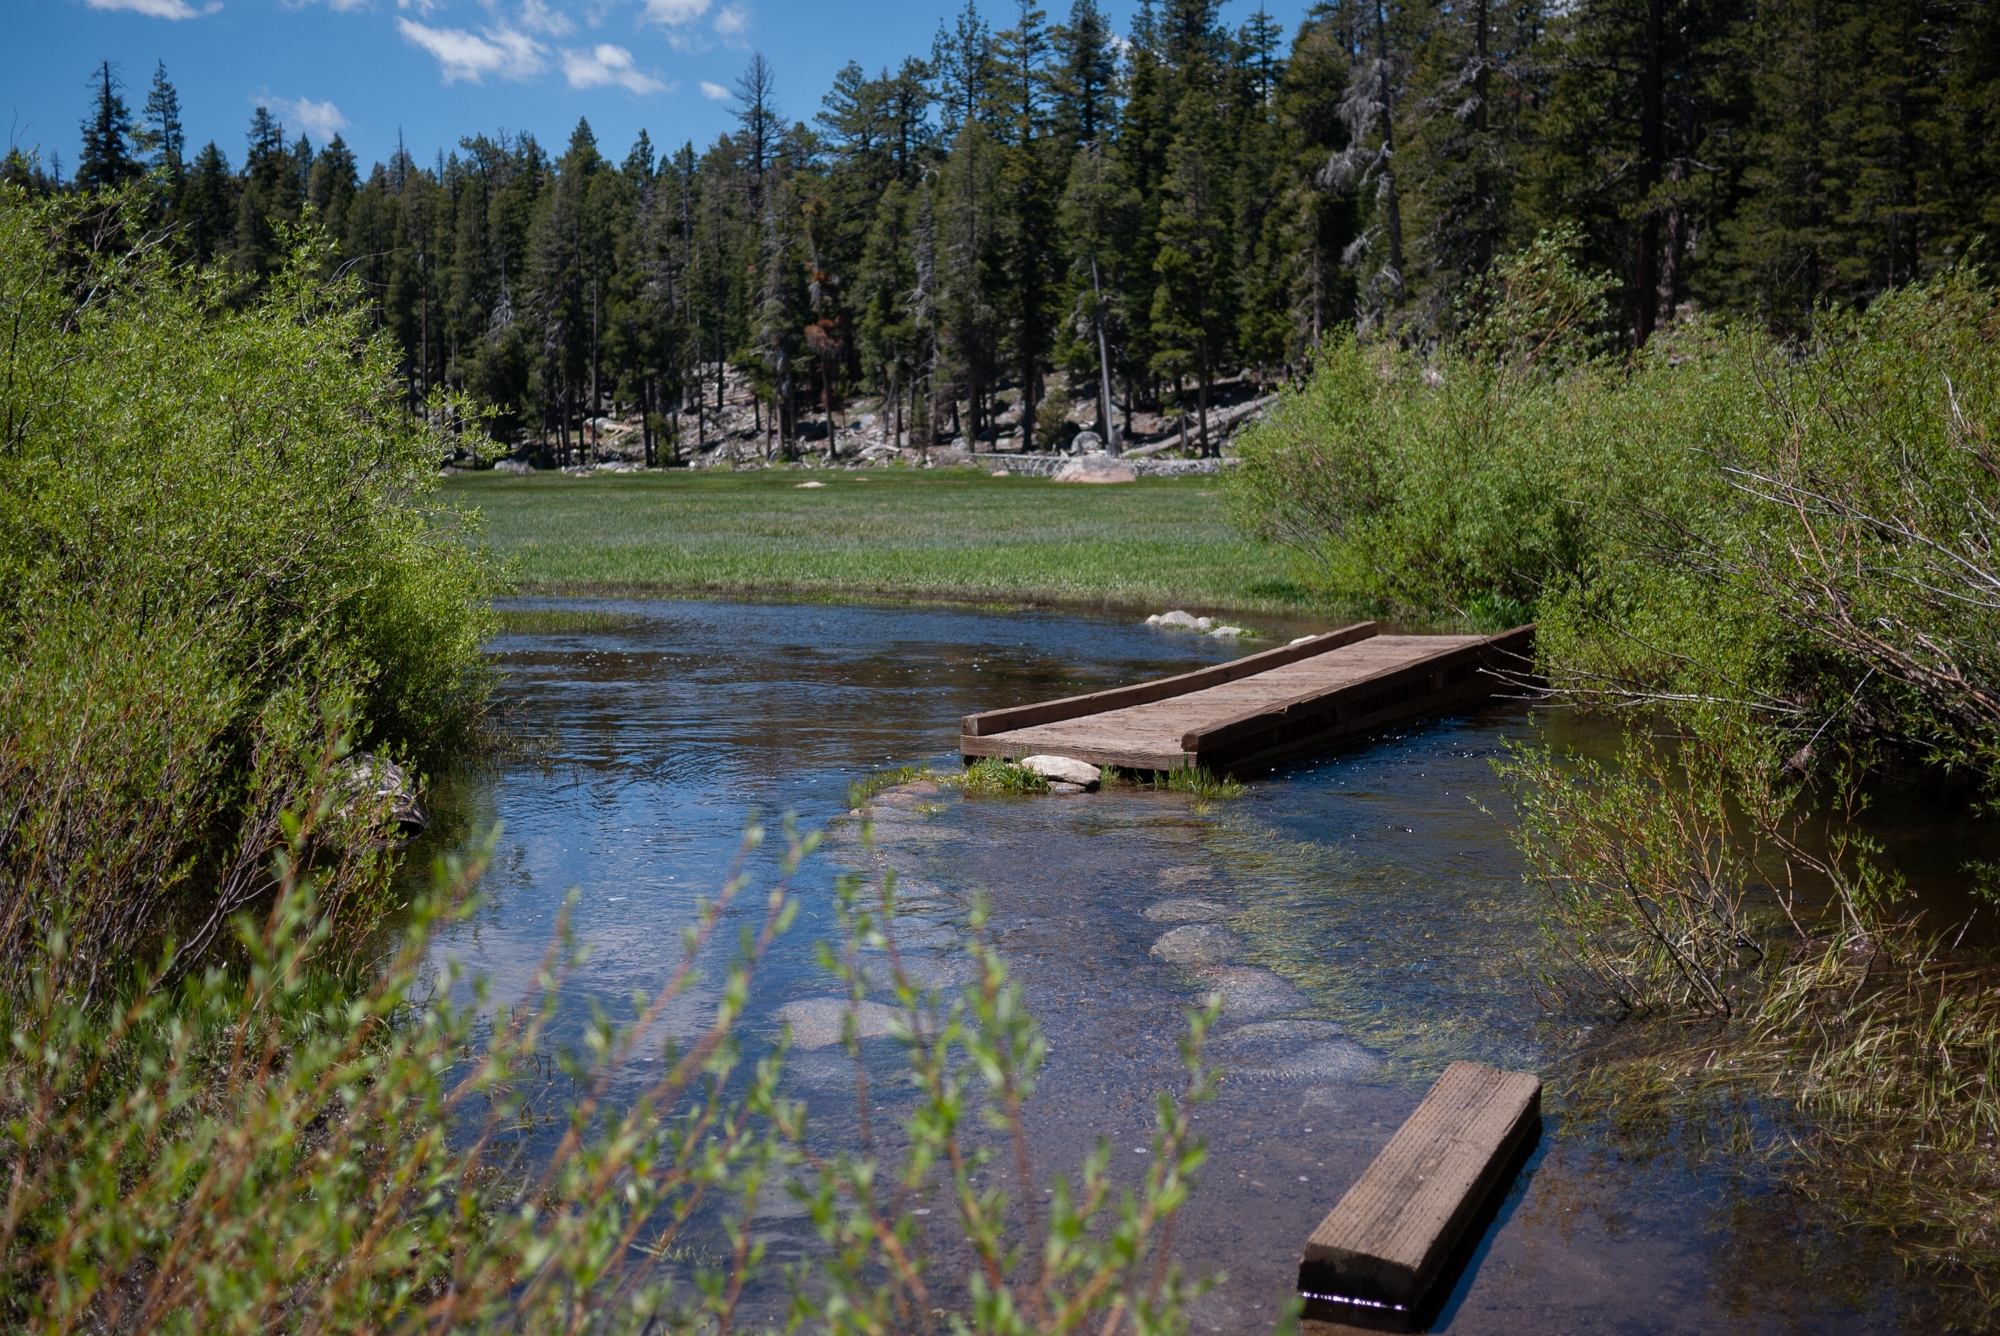
I would absolutely hike this trail again. The views and scenery were like from out of a movie. Seriously. Absolutely stunning. The hiking (when not snow-covered) was relatively easy and enjoyable. I would not, however, hike it early in the hiking season after a record snow year. The snow, flooding, and high river crossings really slowed us down. We got lost often and had to backtrack constantly. It was really stressful most days and distracted us from the beauty of the wilderness. It took us 11.5 days of hiking. We skipped two parts (Freel Peak and Relay Peak) but still hiked about 165 miles in side trails and road walking.


If you’re interested in seeing a video collage of our hike, you can view it below.
Tahoe Rim Trail from Anna Zimmerman on Vimeo.
I hope this helps you in planning your own hike. If you have any questions at all, contact me or leave me a comment below.
Happy hiking!

This website contains affiliate links, which means The Trek may receive a percentage of any product or service you purchase using the links in the articles or advertisements. The buyer pays the same price as they would otherwise, and your purchase helps to support The Trek's ongoing goal to serve you quality backpacking advice and information. Thanks for your support!
To learn more, please visit the About This Site page.

Comments 5
Hey Anna! We’re doing a thru of the TRT in late August. Did you get service / were Uber’s available from mt rose campground into incline village?
I apologize for the delay there. I hope you were able to complete your hike and find that uber! We got a lyft from Mt Rose at the end of our hike!
Excellent article Anna!
great article! how did you find your daily mileage compared to the AT? it seems like most people hike the TRT in about 10-12 days; i’ve wondered if it’d be really a stretch to hike it in 8-10 days instead. the terrain looks a lot easier to manage than a lot of the AT. if i tend to hike 20s on my AT sections (except NH and southern ME), would it be wild to plan 20s for TRT in your opinion?
BDG – thanks! The problem with the comparing the mileage to the AT was that we completed the TRT hike after a high snow year. 70% percent of the TRT was covered in snow. This effected our mileage significantly. The one day we didn’t see snow we hiked 21 miles. I’d assume if most of the trail was not snow covered, 20 mile days would be easily doable. The trail was graded so nicely when we saw it! It would not be wild to plan for 20s and perhaps even 30s if the trail is not snow covered. I hope this helps!