 ">
">
Bike Curious? Here’s How To Use Your Backpacking Gear for Bikepacking
Bikepacking is the backpacking of cycling. Instead of riding on pavement as in traditional cycle touring, you ride on dirt roads and trails. Like backpackers, bikepackers carry everything they need to rough it in the backcountry for a few days (or weeks or months).
I am a thru-hiker first (PCT ’18, AT ’19), but I just finished up my first bikepacking tour, a ride from San Francisco to Mexico City via The Baja Divide and a loose approximation of the Trans-Mexico Bikepacking Route (Norte). I found that this kind of endurance-adventure feat is very similar to thru-hiking in many ways, like the automatic camaraderie with your fellow travelers, the day-to-day schedule, and the gear.
Can you use your backpacking gear for bikepacking?

If you’re considering a backcountry bike trip and already own backpacking gear, you will be able to use a lot of your existing kit on a bikepacking tour. You’ve probably already broken the bank on a bike, so why not save some money for your trip by repurposing gear? For those items you do need to purchase, you can turn to familiar friends like REI—or, like with backpacking gear, you can find and support cottage gear companies.
As a bonus, weight is less of a concern in the world of bikepacking than it is in backpacking. Your bike is carrying the load for you, and mechanical advantage is your friend. I brought some luxury items on my bikepacking tour that I don’t typically carry backpacking, like a stargazing guide, a swimsuit, and sandals. Likewise, if you have older gear lying around that’s too heavy for your thru-hiking kit, don’t rule it out for your bikepacking setup.
There are plenty of resources out there that detail bikepacking gear, but this is a good place to start with the basics. In this article, we’ll discuss which pieces of backpacking gear you can keep for your bikepacking setup and which items you should swap. While reading, you may realize you are already well on your way to a complete touring setup.

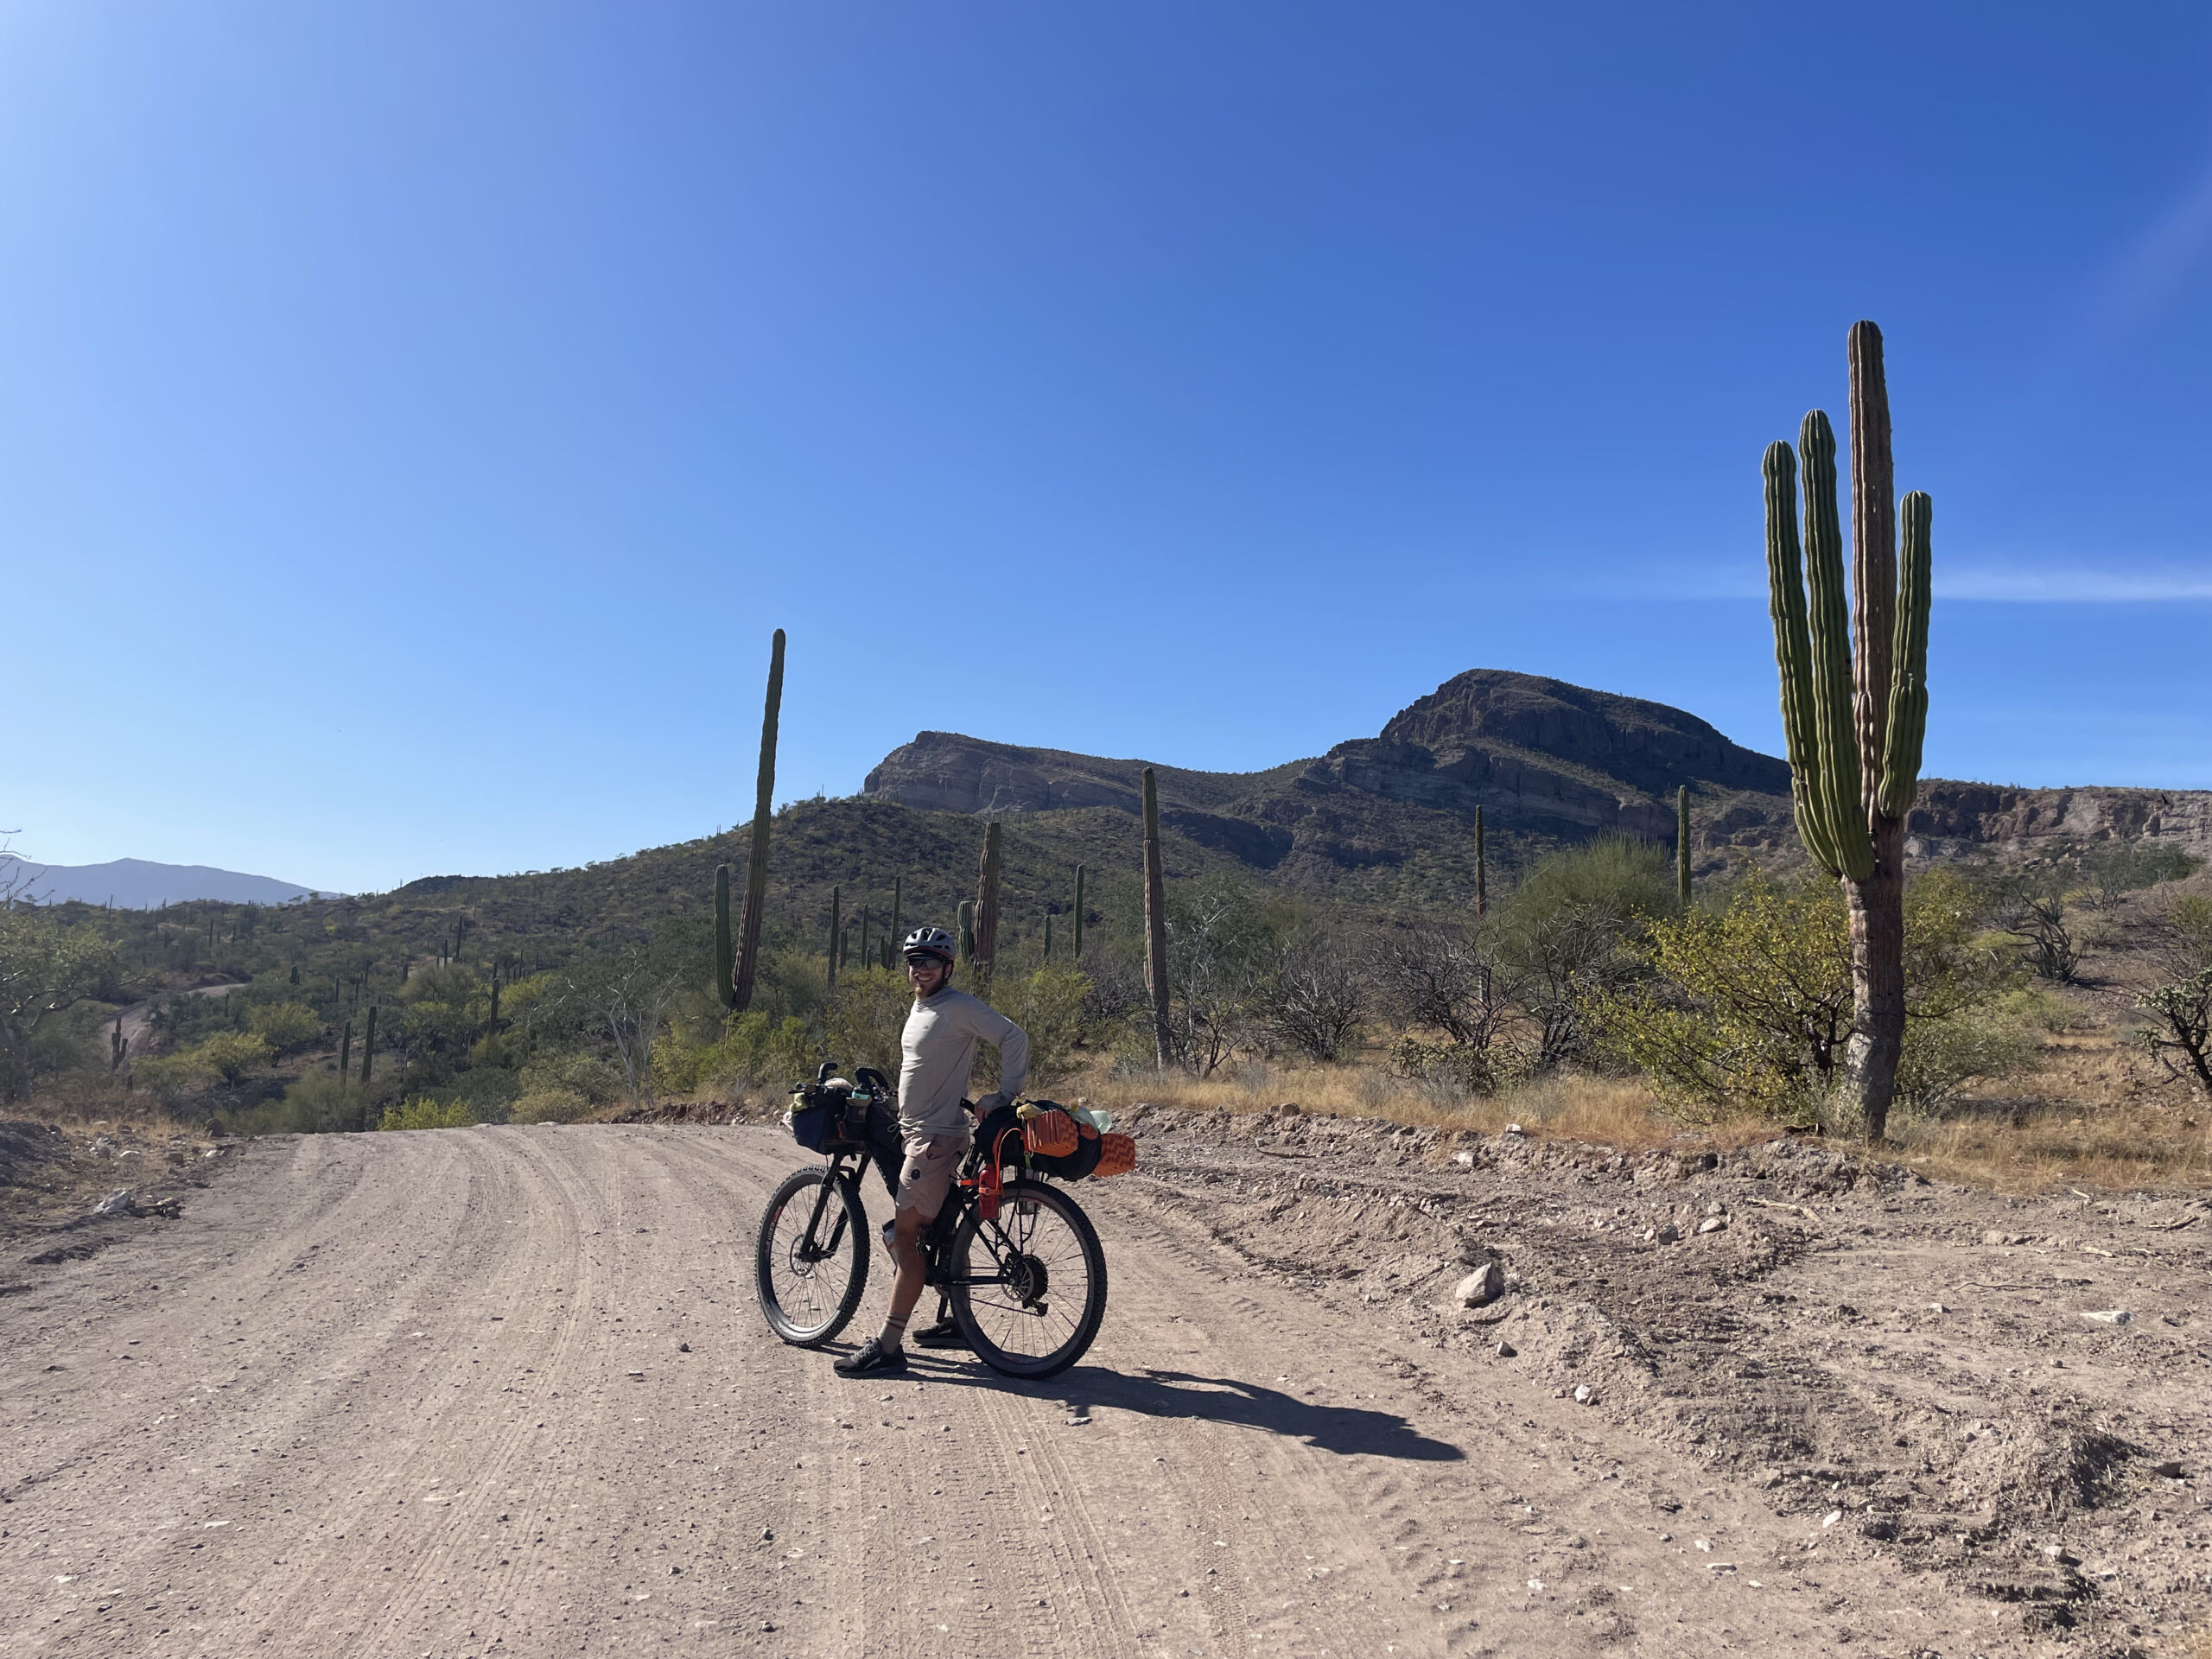
My setup
Pack — Swap for Dedicated Bikepacking Bags
Your pack style will be the key difference between your bikepacking and backpacking gear. Instead of the one trusty pack that you carry on your body (two, if you’re a fanny pack user like me), you’re going to outfit your bike with bags on bags on bags.
You may be thinking, why can’t I just wear my backpack while riding a bike? You can. But it would be pretty uncomfortable after a while.
Pannier and Rack: Most folks on a road tour use a simple rack and pannier system. If you commute around town on a bike, you might already have this setup. For a tour on gravel or mellow dirt roads, this system will serve you well. If your route of choice will make for a bumpy ride, ditch the panniers for bags that are more tightly secured to the bike to prevent jostling your wares.
Front and Frame Bag: Most bikepackers have a front bag, a frame bag, and a saddle bag. They are often made of X-Pac, just like most of the popular thru-hiking packs. The front bag sits on the front of your handlebars, and it tends to have a lot of space to offer. However, you will want to keep your front bag pretty light so your bike isn’t pulled forward by the weight (which would pull you over the handlebars if you hit a bump the wrong way).
You should try to keep most of your weight in the frame bag, which straps into the triangular section in the center of your bike frame. It is kind of an awkward shape, but you can fit more in there than you think if you pack smartly.
Tube and Feed Bags: Finally, you will probably want a top tube bag and a feed bag or two. These make up your “cock pit,” where you can keep things you want access to easily and frequently, like snacks, earbuds, sunscreen, chapstick, your phone, etc. It’s the fanny pack of bikepacking. You can open these up while riding for maximum efficiency.
Saddle Bag: The saddle bag fits under your saddle. My saddle bag is a compression sack that extends behind the saddle quite a bit. I recommend this system, as it is a good way to carry large but compressible gear items. I fit my quilt, booties, bag liner, sleep clothes, and puffy jacket in my saddle bag. You could also store your tent here.
Tent — (Maybe) Keep
Consider that you won’t be bringing trekking poles on this trip. If you have a trekking pole tent, check to see if the manufacturer sells poles to carry in their stead. These are often inexpensive and can make your trusty backpacking tent more versatile. If you already have designated tent poles, great! Try to fit them in your frame bag. If they don’t fit there or in your front bag, you can affix them to the top or bottom of your front bag.
There are bikepacking-specific tents available for purchase. Generally, these are made to affix easily to the front of your bike. Some even have a bike-sized vestibule so you can store your bike covered next to you while you sleep. Are they worth it? I say no; save yourself $500+ and stick with the tent you already own.
Bikepacking tents tend to be quite a bit heavier, and I found that it was easy enough to store the tent I already had in my saddle bag. I preferred having my front bag filled with day-use items and kept easily accessible. As for the bike-sized vestibule, I didn’t miss it. I typically leaned my bike against a tree or cactus if available and locked up if I was camping in or near a town.

A typical morning in camp
Sleeping Bag/Quilt — Keep
Whatever quilt or sleeping bag you currently love for backpacking will treat you well on a bike ride. Light, compressible, and cozy is the ideal.
READ NEXT – Biggest Similarities (and Differences) Between Backpacking and Bikepacking
Sleeping Pad — Keep
When it comes to sleeping pad storage, you’ll still be faced with the age-old question: inflatable or foam? If you rock an inflatable pad, you can roll it up and chuck it in a bag. If you prefer a foam pad, you’ll likely want to store it on top of the saddle bag behind you. It will keep you a little more aerodynamic than having it up front, and you won’t have to remove it to access anything in a bag. Just remember to keep the accordion folds facing forward so you don’t accidentally create a sail.
Cooking/Water Filtration/Toiletries/Electronics/Etc. — Keep (With Modifications)
Add a bike repair kit: Just about all of your backpacking gear in these categories can be repurposed for a bikepacking tour, but you will need to add a bicycle repair kit. Your kit should consist of lube, grease, a chain rag, some repair tools (like tire levers, a multitool, and a tire pump), and some replacement parts (like spokes, chain links, and brake pads).
Bicycle maintenance was my biggest hurdle in the shift from thru-hiking to bikepacking. If you aren’t already well-versed in bicycle maintenance, you will need to do a deep dive before heading backcountry with your bike. No one wants to walk their bike for miles!
You could also opt for more of a front-country tour to kick off your new cycling hobby. Staying in or near the front country means staying close to bicycle shops, or at least close to a road where you can hitchhike to a bicycle shop.
Add front and rear lights: When it comes to electronics, just add front and rear bike lights to your kit. You can get rechargeable ones that you can charge with your power bank using the same cords you use to charge your other electronics. You will probably still want to bring your headlamp to get camp chores done in the dark.
Also, if you carry a GPS/personal locator beacon, make sure it is securely affixed to your bike. Mine fell off my bike on the second day of my trip, and I didn’t notice for 20 miles. I didn’t have enough food and water to go back for it. Learn from my mistakes! Personal locator beacons come with a carabiner for a reason—and remember, weight just doesn’t matter as much when you are on a bicycle.

Looks just like I’m thru-hiking, right?
Clothing/Accessories —Keep (With Modifications)
When it comes to clothing, your backpacking wardrobe will serve you well with some slight modifications.
High-Vis Items: It is a good idea to have some fluorescent colors and reflective tape on your person to increase your visibility, especially when riding near cars. I opted to carry a construction vest that I threw on whenever I had to ride on a road shared with vehicles. If you hike during hunting season, you may already have some high-vis clothing that would work well on a bike.

High-visibility vests were a must on Highway 1.
Shorts: When it comes to shorts, whatever you like for hiking might also work for cycling. Some folks prefer spandex or lycra, and some like to have padding on the seat. I personally skipped the padding but did opt for spandex to prevent chafing caused by baggier shorts. If you like wearing pants, be aware that loose fabric can get caught in your drivetrain. Consider getting some joggers or a simple elastic or velcro band to secure your pant leg on the drivetrain side.
Sports Bras: Those who wear sports bras might want to upgrade to something a little more compressive as bikepacking is a higher-impact activity than backpacking. You may also want to pick up some bike gloves. Bike gloves with padded palms saved my hands from numbness caused by constant vibration. They also doubled as sun protection.
Shoes: There are special shoes available that are compatible with clipless pedals, but this is getting into the weeds a bit. Many bikepackers just wear trail runners. I wore the same trail runners I wear for backpacking, and they worked well for me.
They certainly came in handy for the many hike-a-bike sections I came across on my trip. This is when the terrain is so rocky and/or steep it is unrideable.
Helmet: Finally, don’t forget your helmet! This is your most important piece of gear, so don’t skimp. Virginia Tech has a great resource to assist in deciding what helmet is right for you.

Get Out There!
Getting into a new hobby often feels overwhelming. There’s so much to learn in terms of culture, jargon, routes, and gear. Hopefully, I’ve convinced you that getting into bikepacking doesn’t have to be so daunting; assuming you are coming from backpacking, you already have most of the tools in your tool kit.
So many aspects of these two activities are the same: backcountry skills, navigation, general dirtbaggery, and—yes—gear. If you’re an experienced backpacker, you’re probably ready to make the leap. So enough screen time—get out there!


This website contains affiliate links, which means The Trek may receive a percentage of any product or service you purchase using the links in the articles or advertisements. The buyer pays the same price as they would otherwise, and your purchase helps to support The Trek's ongoing goal to serve you quality backpacking advice and information. Thanks for your support!
To learn more, please visit the About This Site page.

Comments 1
As a bisexual woman, “Bike Curious” is the funniest title this article could’ve had. Thanks for the morning giggle and great info!