 ">
">
How to Prevent and Treat Blisters While Thru-Hiking
Blisters are the bane of every thru-hiker’s existence. Ignore them at your peril. Taking steps to avoid blisters while thru-hiking will save you from a world of pain, and knowing how to deal with those that do arise will keep your hike on track with minimal disruption. It absolutely is possible to complete a thru-hike with few or no blisters if you know what you’re doing.
Preventing Blisters While Thru-Hiking
An ounce of prevention is worth a pound of cure. I haven’t had a full-on blister in several years because I adhere to the steps below. Those who are newer to hiking will have to work harder at avoiding blisters and will likely have a few breakthroughs in the early days. Putting a few hundred to a few thousand miles on your feet will toughen them up significantly, but these techniques are effective no matter where you are in your thru-hiking career.
1. Find your Cinderella shoe.

Altra Lone Peaks are my preferred shoe (yes, I’m basic). Find the one that works for you.
There are dozens of models of boots, hiking shoes, and trail runners on the market these days. Finding one that fits you perfectly is probably the most meaningful way to prevent blisters while thru-hiking.* I rarely develop hot spots anymore, let alone blisters, now that I’ve found a shoe that works for me.
It’s important not to get too caught up in popular trends here. Many thru-hikers adore Altra Lone Peaks. In the old days, Brooks Cascadias were the shoe on the Appalachian Trail. But remember that just because a shoe is wildly popular, that doesn’t mean it will work for you. Your foot shape and gait are unique to you, after all.
Try several different kinds of shoes and see which one feels best. And I mean really try them. Wear them all day. Take them hiking in variable terrain. Give them a really good test. REI will accept returns of lightly used footwear within one year of purchase, so don’t shy away from test driving a few different pairs.
*People wearing trail runners have a bit of an edge in blister prevention because trail runners are generally more breathable and dry faster than boots. That being said, if boots feel more comfortable to you, wear boots. Whatever footwear you choose, opt for the non-waterproof version. Waterproof shoes trap moisture from sweat and stream crossings and are extremely slow to dry.
READ NEXT – How to Prevent and Treat 7 Common Thru-Hiking Foot Problems
2. Wear liner socks.
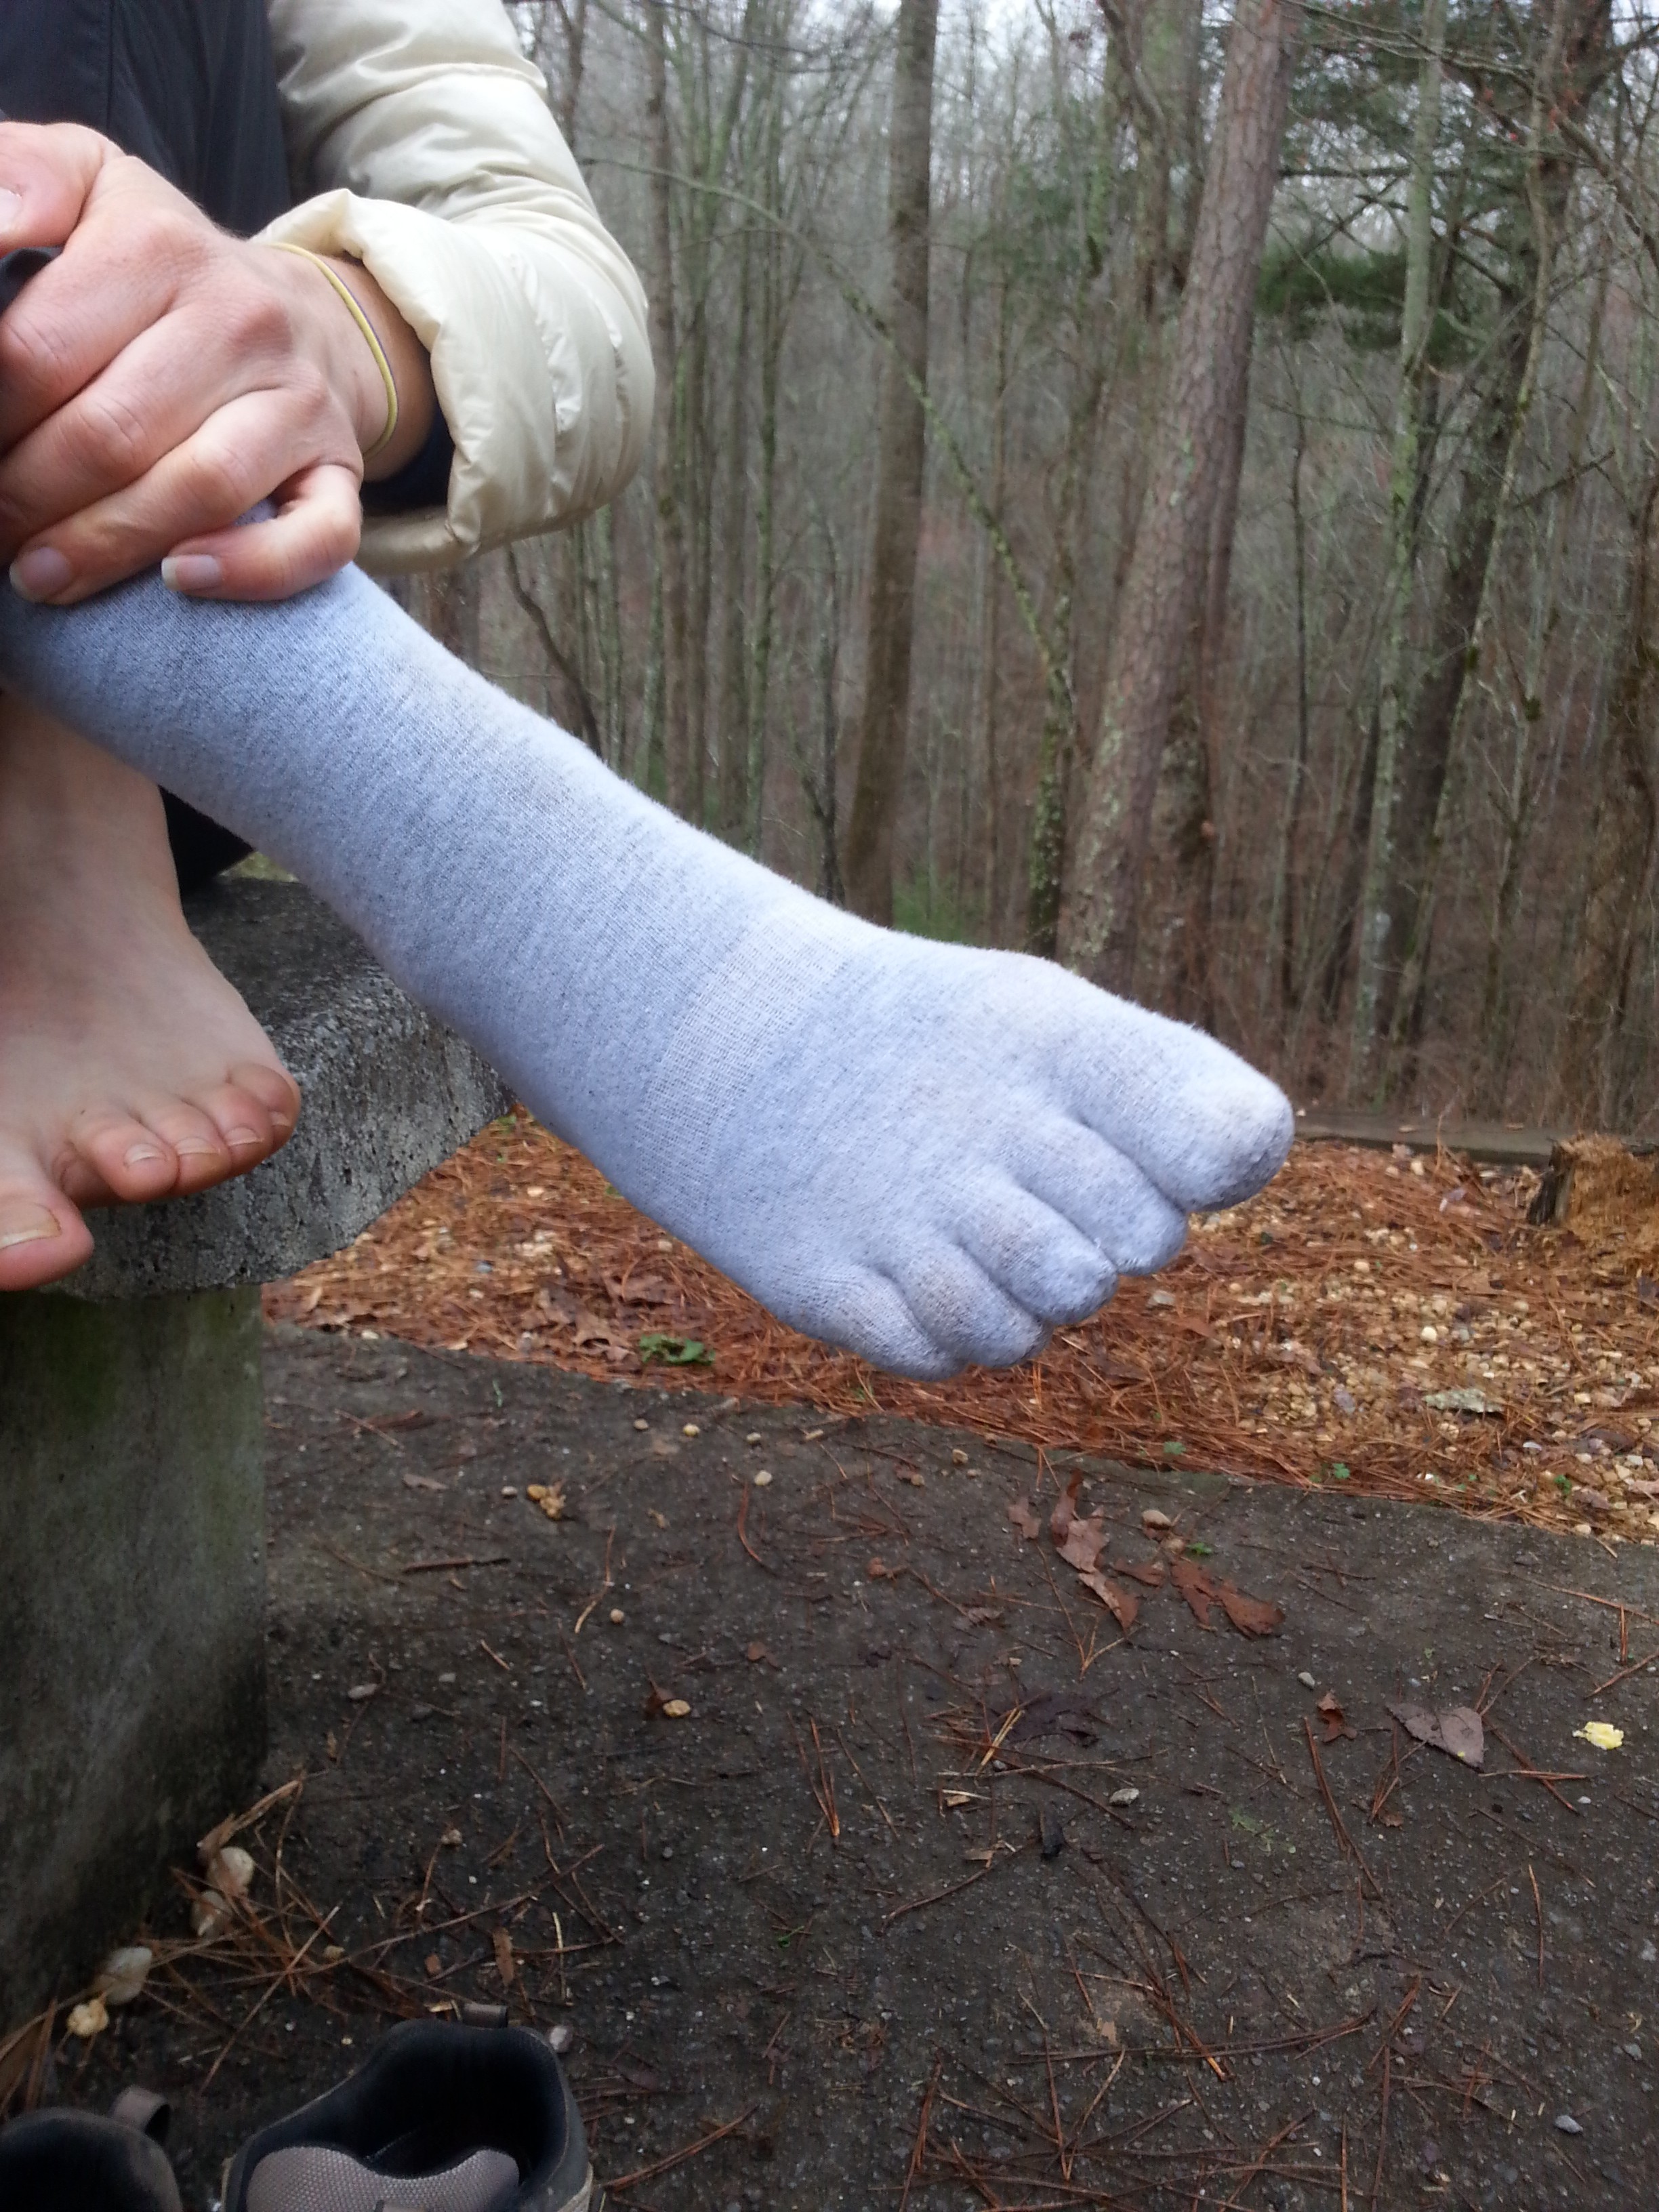
Injinji toe socks are popular as liners. Photo via Haha.
A thin pair of liner socks helps prevent blisters in several ways. First, they fit snug to your foot (though they shouldn’t be tight), reducing friction between your skin and your outer sock and shoe.
Second, that thin, next-to-skin layer helps to wick moisture away from your feet. You’ll be less likely to blister if your skin is relatively dry.
Finally, if you opt for toe sock liners, you’ll get extra protection in between each individual toe—a very common area for blister development.
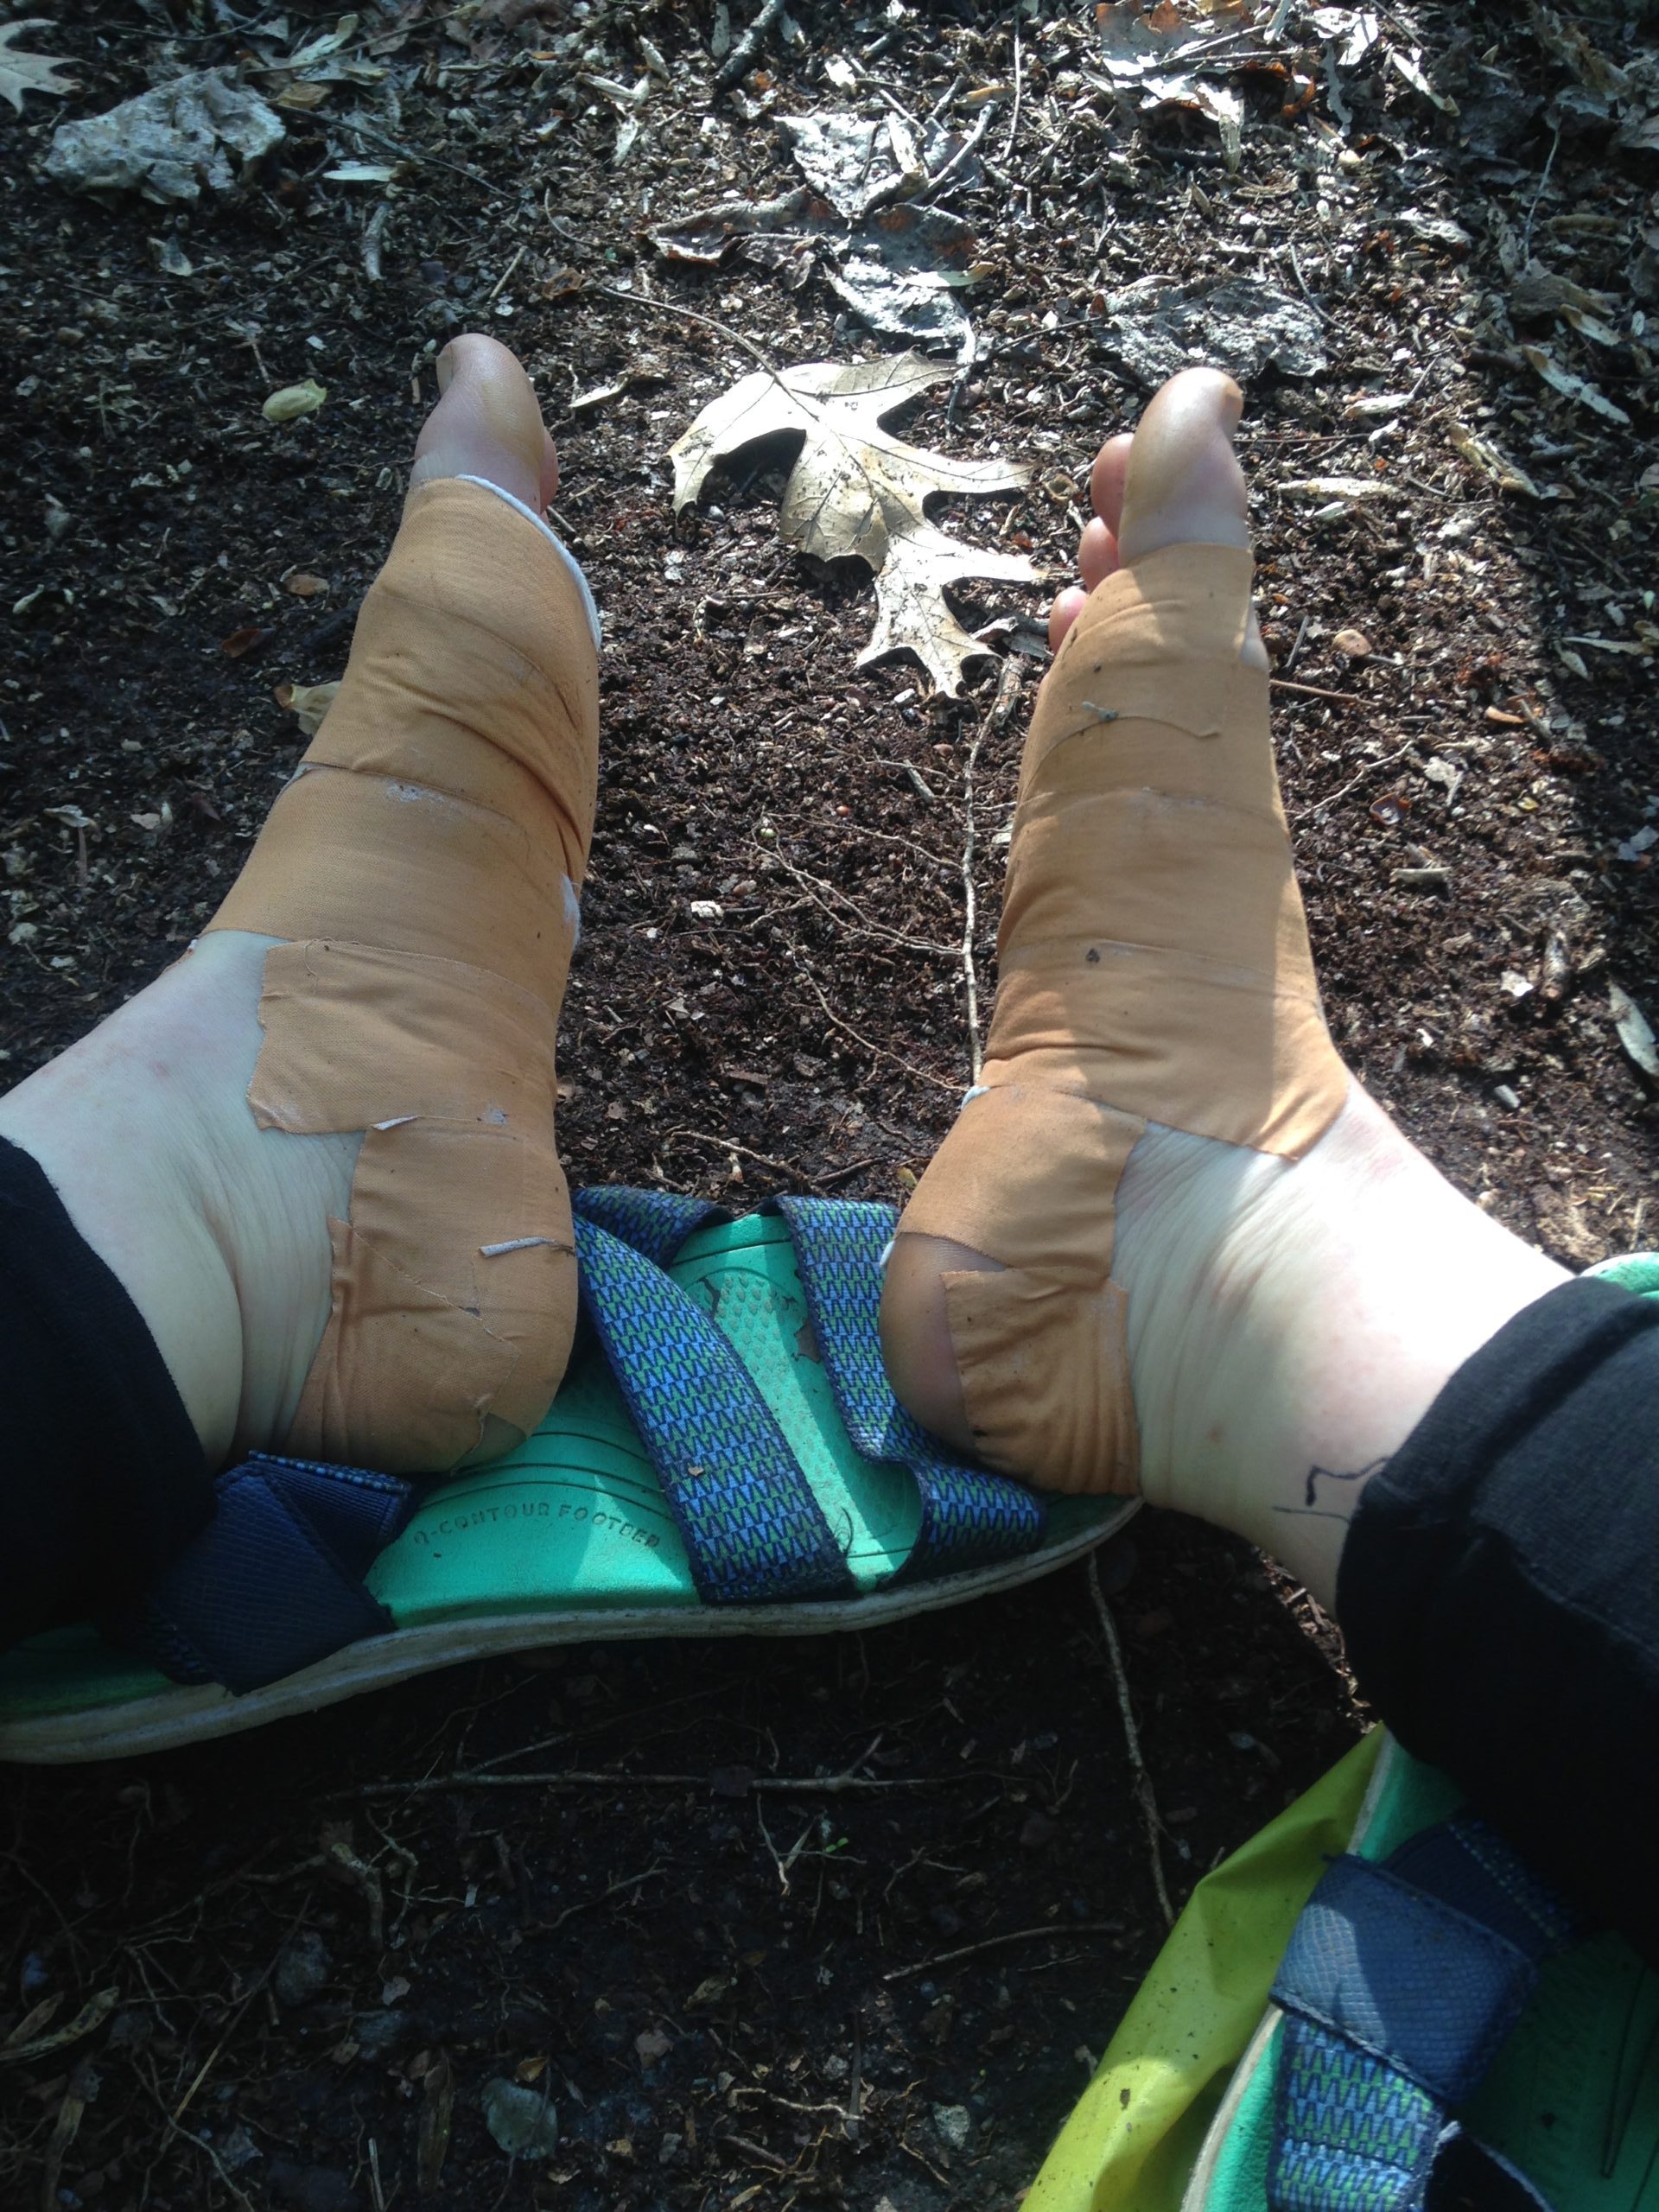
3. Leukotape your hotspots early.

Photo via Jenn Wall.
You can typically feel where a blister is going to form well before it actually happens. As soon as you identify a “hotspot” where your foot rubs against your shoe, you should cover it. Many thru-hikers swear by Leukotape, an incredibly strong and sticky medical tape that can stay on for weeks if properly applied. The tape acts like a second skin. It gives you an extra layer of protection from friction and is often enough on its own to keep a hotspot from developing into a full-on blister.
The key here is to not wait. We’ve all felt a hotspot developing and put off dealing with it right away, telling ourselves we’ll look at it at the next break or at camp. The inconvenience of dropping your pack and addressing it immediately is nothing compared to the inconvenience of wincing through every painful step if and when a blister does develop. The sooner you address the hotspot, the better off you’ll be.
If you tend to get blisters and hotspots in the same areas while thru-hiking, don’t wait to feel the rub—tape them before you even start hiking and save yourself the trouble down the trail.
Leuko-tips
Leukotape sticks best on relatively clean, dry skin. I sometimes find that if I apply the tape during the hiking day and immediately start walking again, the tape doesn’t stay in place perfectly, and I have to redo the job at camp. I’m fine with this: I carry enough tape to account for redos (I wrap it around my trekking pole to store it), and typically, whatever I apply during the day is enough to get me to camp without any further blister developments. Once I get out of my sweaty hiking shoes, I can do a cleaner job with the tape and give it all night to cure thoroughly.
If you’re not a fan of straight Leukotape, use an alternative like duct tape or KT tape. If the sticky adhesive right against your skin is the problem, put down a padded bandaid or a layer of moleskin or hiker’s wool first. Just make sure you act early and err on the side of caution.
4. Let your feet air out.

“YAY, wet feet!”
Wet feet = soft skin = a recipe for blisters. Any time you take a sit-down break, take your shoes and socks off and let your feet dry out. Bring an extra pair of hiking socks so that even if you end the day with wet, sweaty feet, you have a dry pair to change into the next morning. Meanwhile, your wet socks can live in the mesh pocket of your pack and come out to dry in the sun at every opportunity so they’ll be ready for the following day.
If your spare socks are getting crusty with salt and dirt, give them a rinse in the next stream you cross and then let them dry. Stiff, rough fabric rubbing against your feet all day will not help your cause.
READ NEXT – 7 Ways AT Thru-Hikers Survive Rocksylvania with Their Feet Intact
Treating Blisters on the Trail
Even with a perfect prevention program, blisters still get you every now and then, especially in the early days of a long hike. Like I said, it’s been years since I’ve had a blister break through my protective armor of good shoes and Leukotape, but I still hike with the materials necessary to treat one just in case. There was no avoiding them during a 10-day rain spell on the AT, for instance, and I know something like that could happen again at any time.
By following these steps, any blisters that do turn up can be safely managed with minimal disruption to your hike.
To Drain or Not to Drain

Photo via High Five.
There are two schools of thought on treating blisters while thru-hiking. One school holds that the best approach is to pop that mother right away. The other, probably more correct, approach is to cushion the blister as best you can and avoid popping it unless it’s simply too large and painful to avoid it.
Draining a blister does make you more vulnerable to infection, but on the other hand, it’s realistically kind of hard to avoid in the midst of thru-hike. If a blister is small enough to manage without popping it, slap a piece of Leukotape or duct tape over it and keep moving. Otherwise, follow these steps.
1. Sterilize a needle and the blister area with alcohol.
Use rubbing alcohol to clean the pin and the area around the blister.
I carry a few alcohol prep pads in my first aid kit, along with a safety pin or sewing needle for poking purposes. When I was having a lot of blister problems during a wet spell on the AT, I actually carried a small bottle of rubbing alcohol so I could apply it more liberally to keep my feet dry and clean. As a bonus, cleaning your blister and the surrounding area with alcohol will help your Leukotape stick better in Step Three.
2. Lance the blister.
Struggling to find non-barf-inducing photos for this section. Photo via Stubbs.
Now for the exciting part. Poke that sucker carefully with your clean needle and gently drain the fluid inside. Apply antibiotic ointment to the lanced blister. Neosporin is better than alcohol at this stage: the ointment will keep the blister moist and promote gentle healing, whereas alcohol is harsh, drying, and could actually slow the healing process.
3. Leukotape that sucker.
OK maybe not THAT much leukotape.
Cover the blister with a strip of Leukotape and smooth it down hard to ensure that it stays in place. You have the option to use a moleskin donut or some gauze underneath the tape to cushion the blister, but I never do. Once drained and taped firmly in place, the pain more or less goes away even without cushioning. Leave the Leukotape in place for as long as possible. It’s sticky stuff, so you don’t want to remove it before the skin has a chance to heal and risk ripping the blister open even further.
4. Hike on!
Once you’ve done your thing with tape, you can pretty much just hike on. Be sure to monitor any popped blisters for redness, swelling, or other signs of infection. If the pain doesn’t get improve even after lancing and taping the area, it might be time to take a few zeroes. If you’re getting lots of blisters and none of your prevention measures seem effective, time to reassess your strategy. Try changing shoes, going up a shoe size, or picking up a few more pairs of socks so you can keep your feet fresh.
Hopefully, this post will give you an idea of the basics of preventing and treating blisters while thru-hiking. Just remember that in the end, the correct way to treat blisters while thru-hiking is whichever way gets it done and keeps you on the trail. Use the materials you have on hand. Don’t shy away from strategies like extra zero days or padded blister bandaids just because the greater thru-hiking community sometimes poo-poos them. If it works, it works, so do whatever you need to do.
Featured image: Photo via Janel Gazelle. Graphic design by Zack Goldmann.

This website contains affiliate links, which means The Trek may receive a percentage of any product or service you purchase using the links in the articles or advertisements. The buyer pays the same price as they would otherwise, and your purchase helps to support The Trek's ongoing goal to serve you quality backpacking advice and information. Thanks for your support!
To learn more, please visit the About This Site page.

Comments 4